Modified Levels in Duke Nukem 64
The levels in Duke Nukem 64 for the Nintendo 64 are not divided into episodes. Instead, the player must complete every level of the game in consecutive sequence, beginning with Hollywood Holocaust and ending with Stadium. However, the PC source port reintroduced the original episodes from Duke Nukem 3D.
Almost all of the original levels from Duke Nukem 3D are present, but the secret levels Spin Cycle and Tier Drops have been replaced by two levels from the Atomic Edition, namely Duke-Burger (accessible via Gun Crazy) and Area 51 (accessible via Movie Set).
Many of the original Duke Nukem 3D levels have been modified. The most significantly modified levels include Red Light District, which has been renamed "Gun Crazy," and Rabid Transit, which has been profoundly restructured and expanded. This article lists all levels of the game and summarizes changes from the PC version.
Levels from the Main Campaign
NOTE: All screenshots on this page have a 1920 x 1080 resolution; click on a screenshot and then click the "See full size image" button to view the full resolution image.
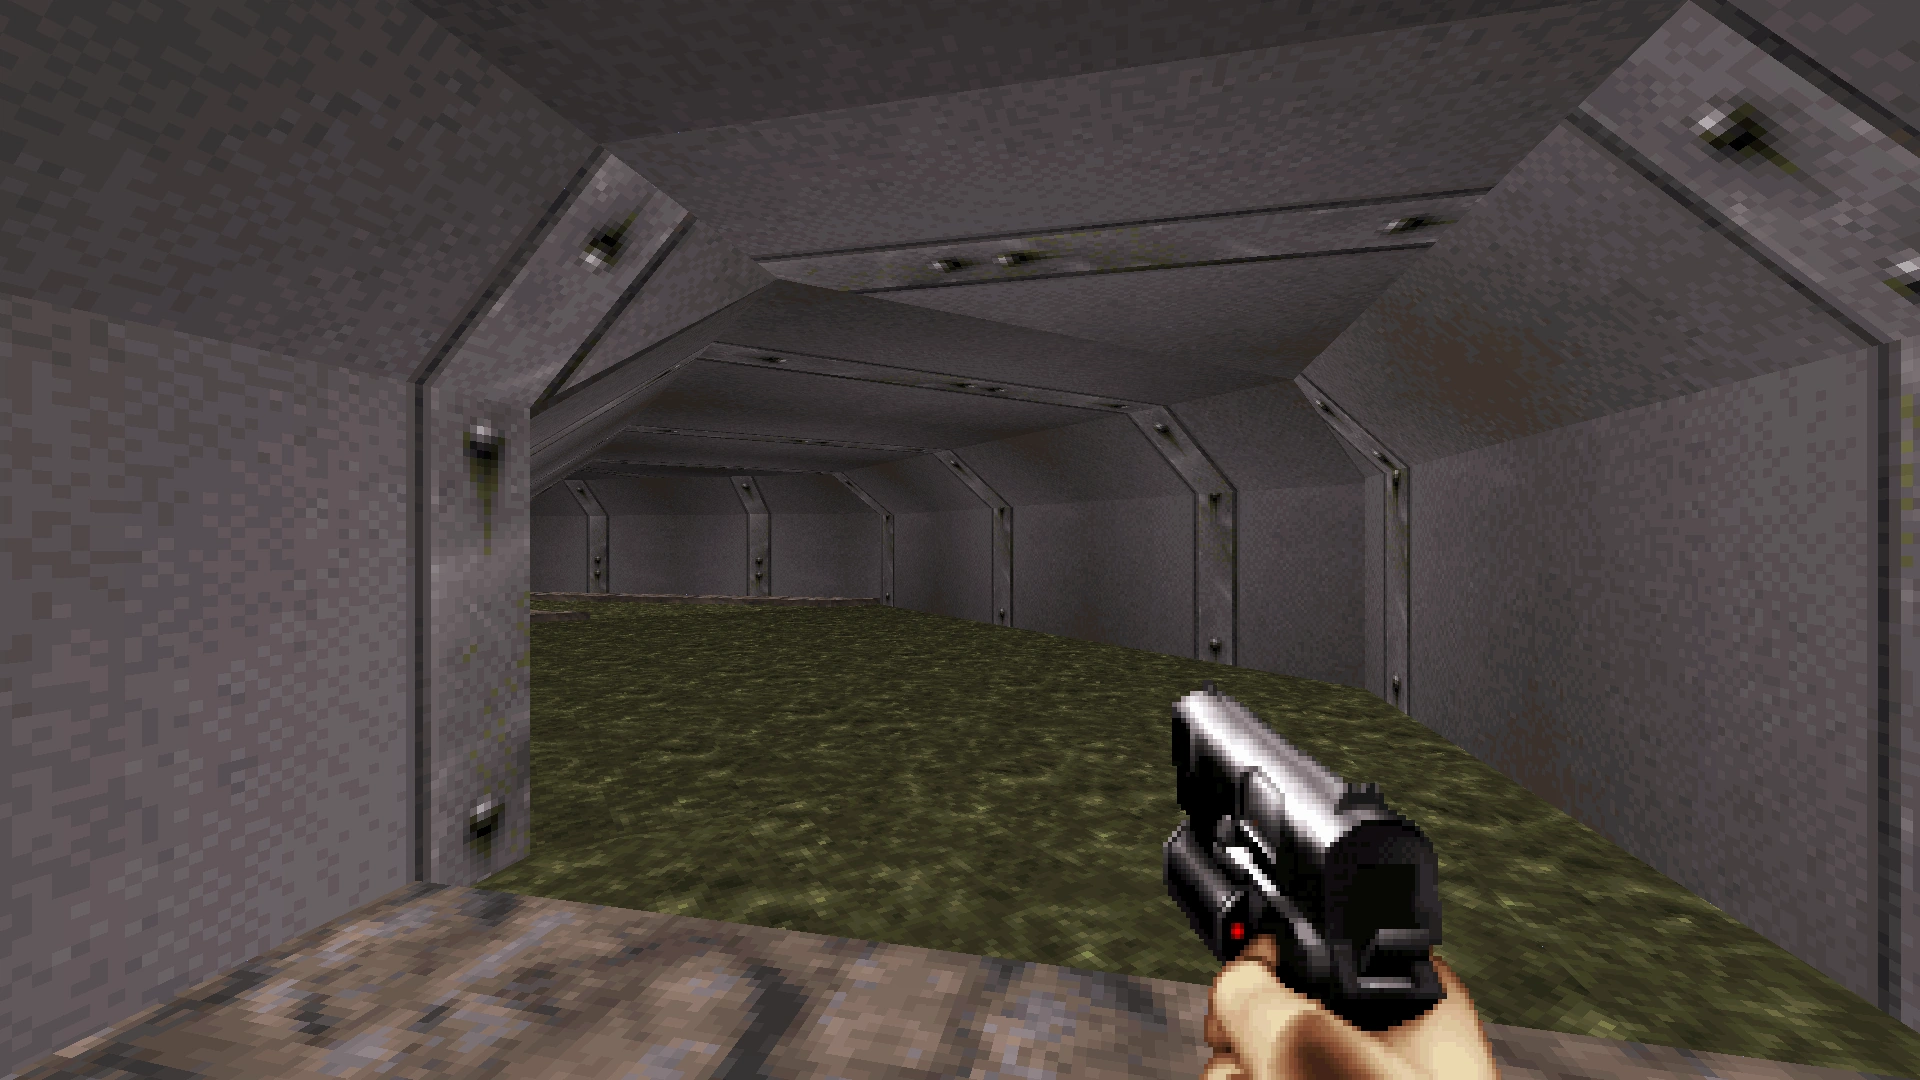
Level 0: Hollywood Holocaust
The level numbering has been changed such that Hollywood Holocaust is listed as level 0 in this version of the game.
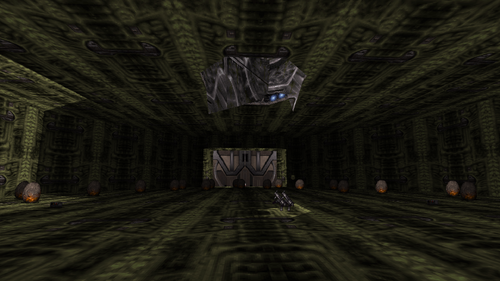
This level begins identically to the original Hollywood Holocaust in Duke Nukem 3D. However, there is now greater detail to the out-of-bounds areas surrounding the starting rooftop and surrounding the main street below. Many buildings and palm trees are visible outside the walls. As a result, Duke's Skycar now crashes into a fully rendered 3D building.
Start of the level. Duke's Skycar will now crash into a fully rendered 3D building.
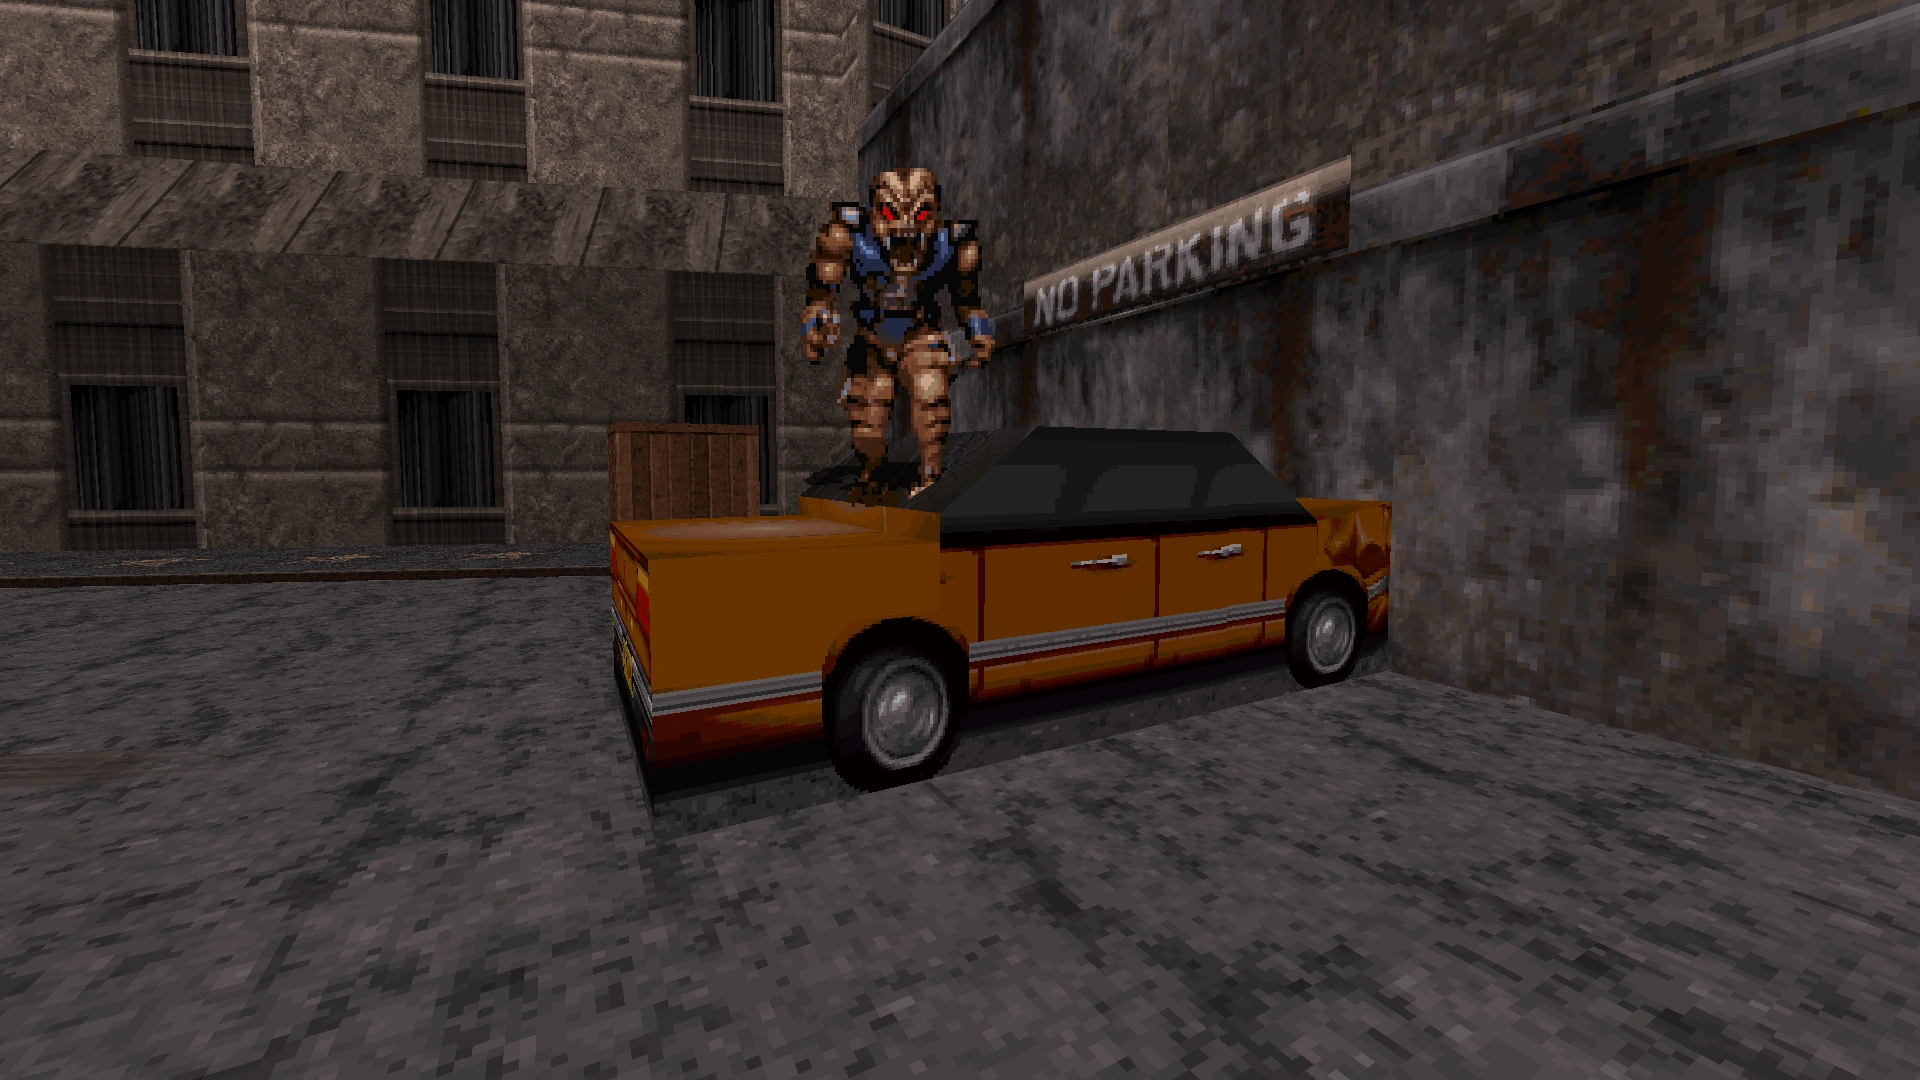
The first enemy of the level now stands on top of a car crashed beneath a "No Parking" sign, instead of atop the box right next to it. In the 20th Anniversary Edition developer commentary, the developers note that the car in the Duke Nukem 64 version of Hollywood Holocaust was derived from a similar car found on Pigsty.
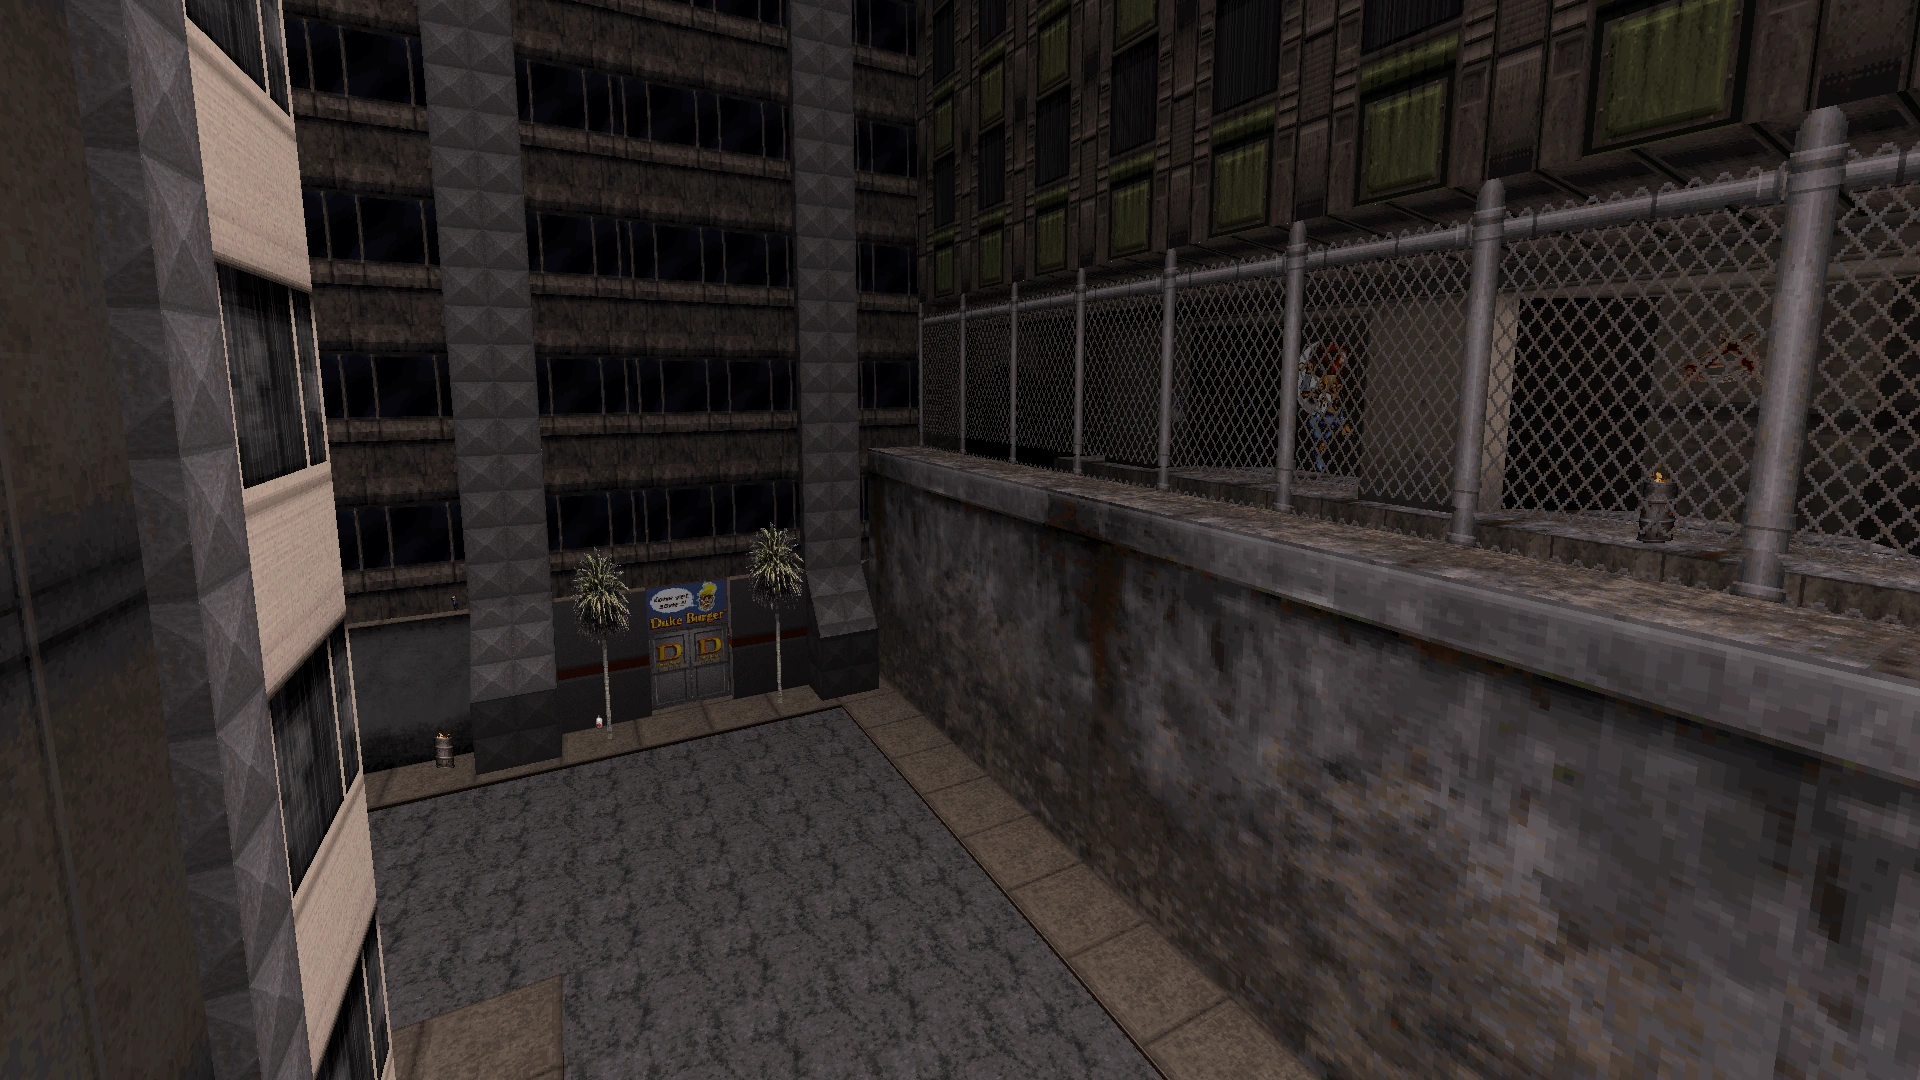
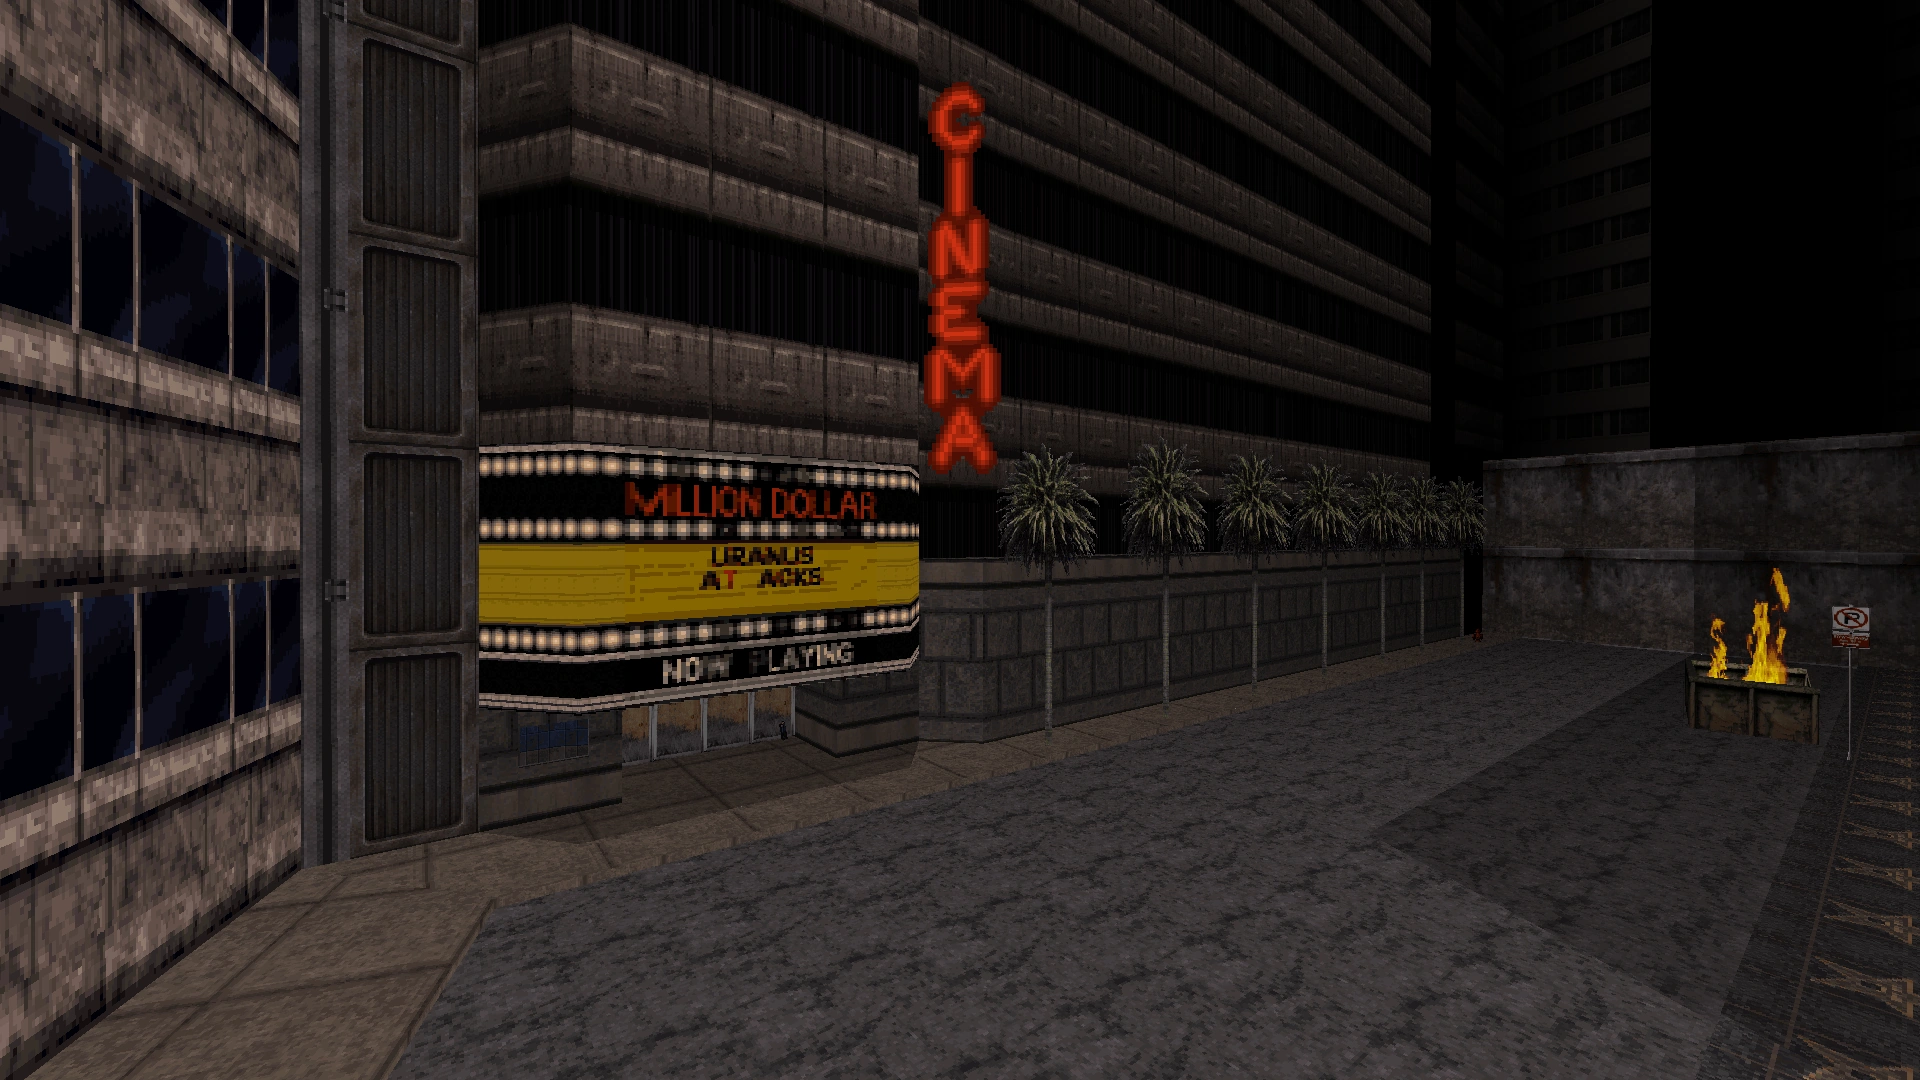
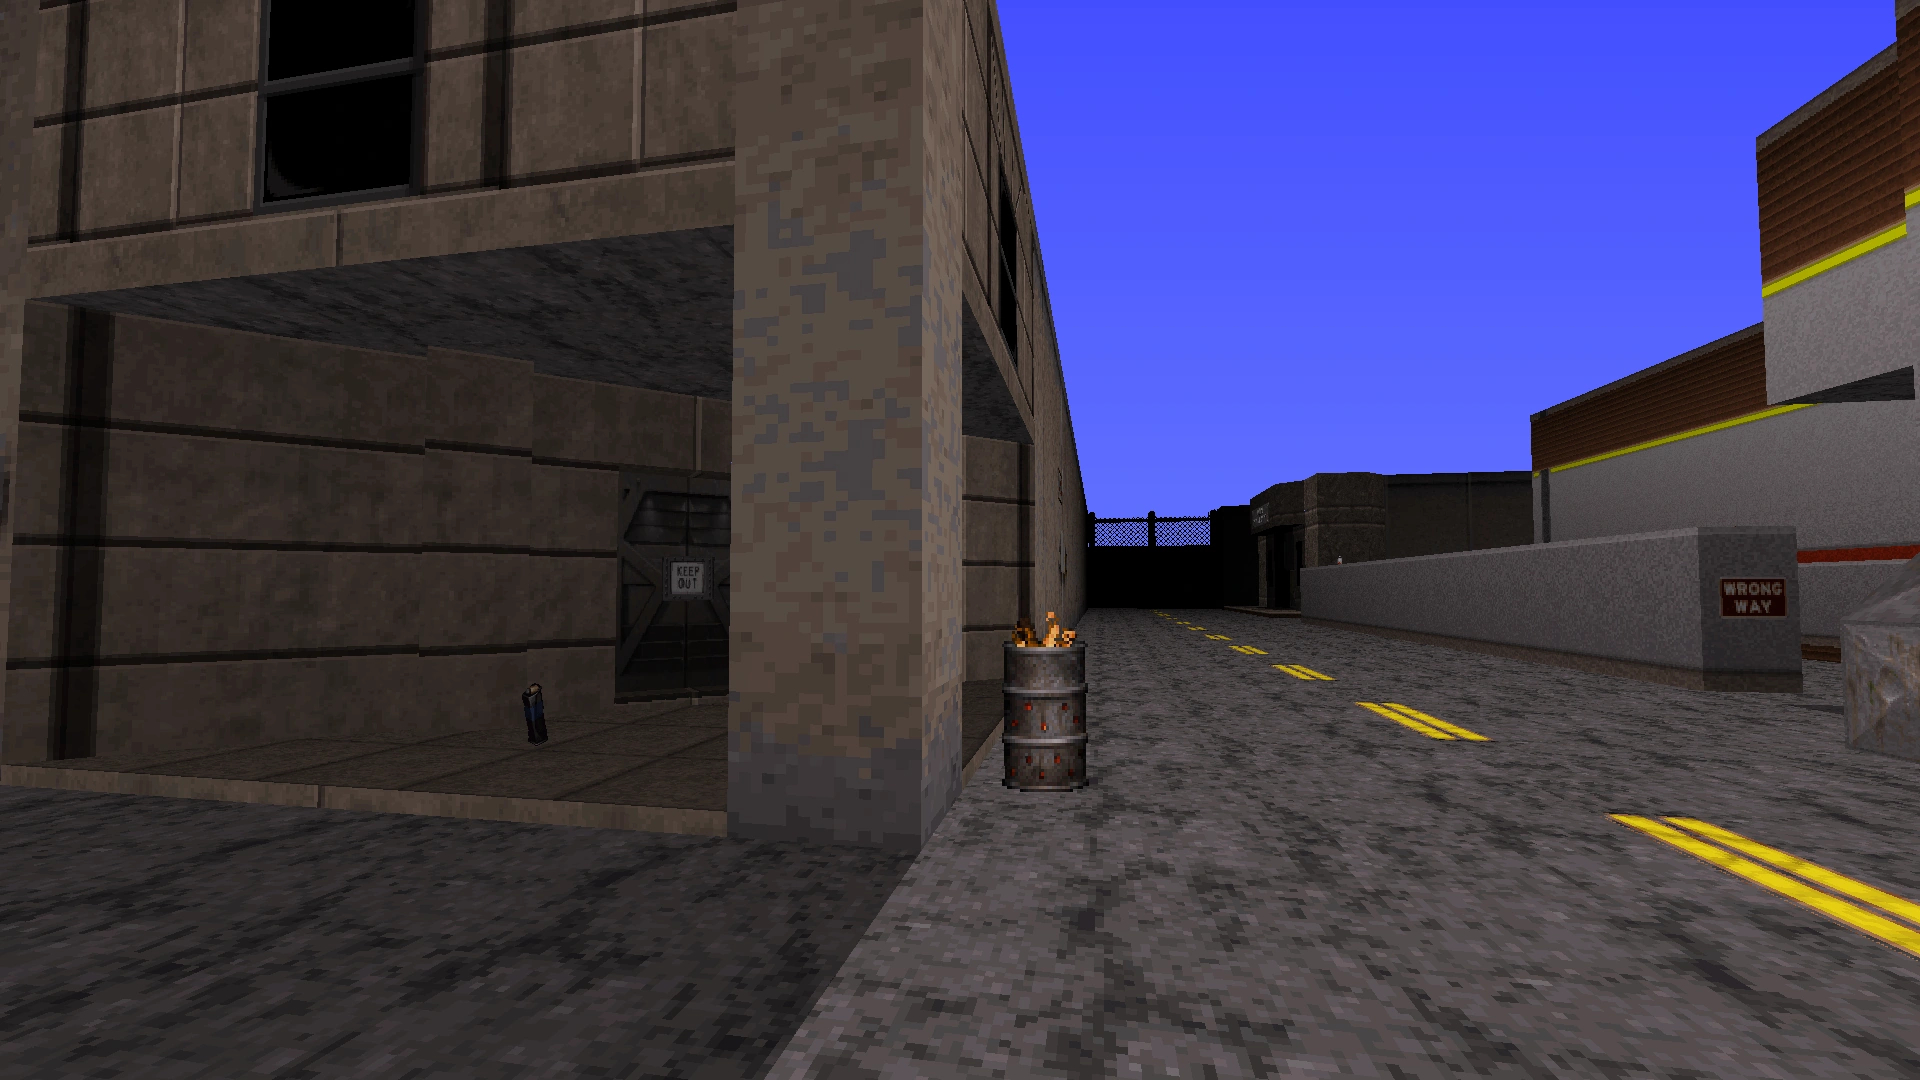
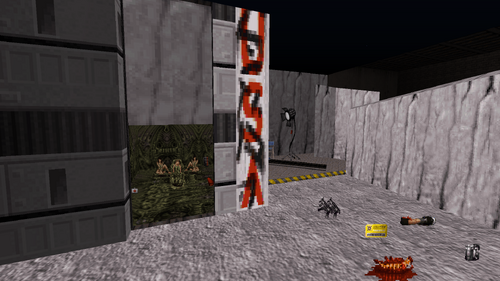
The movie featured on the sign above the front entrance of the movie theater is now titled "Uranus Attacks" instead of "Attack of the Bleached Blonde Biker Bimbos". Where there was previously a single palm tree, there is now an entire row of palm trees running along the main street.

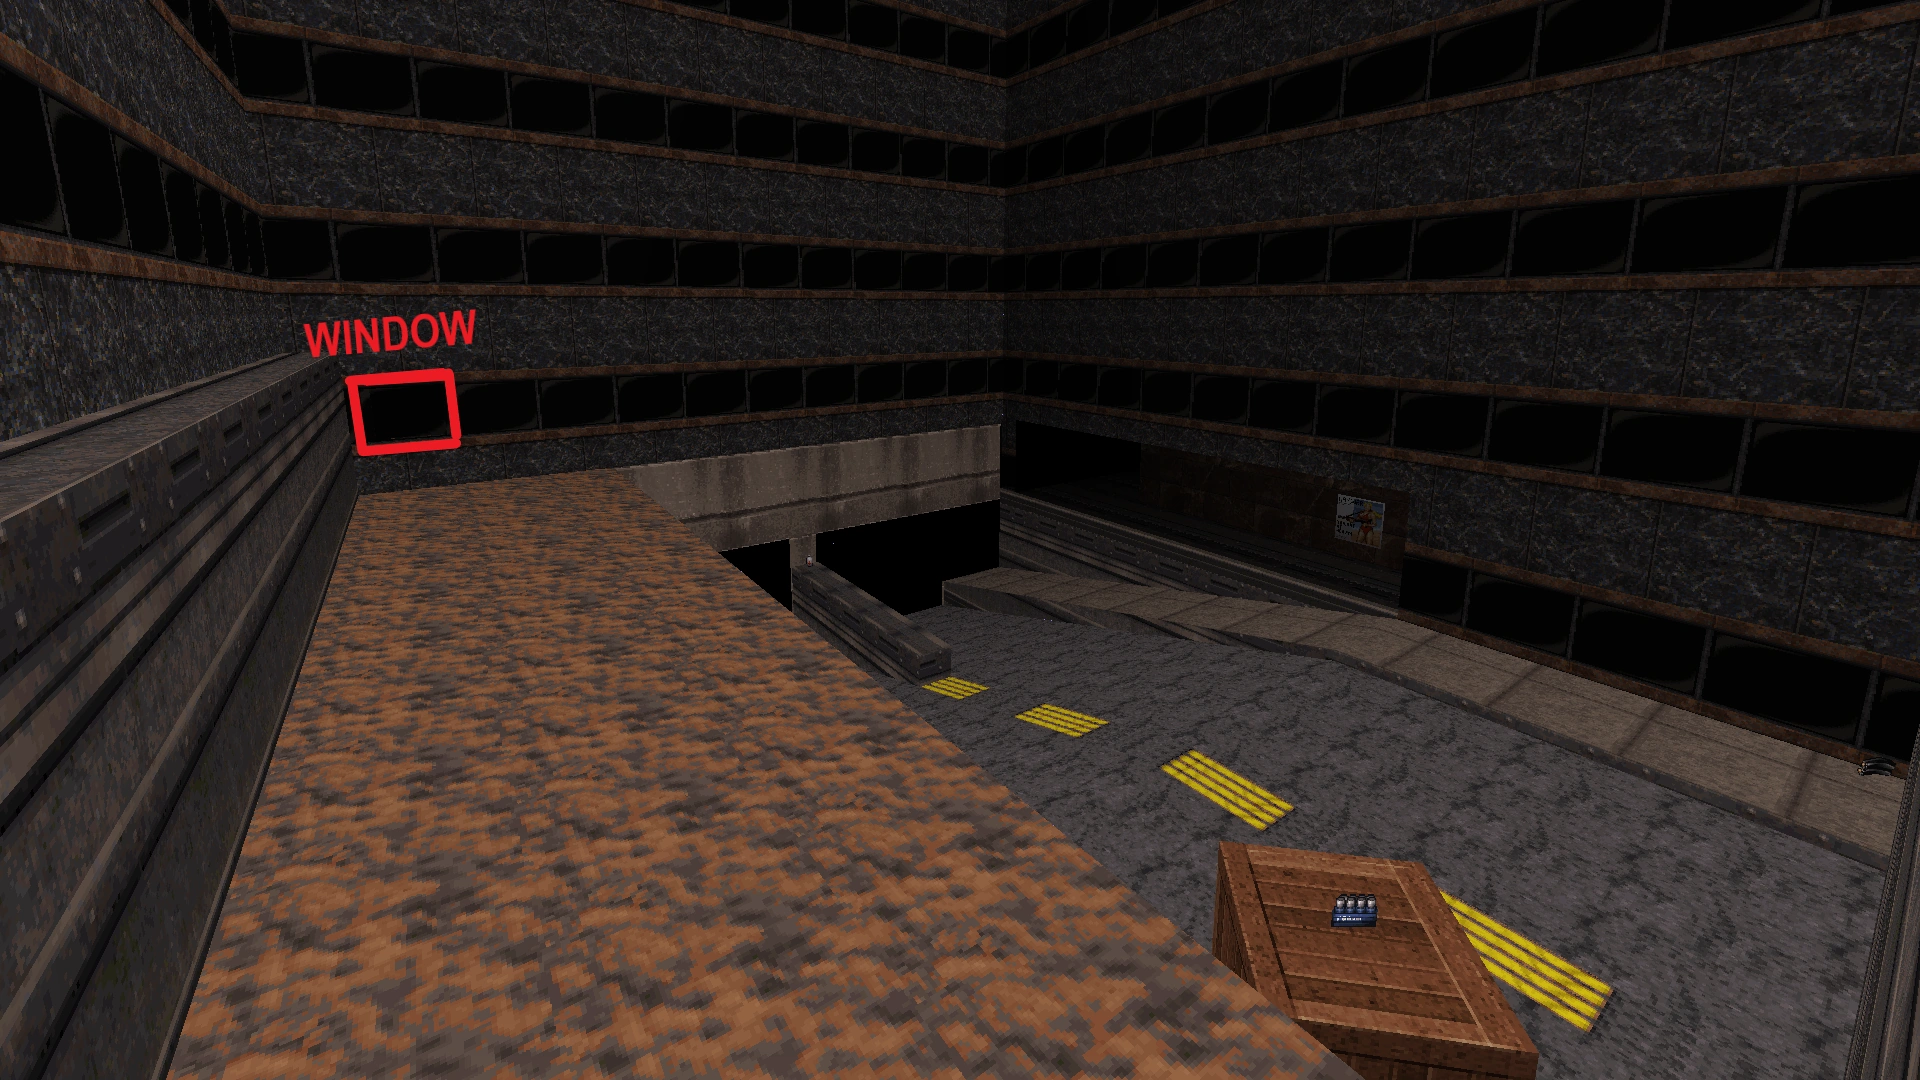
A convenience store entrance is now situated on the main street, in the corner behind the dumpster fire. The store entrance is locked from the outside, but the store can still be accessed via a secret teleporter hidden in the wall to the right of the exit button.
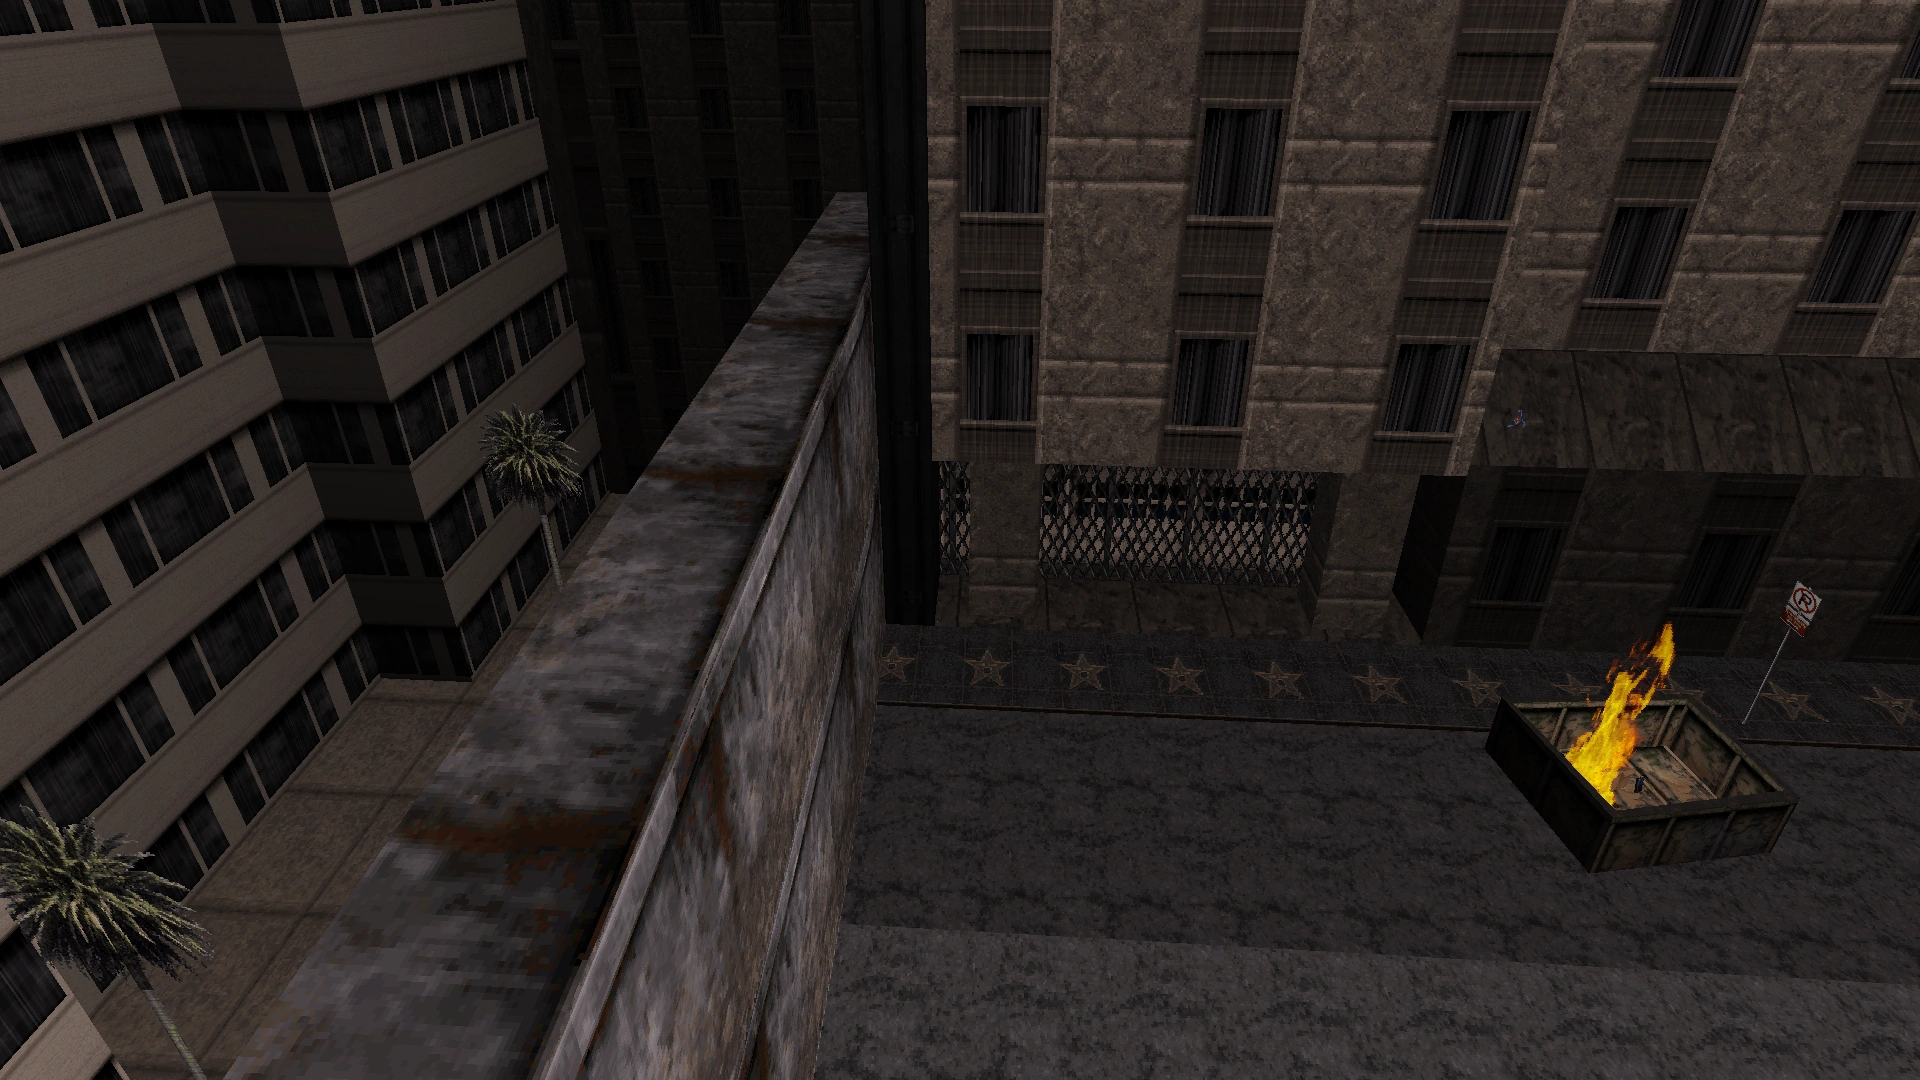

Front entrance of the convenience store (center), with palm trees visible in the out-of-bounds area (left).

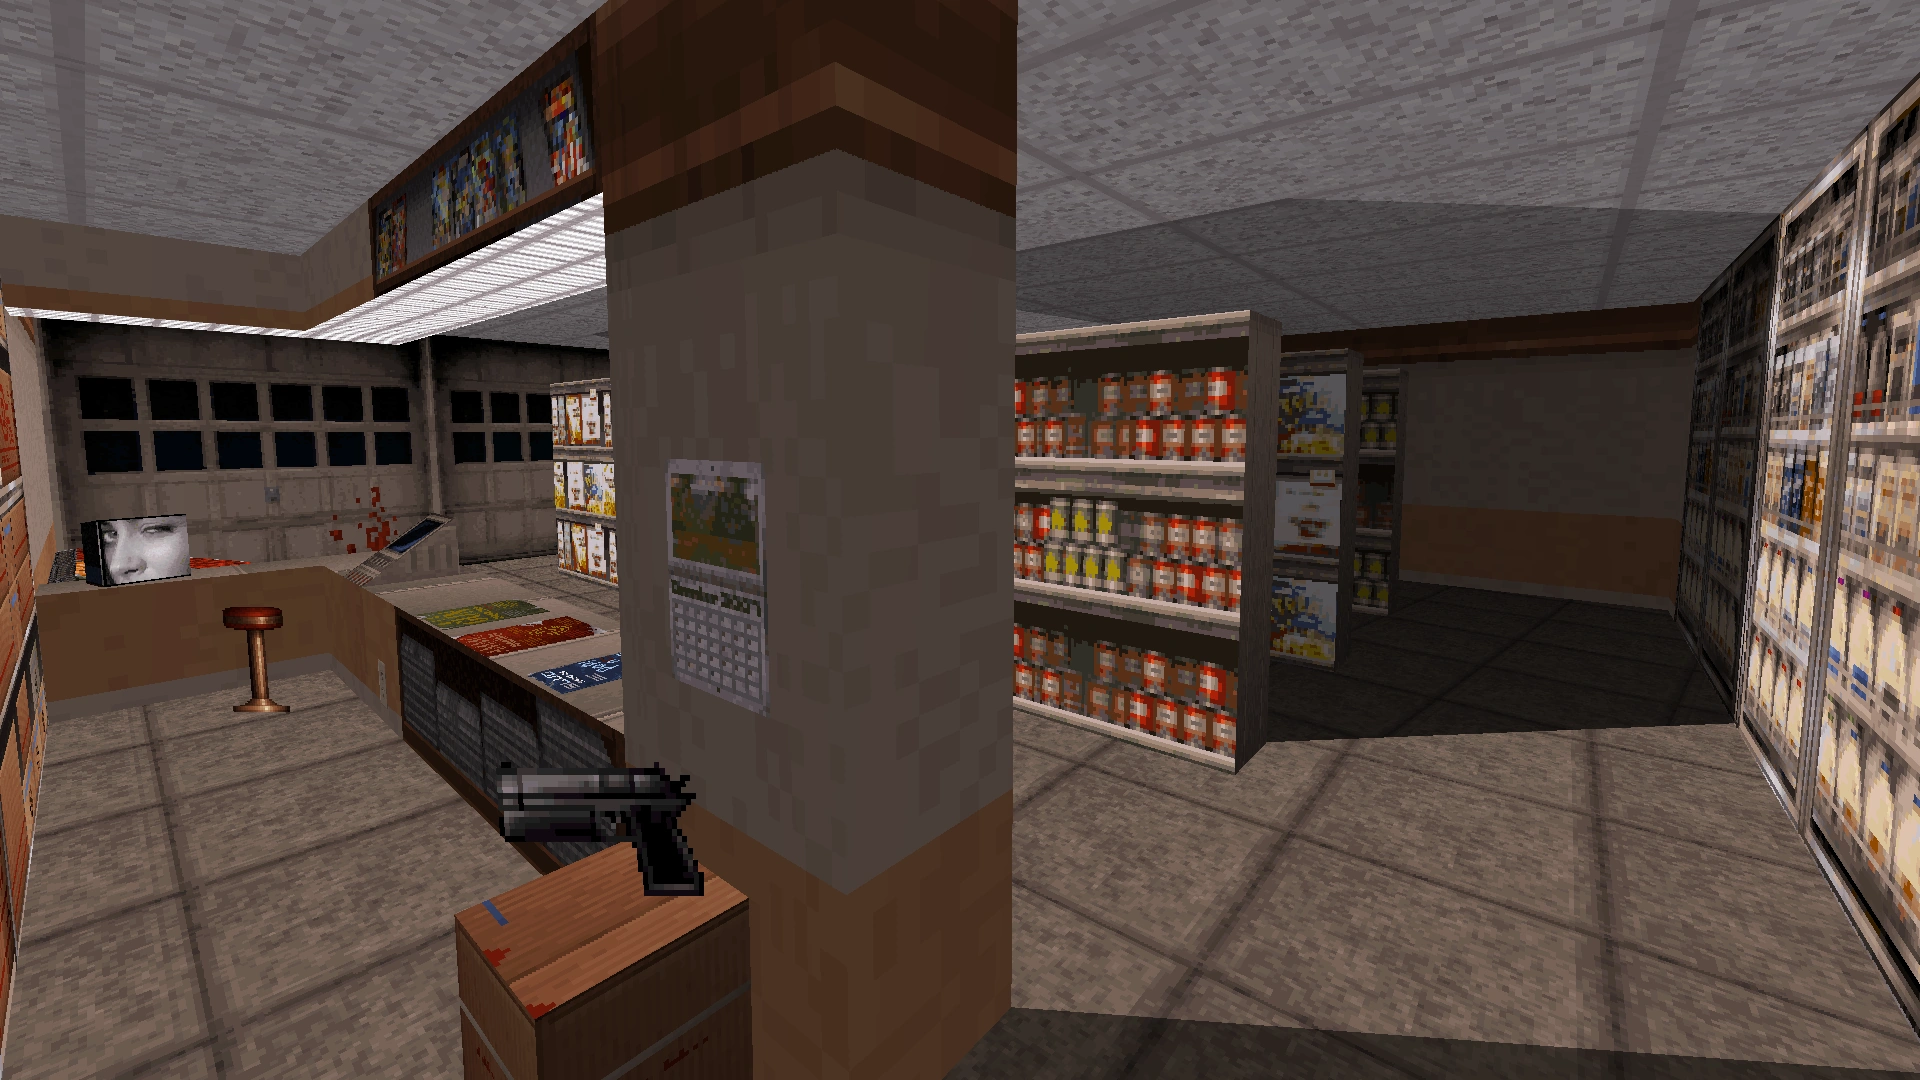


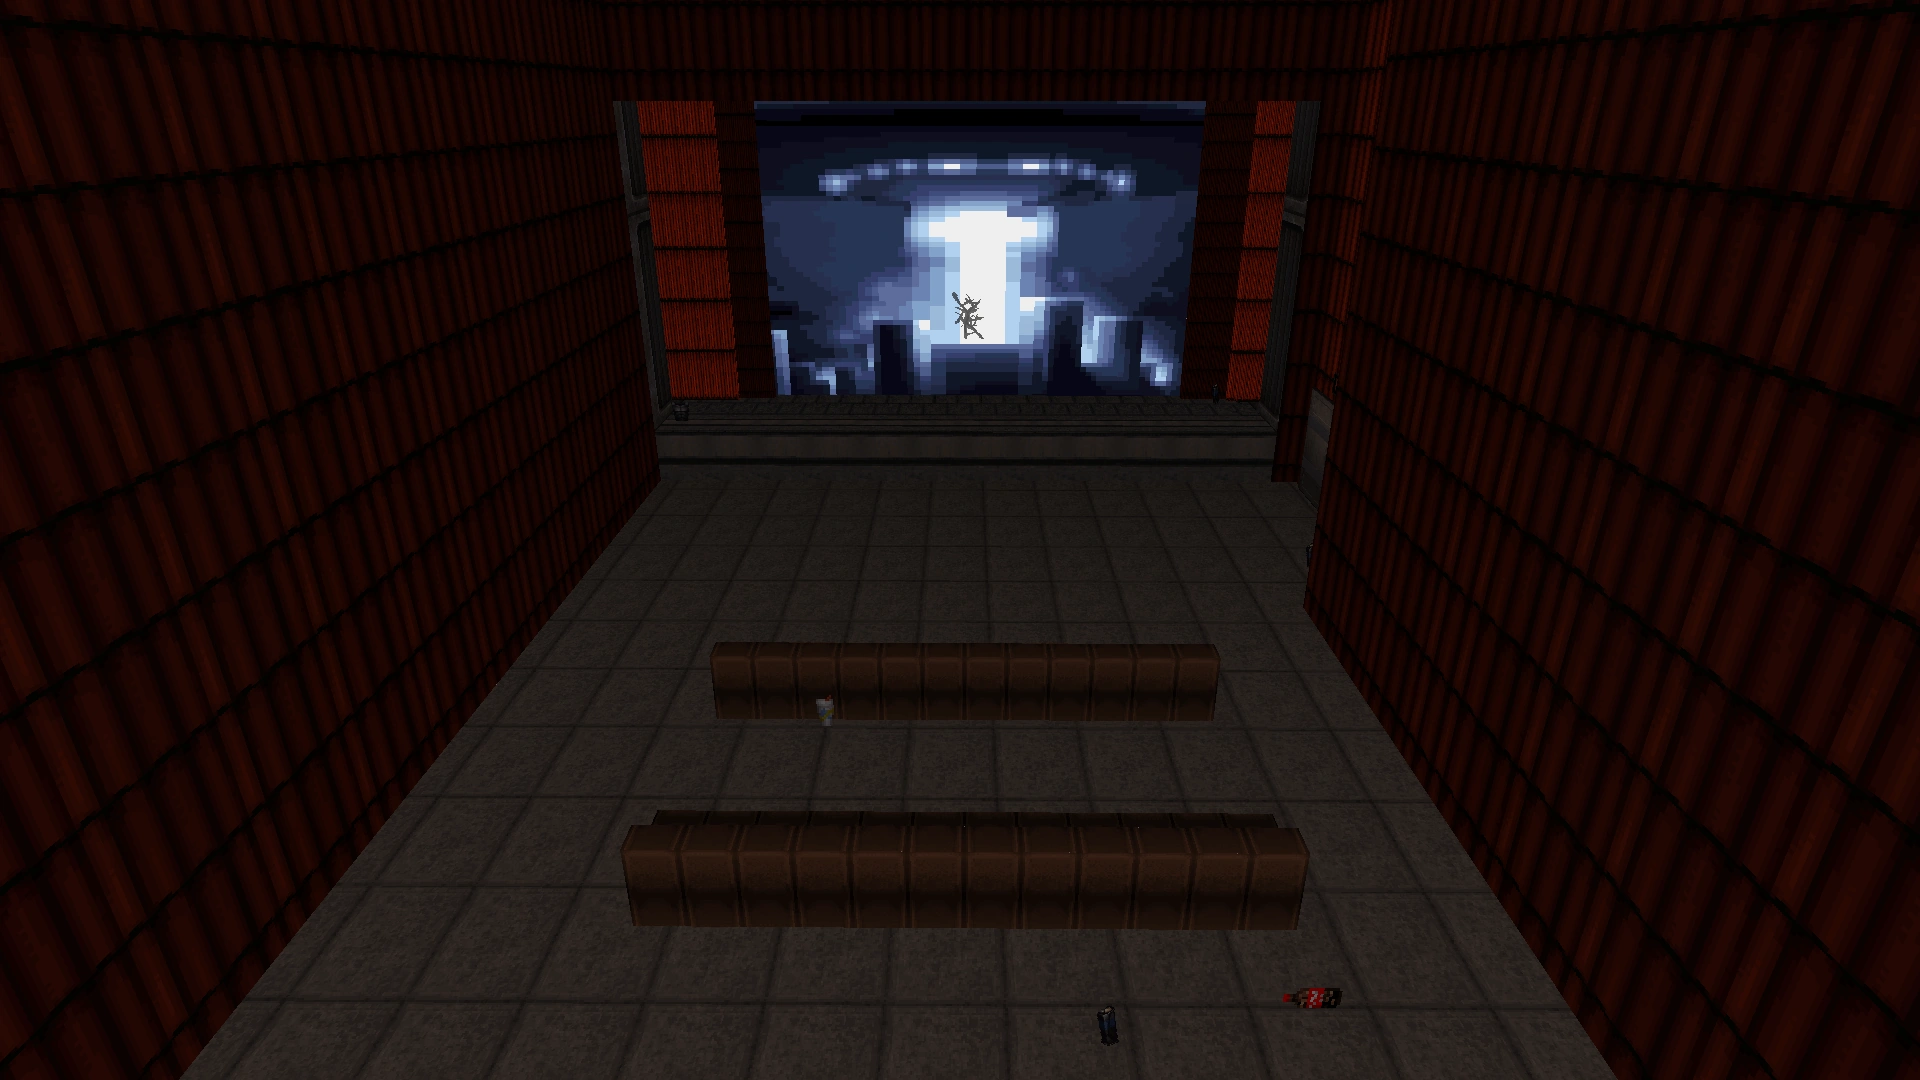
Inside the movie theater, a UFO film is playing instead of the stripper film. Drinks from the concession stand are now littered on the ground beneath the seats.

Notably, earthquakes no longer occur on this level. This is unusual because comparable explosions in other parts of the game, such as the final hallway in Lunar Reactor, have not been removed.

In the PC version, the corner section of the wall on the right will explode as part of an earthquake.

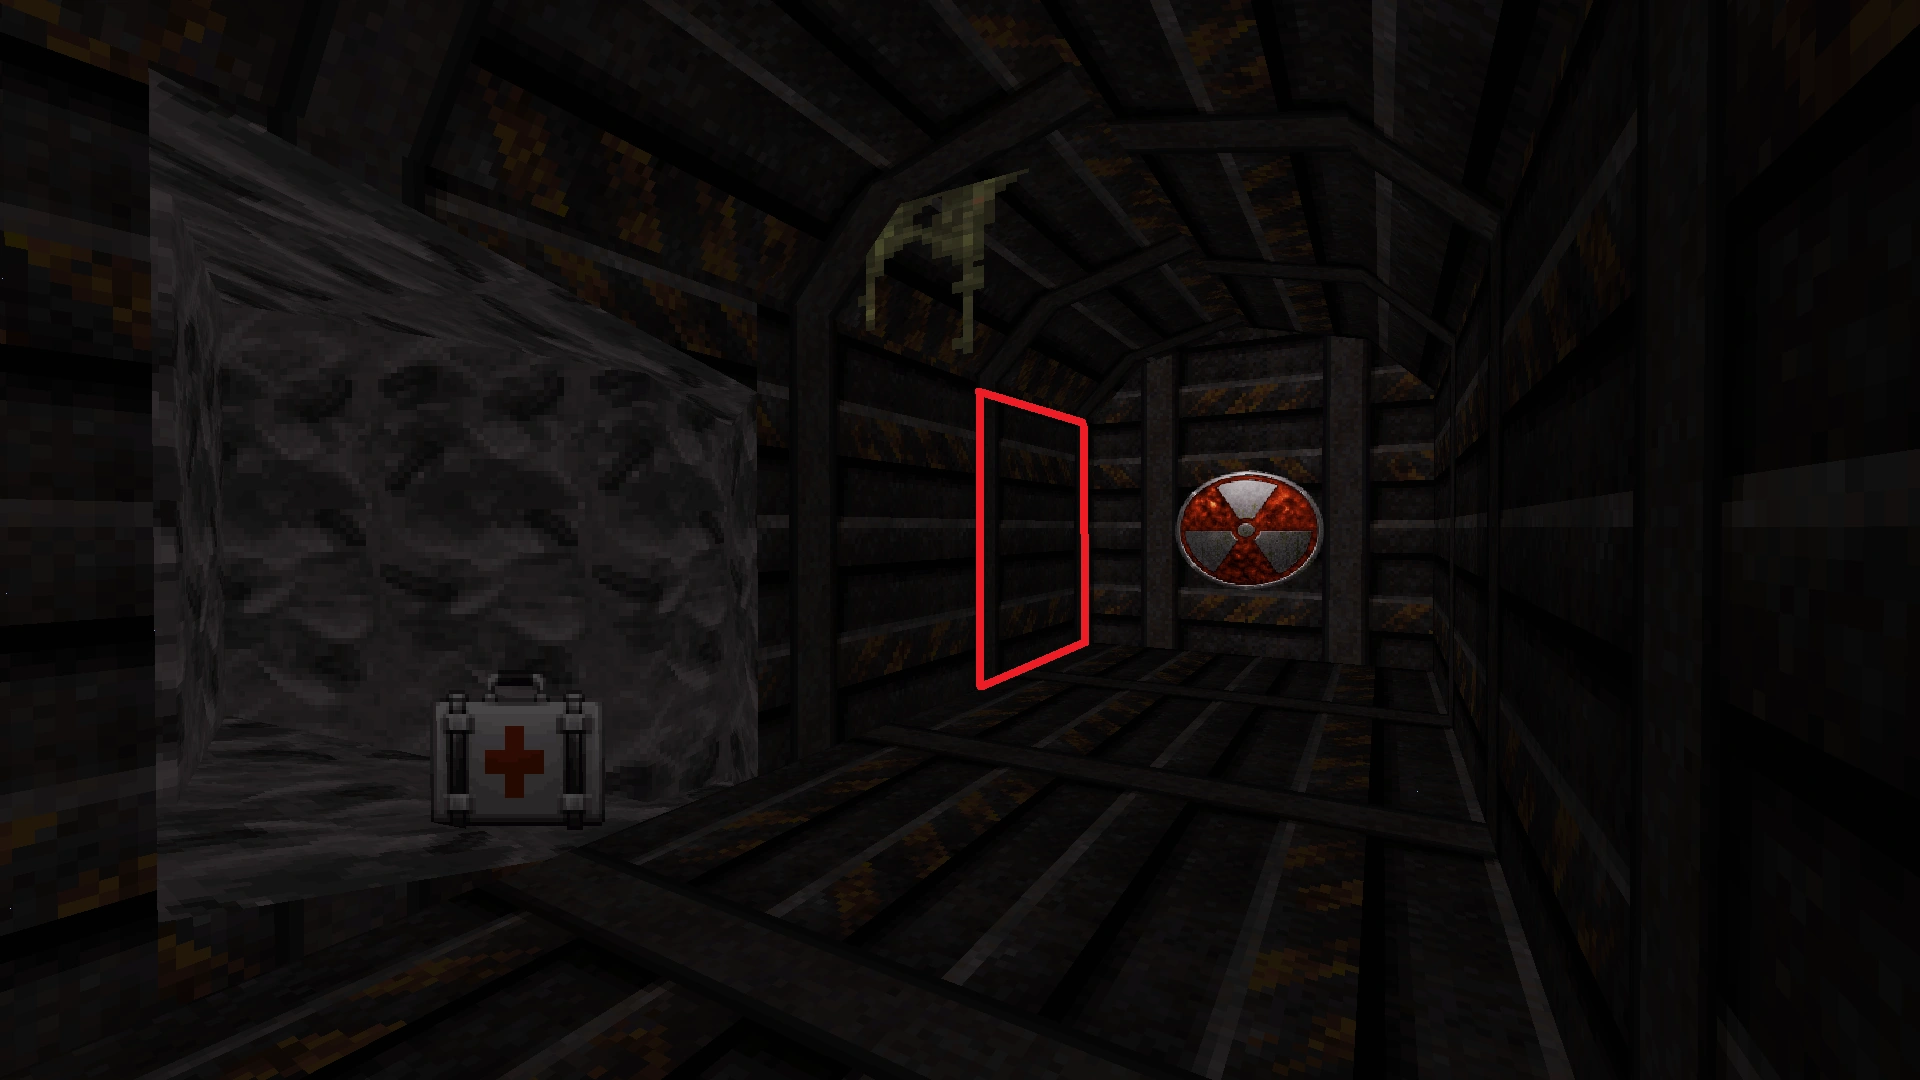
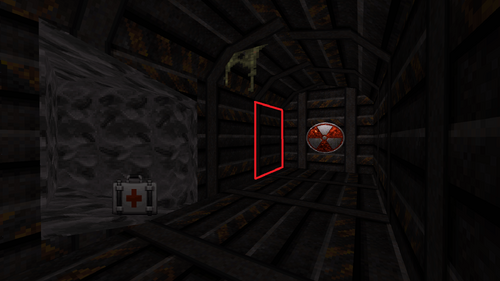
The earthquake has also been removed from the stairwell. However, the Large Medkit that was previously exposed by the earthquake can still be found inside a secret compartment in the wall (Secret 9).
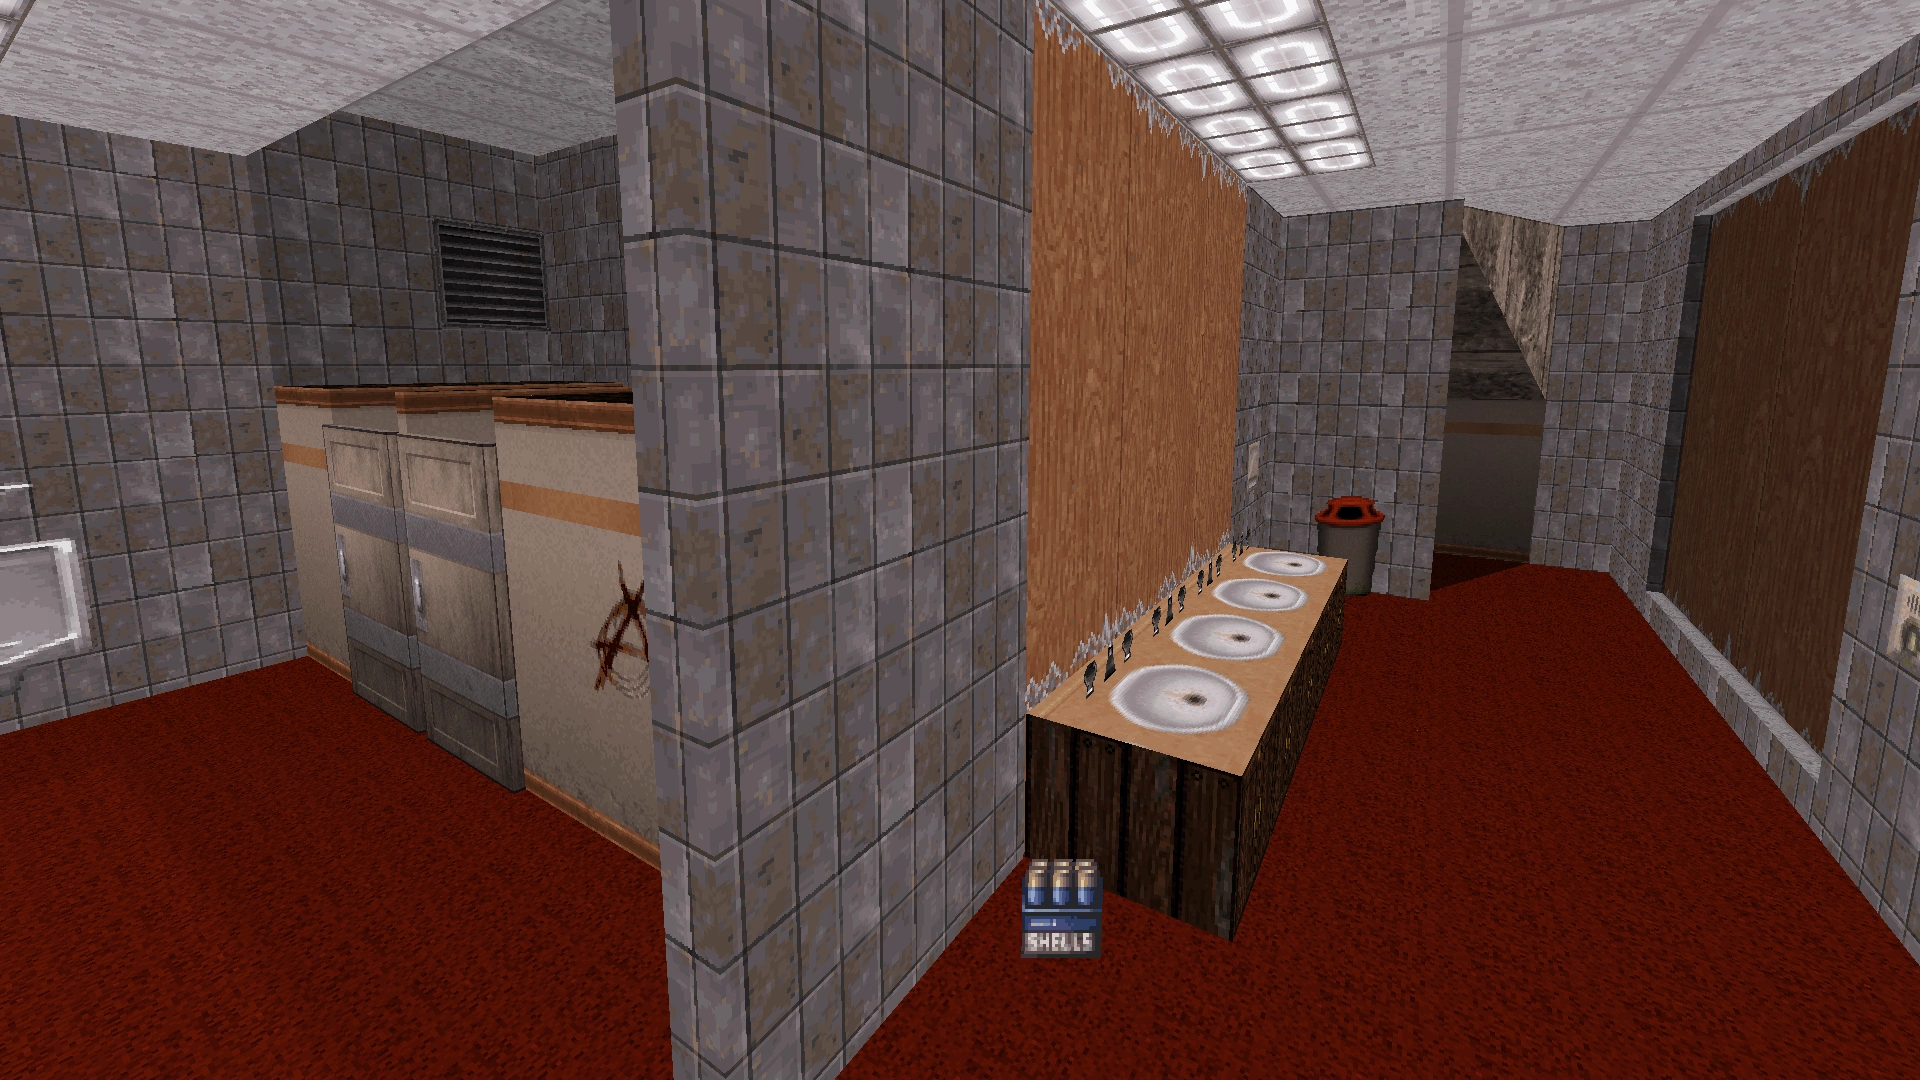
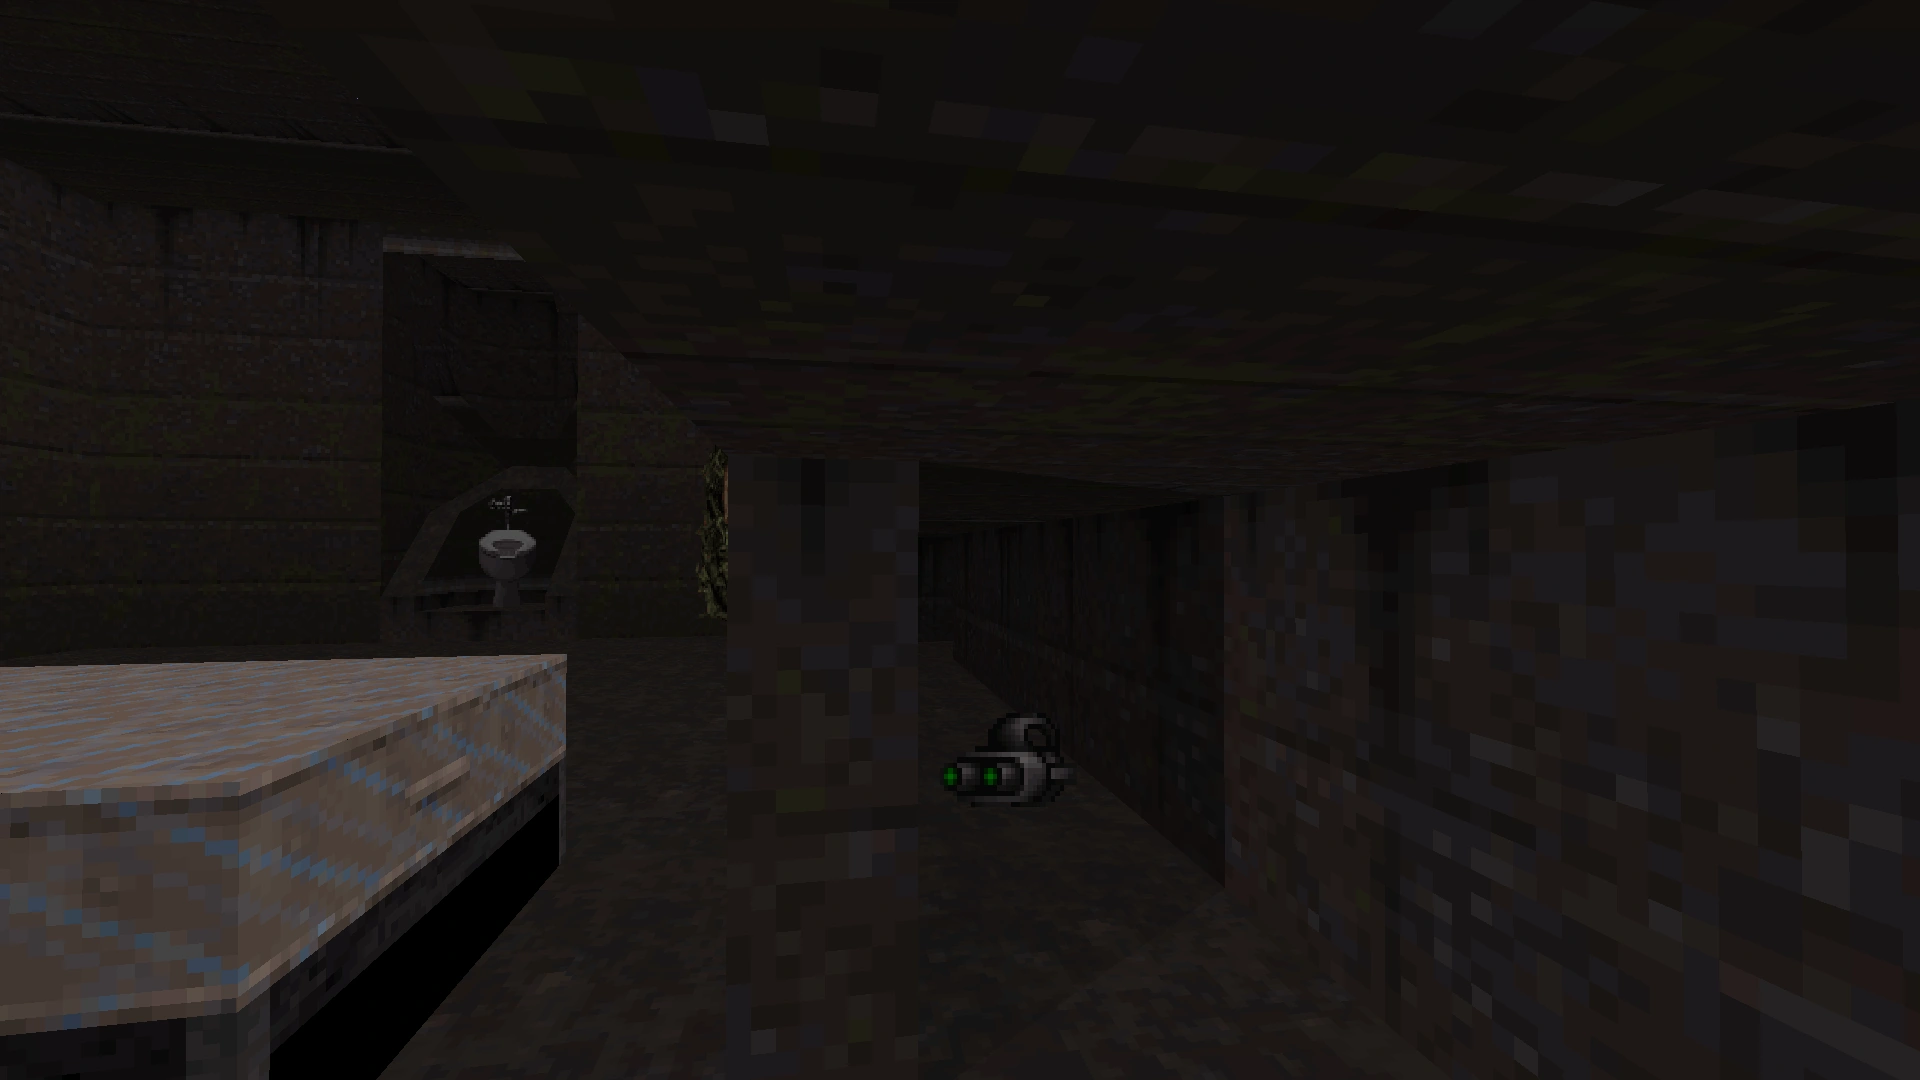
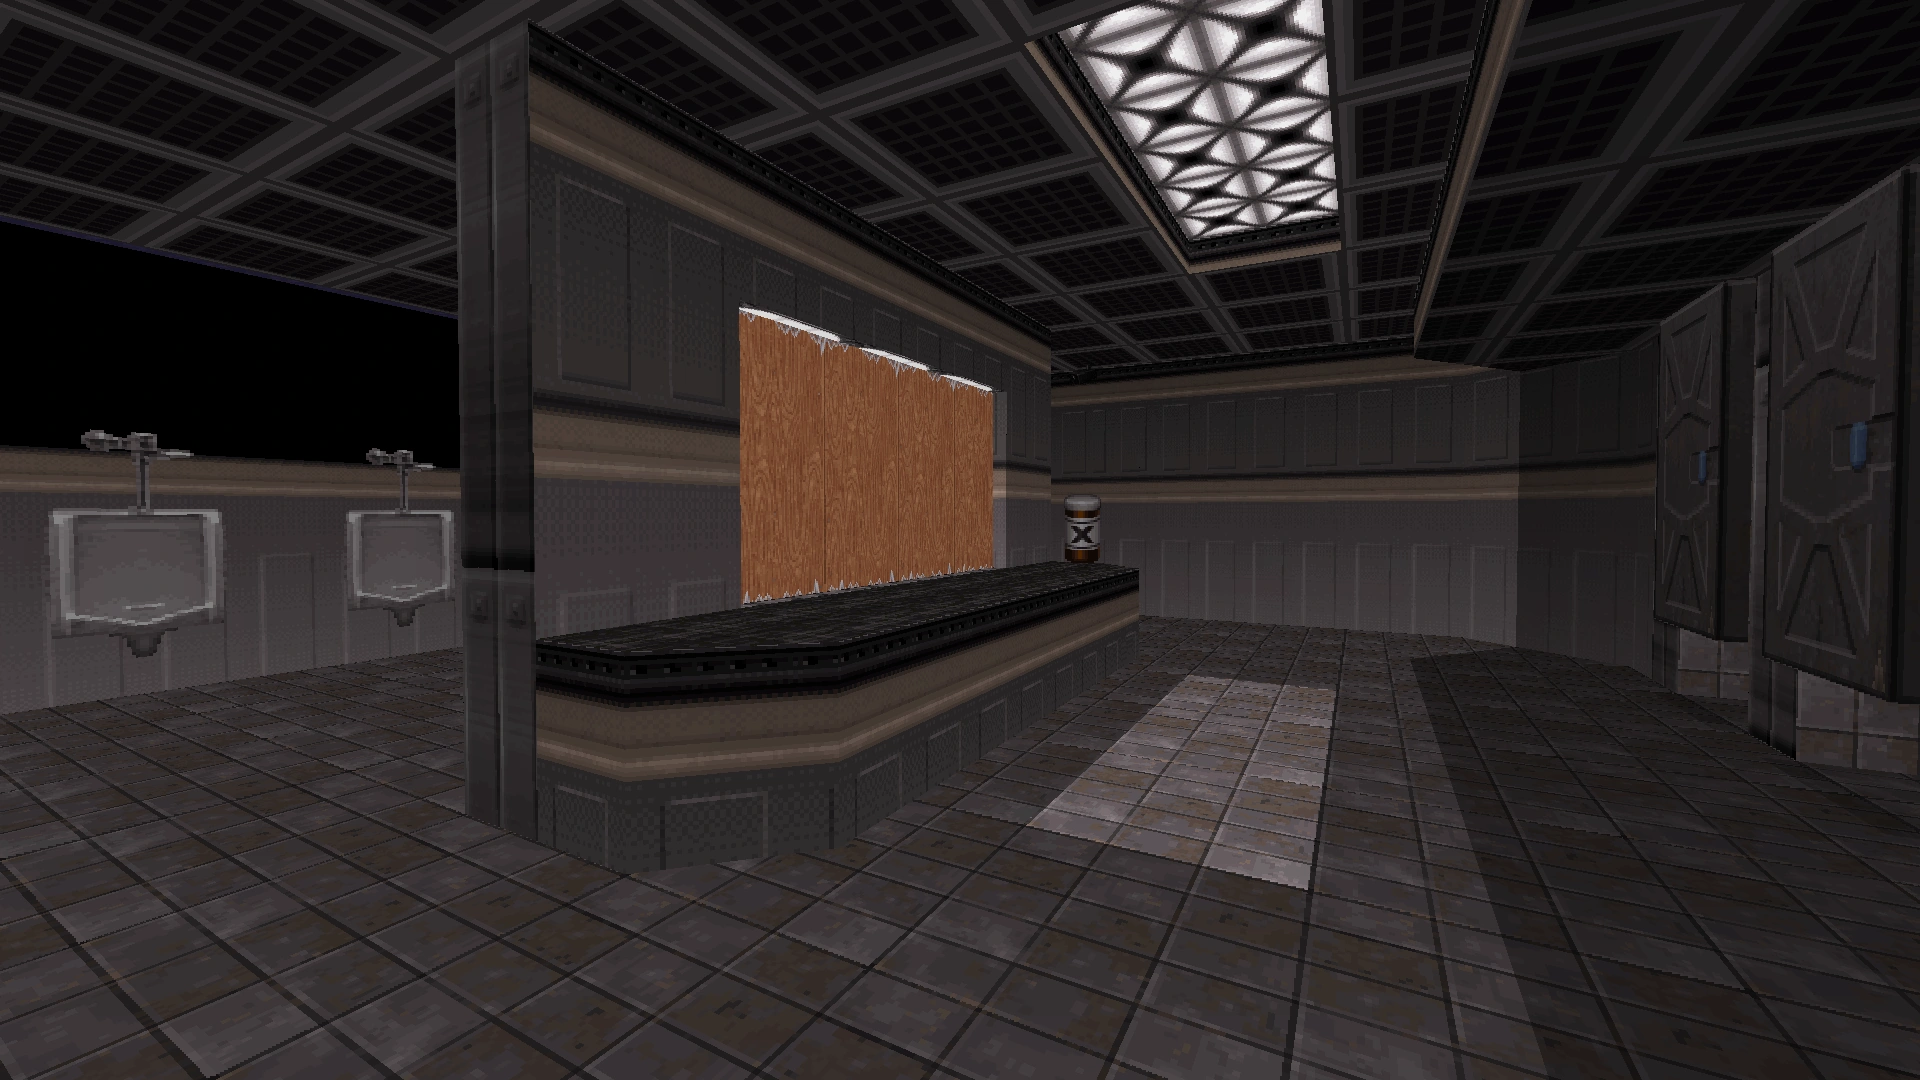
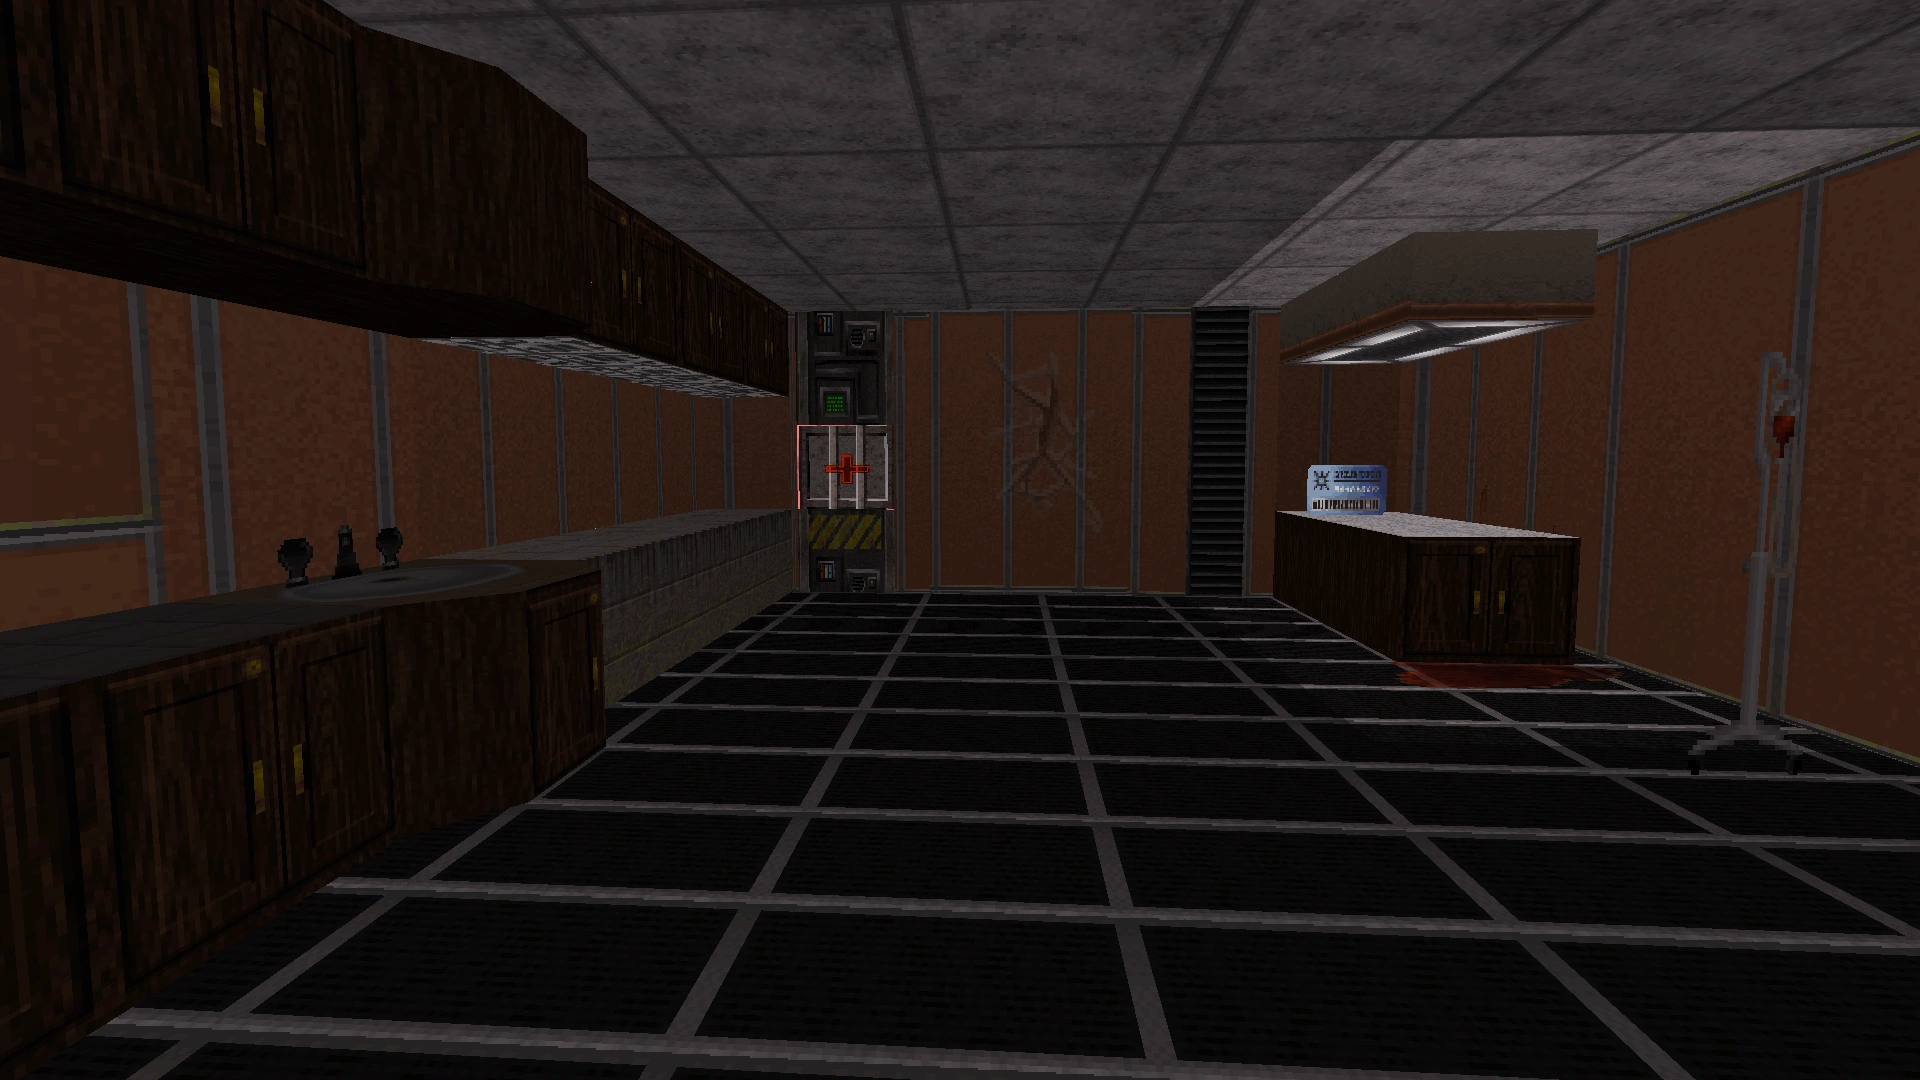
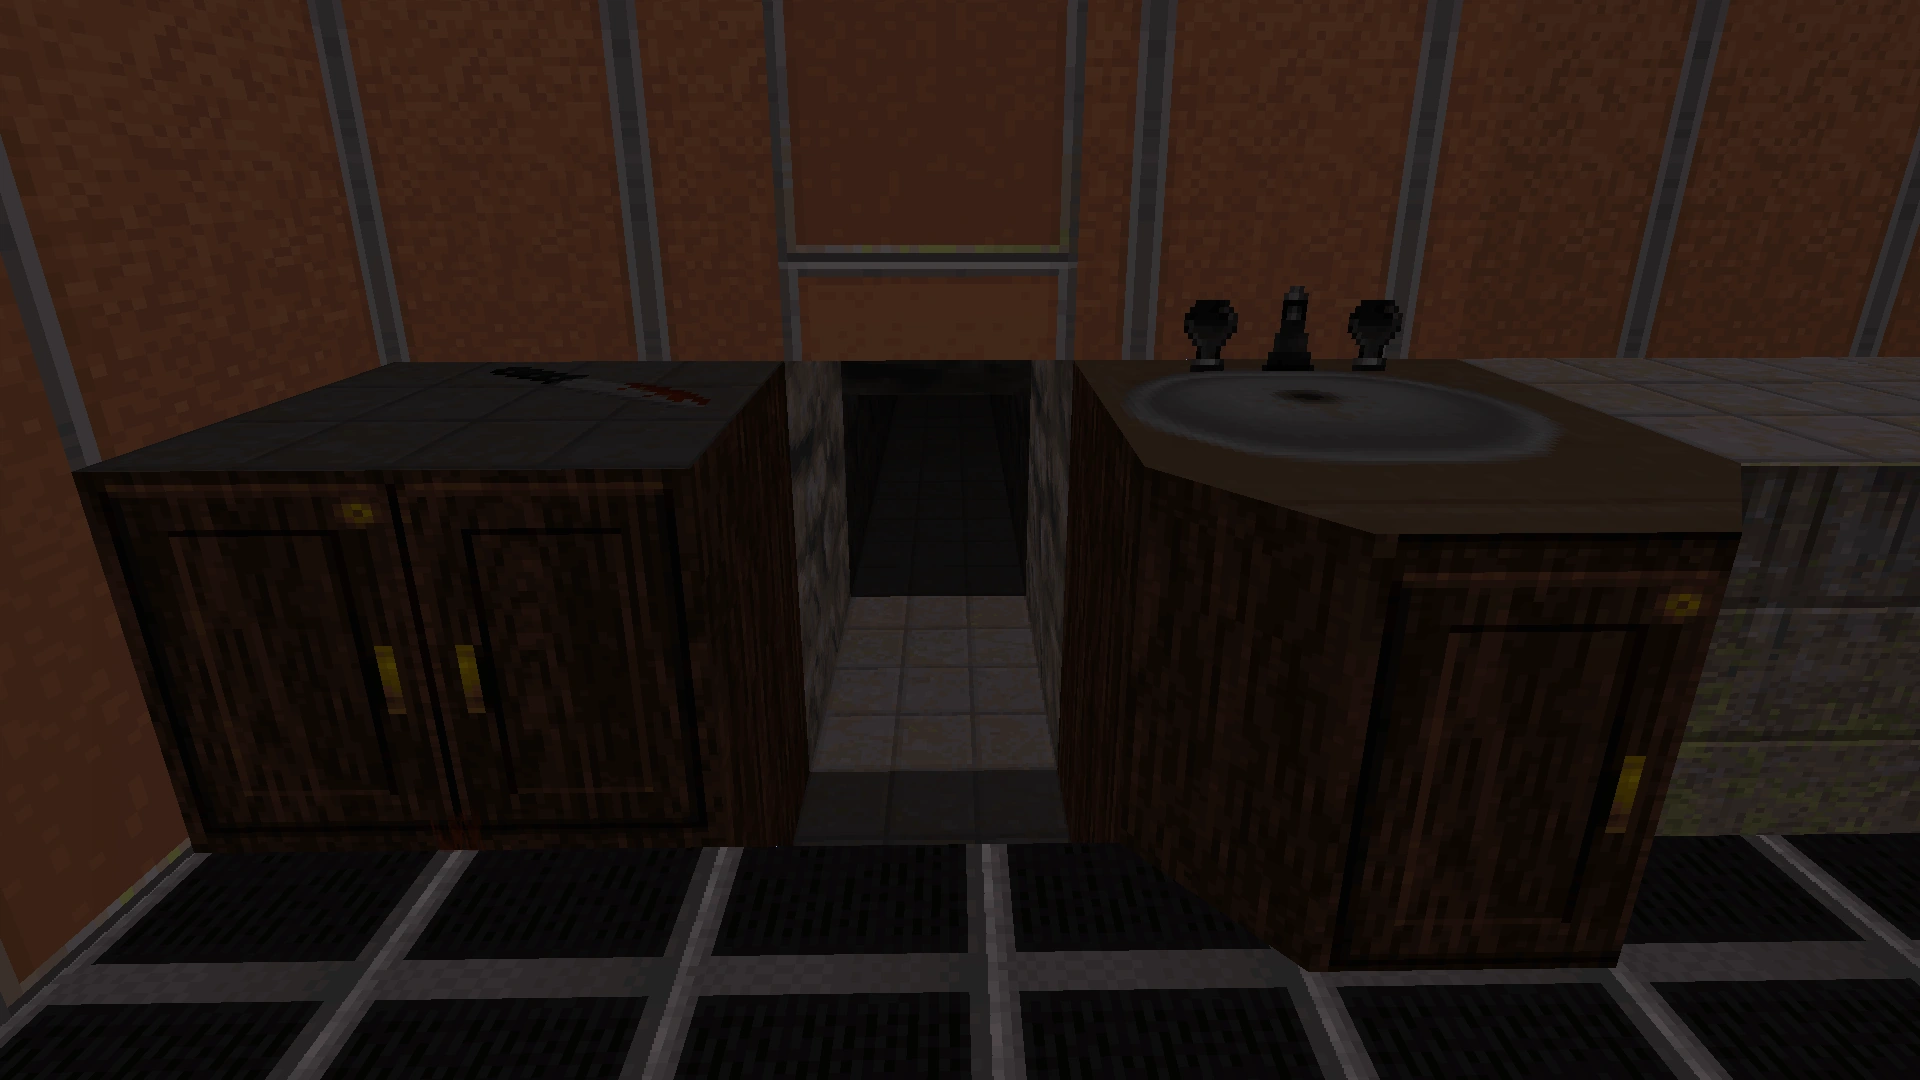
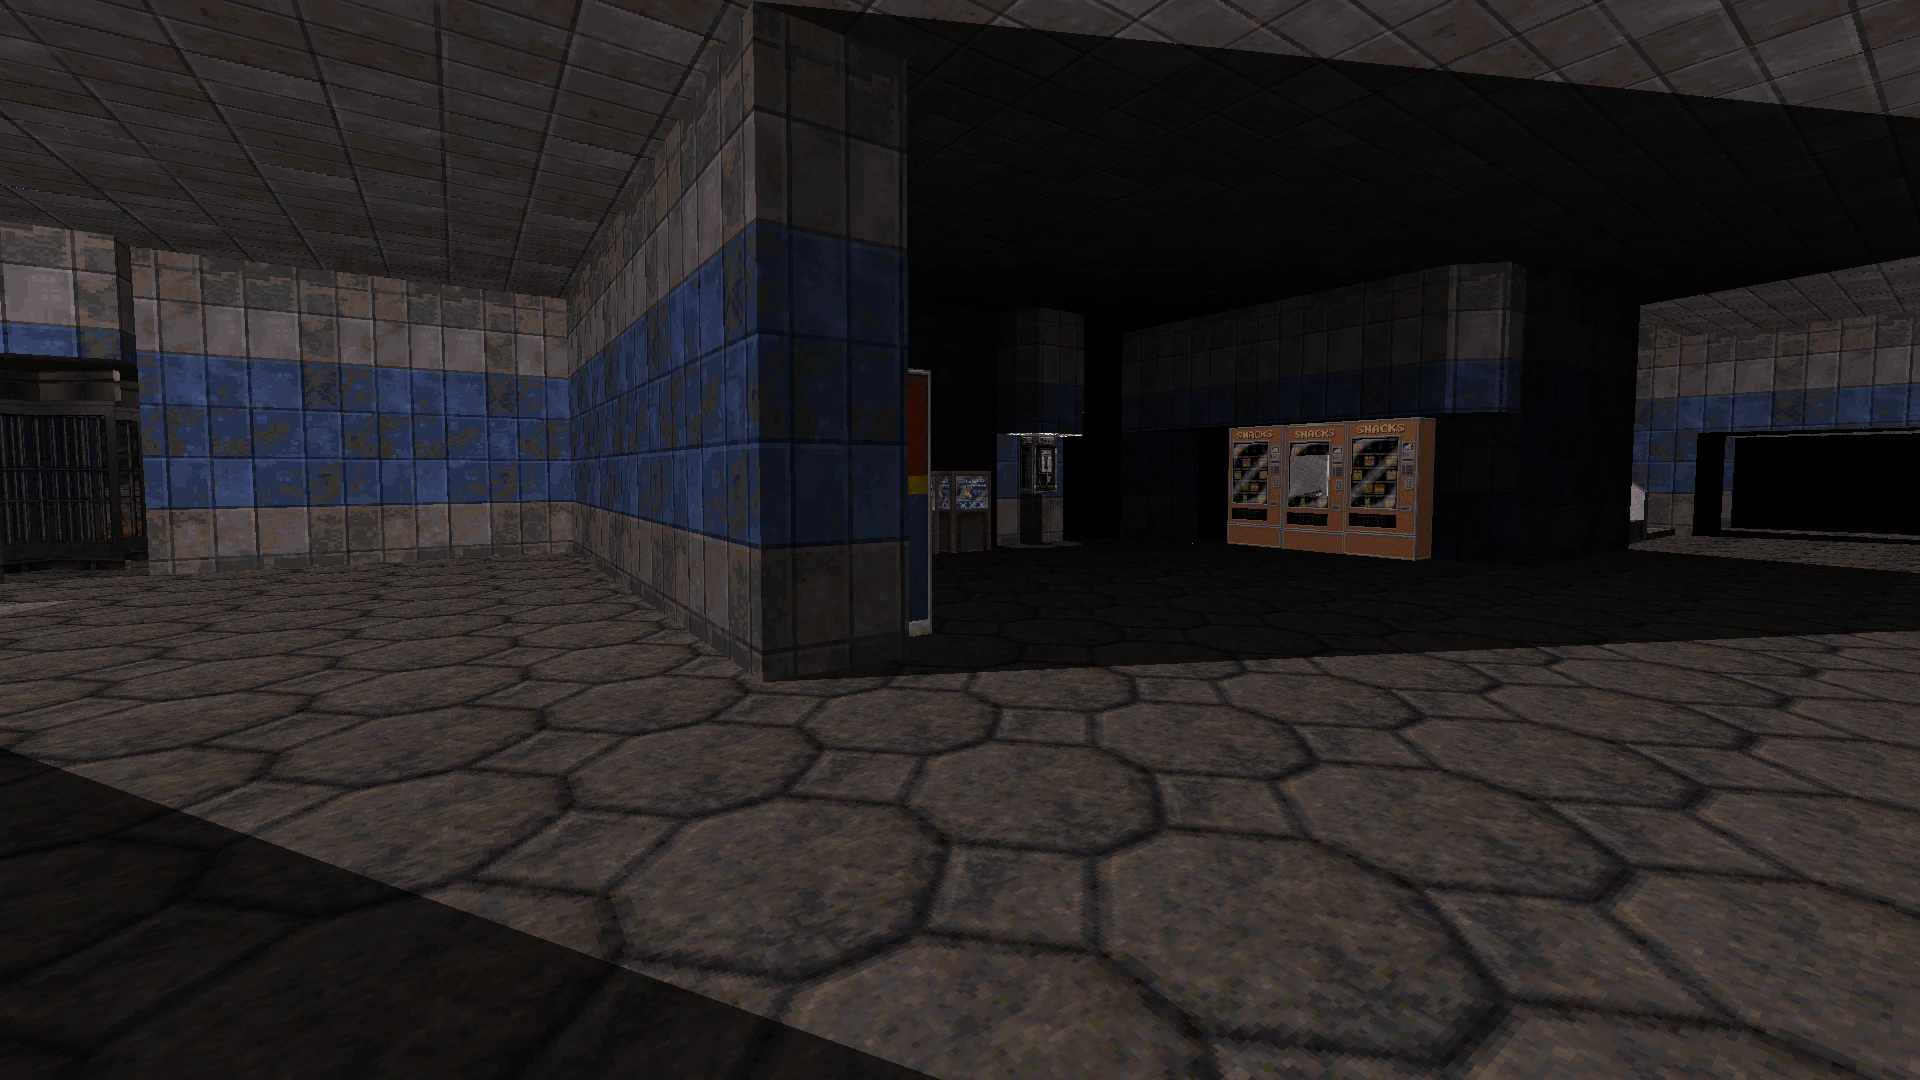
Smaller changes include a remodeling of the concession stand, a complete restructuring of the bathroom area, and a reordering of the game machines in the arcade.


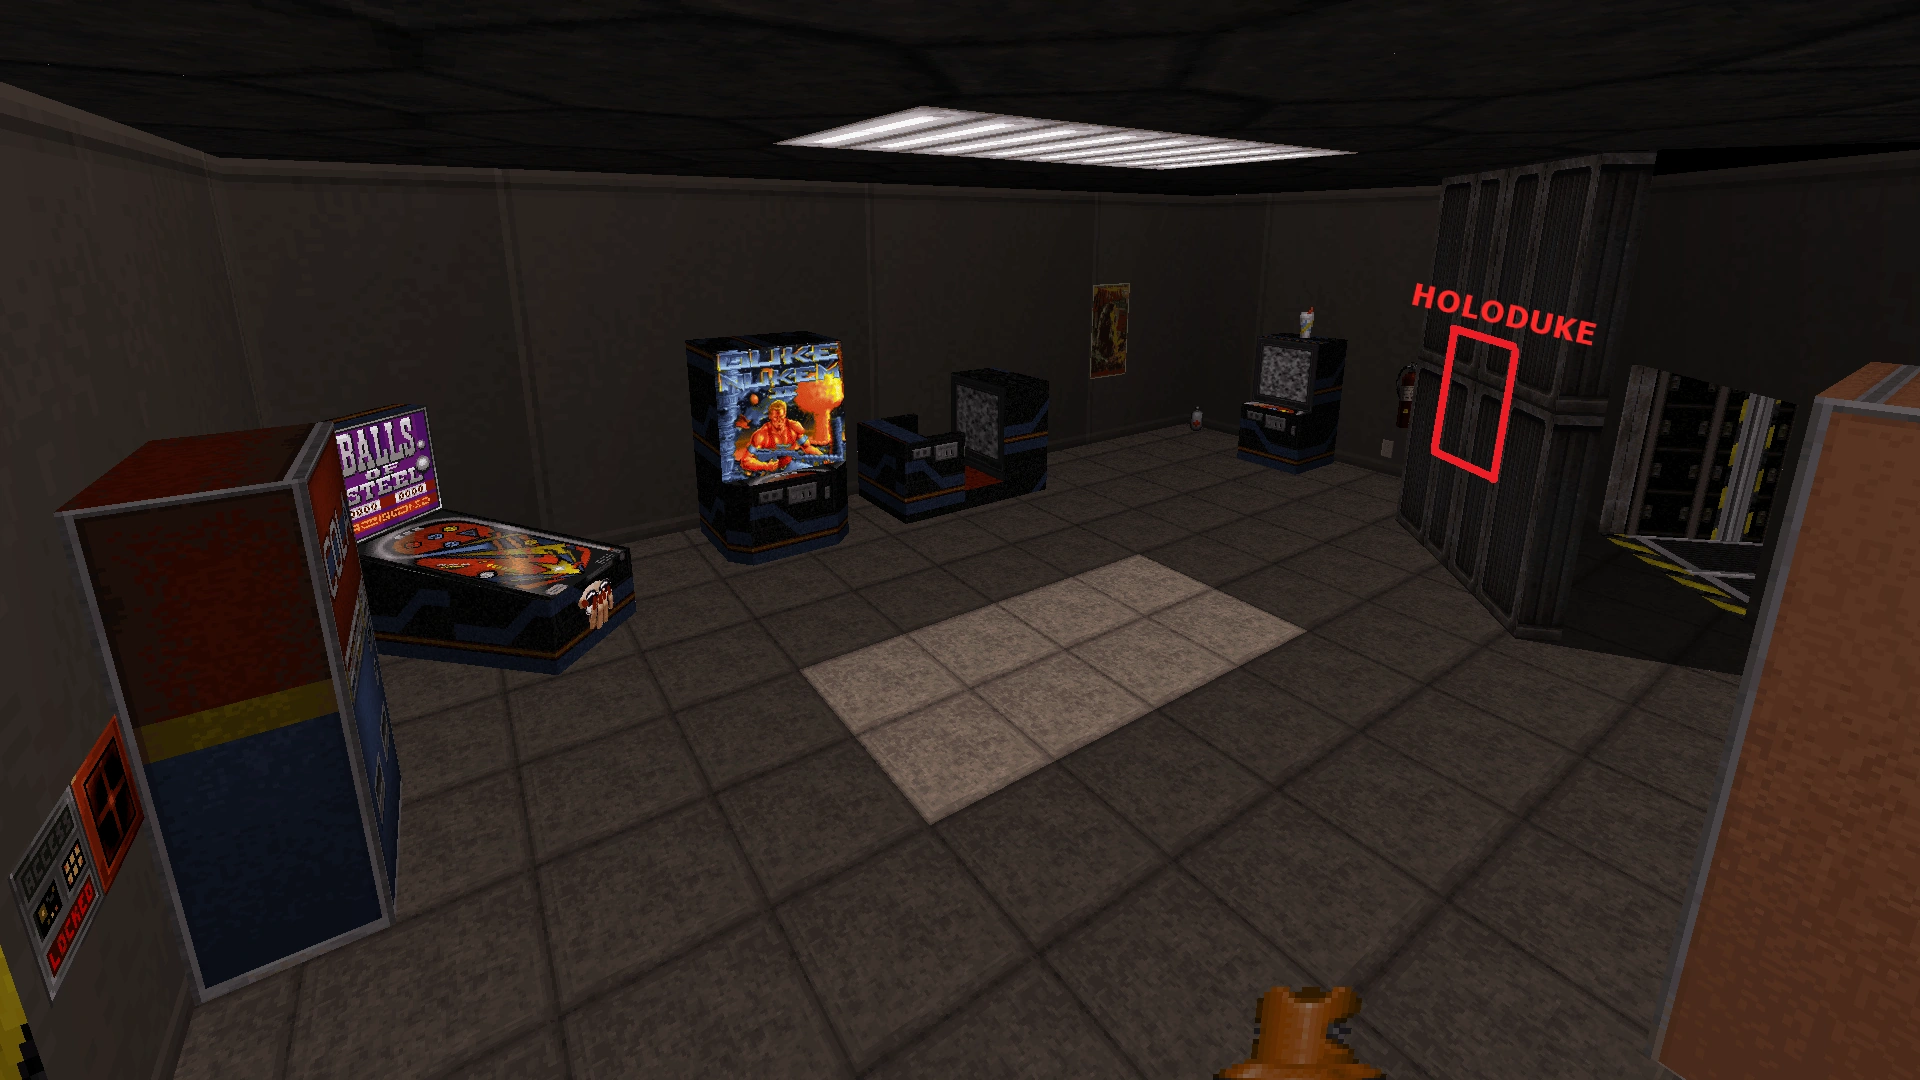
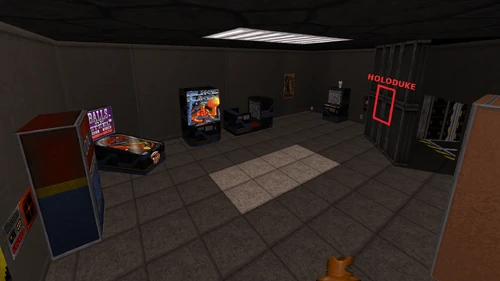
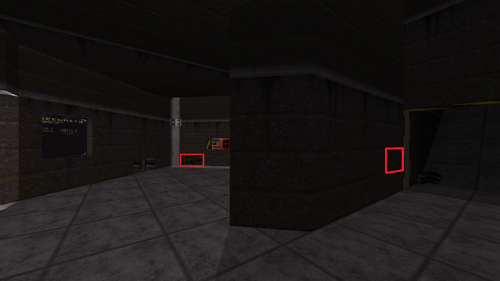
Reorganized arcade. The hidden Holoduke has been moved to the location highlighted in red.
Lastly, many of the secret areas on this level have been modified. Follow the link to see more.
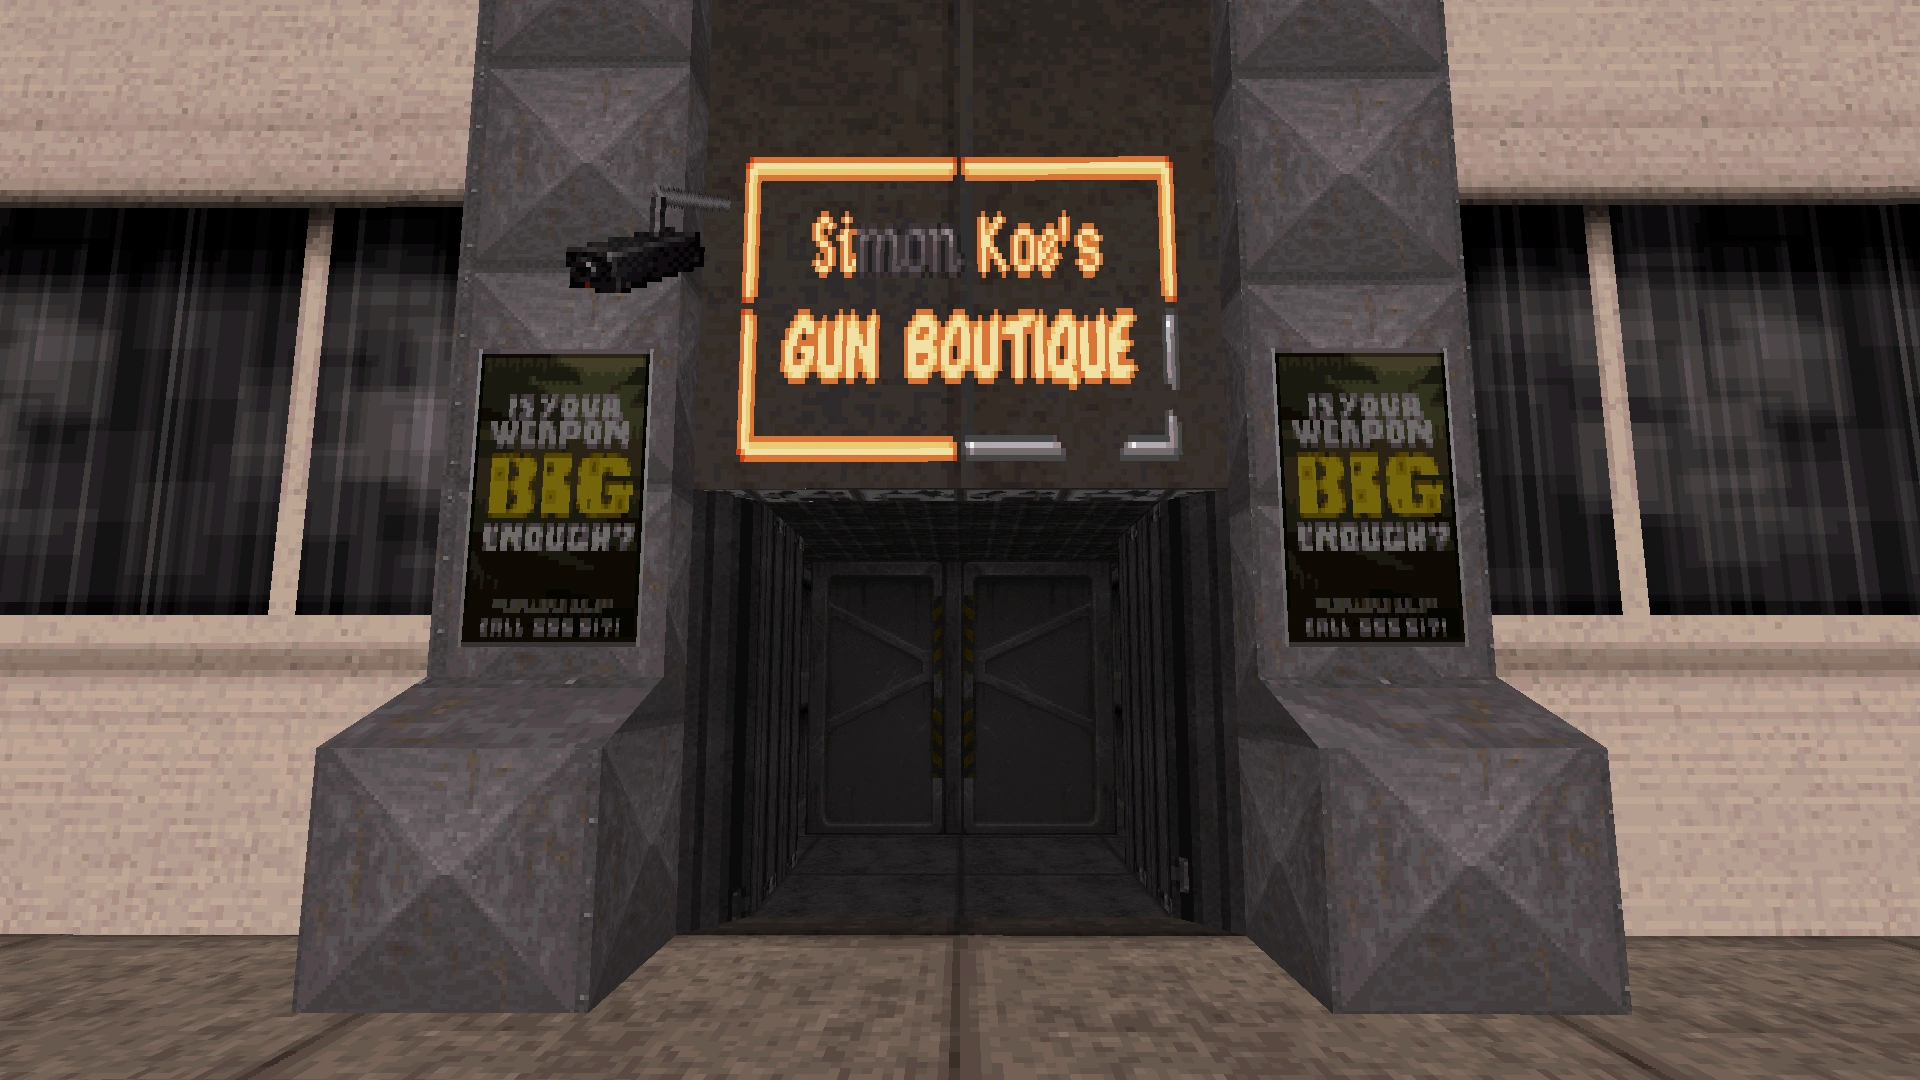
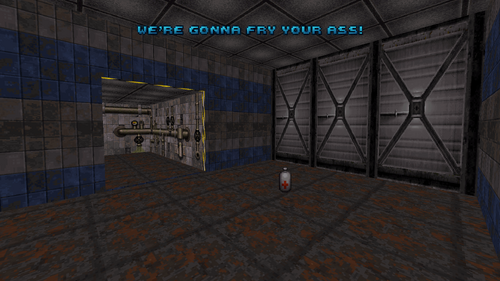
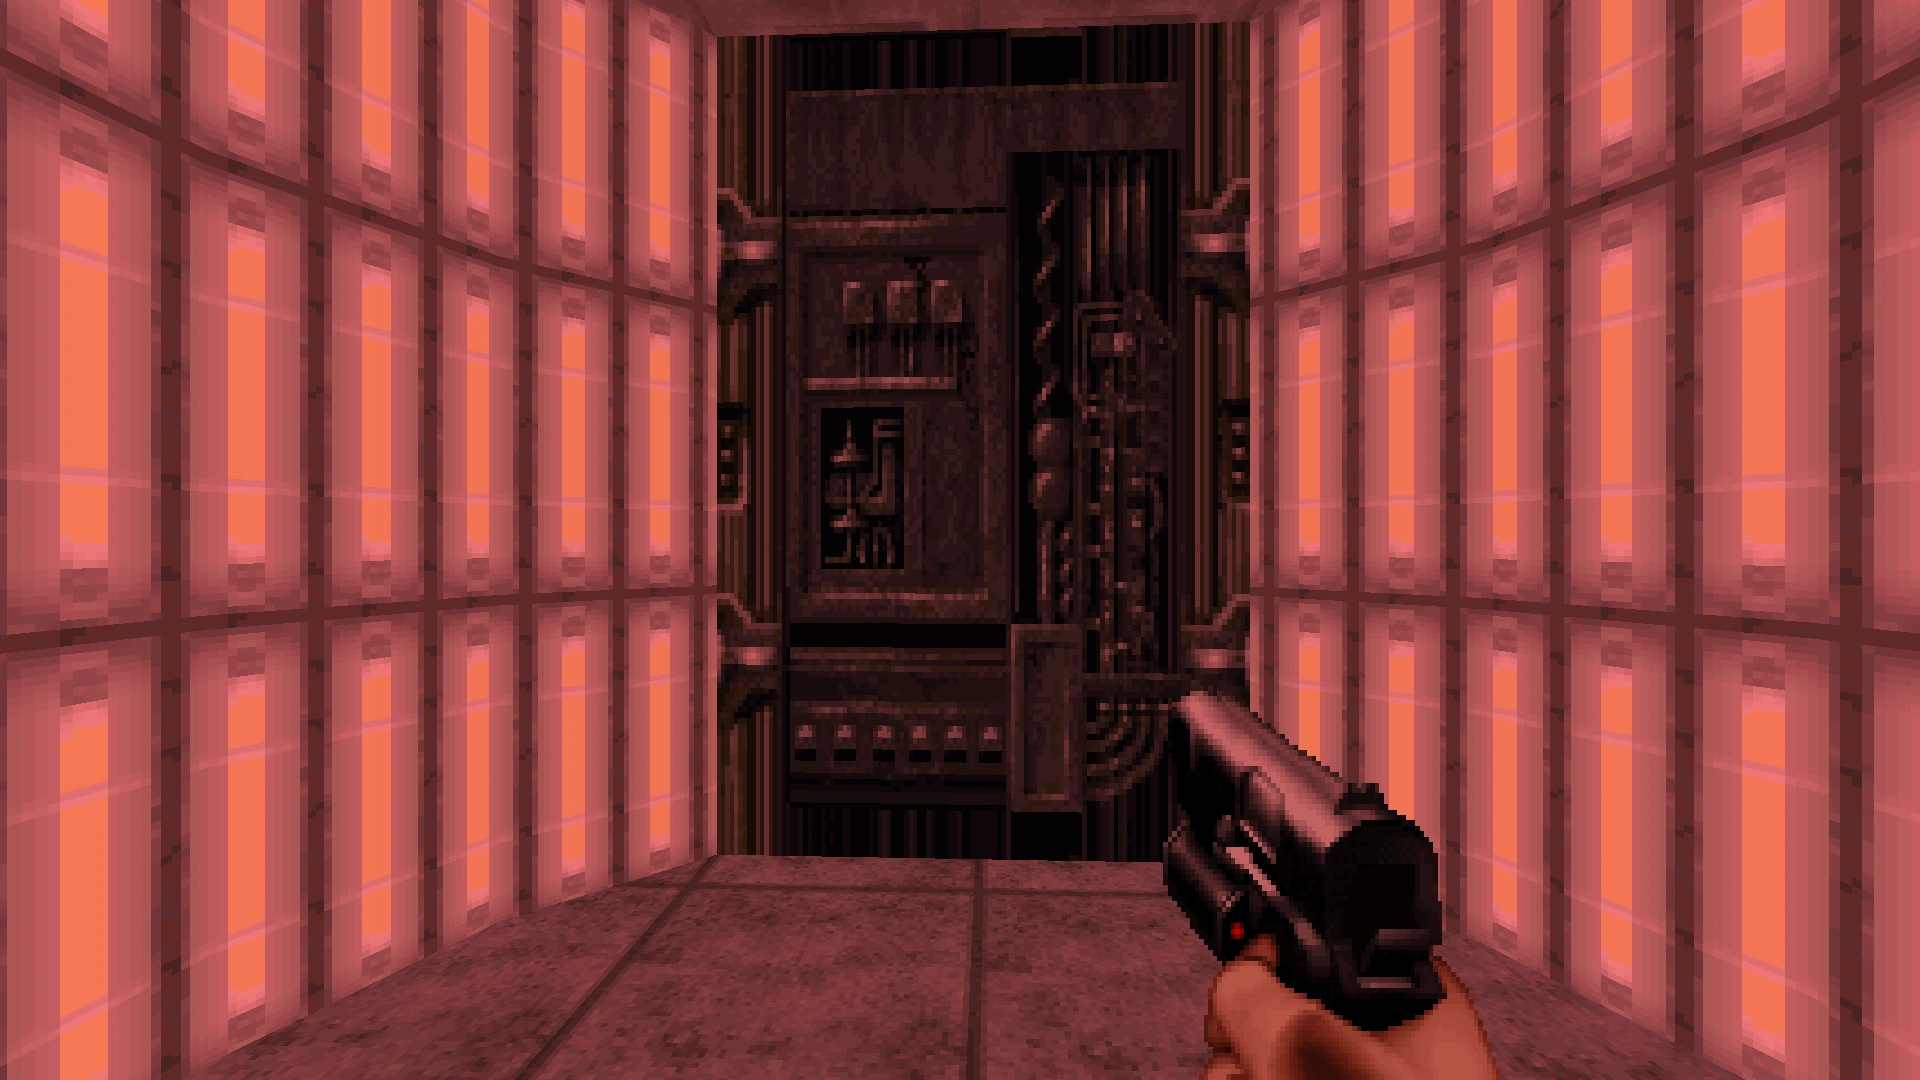
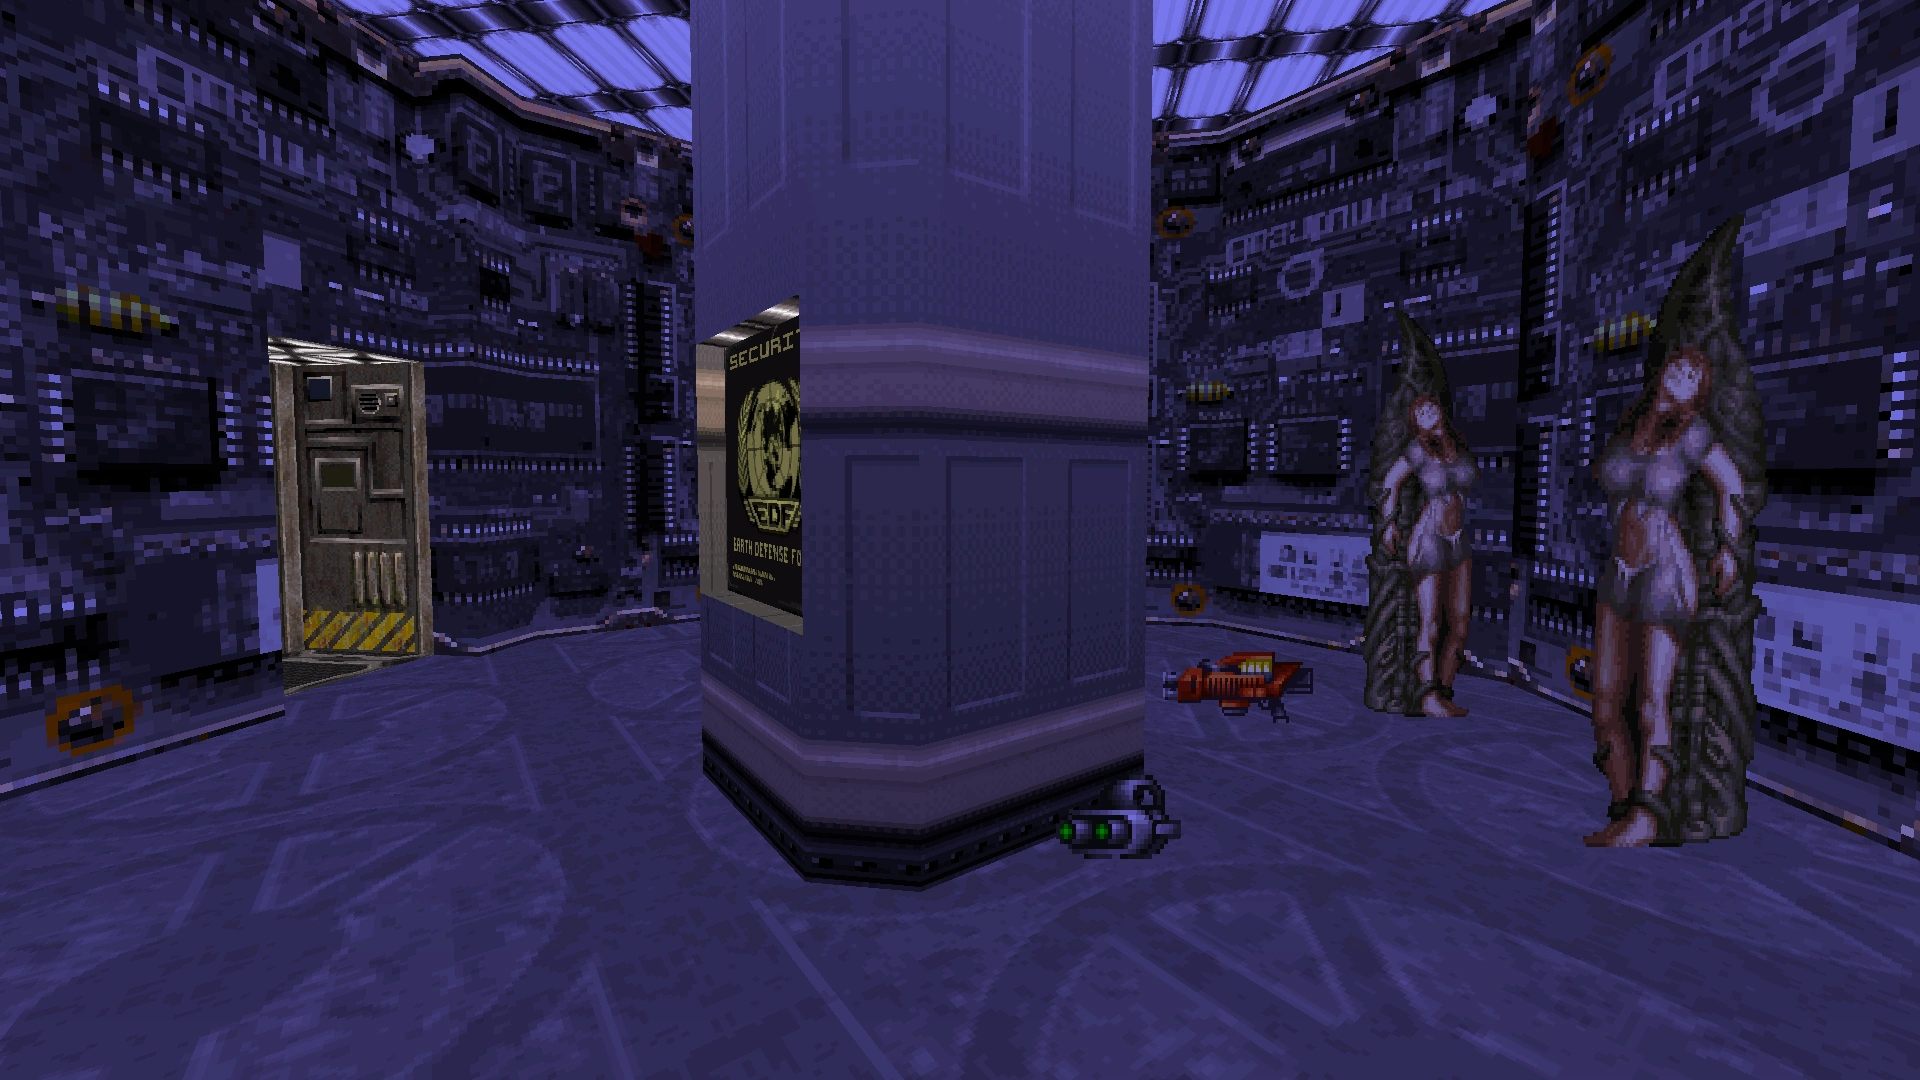
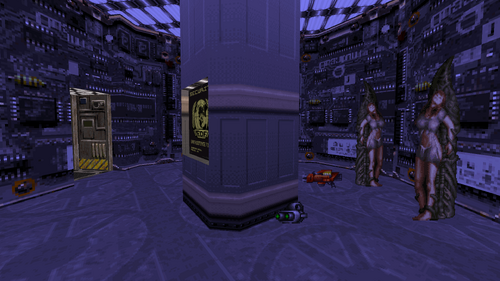
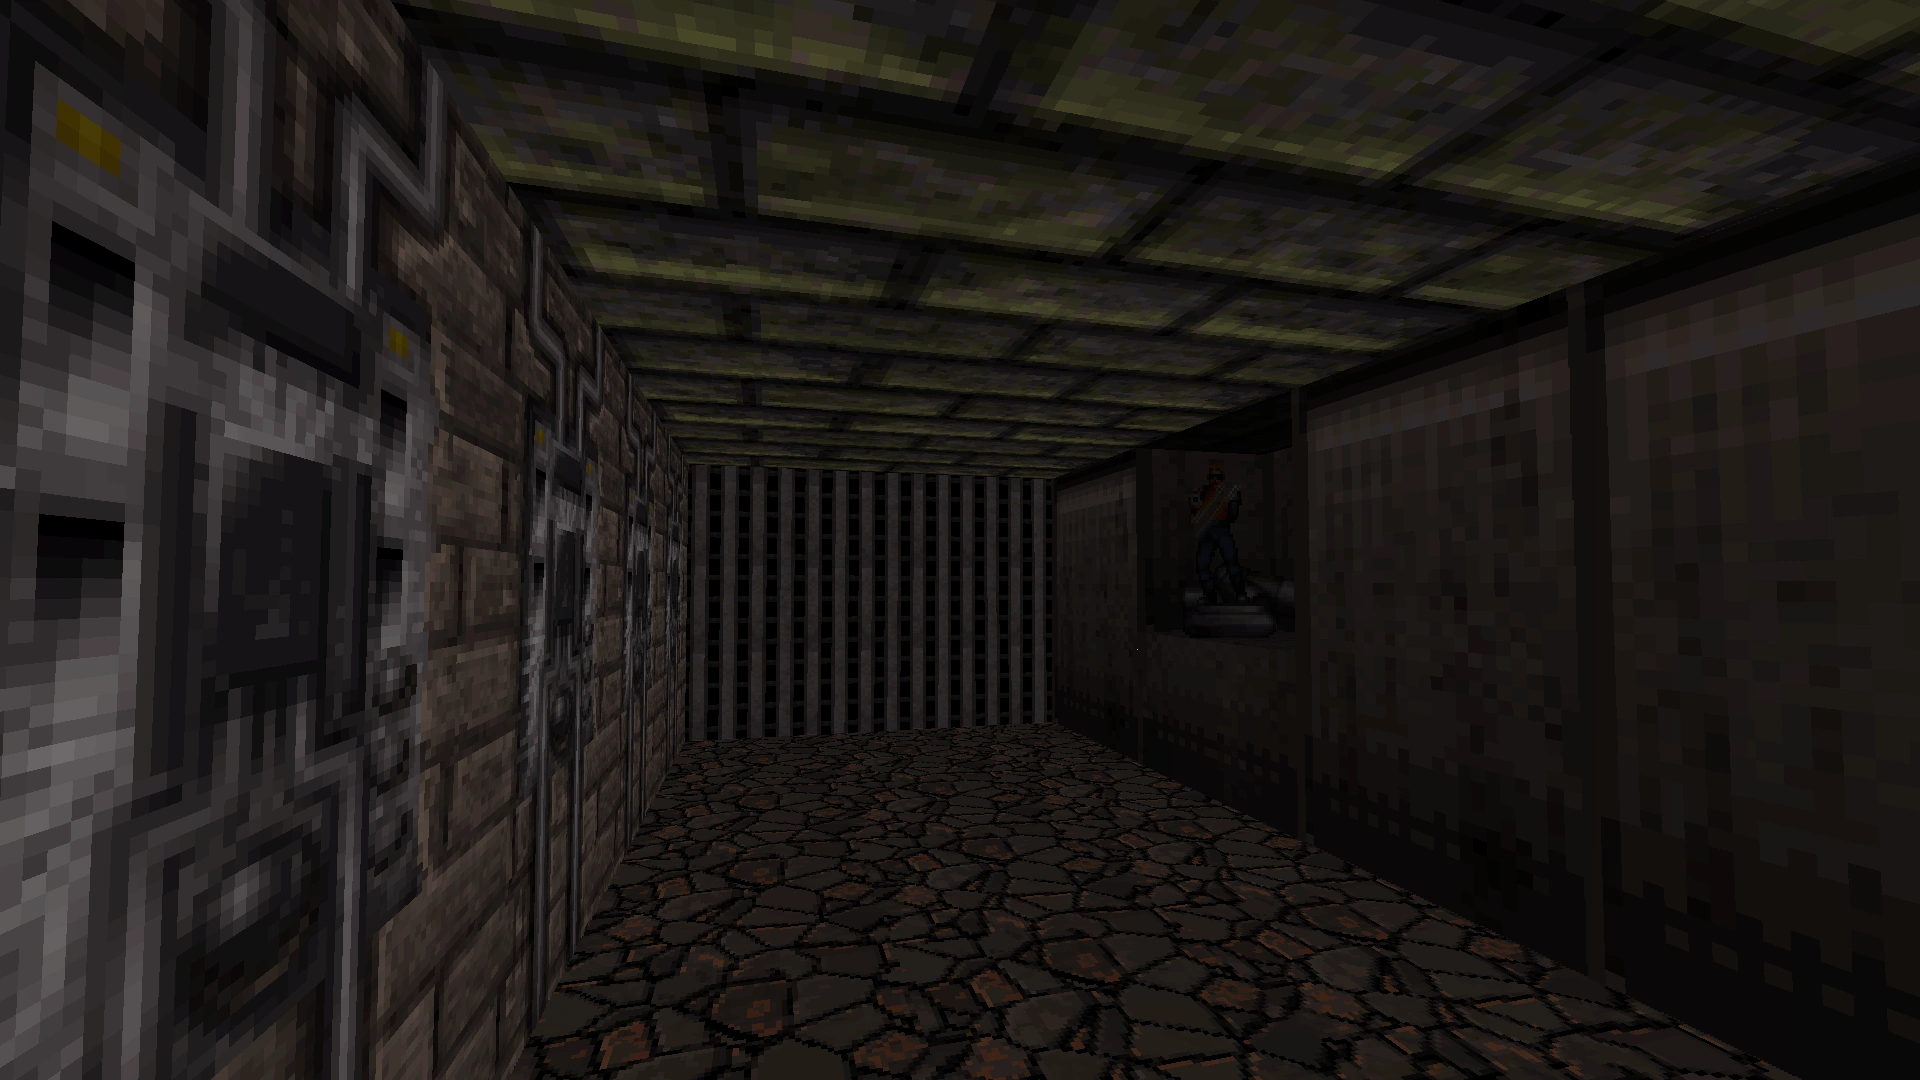
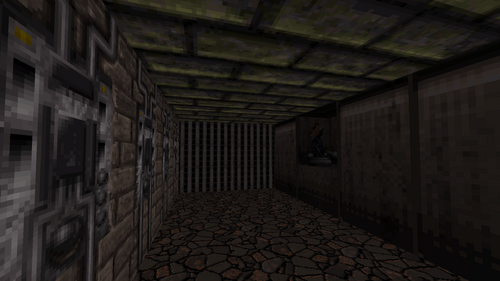
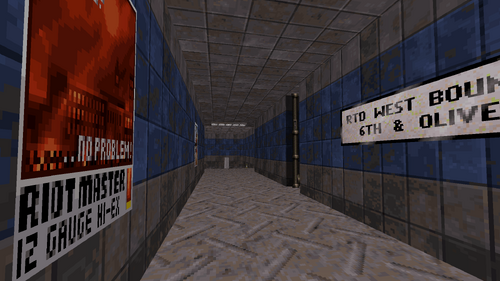
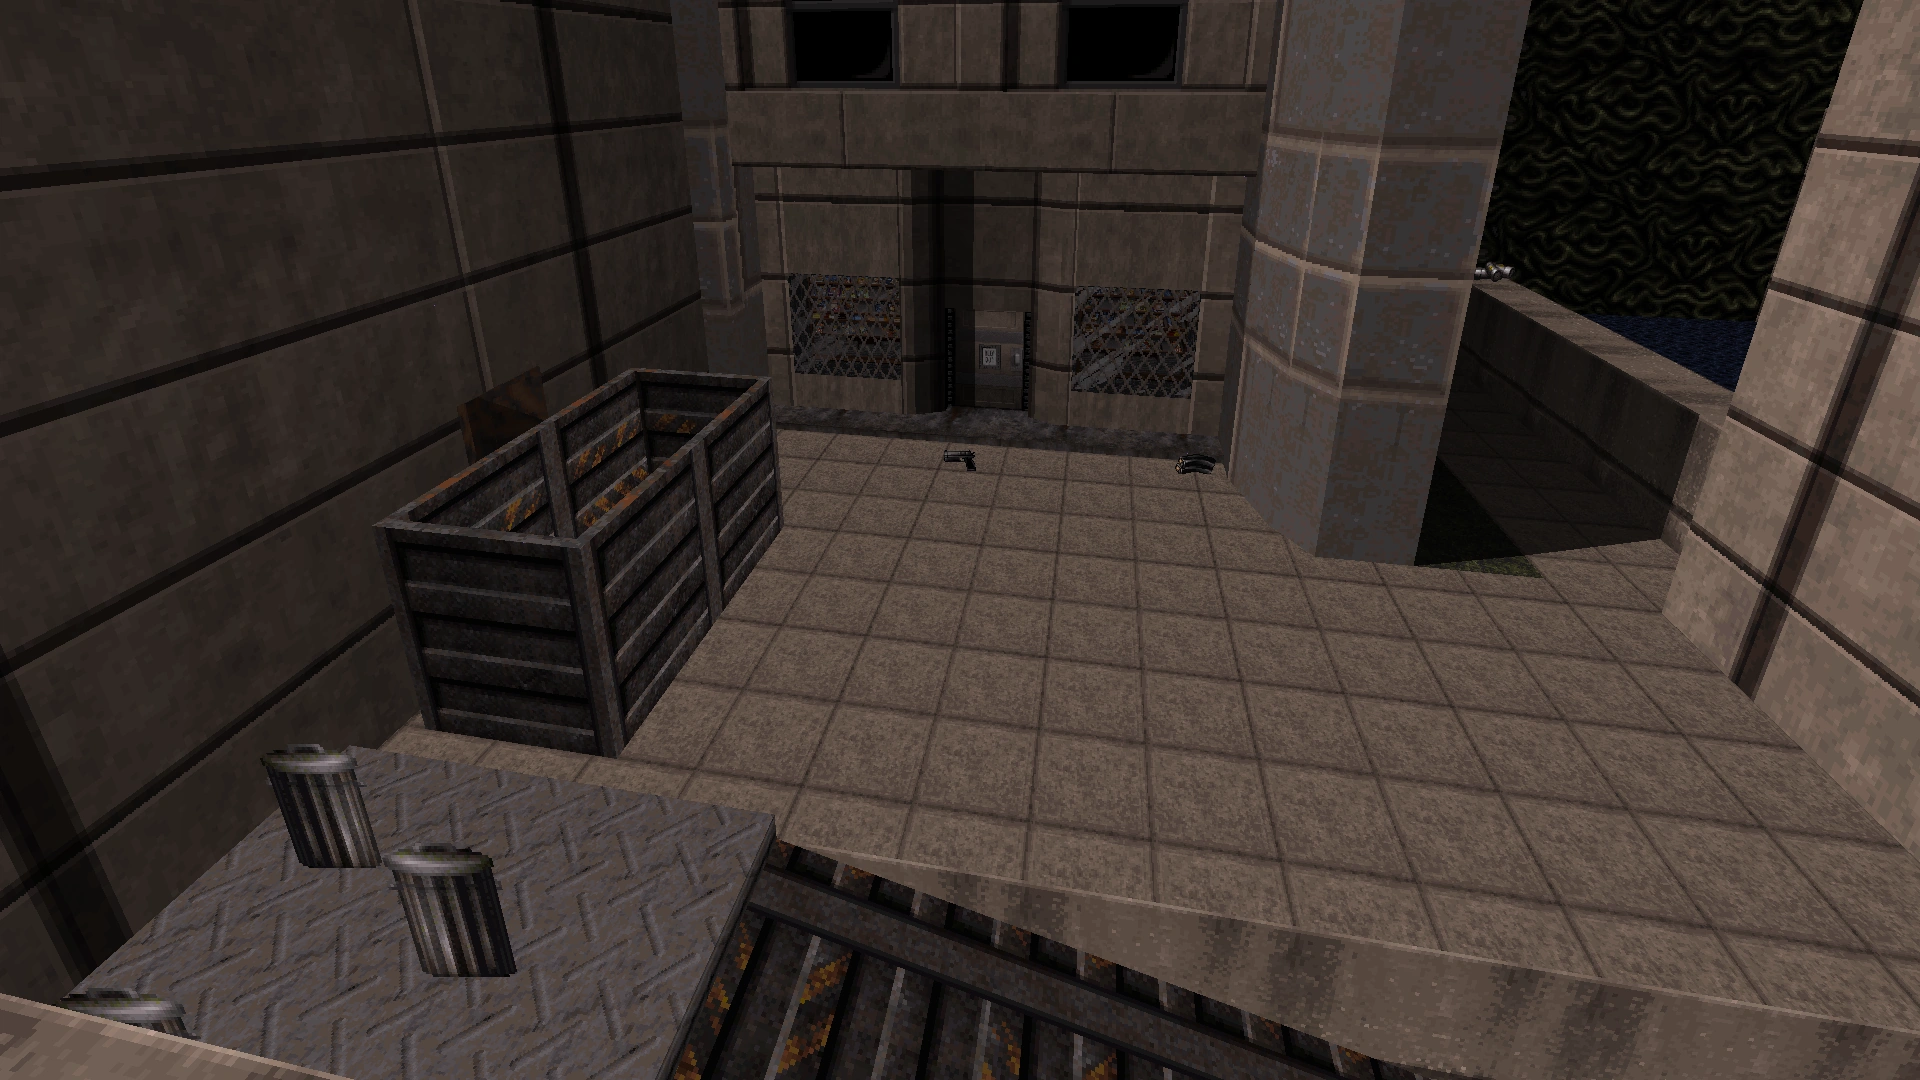
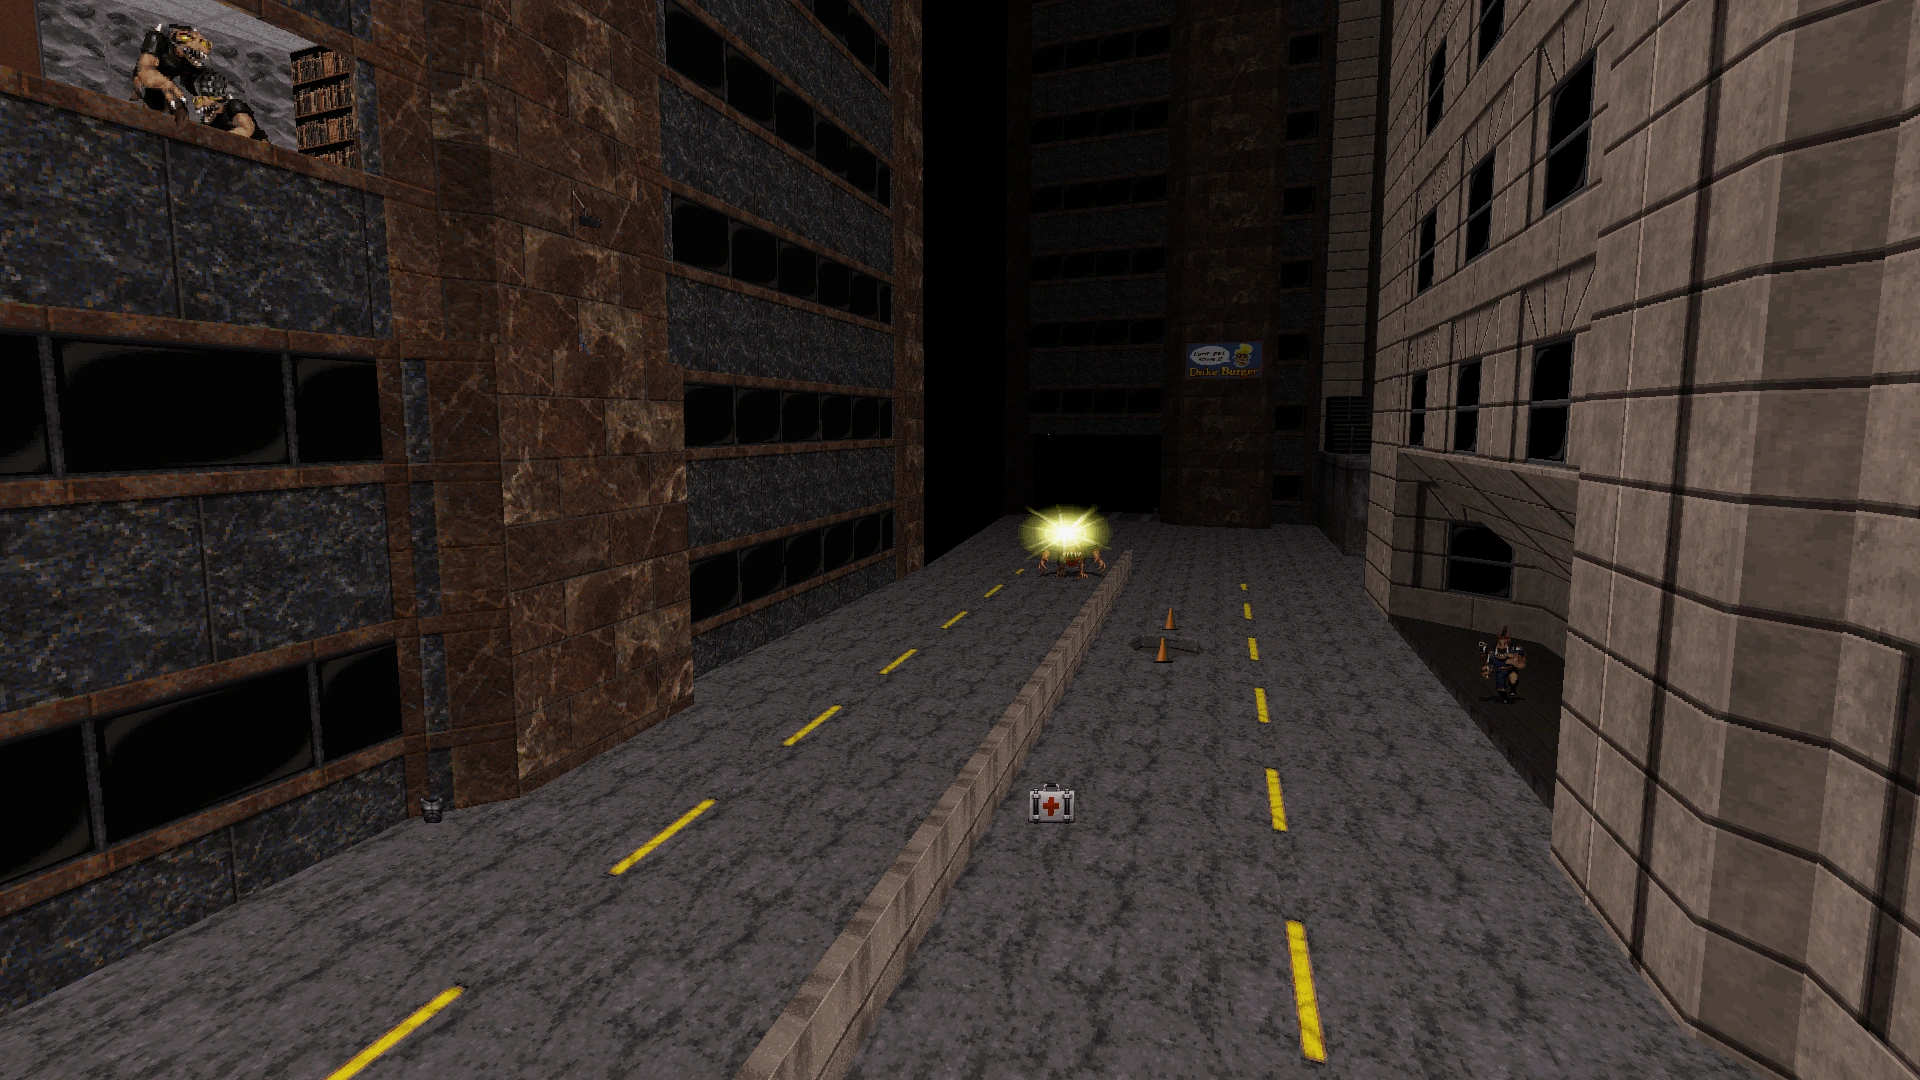
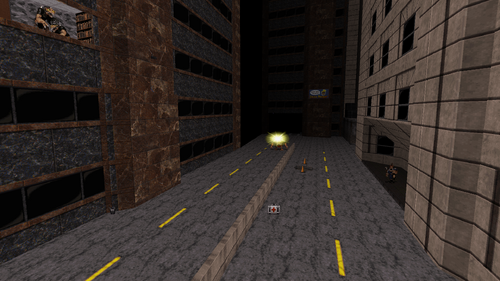
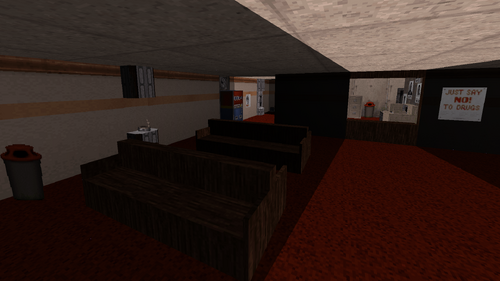
Level 1: Gun Crazy
Red Light District has been renamed "Gun Crazy" and has been significantly altered to satisfy Nintendo's adult content standards. The level gets its name from the fact that the pornography store has been converted to a gun store.

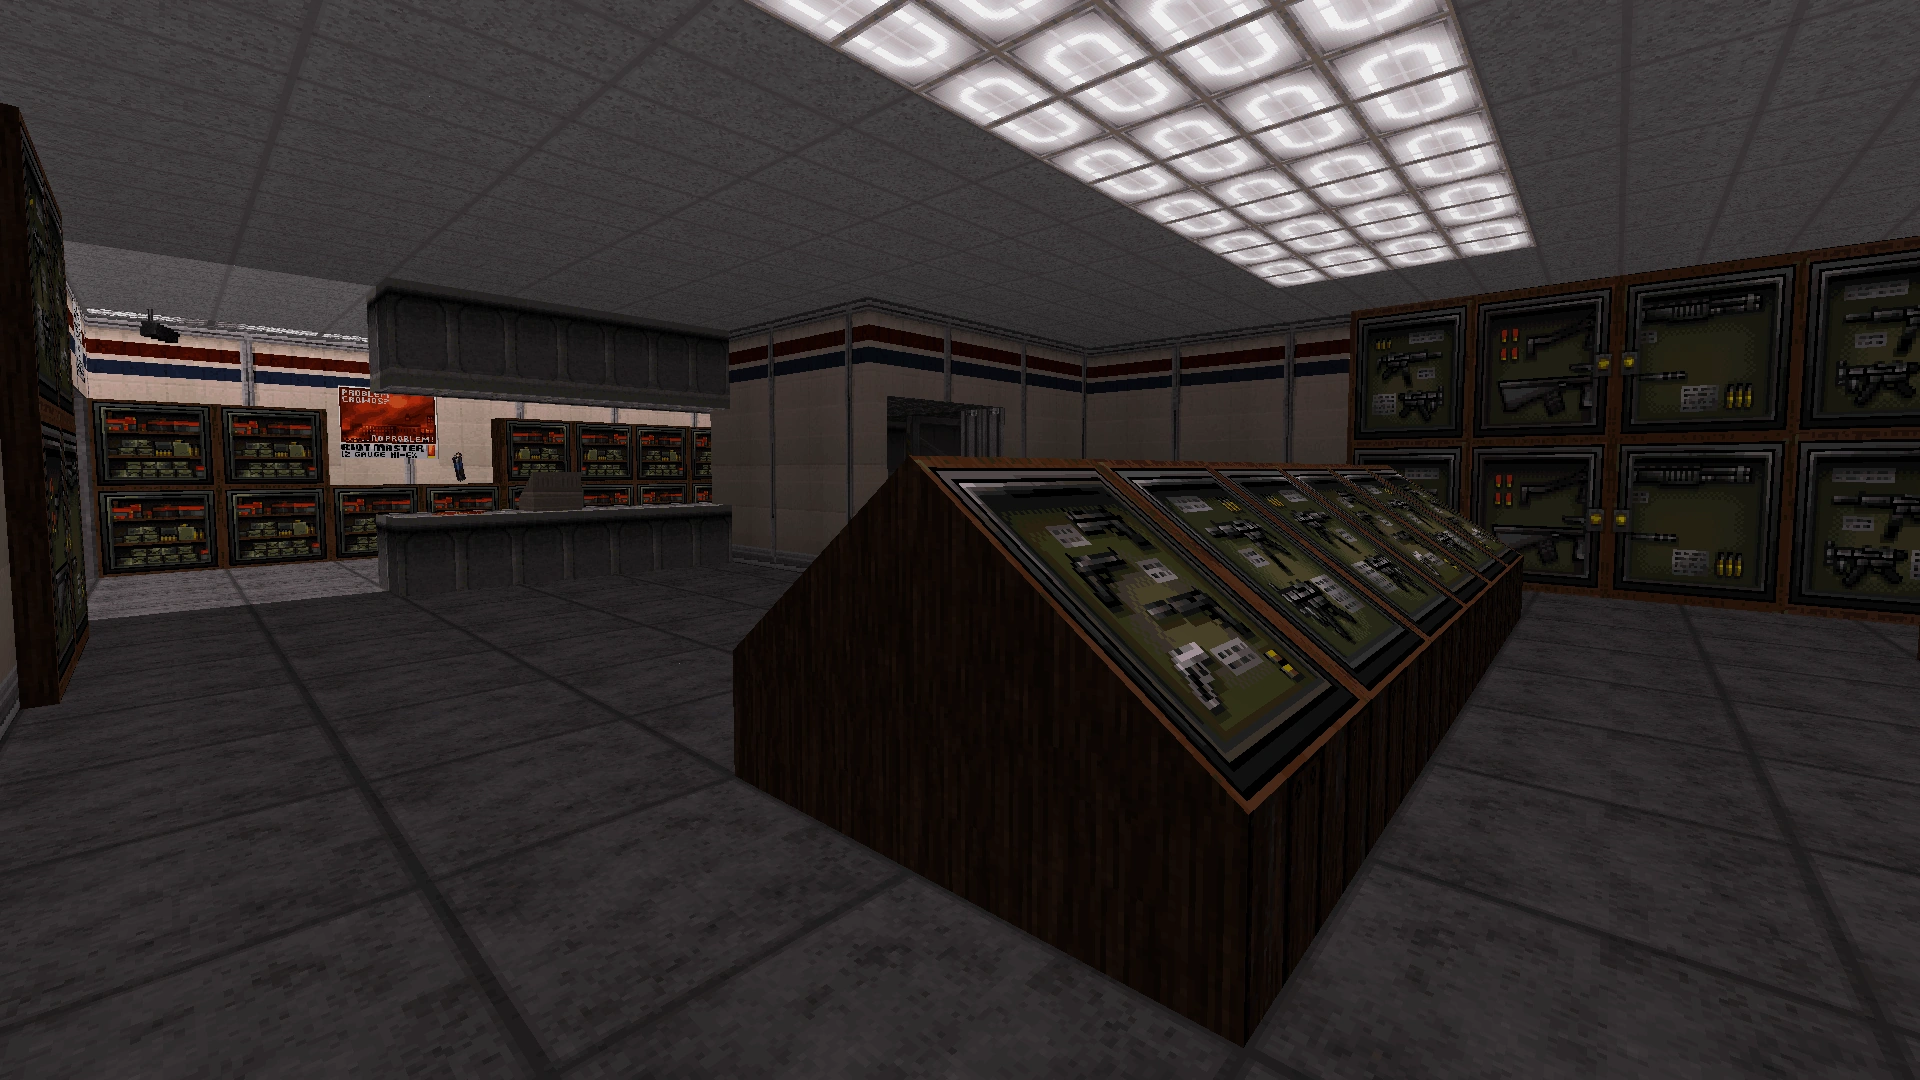
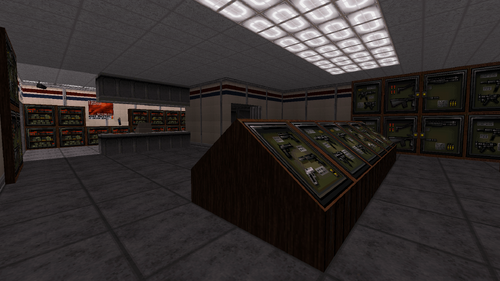


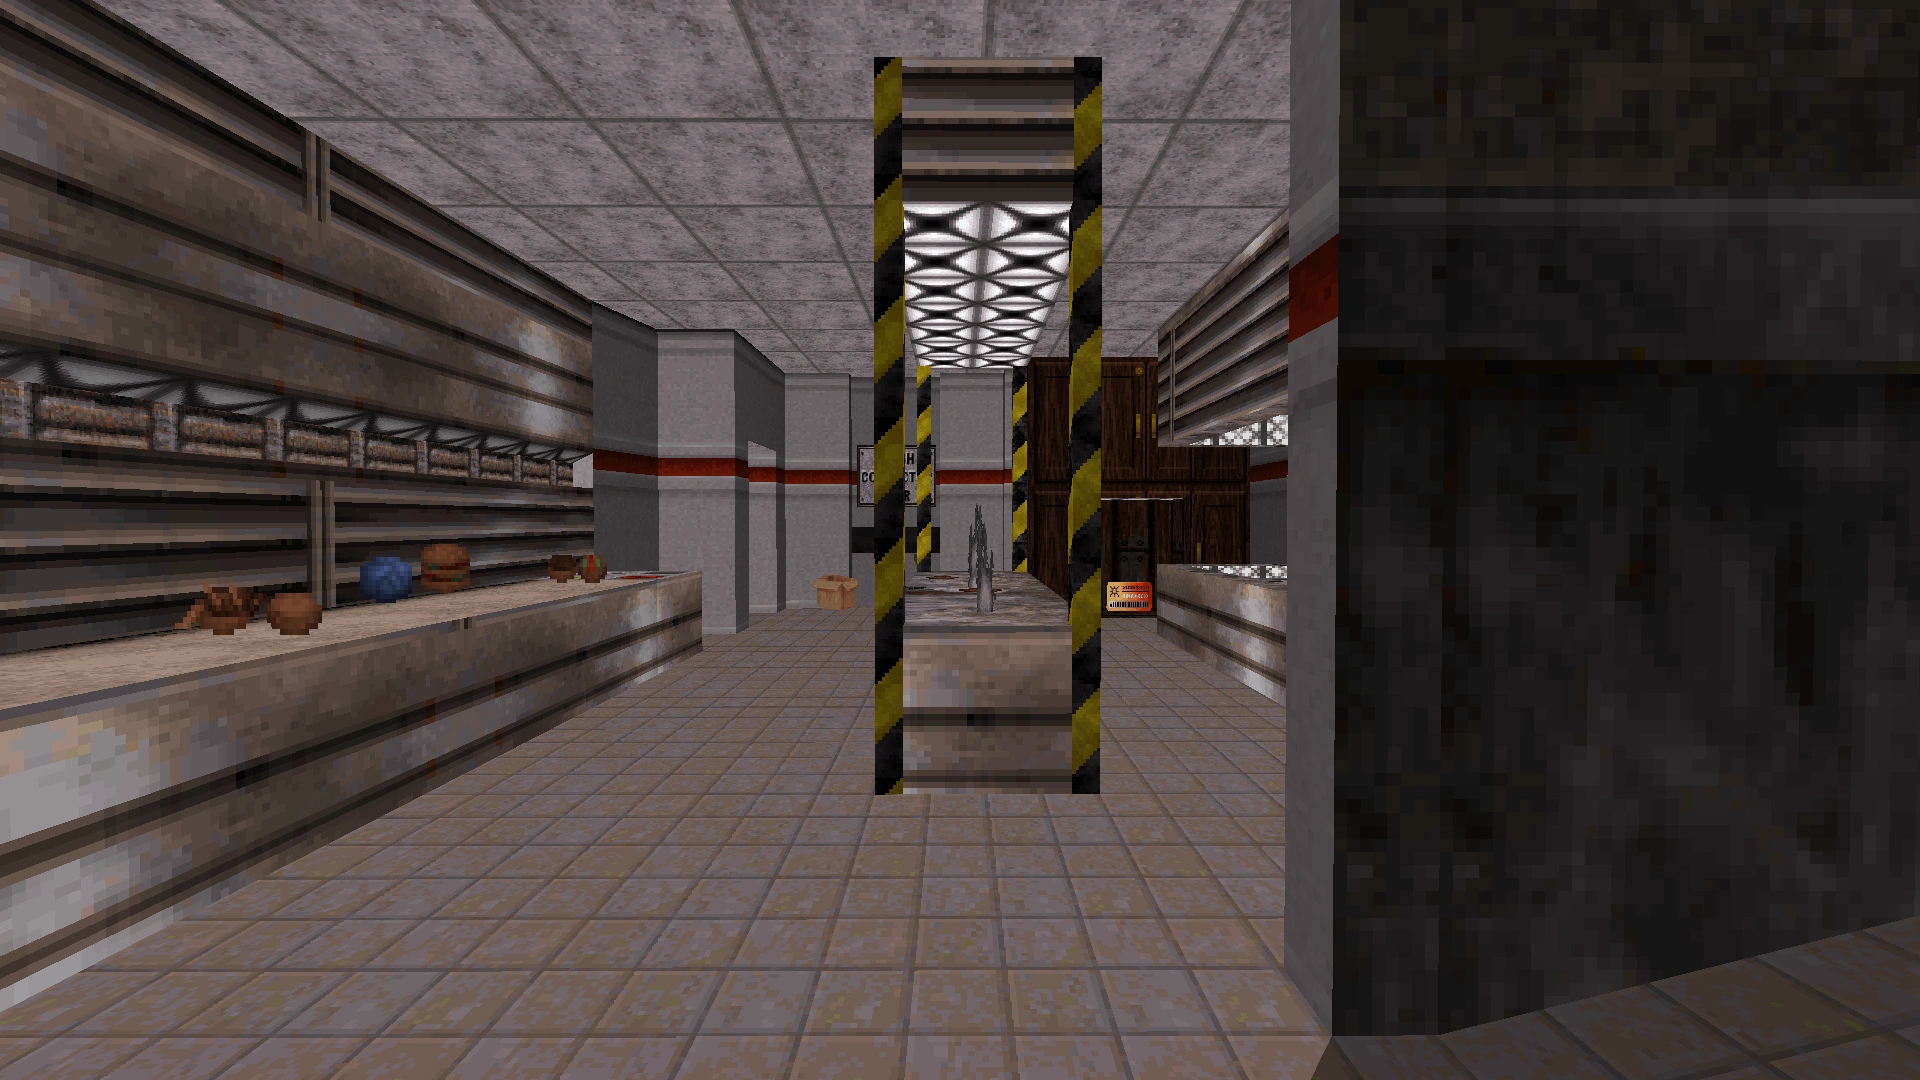
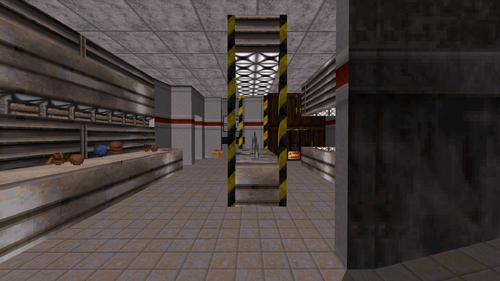
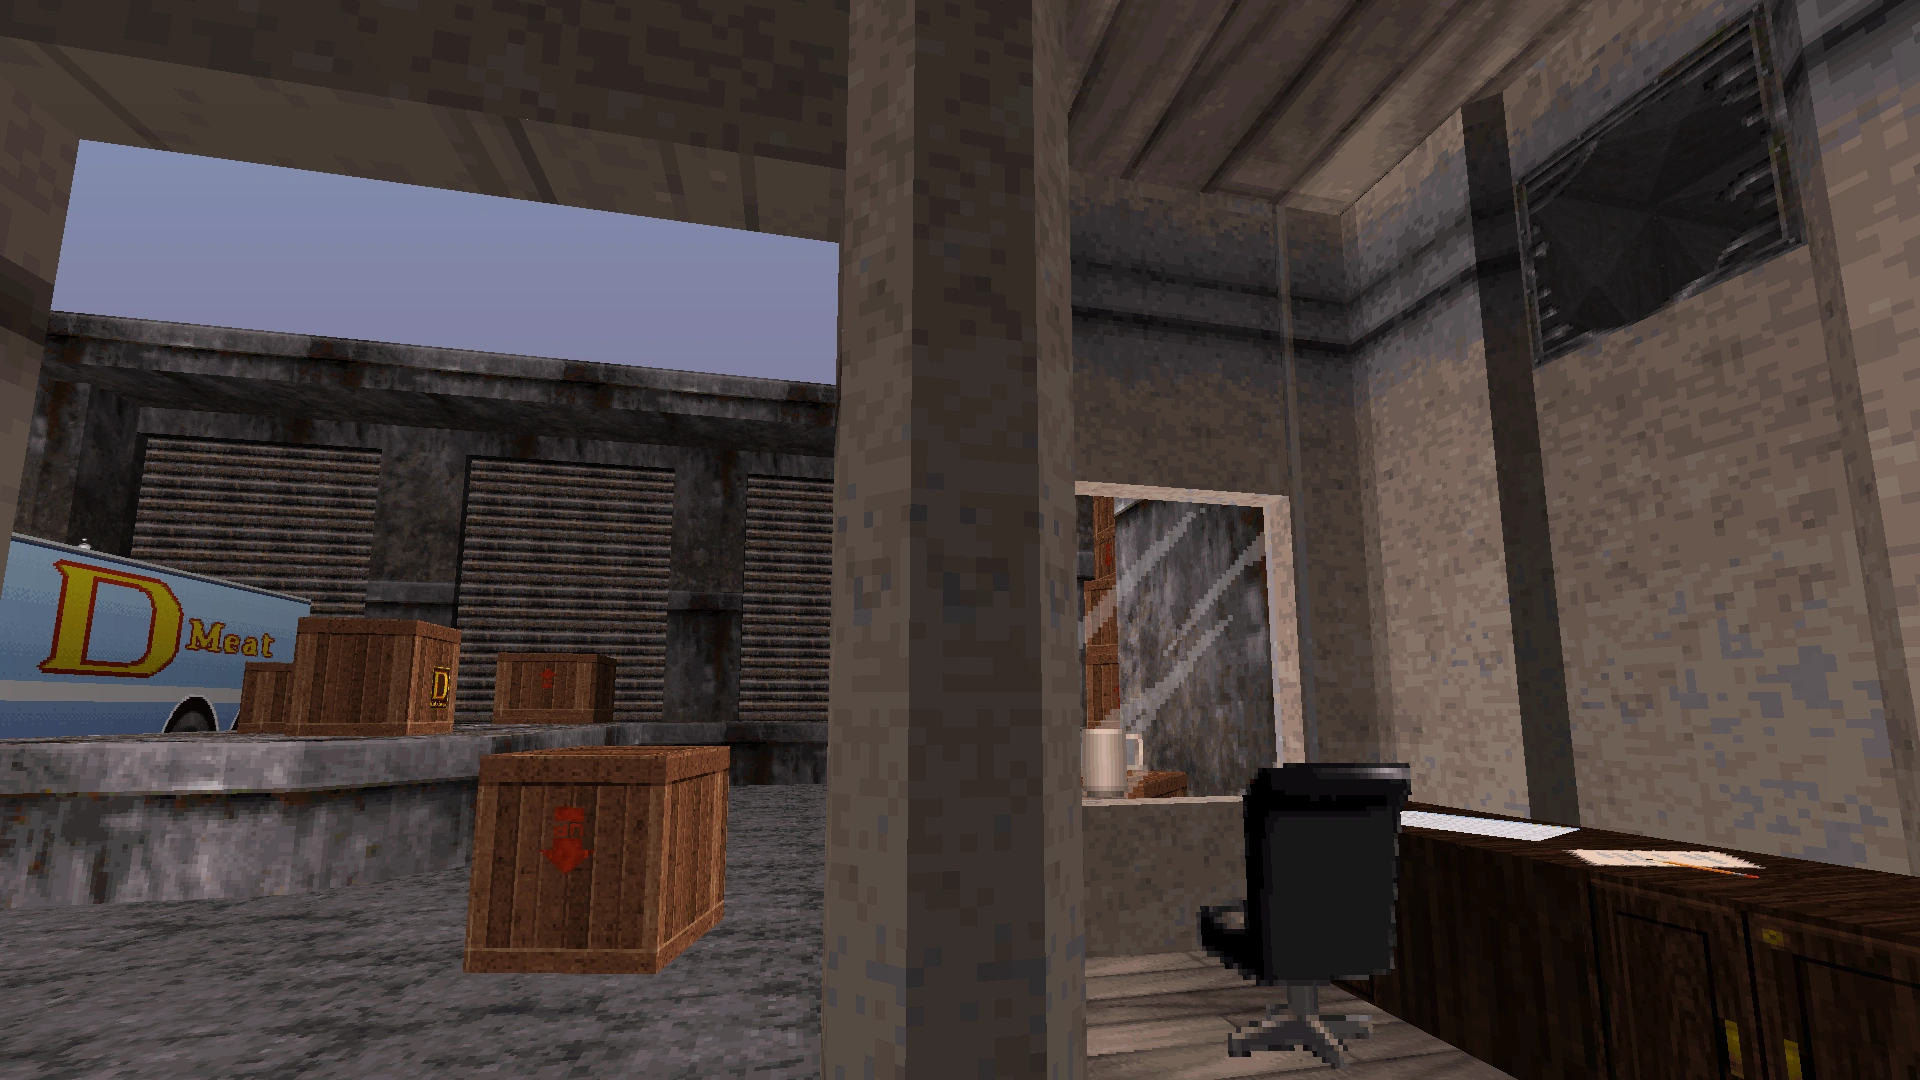
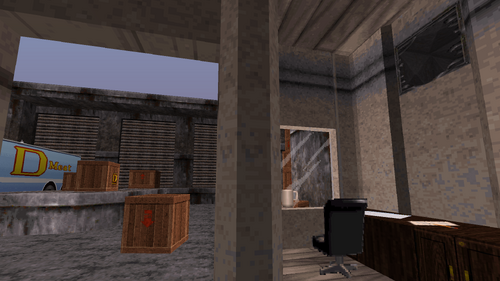
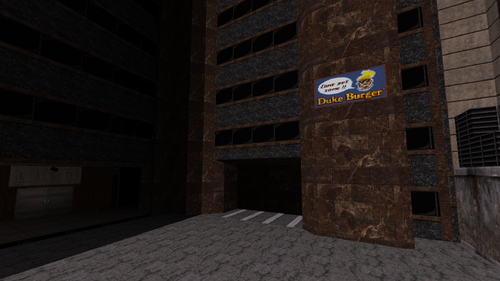
In addition to the gun store, the entire strip club has been converted to a Duke Burger restaurant. The bar inside the strip club is now a fast food kitchen, and the main showroom containing strippers is now an outdoor loading bay, which contains a delivery truck, stacks of boxes, and a small office.
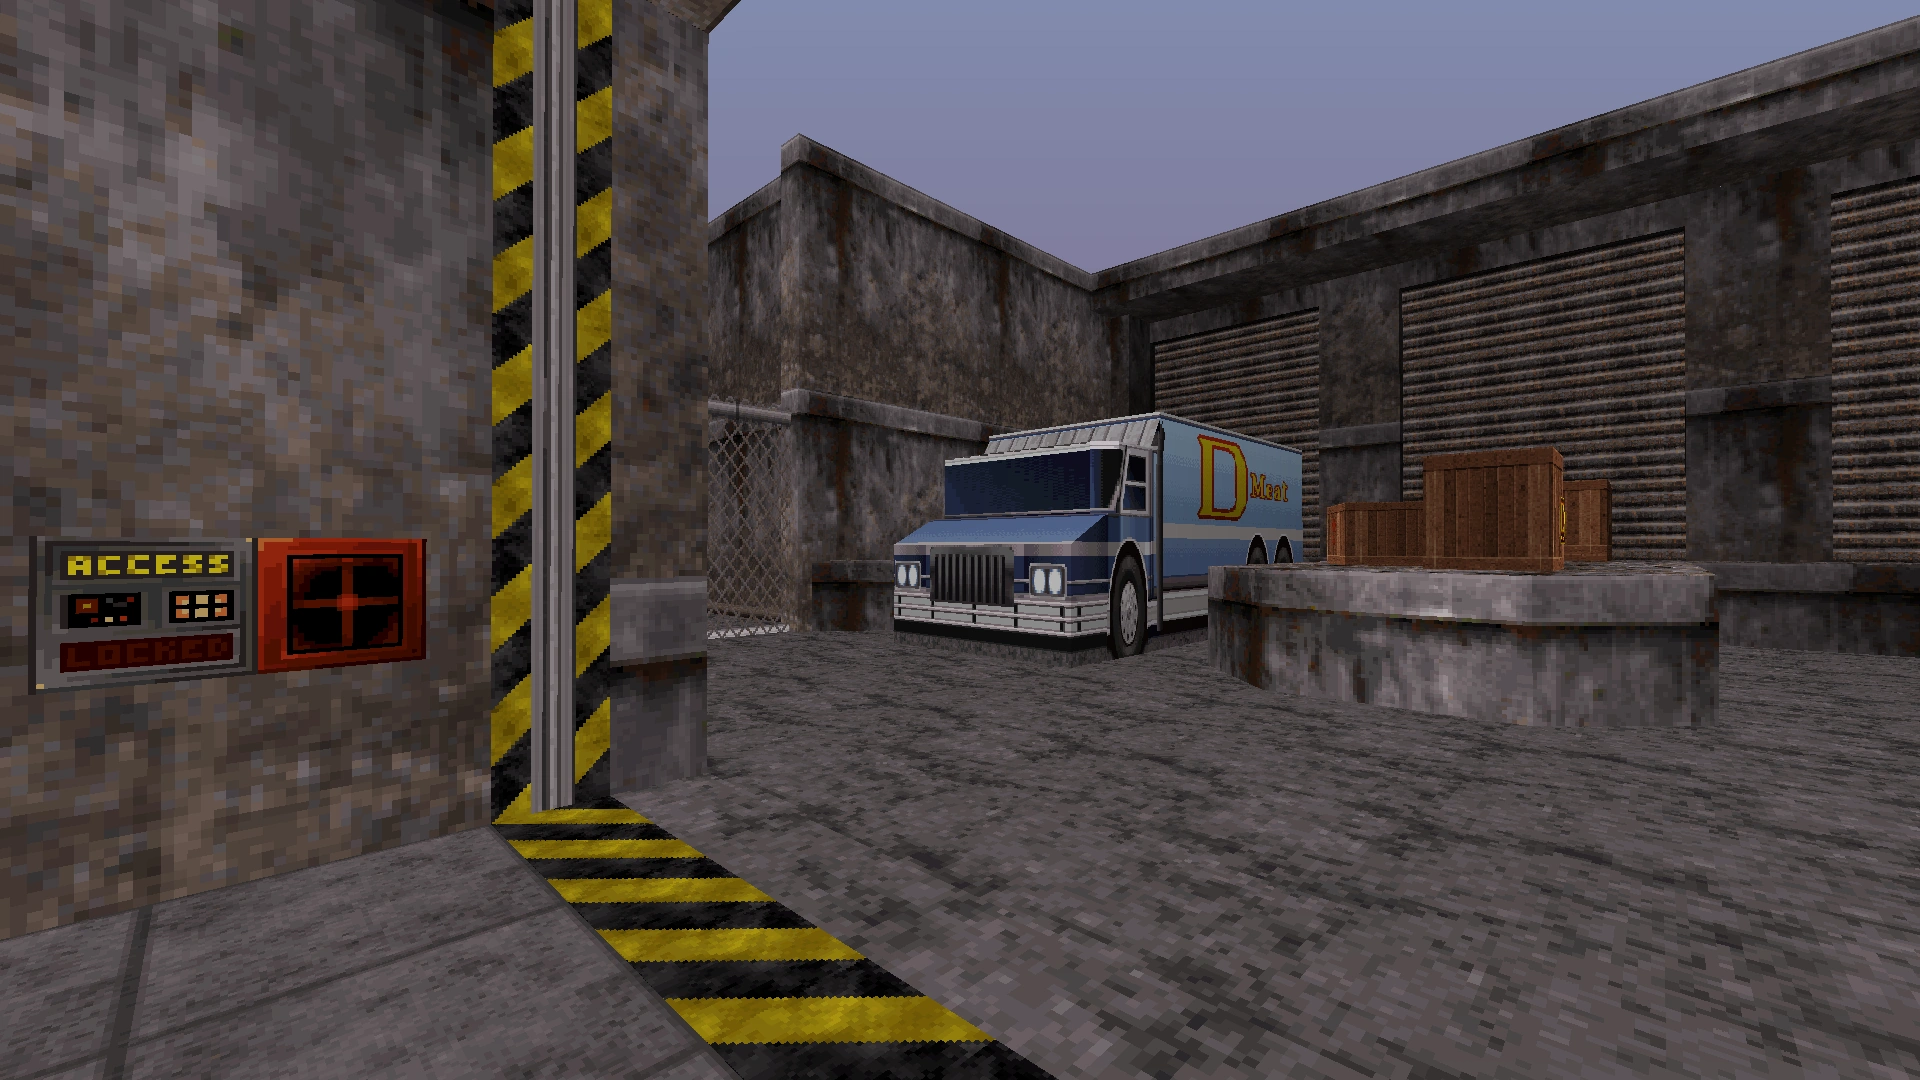

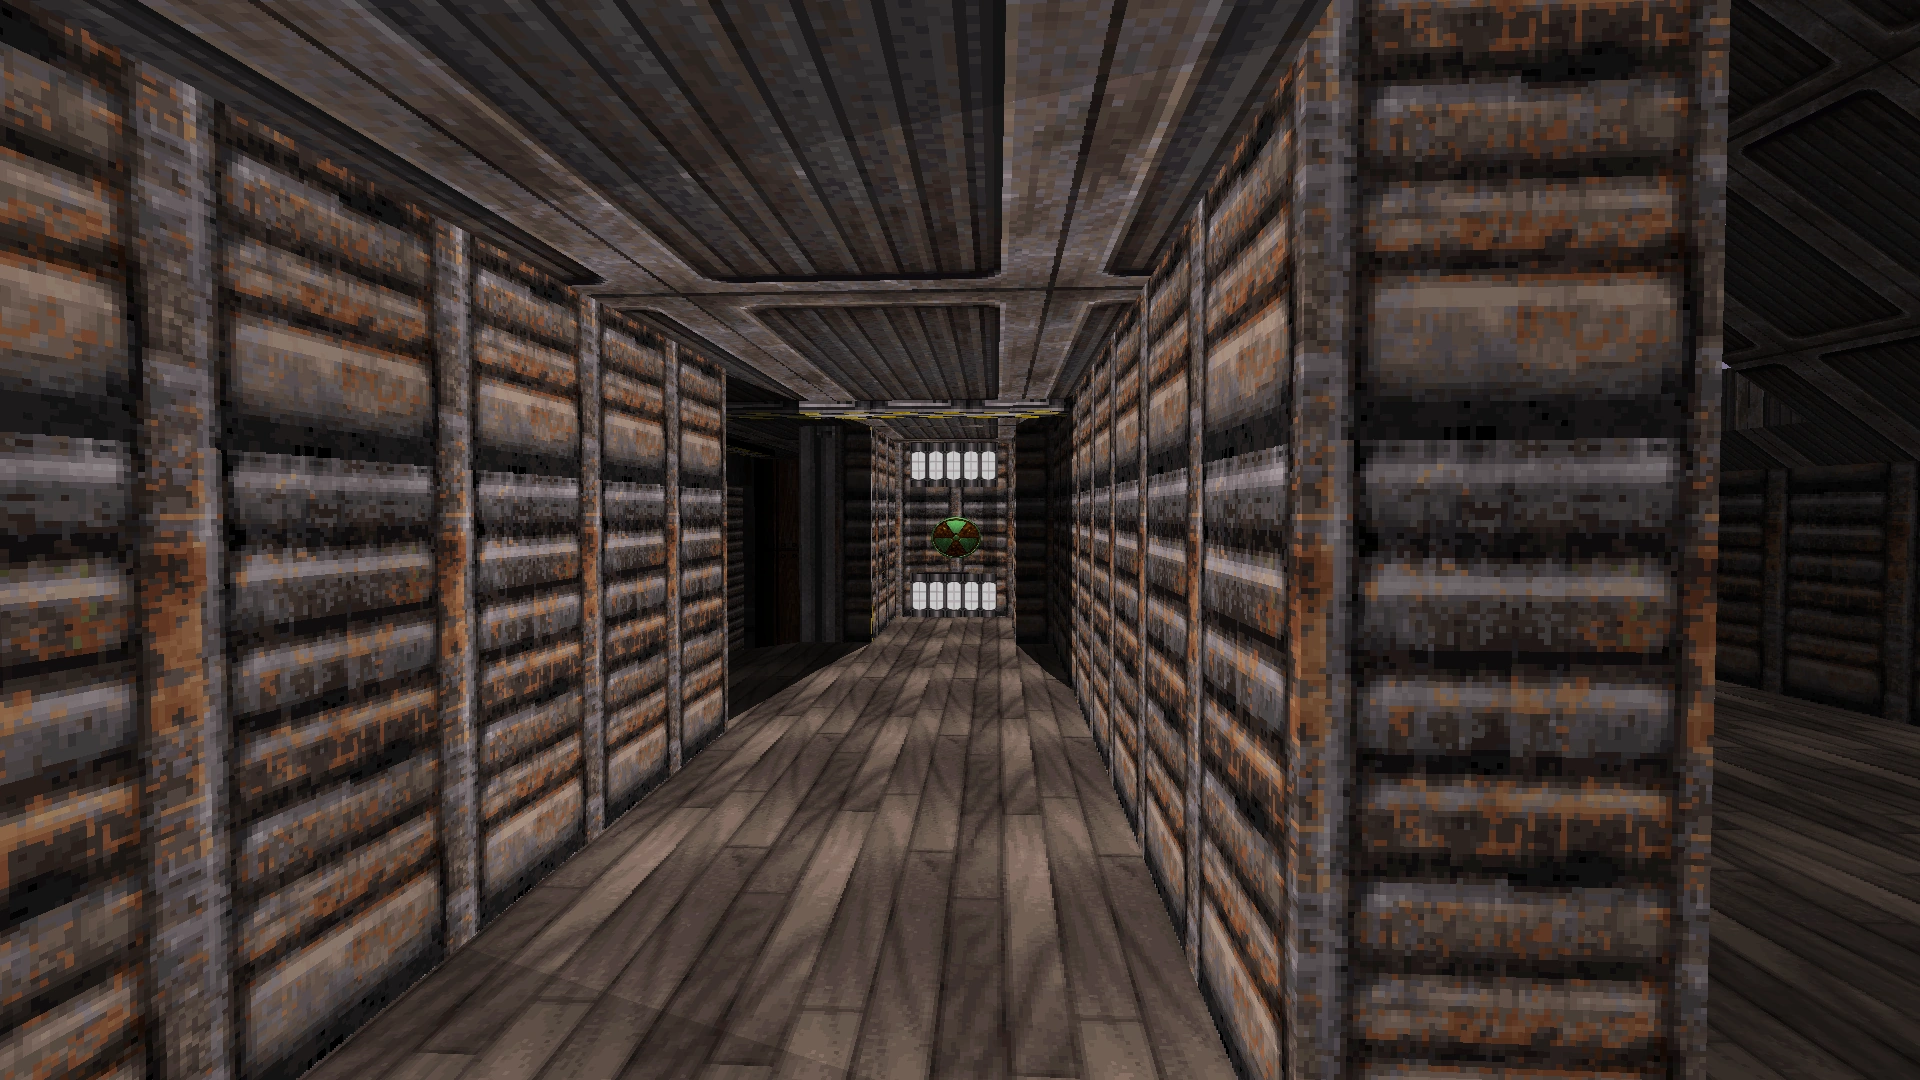
In the office, a vent in the wall (the same vent that was found in the strip club) now leads to a warehouse that is concealed by garage doors instead of curtains.
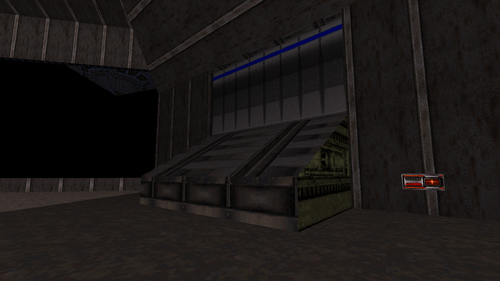
Although the warehouse is largely unchanged from the attic in the original version, standing on a newly placed box in the warehouse will reveal a secret Exit button that leads to Duke-Burger, the first secret level of the game.

View from atop the new box in the warehouse, which momentarily reveals the secret exit button. The regular exit button is down the path on the right.
Although it is only a minor change, the Pig Cops no longer blast their way through the ceiling in the hallway with the red access card panel. Instead, they blast their way through a door with an "Employees Only" sign above it. The room behind this door is tiny and completely empty.
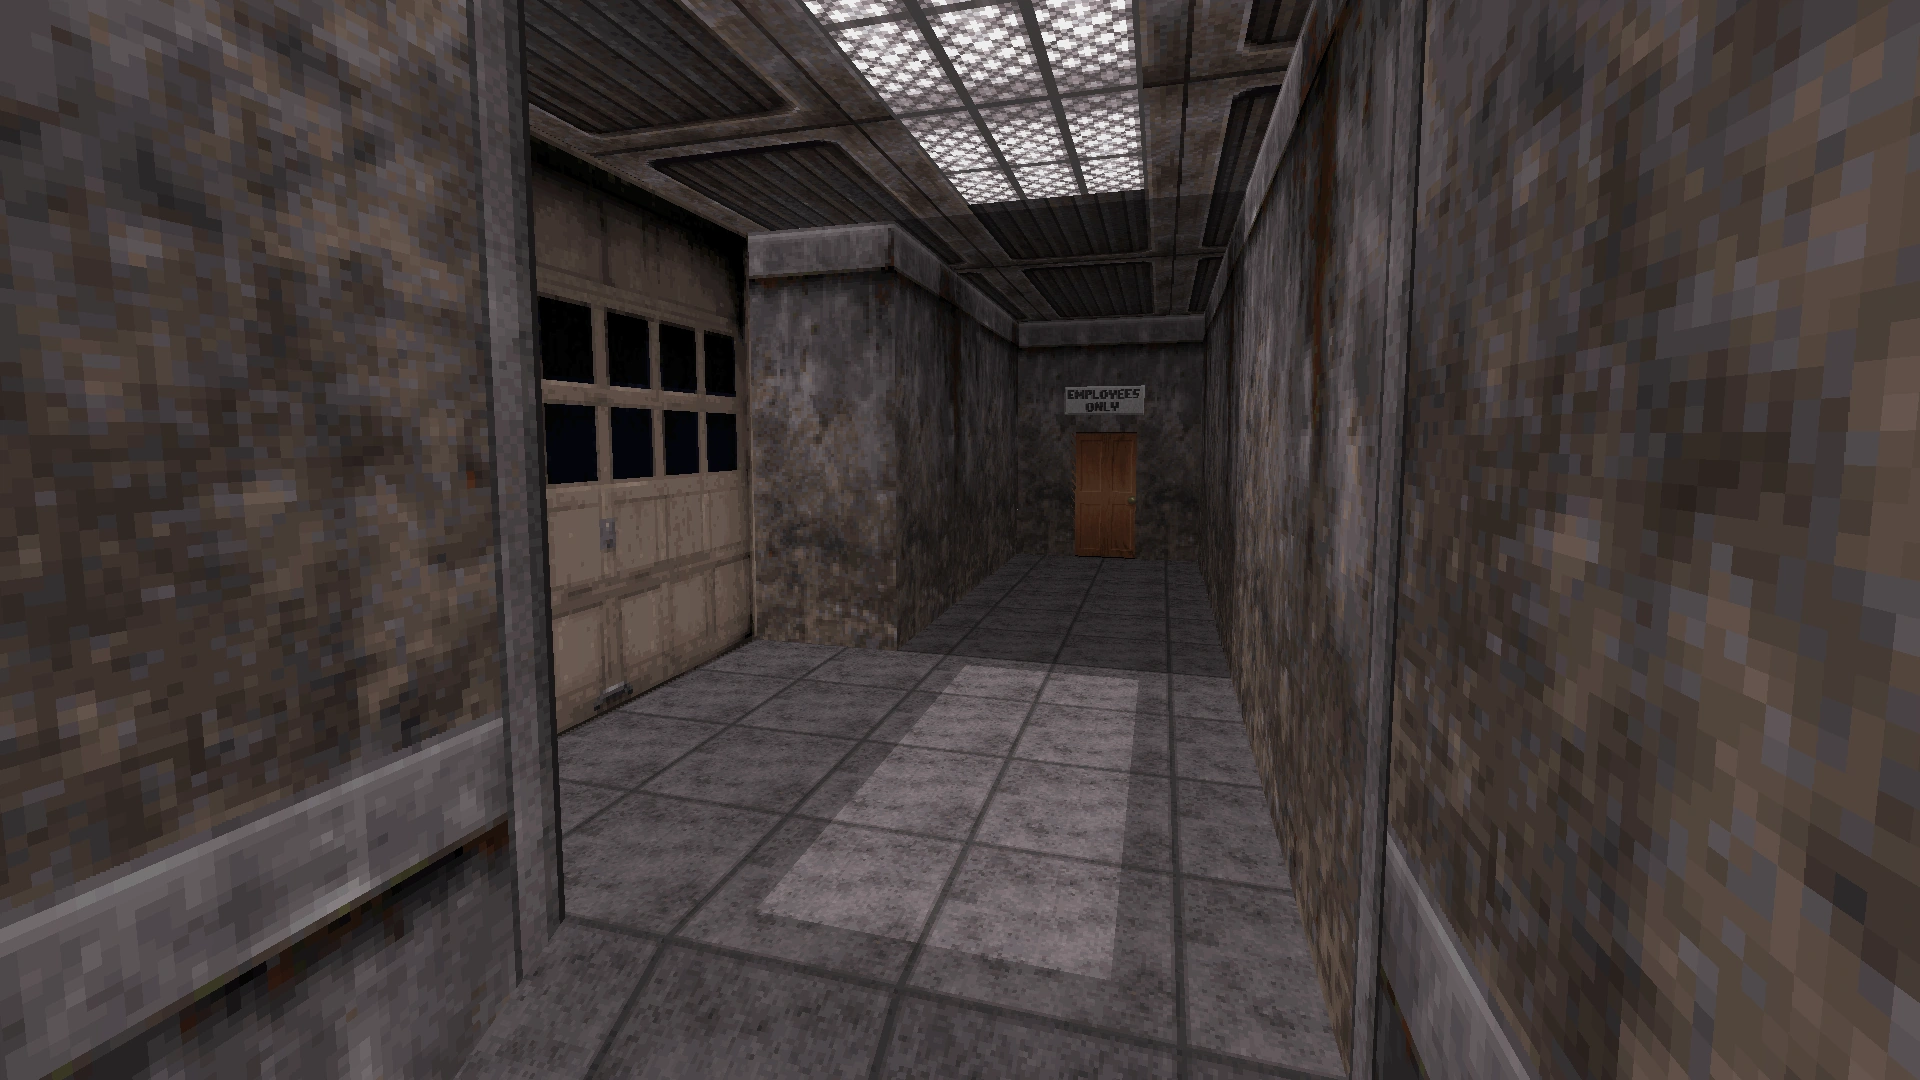
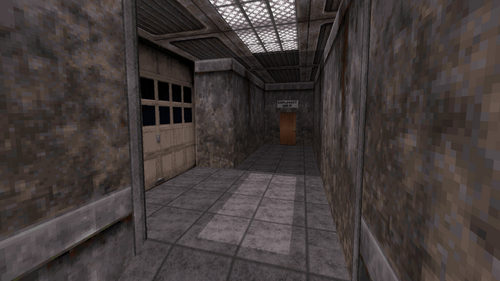
"Employees Only". Pig Cops blast through this door when Duke approaches.
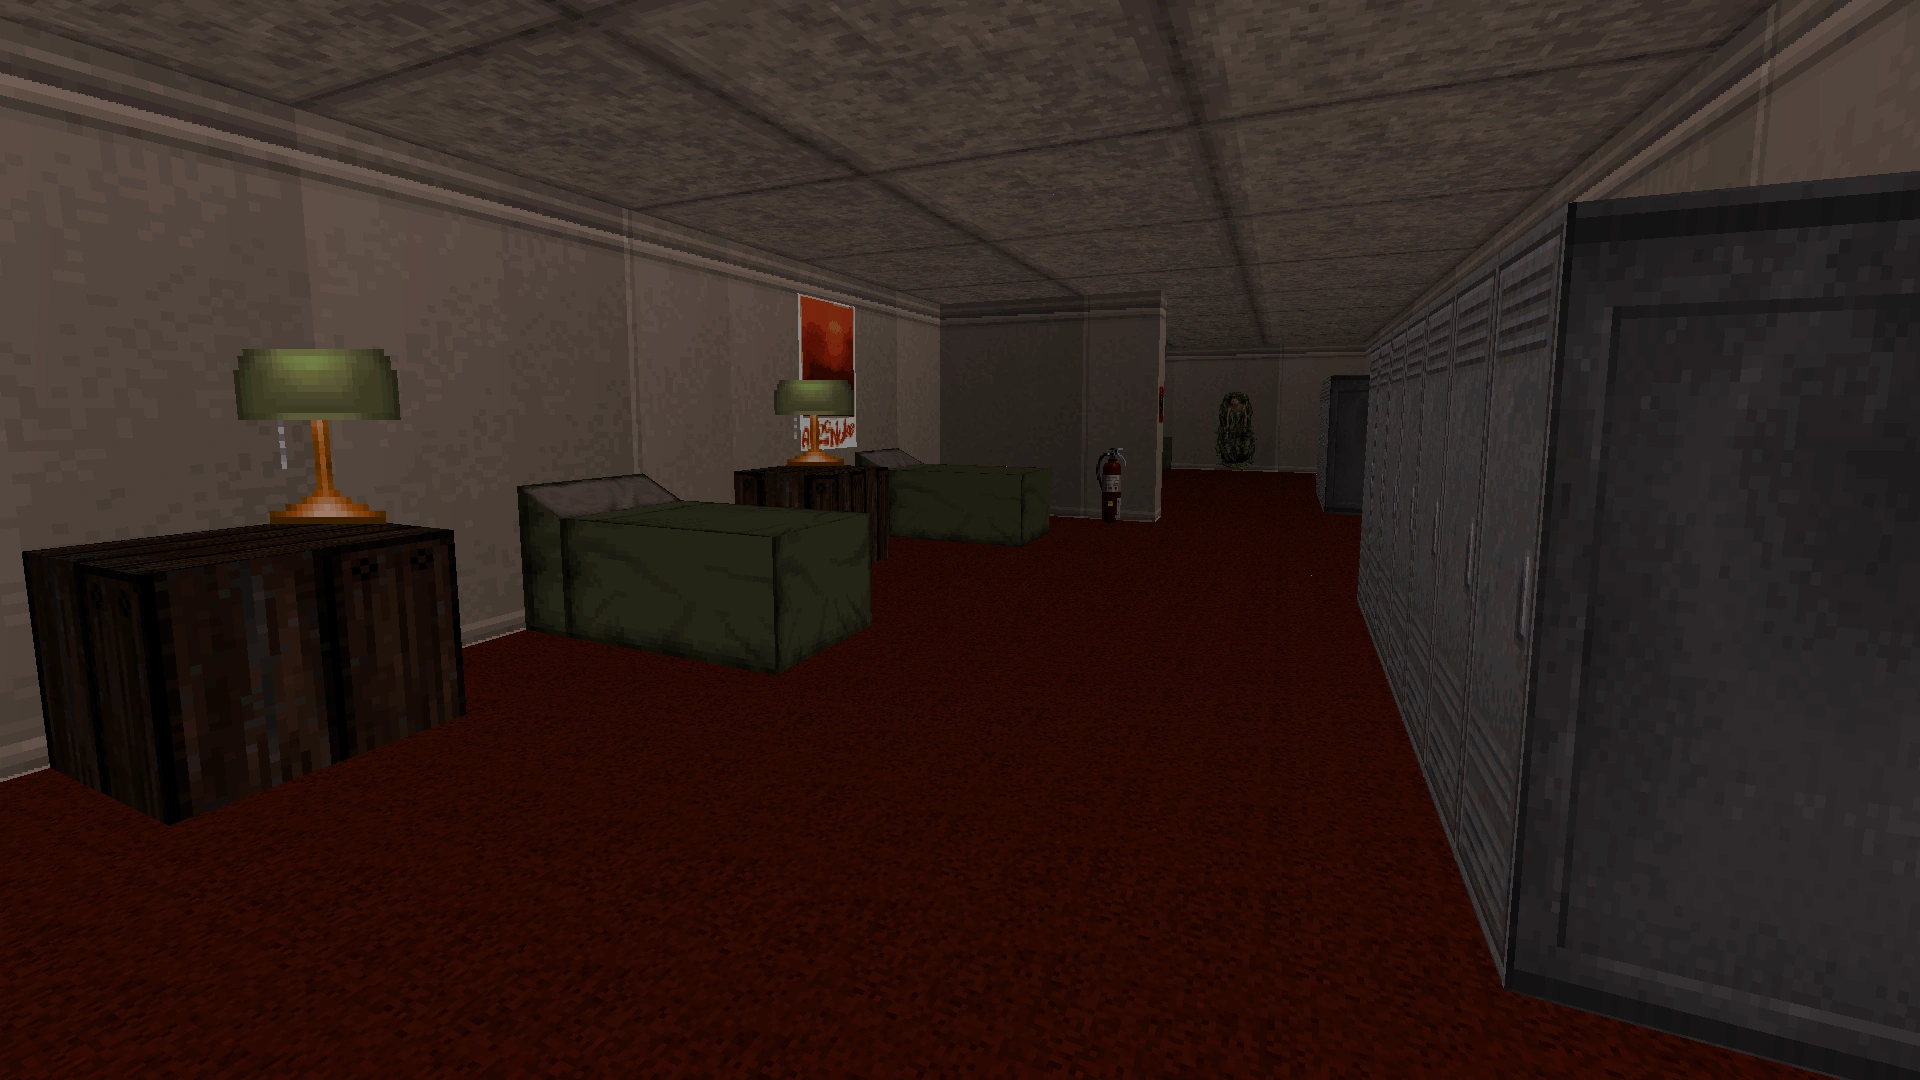
In addition to these cosmetic changes, the level has also been expanded. A completely new area of the level has been added to accommodate the dining area of the restaurant.

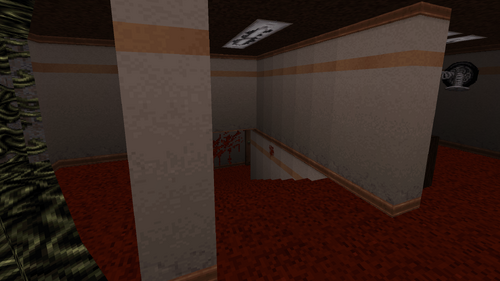
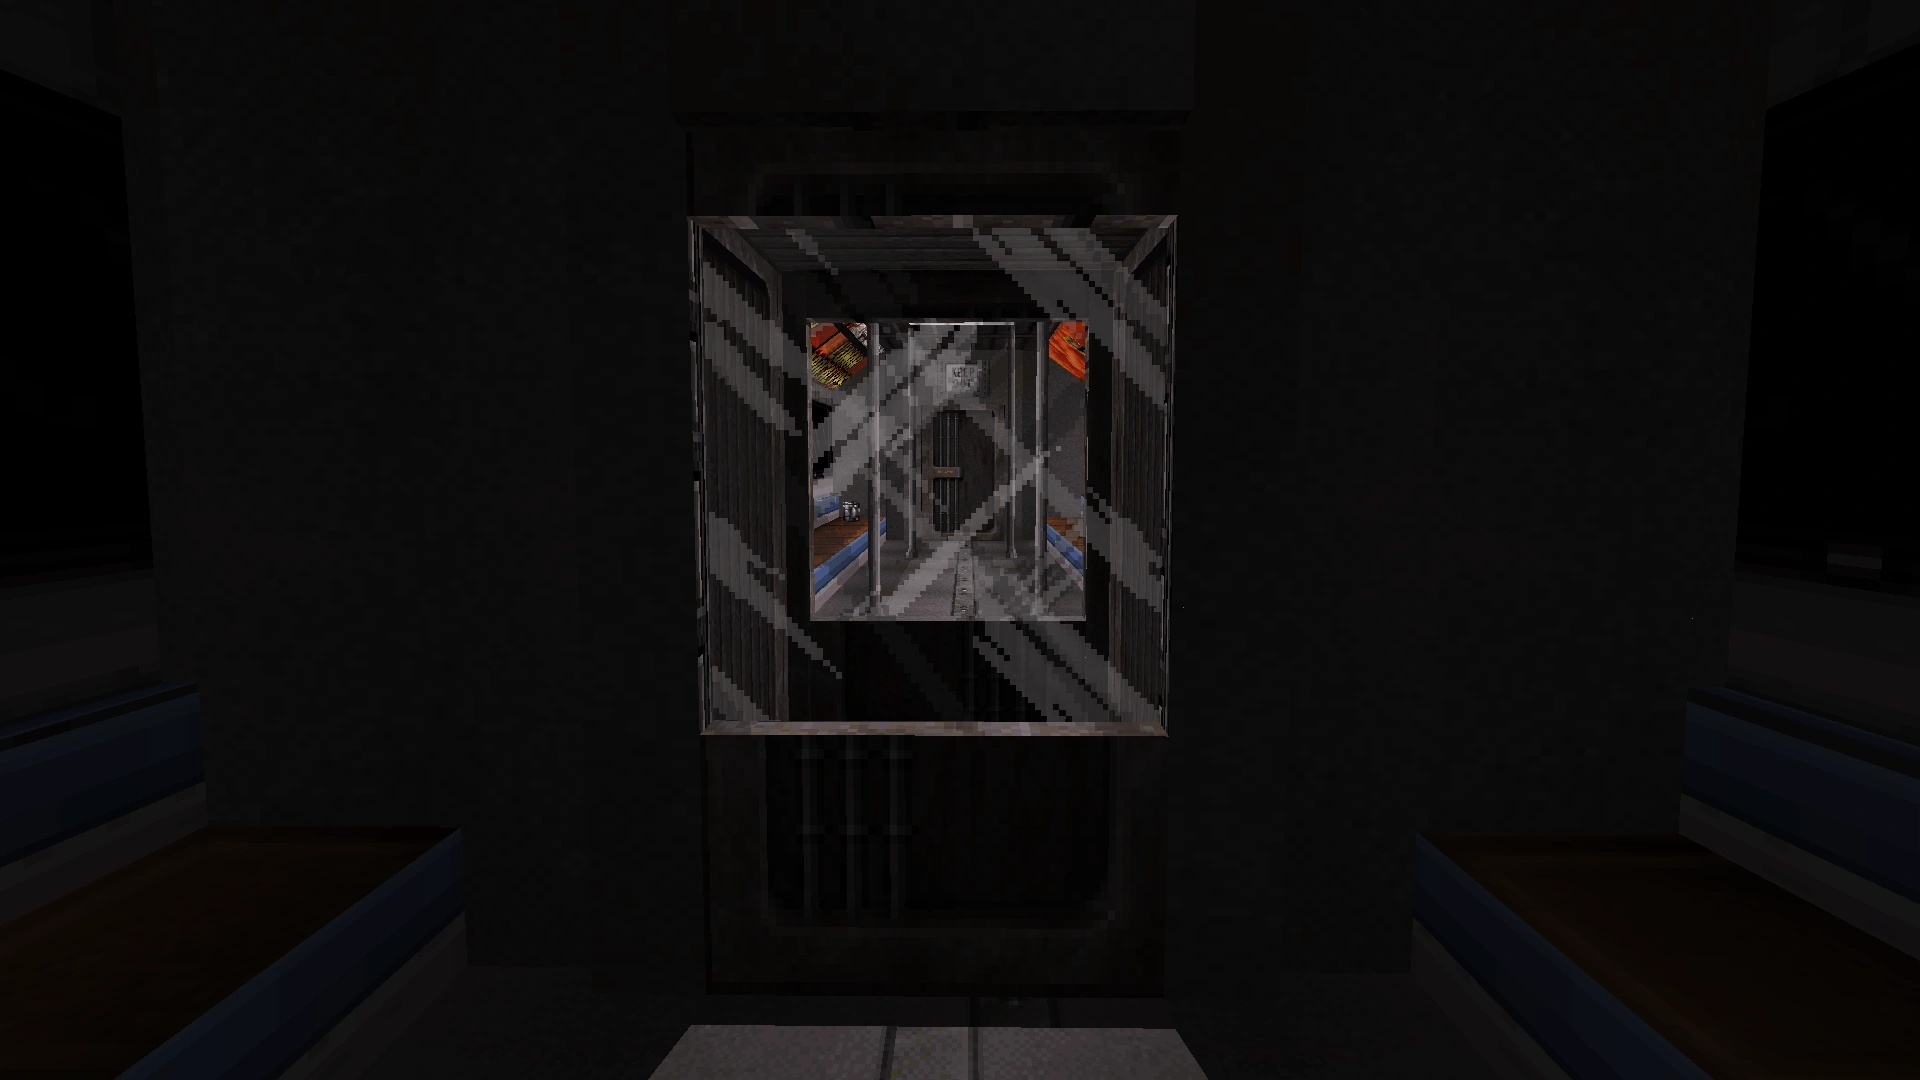
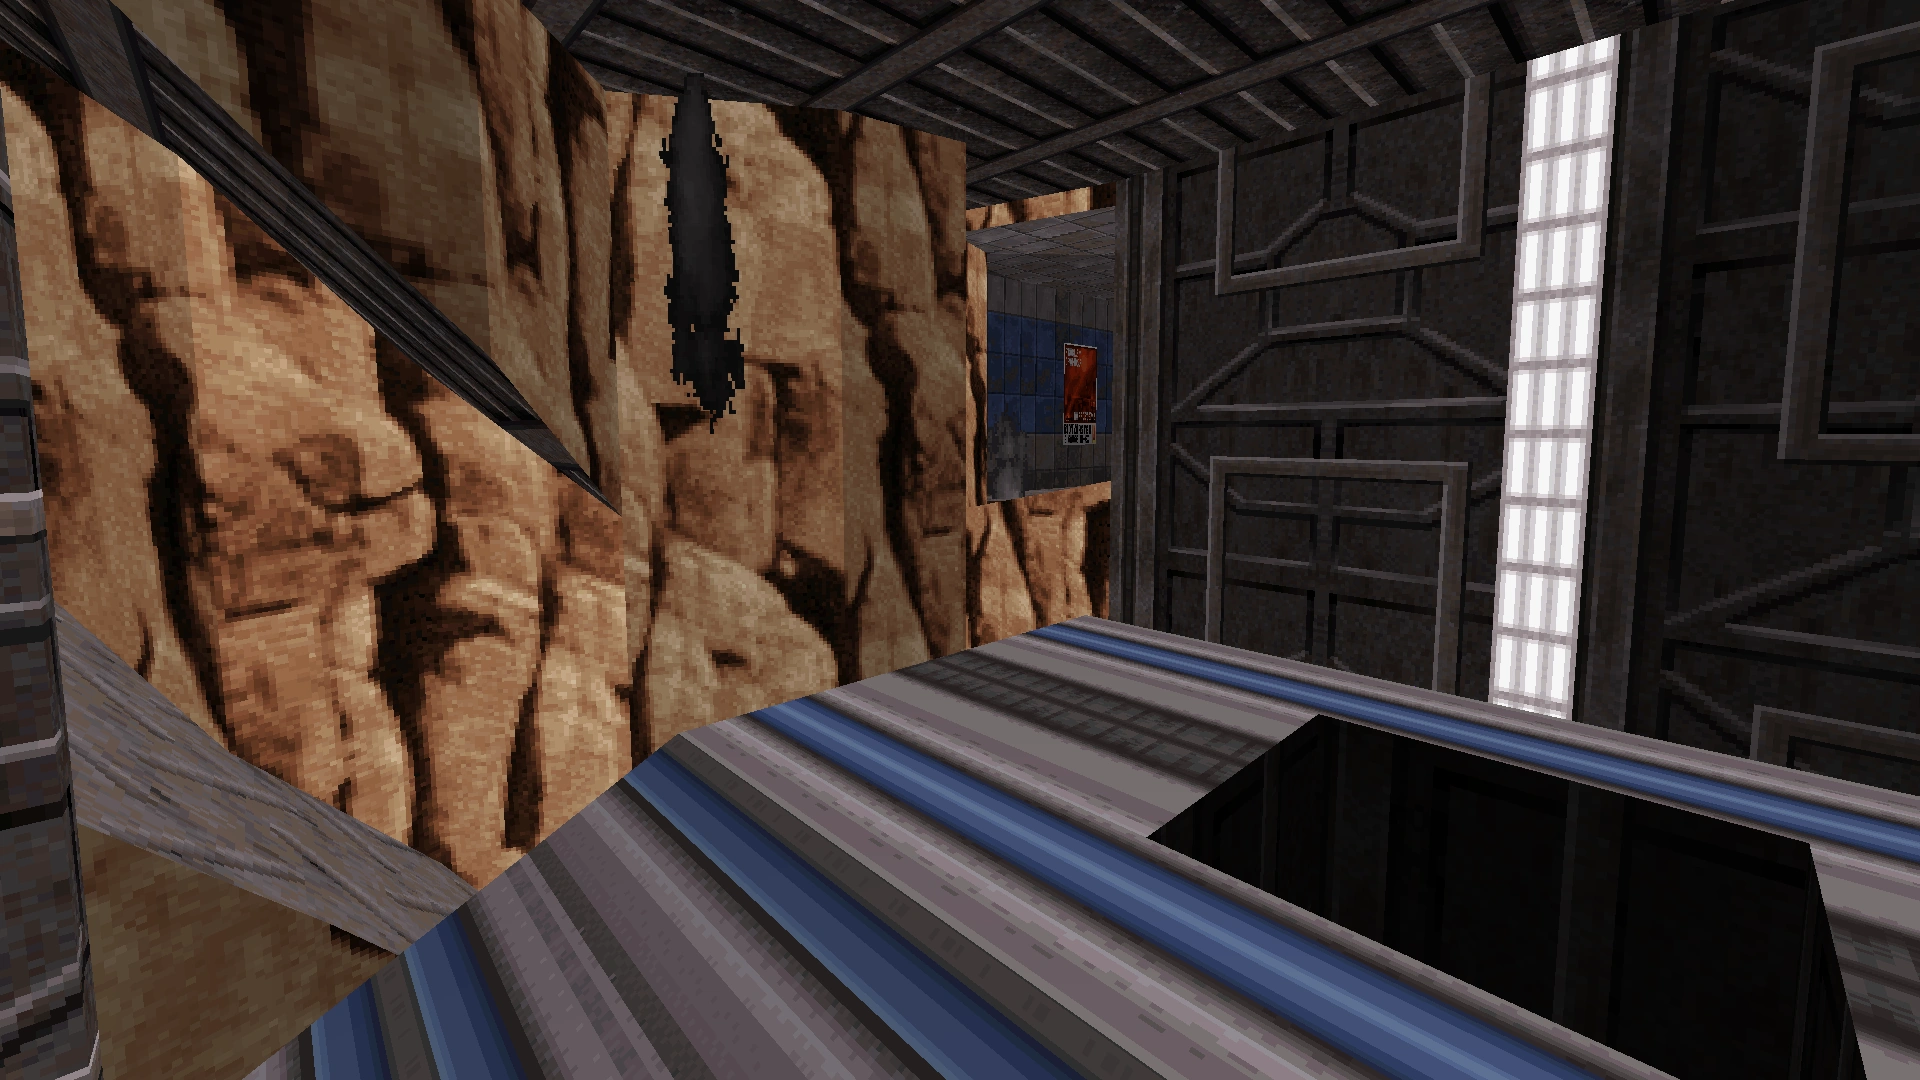
This new dining area is accessible via doors that have been added beside the flaming trash can, directly across from the elevator at the beginning of the level. Outside the elevator at the beginning of the level, there is now a chain link fence running across the top of the concrete wall on the right-hand side. Visible on the other side of this chain link fence, there is an inaccessible subway station. This subway station is a new area that has been added to Rabid Transit and is accessible later in the game.
View of the restaurant entrance, directly across from the start of the level. An inaccessible portion of Rabid Transit can be seen through the chain link fence on the right.
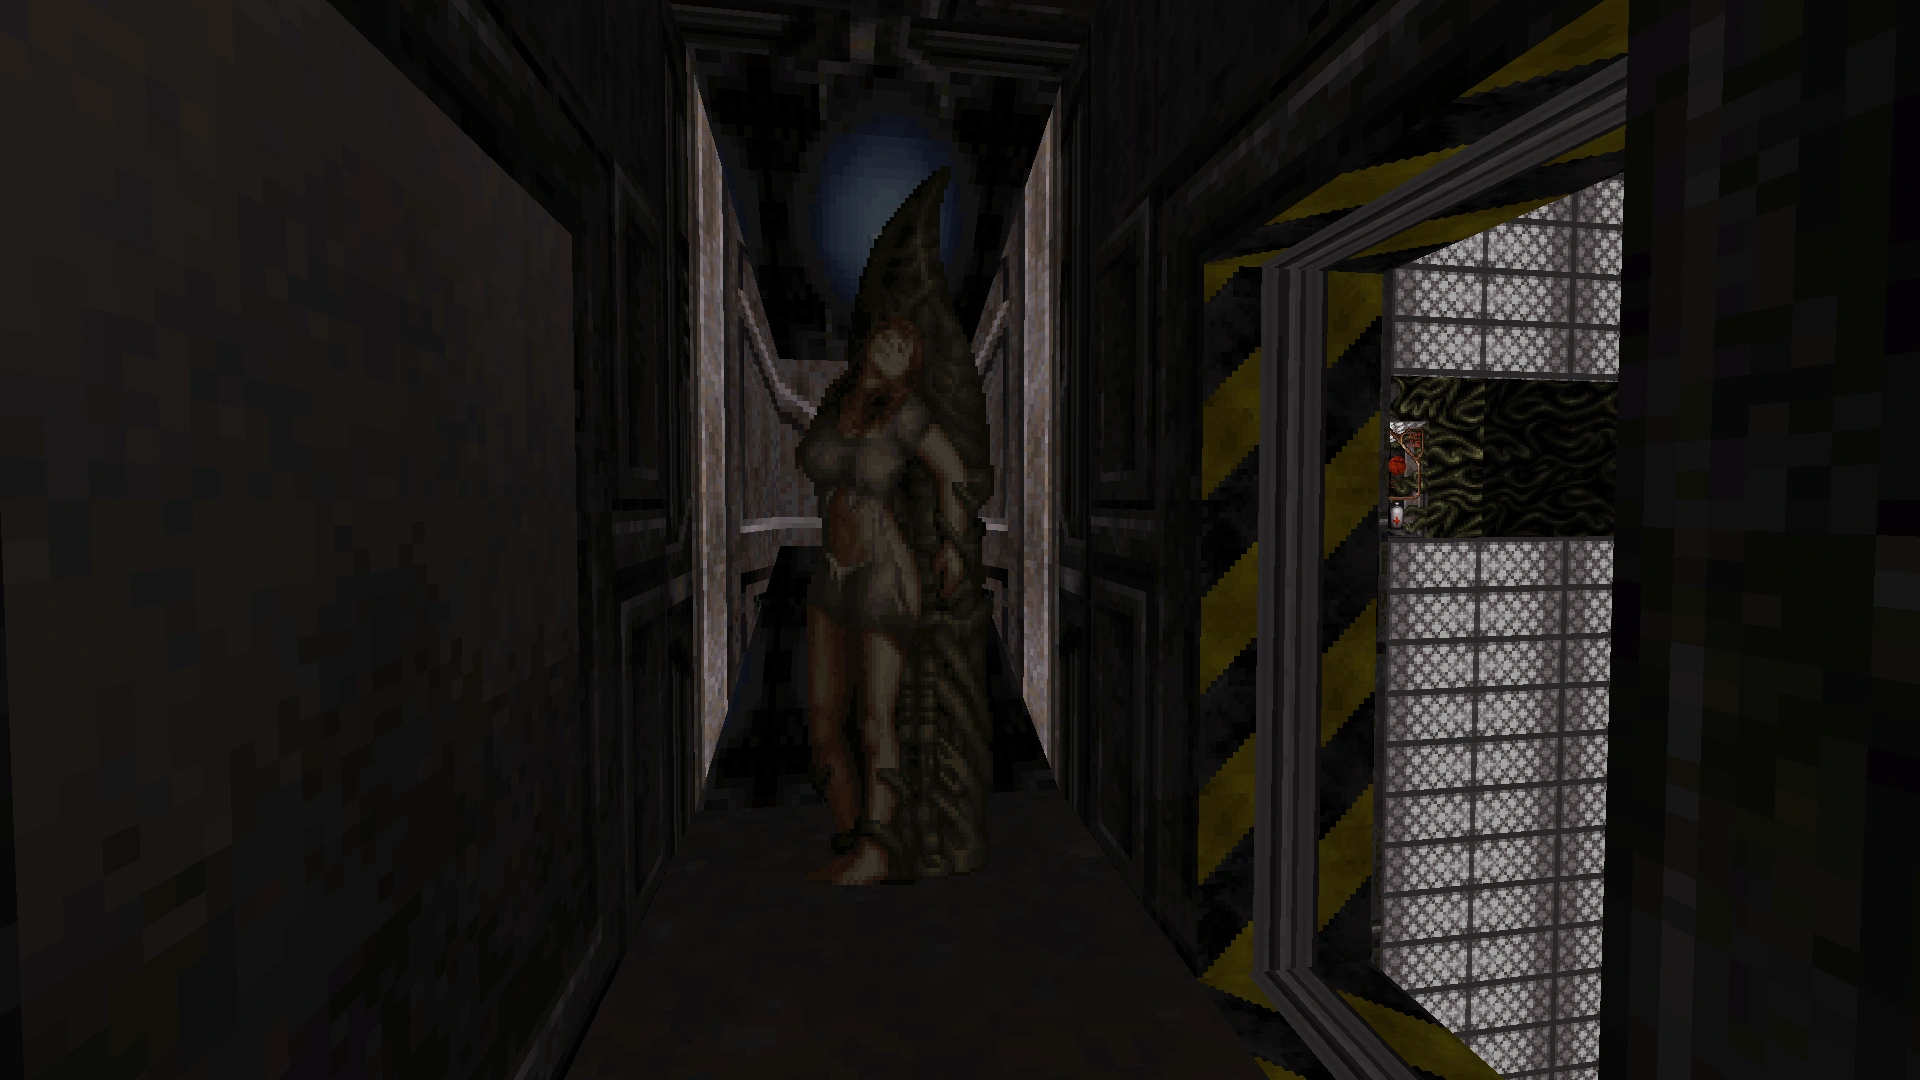
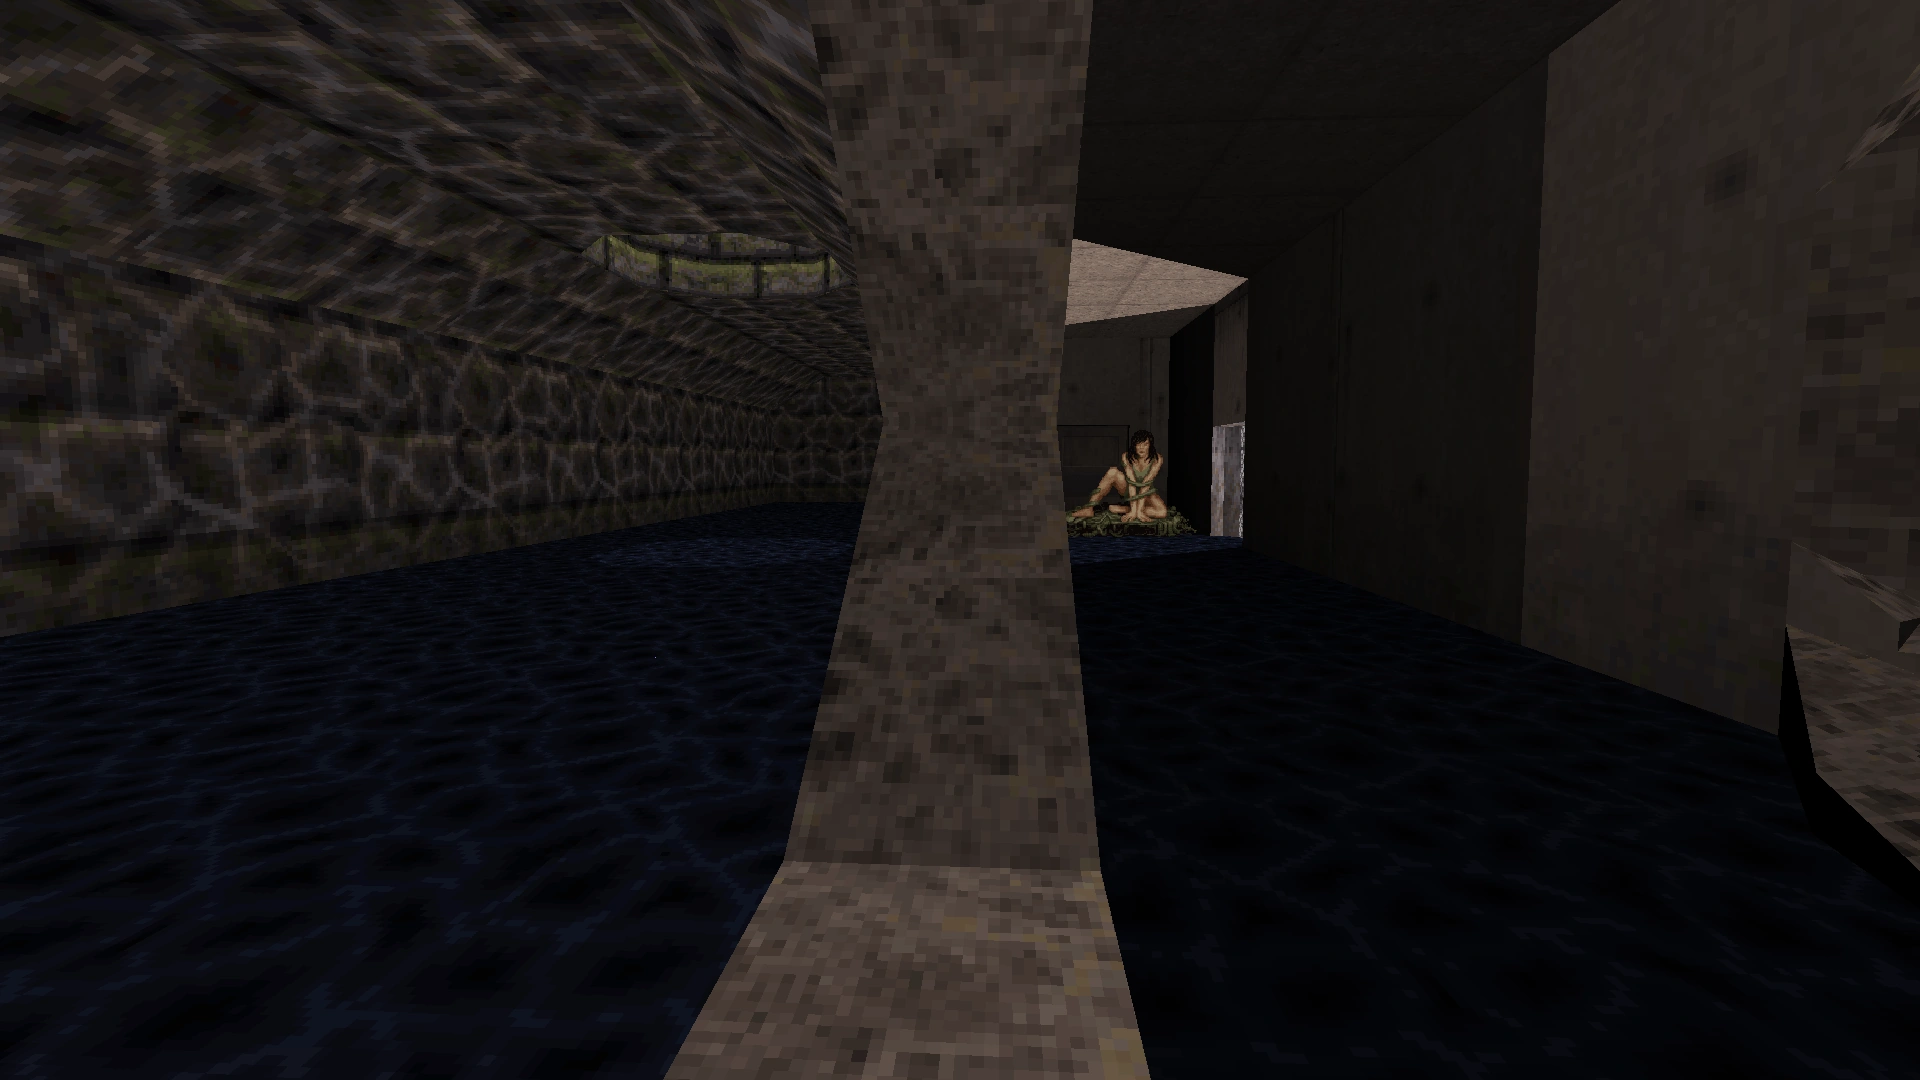
Lastly, a new building (previously an out-of-bounds empty lot) has been added beside the condemned building, and a small ledge on this new building hosts two captive women, who can only be reached using the jetpack.
This new building cannot be entered, but the cement ledge near the bottom and the balcony near the top can both be reached using the jetpack.
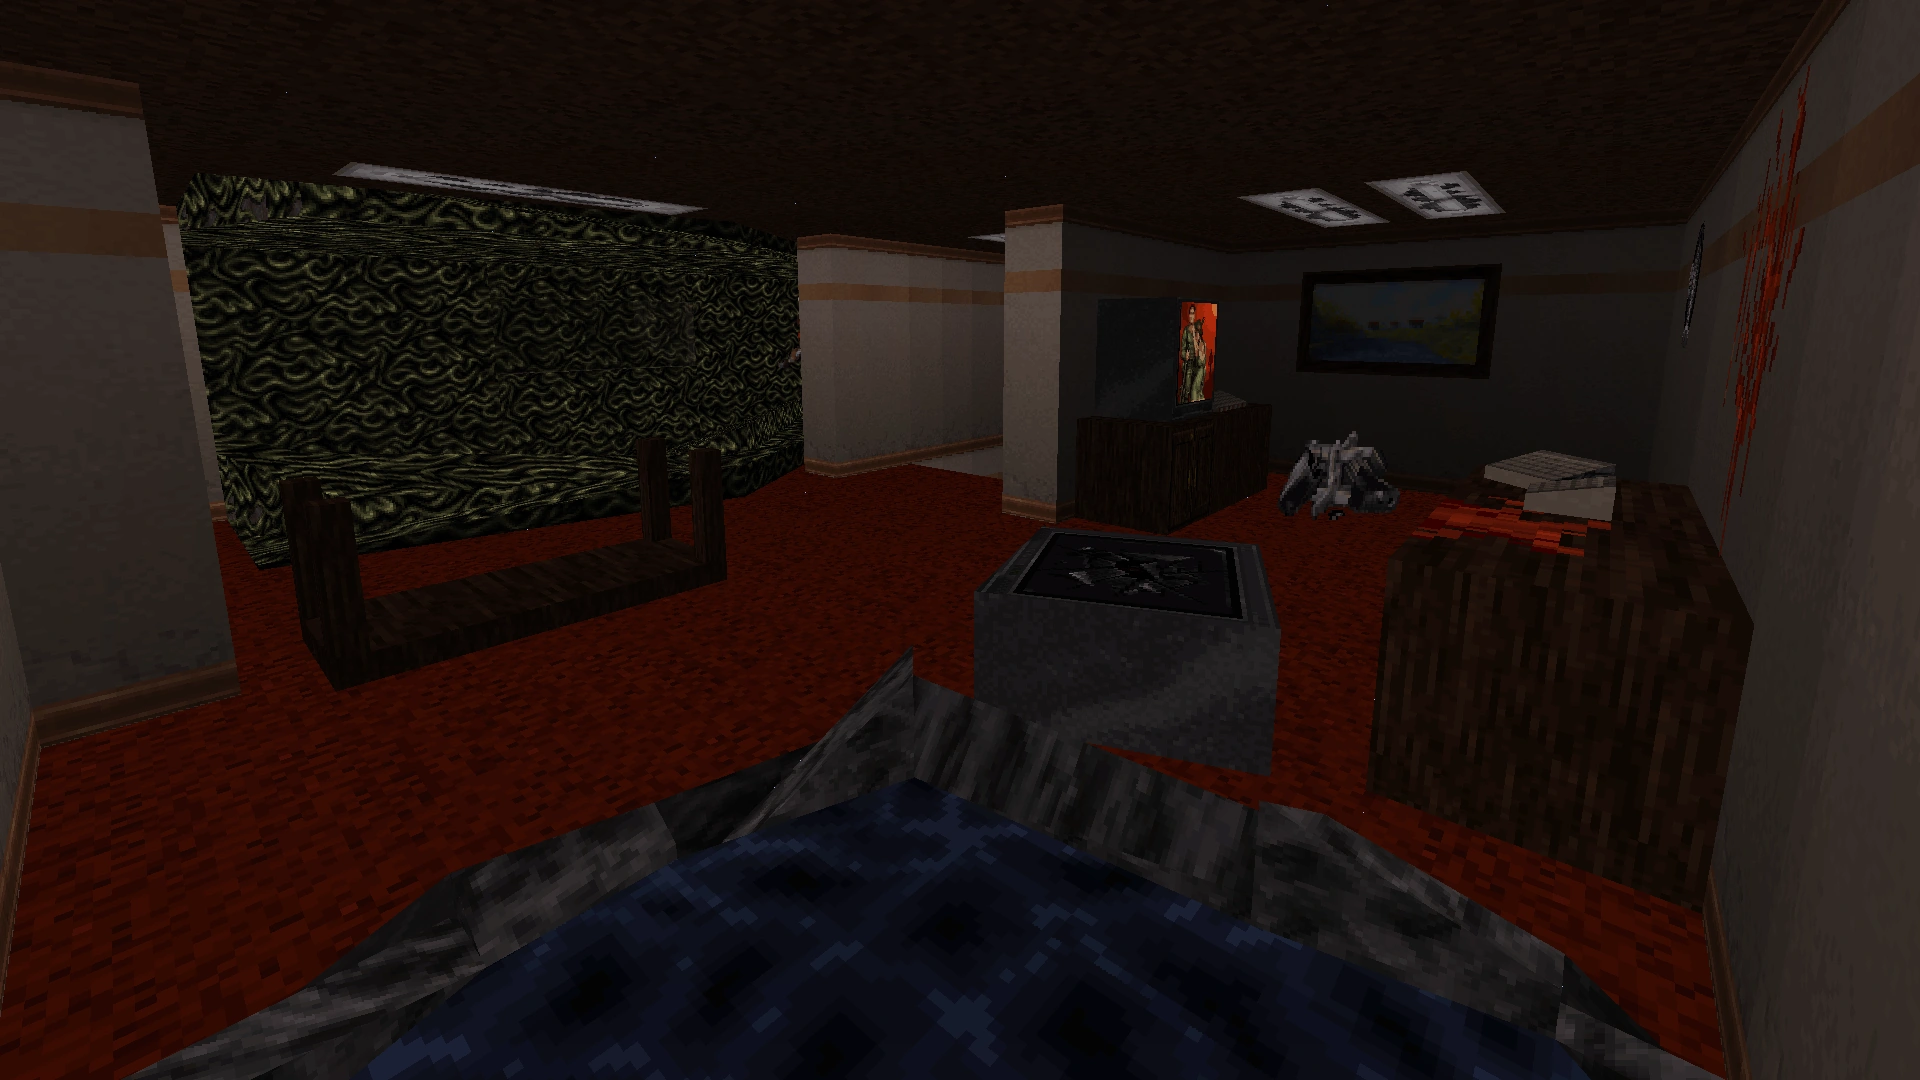
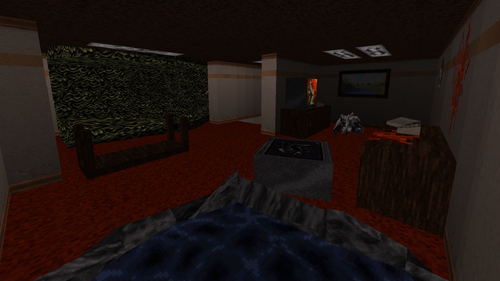
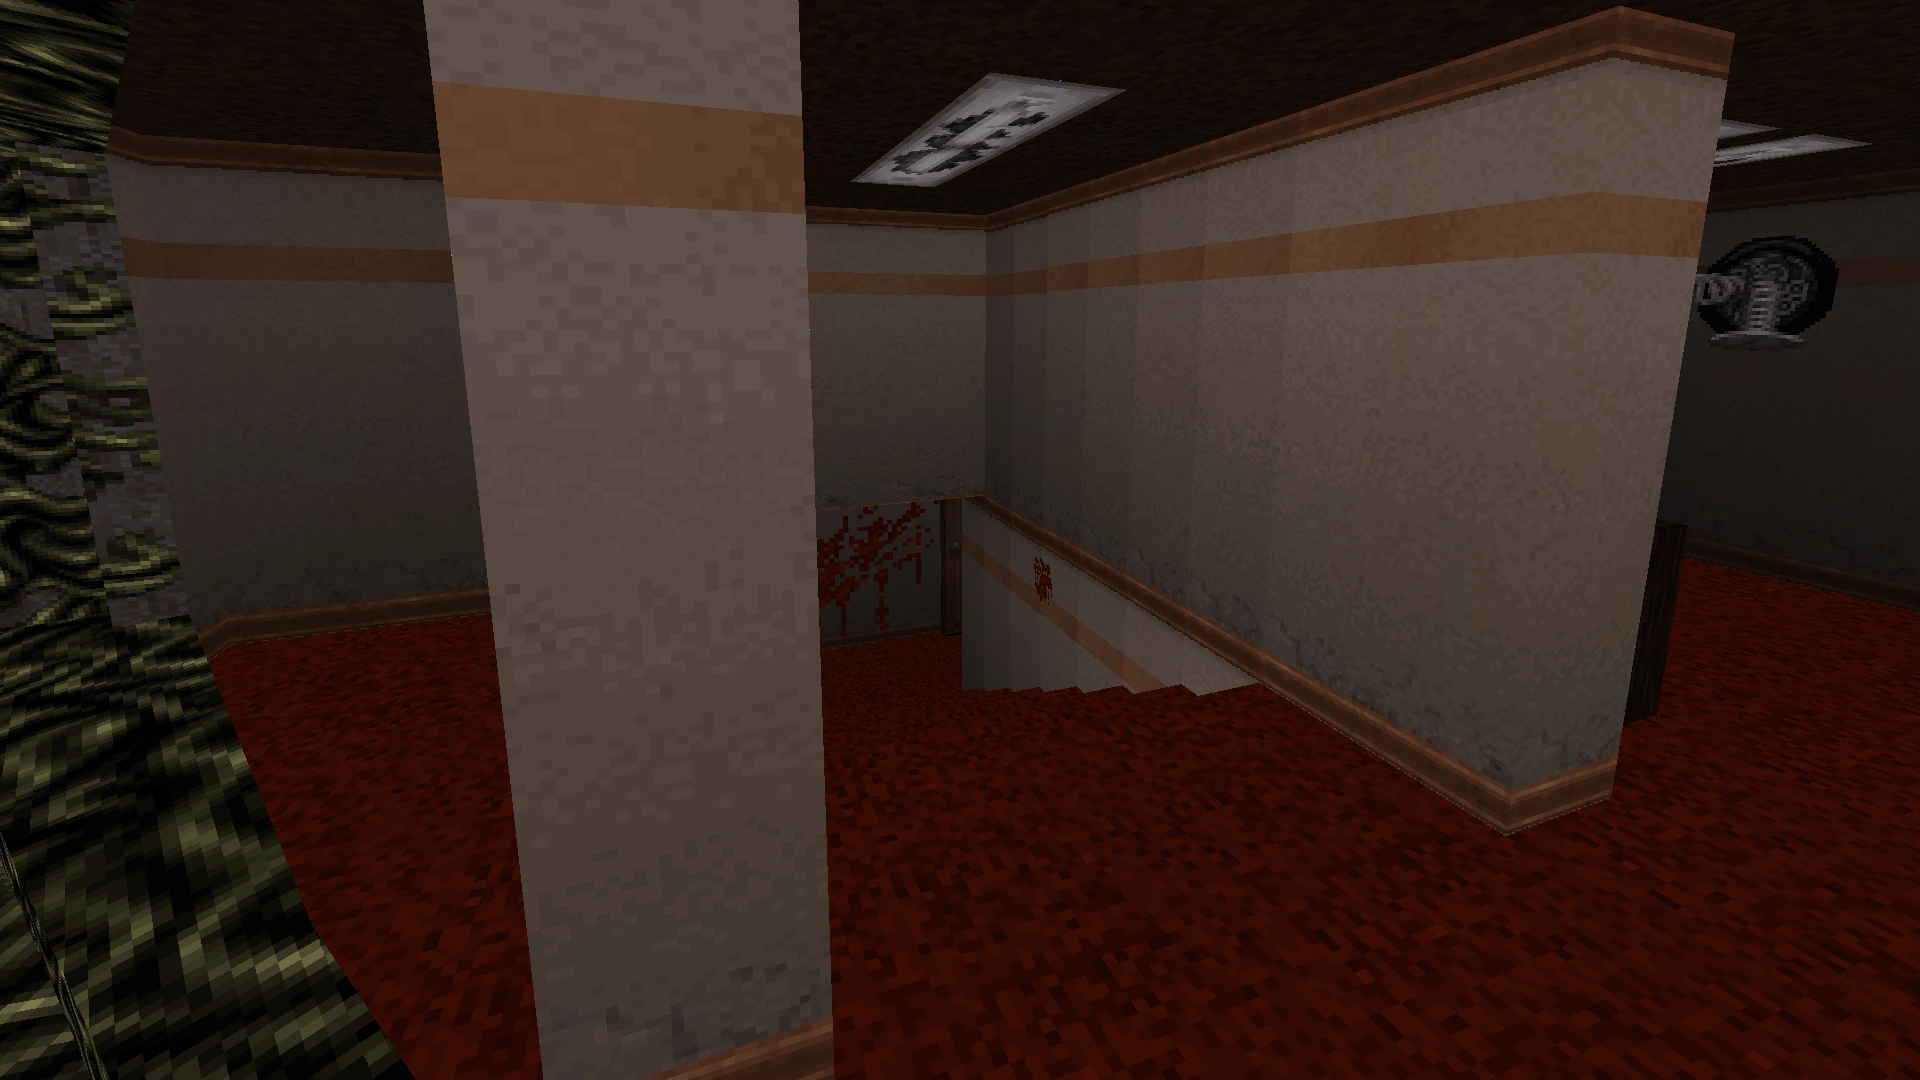
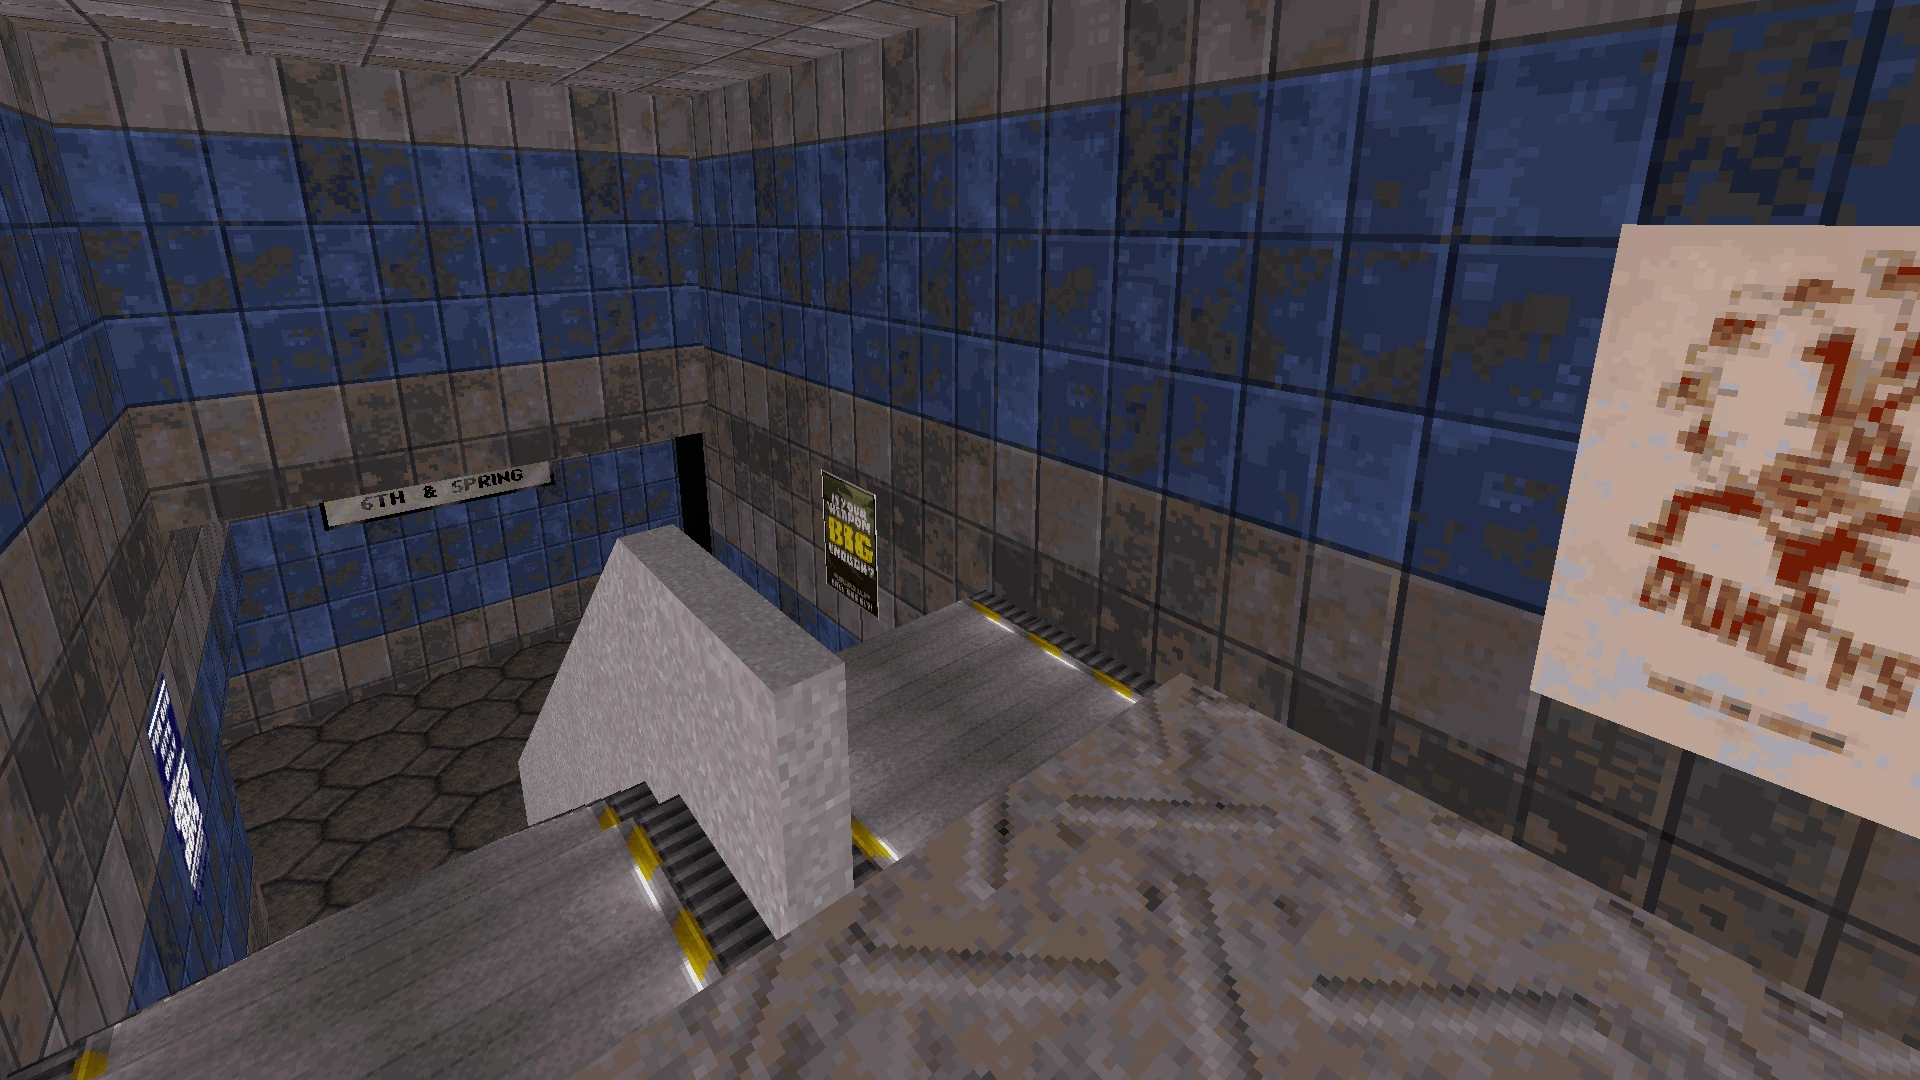
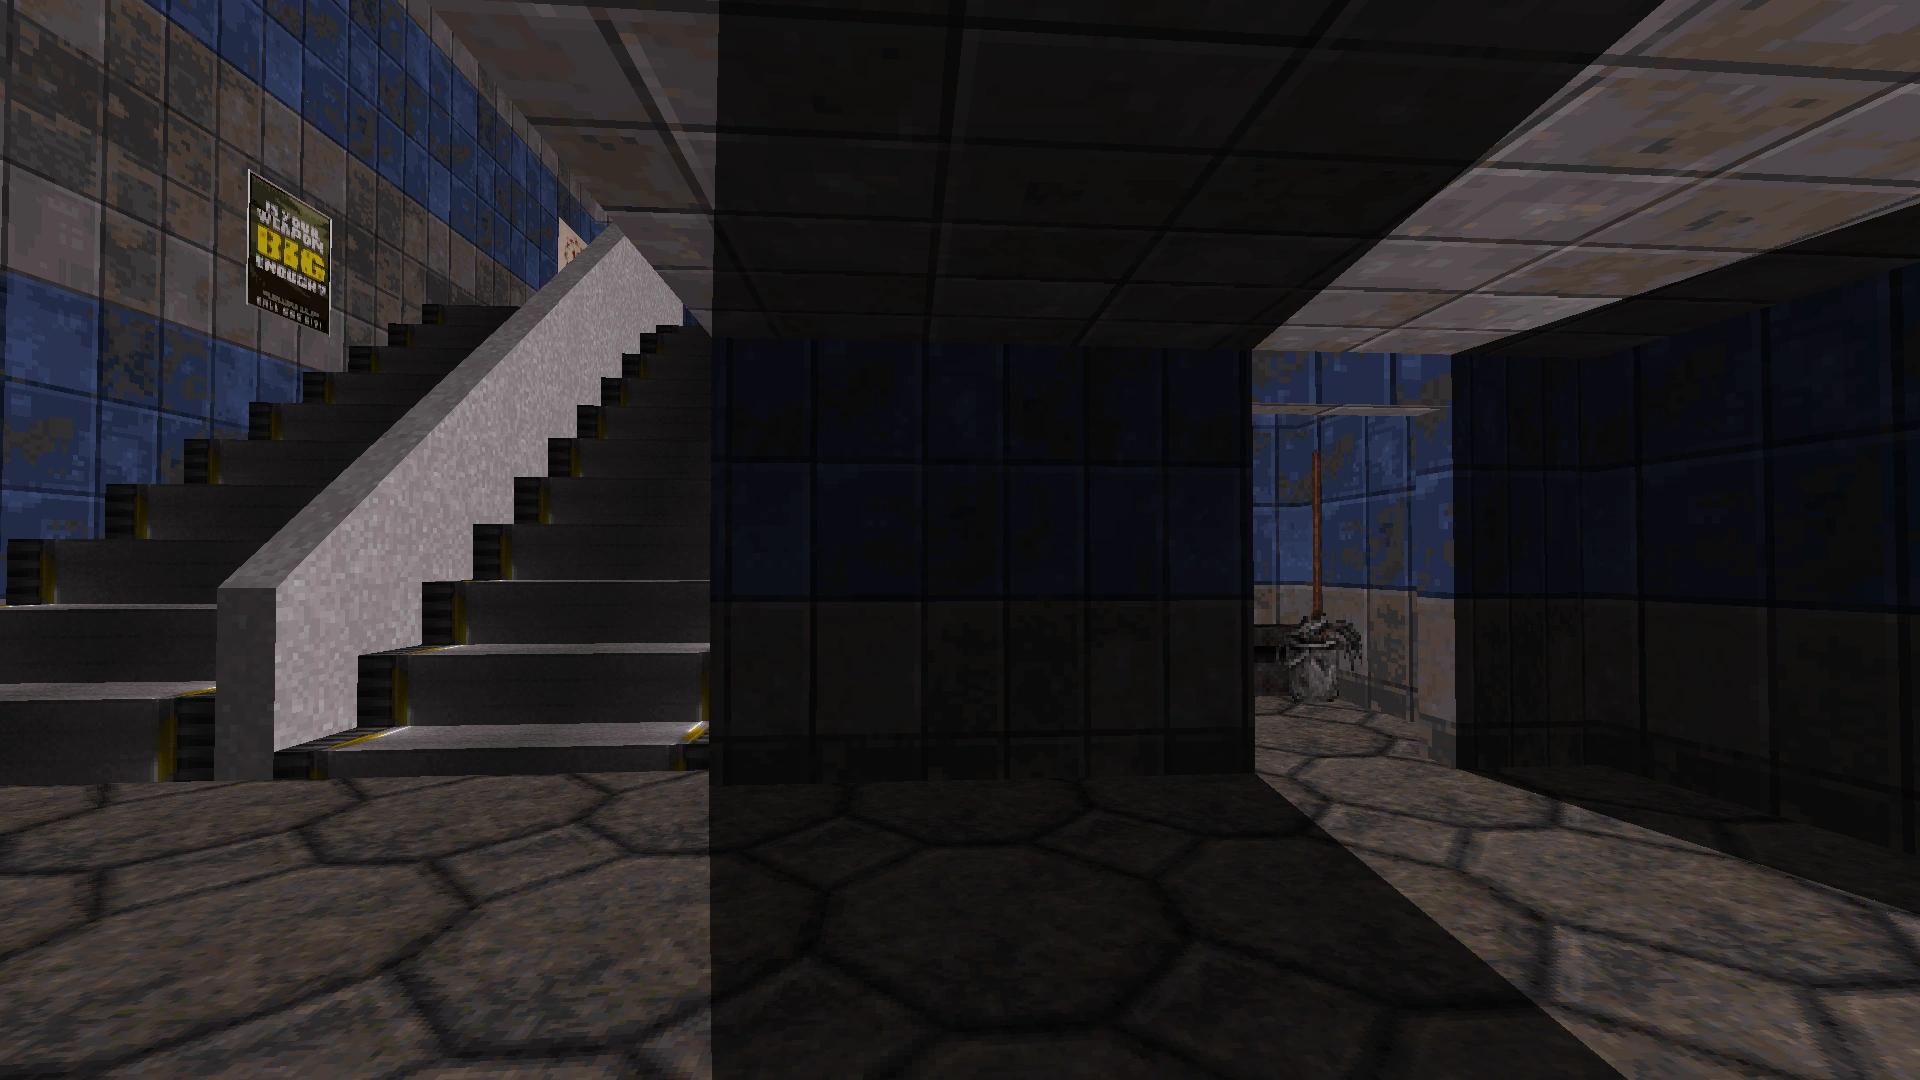
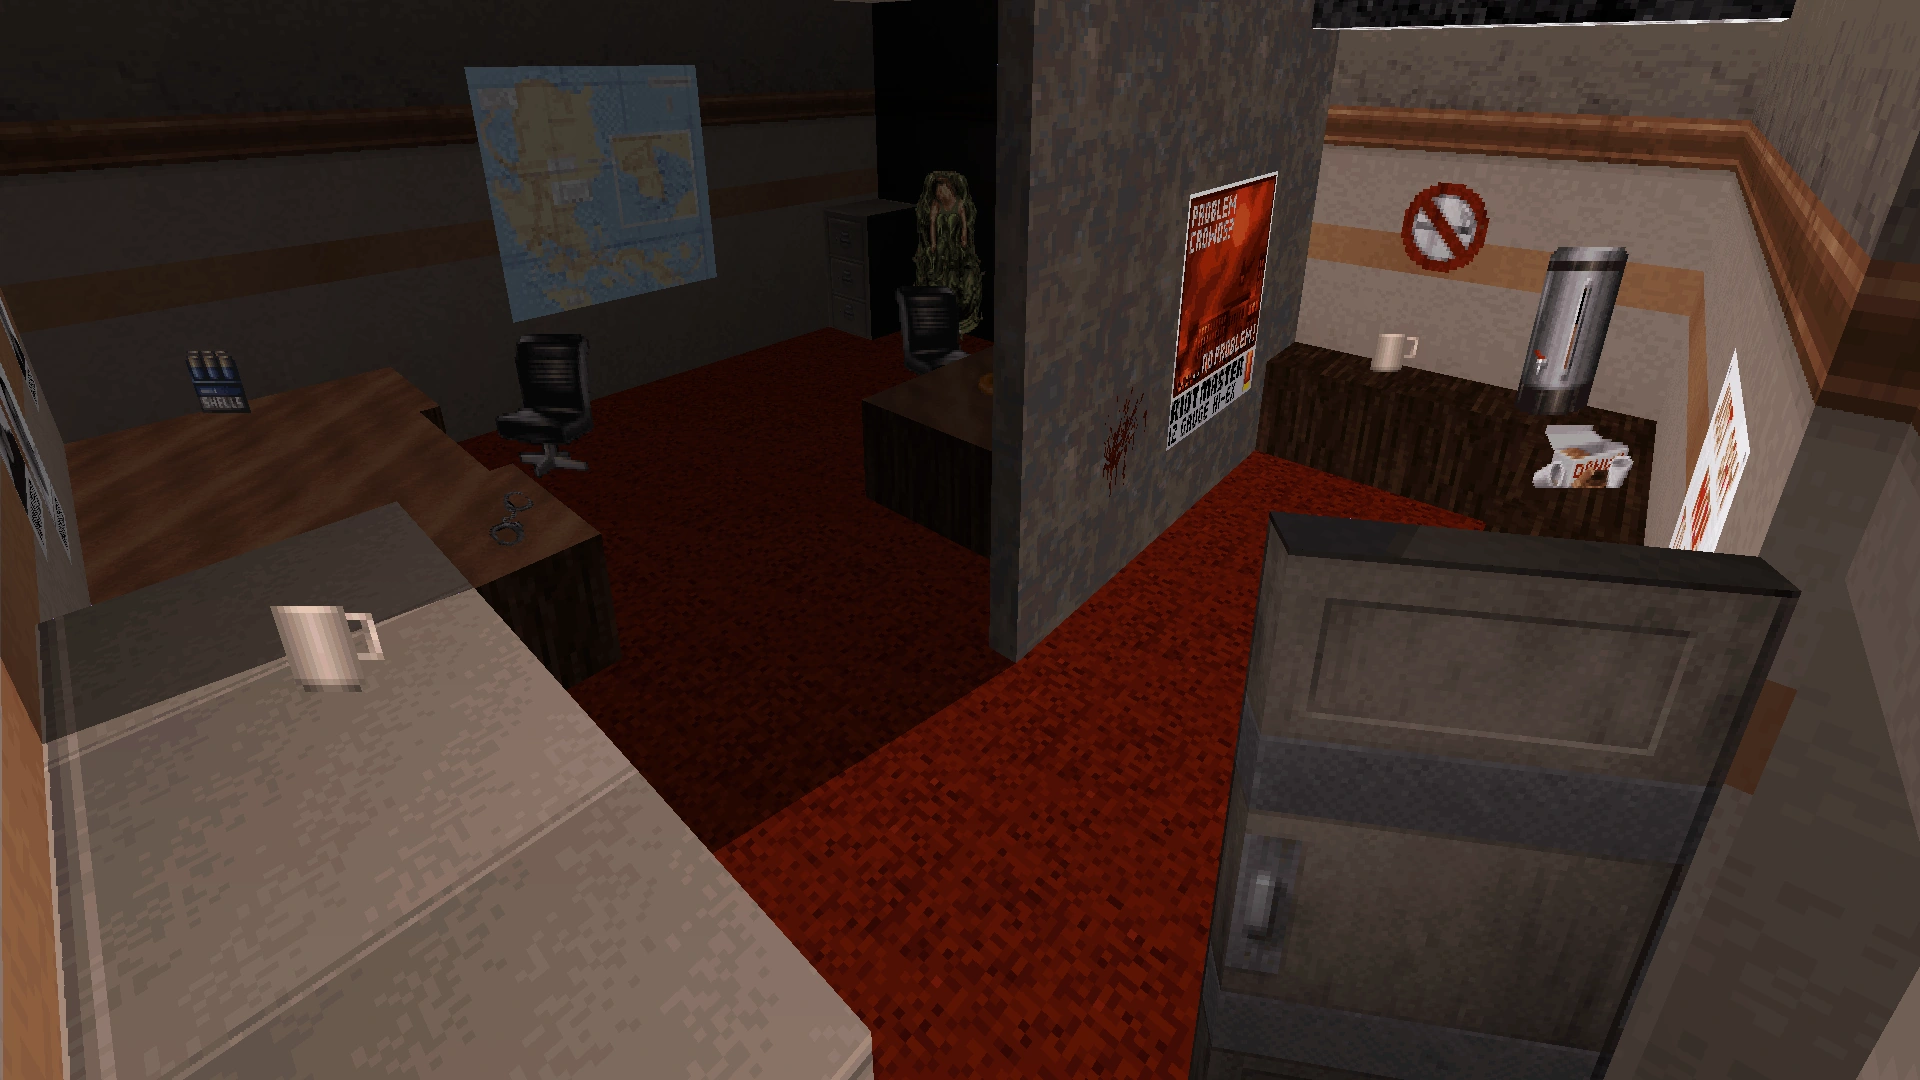
Level 2: Death Row
The two buttons inside the control room at the very beginning of this level have been switched. The left-hand button now opens the curtains, and the right-hand button now lowers the electric chair.
The right-hand button has been activated, but it lowered the electric chair, instead of opening the curtains.
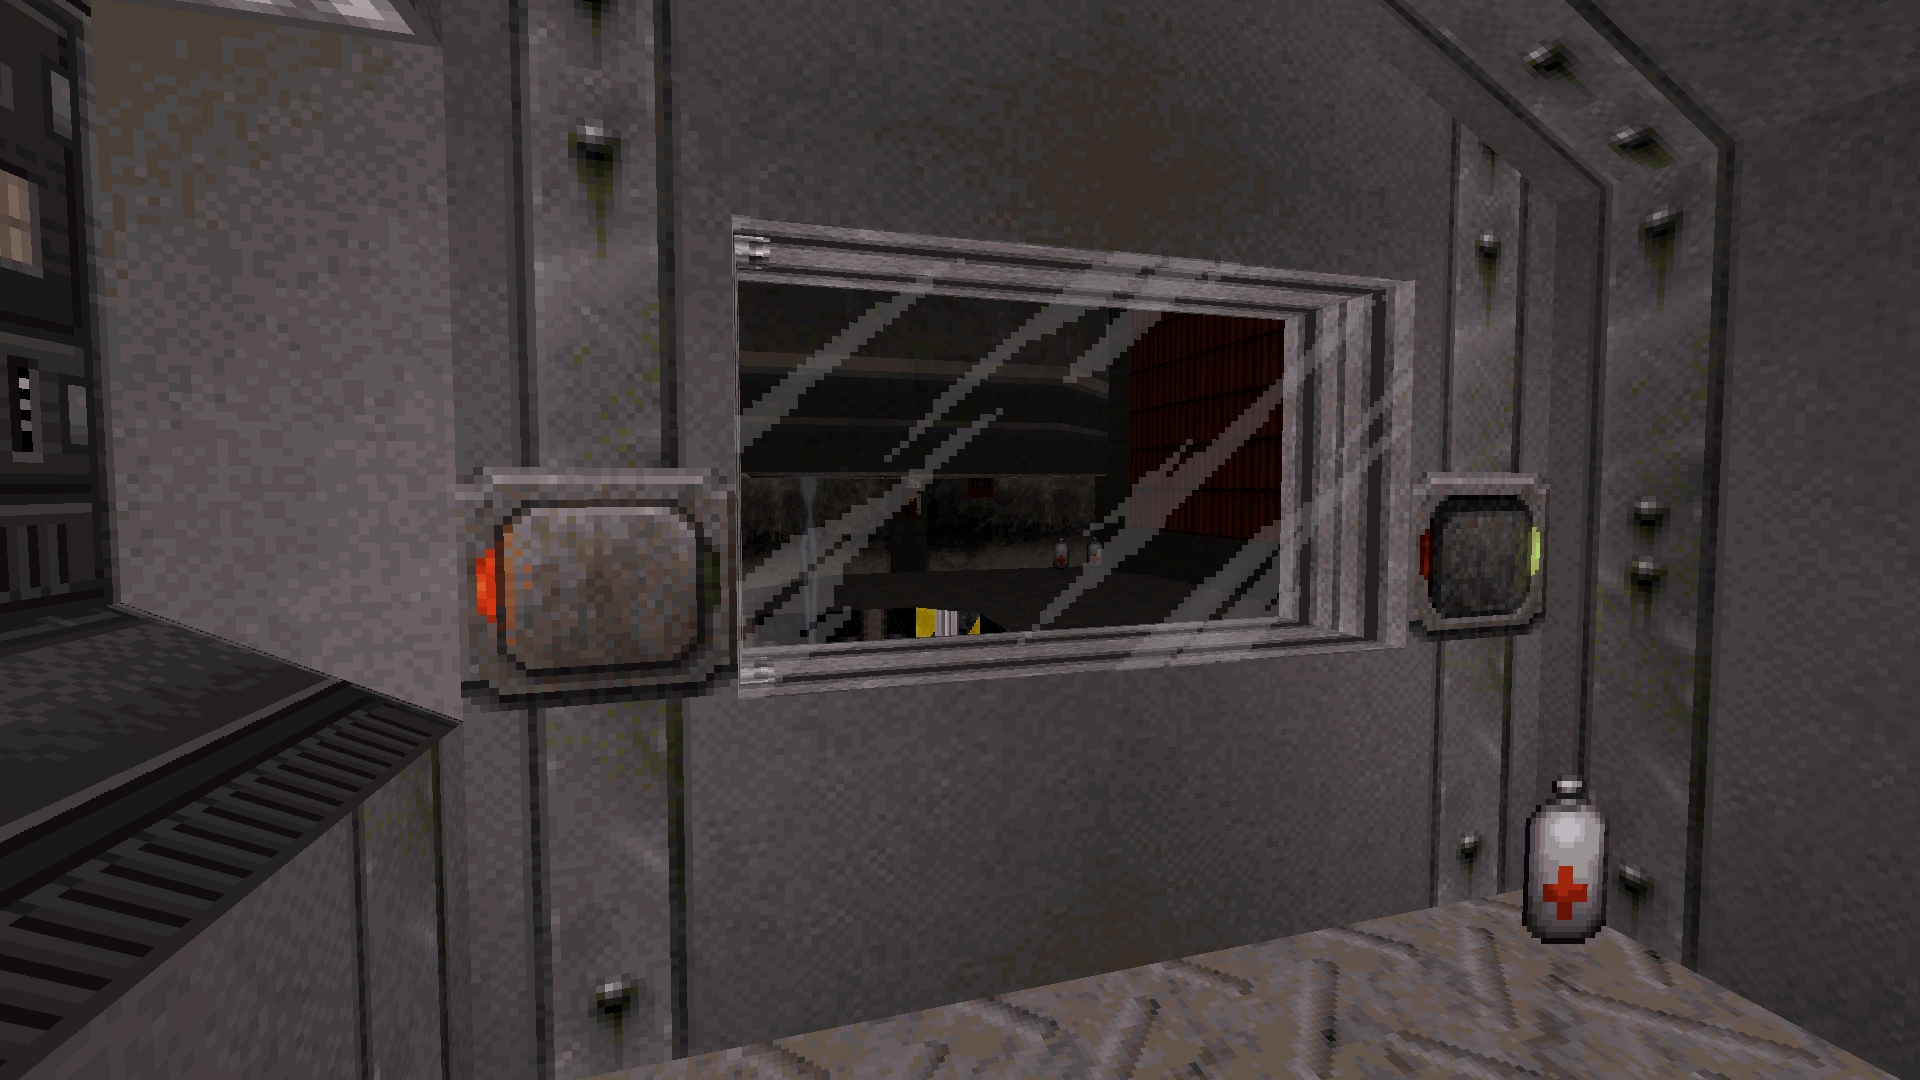
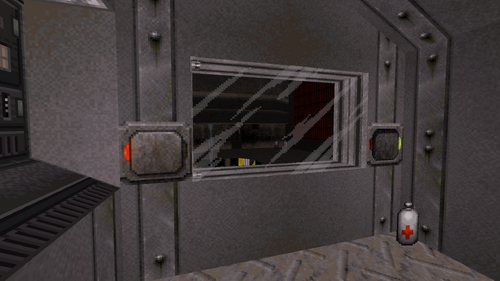
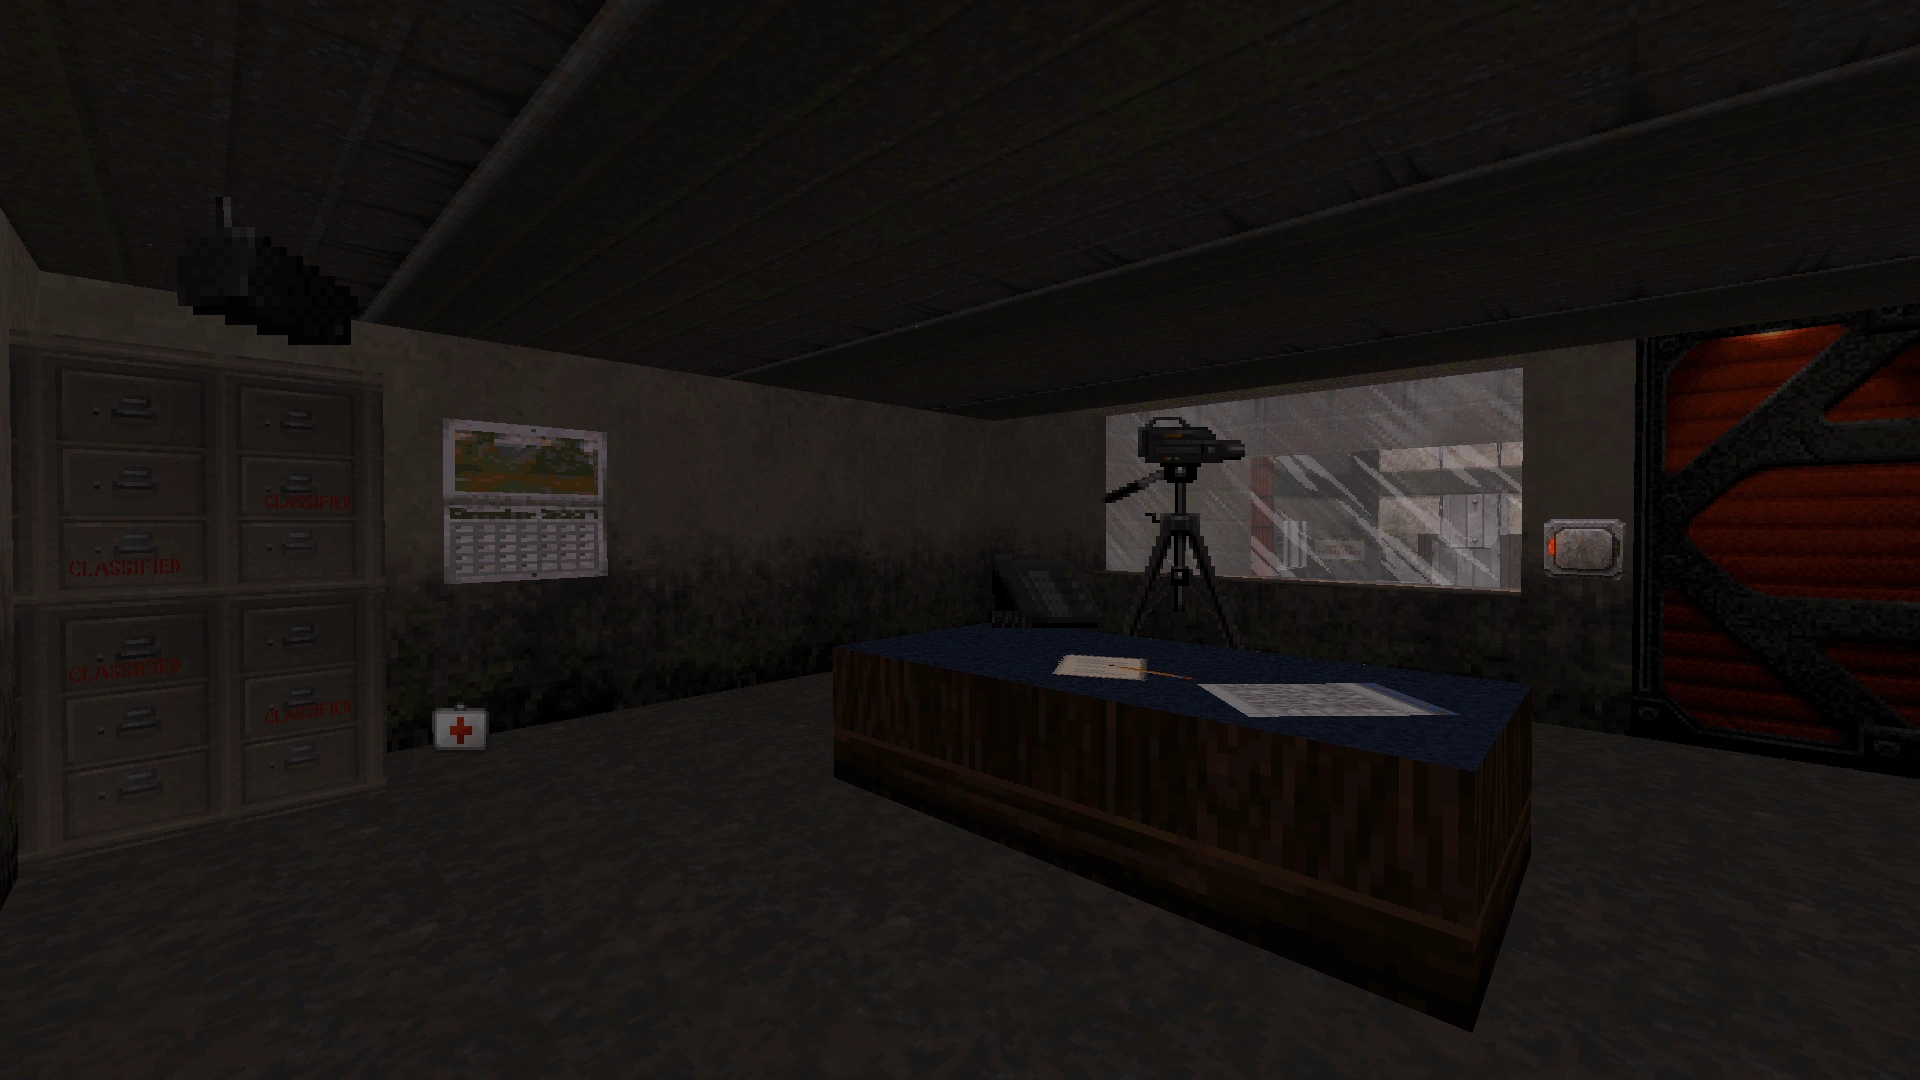
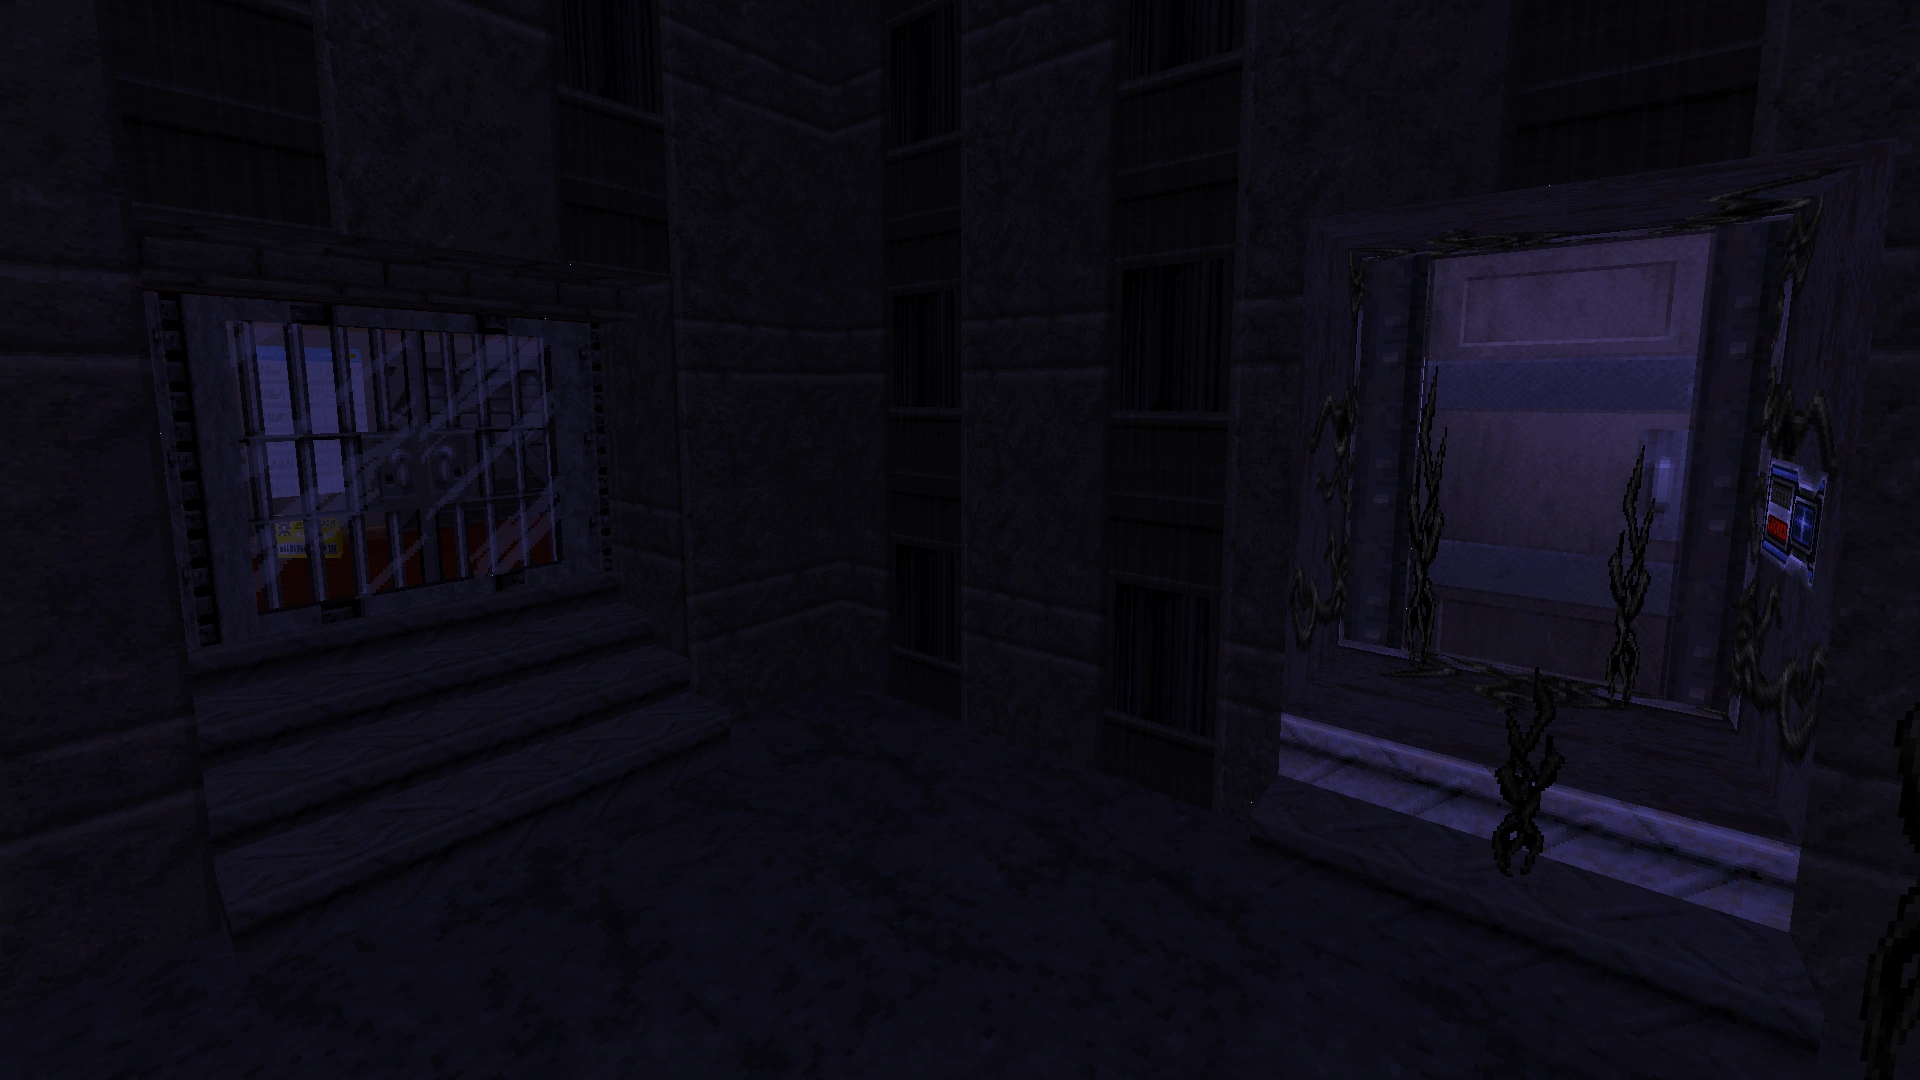
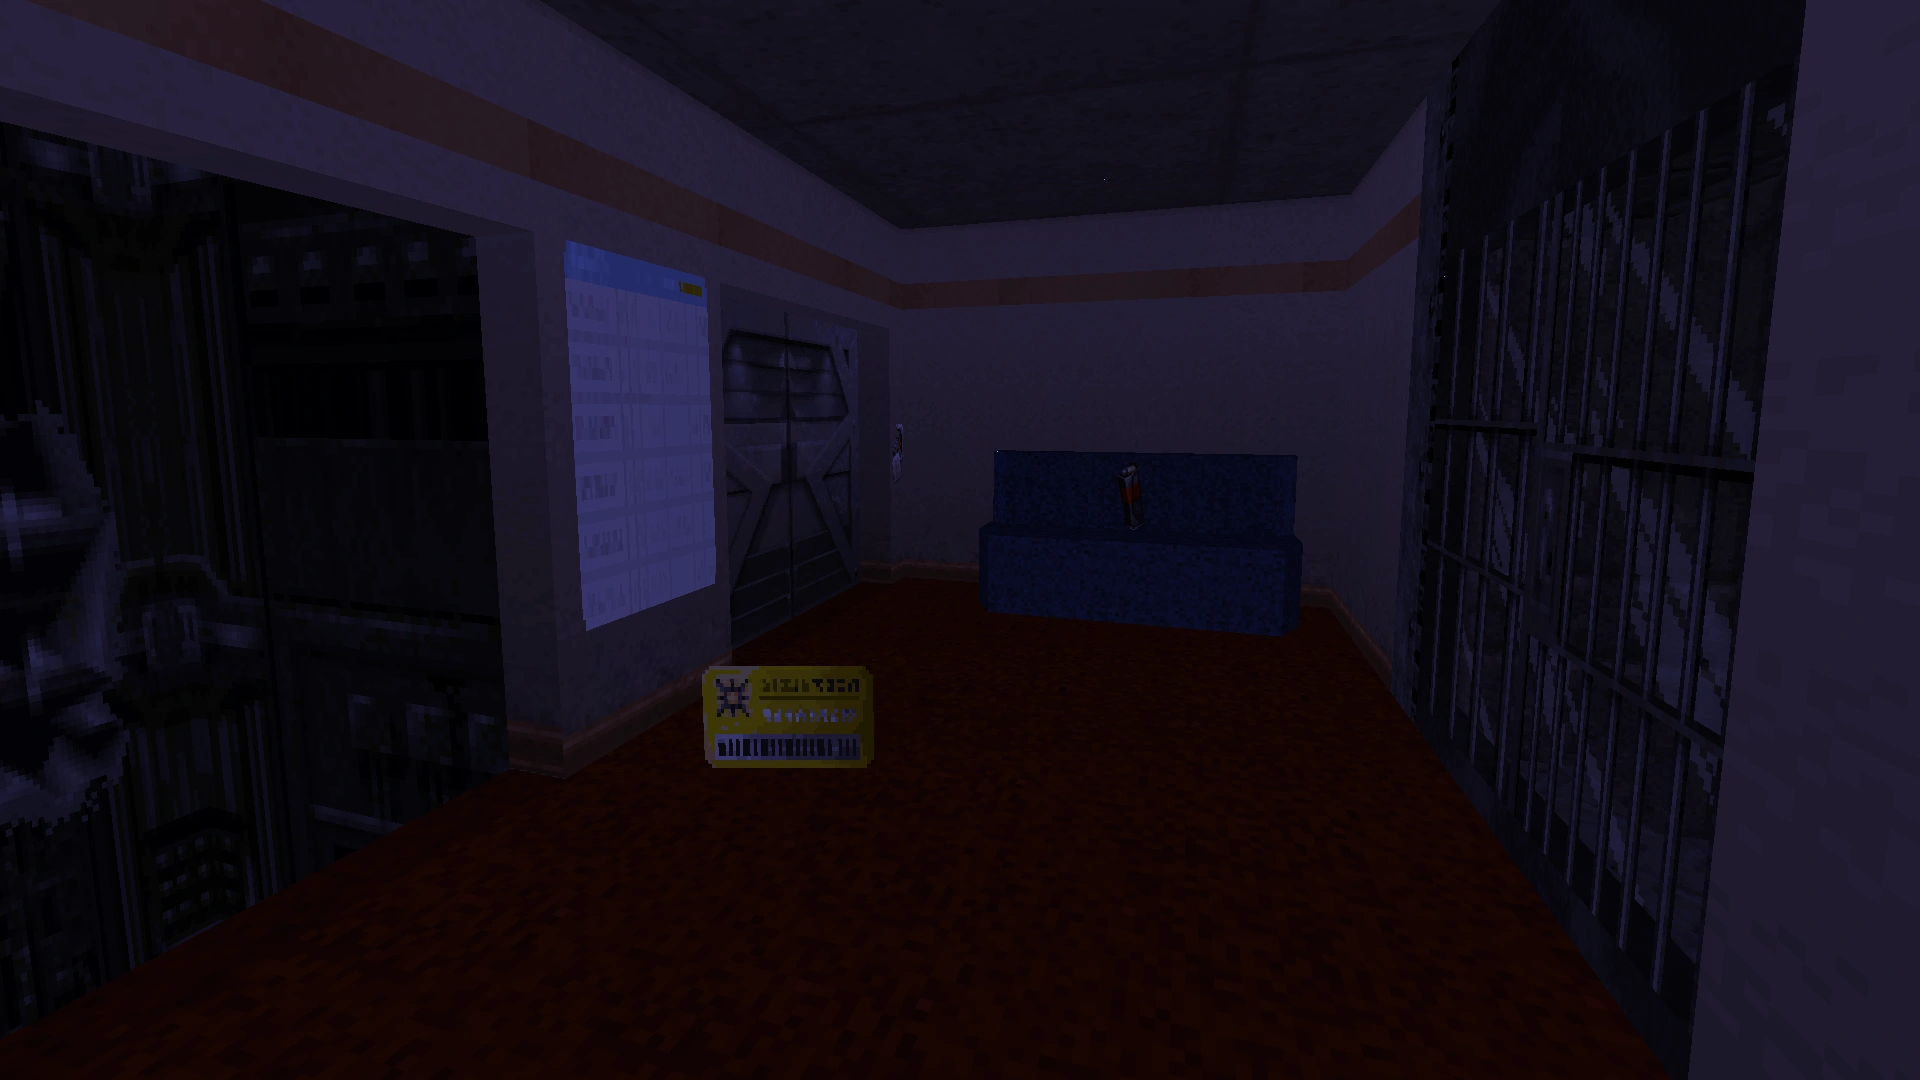
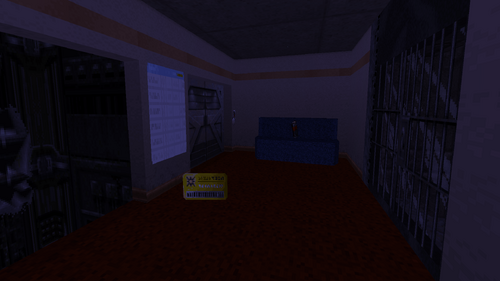
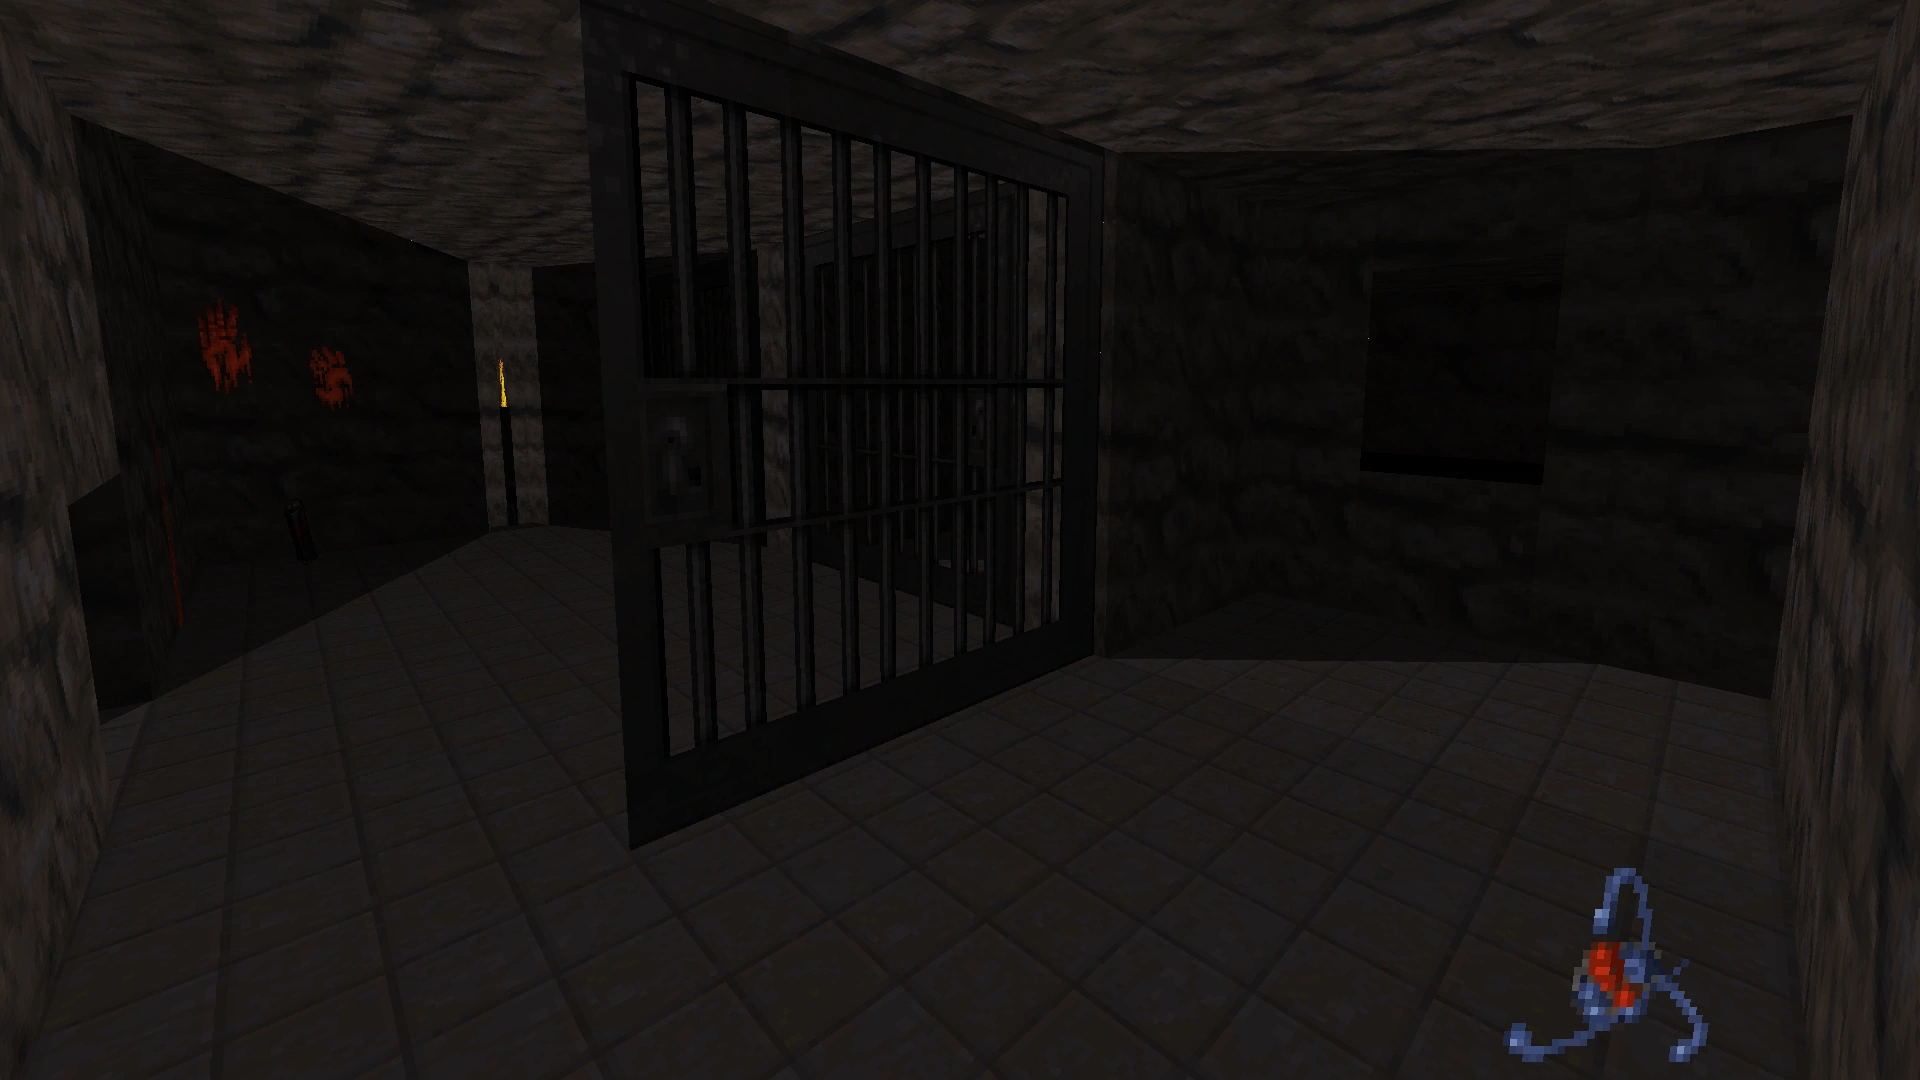
The witness room (where members of the public can watch executions) now contains a locked door and one-way mirror on the back wall.

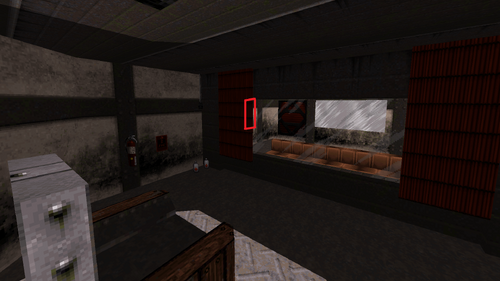
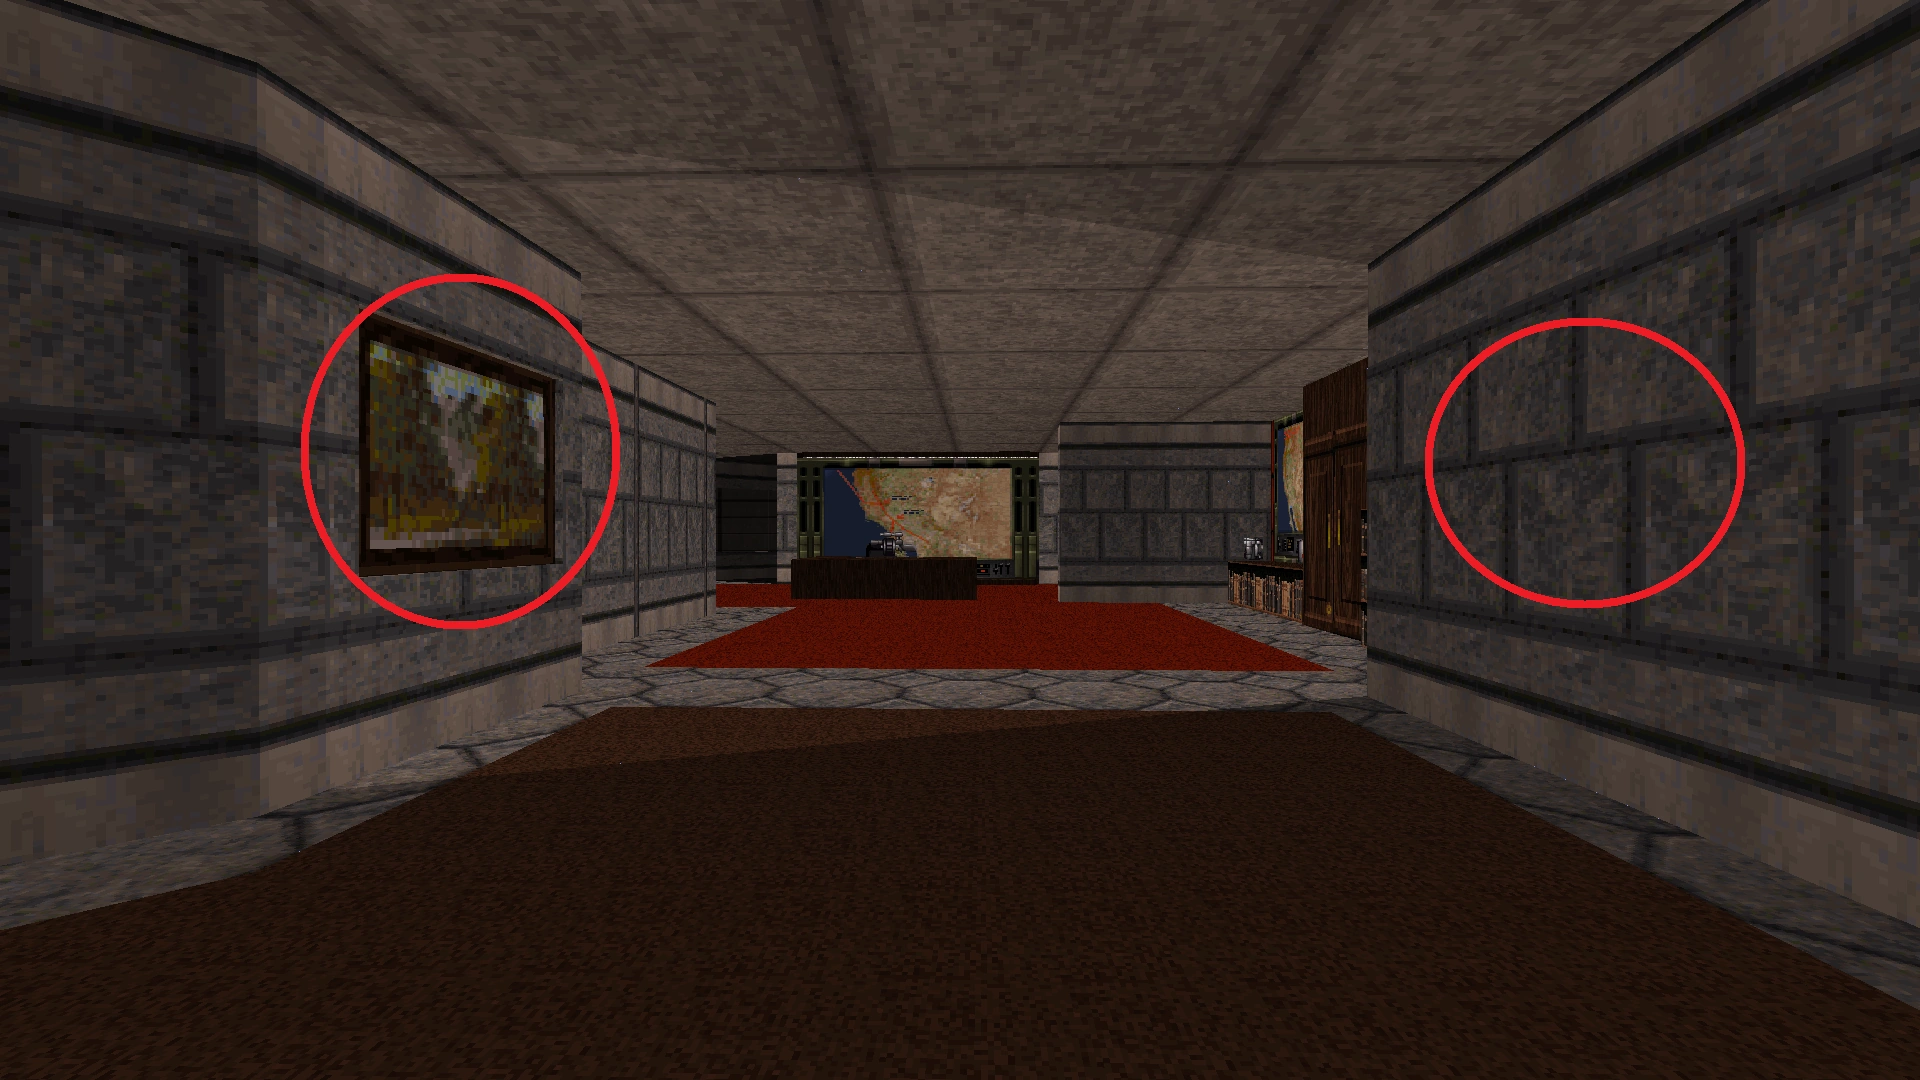
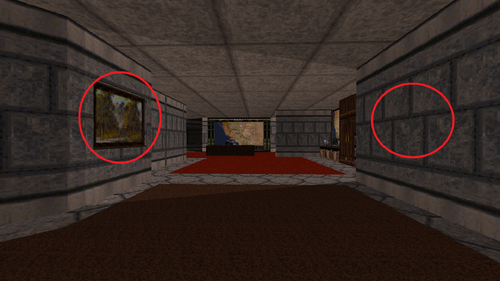
New door and one-way mirror in the witness room. A new secret compartment (highlighted in red) containing a Holoduke has been added inside the wall of the witness room.
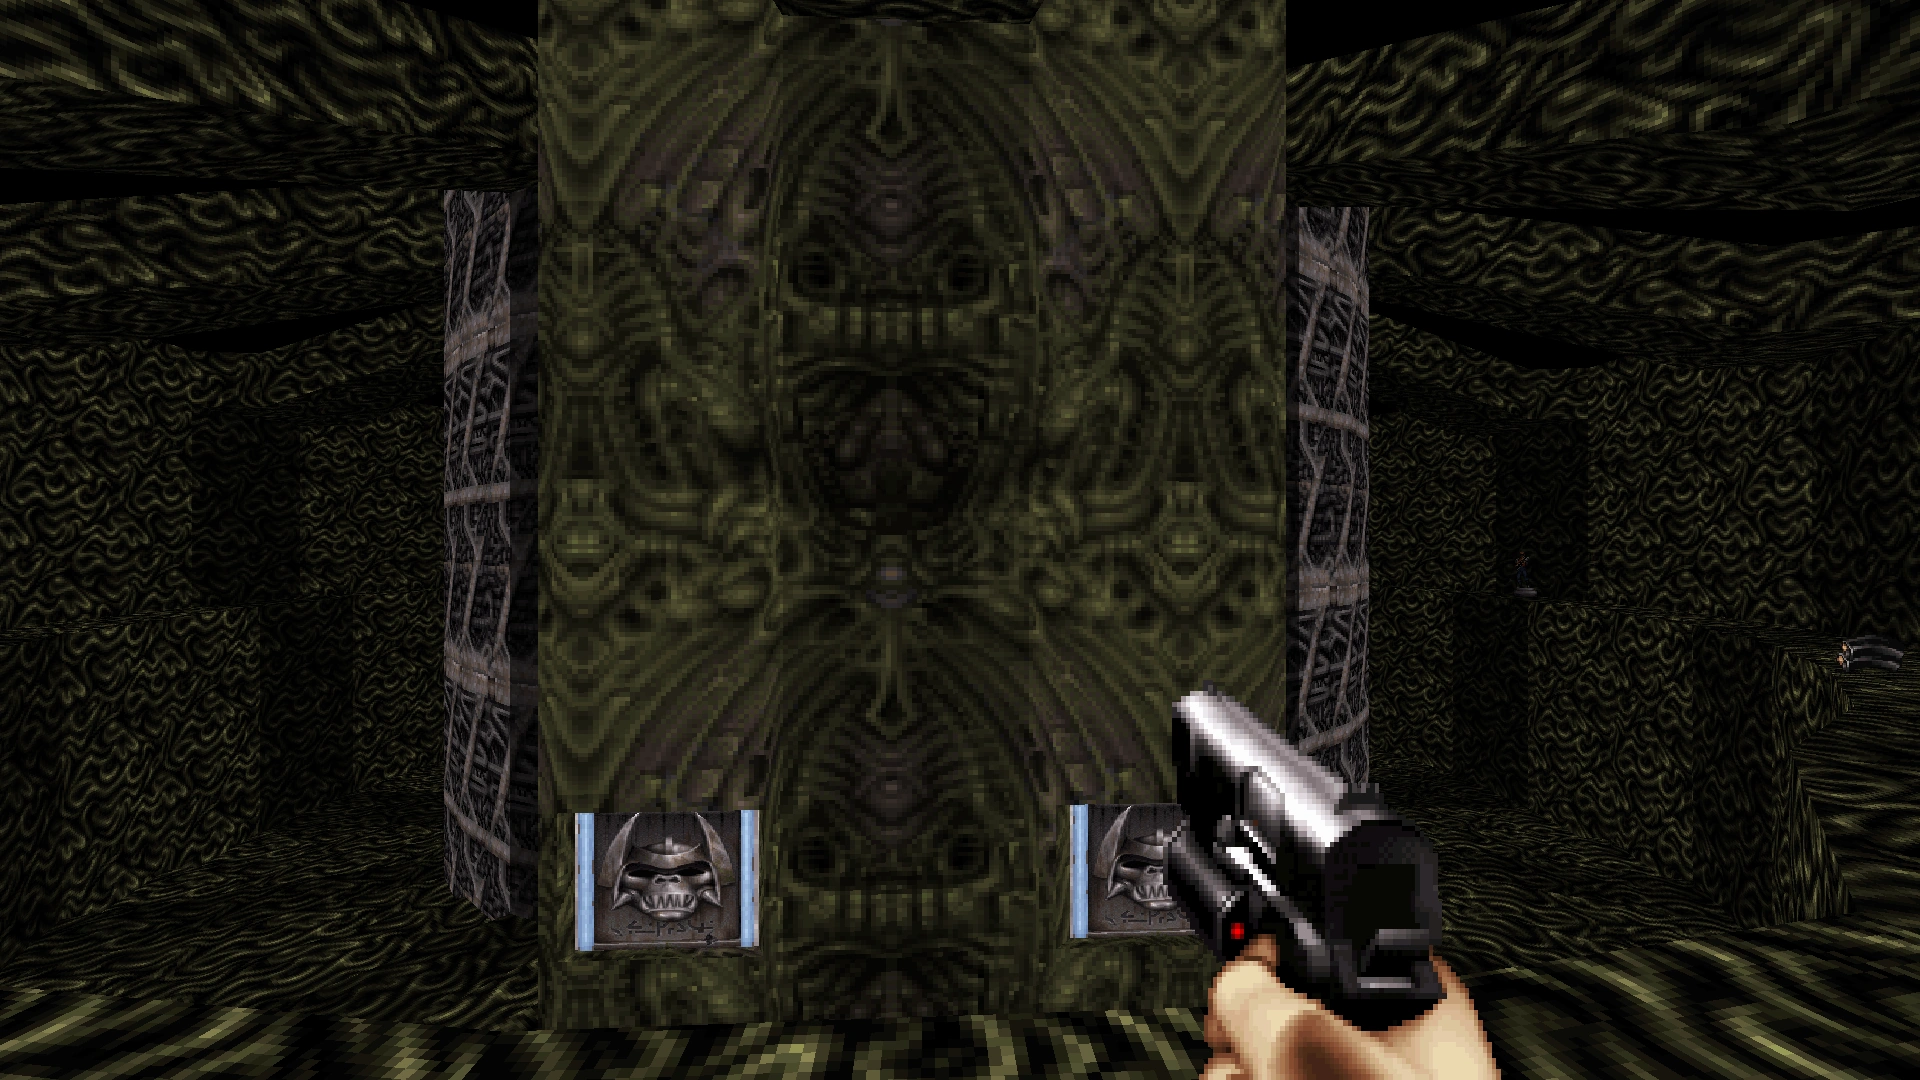
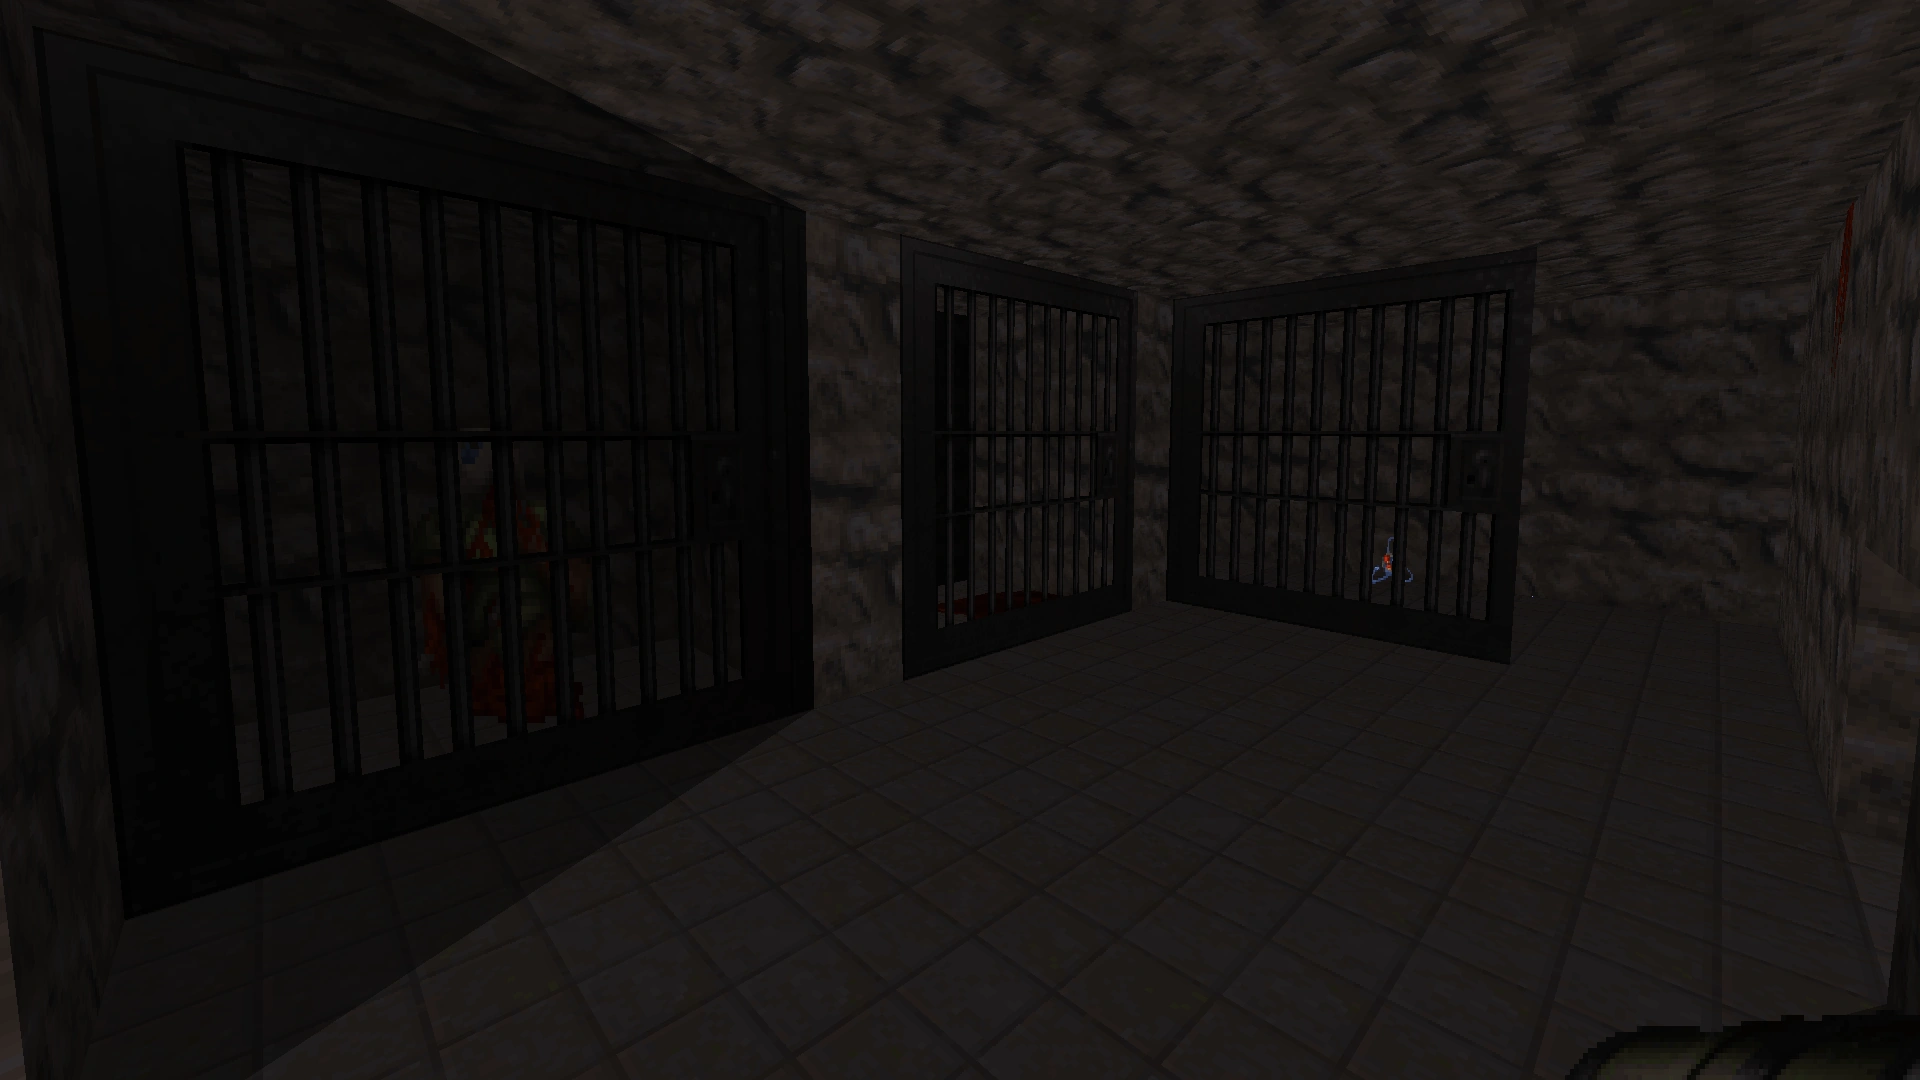
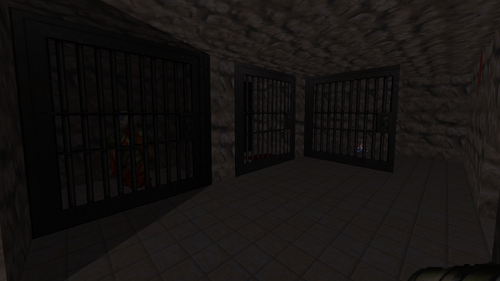
Because Nintendo does not allow religious references in their games, the chapel on this level has been replaced by a new cell block.
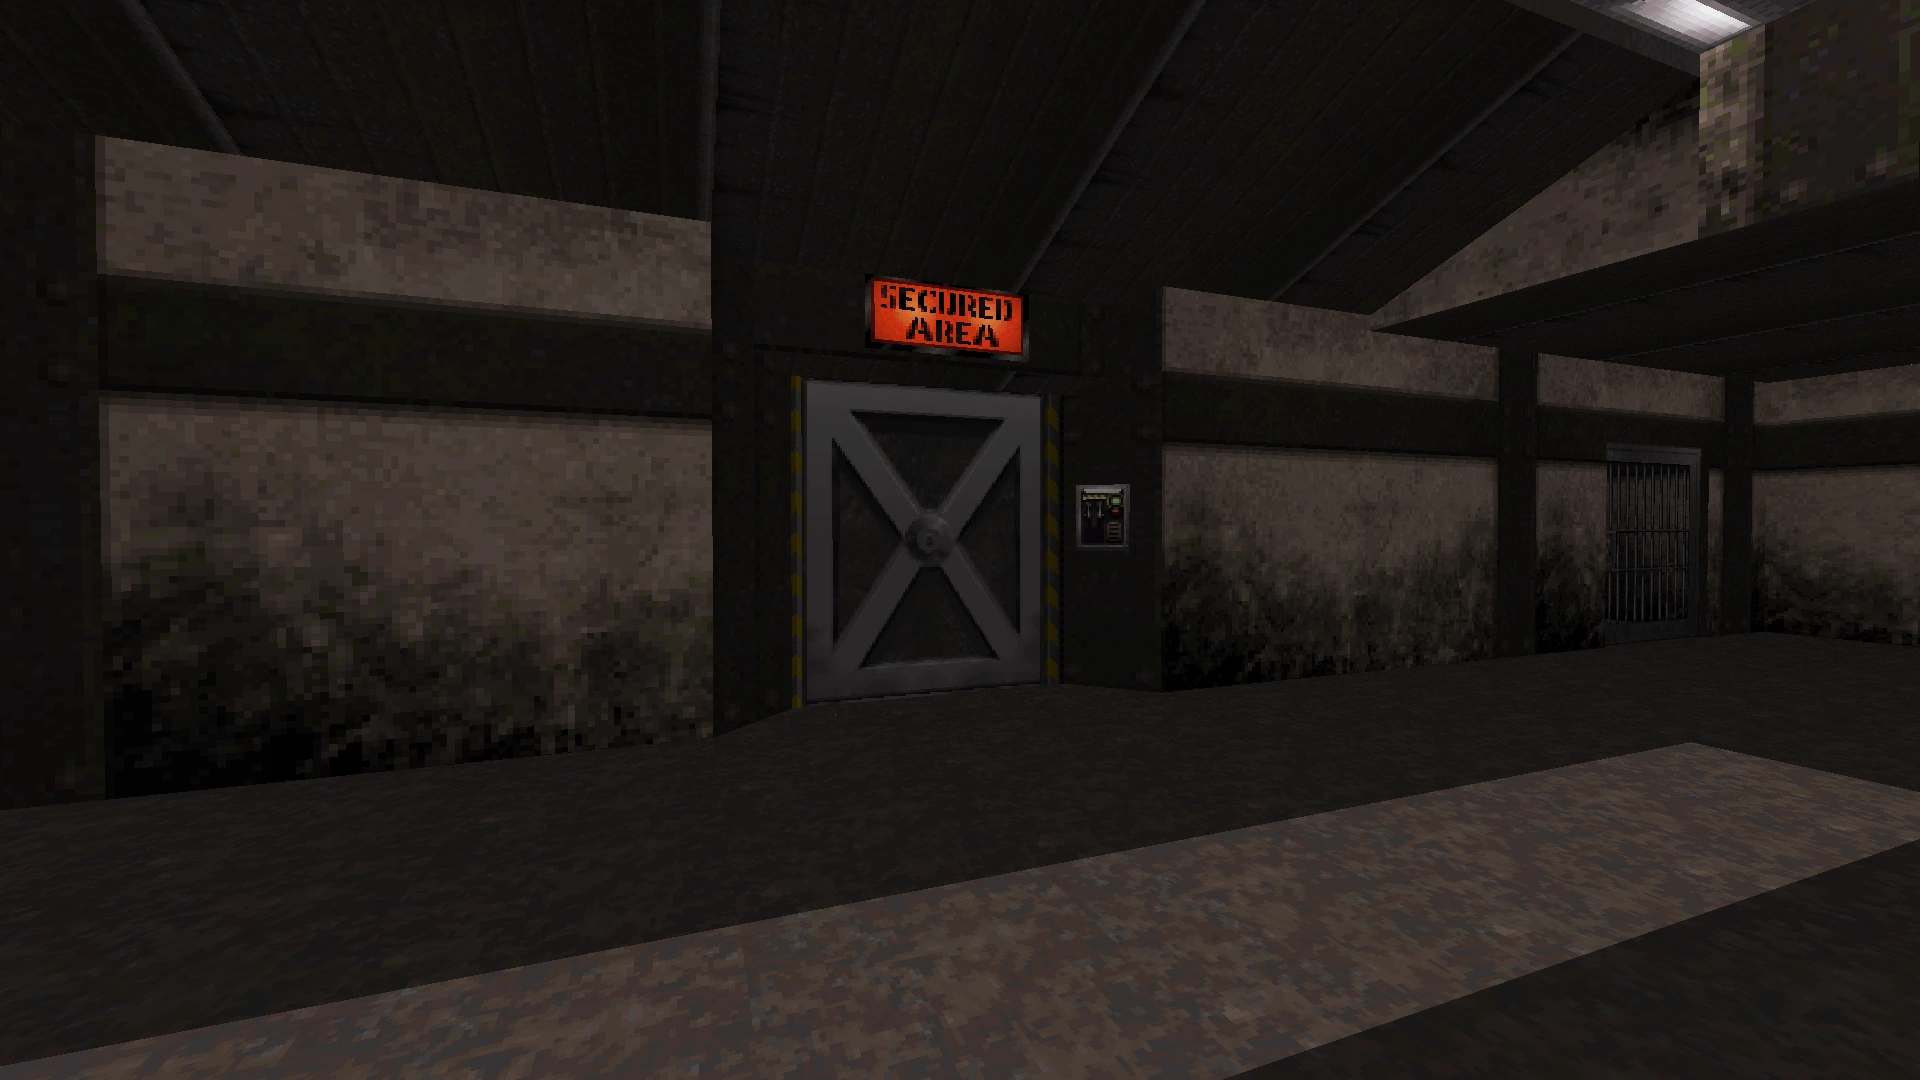
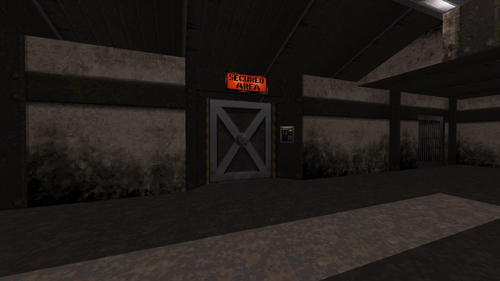
The entrance to the chapel has been replaced by a set of double doors. Activating the switch on the outside opens the first door, and activating the switch on the inside closes the first door but opens a second door (similar to an aviary or an indoor butterfly garden).
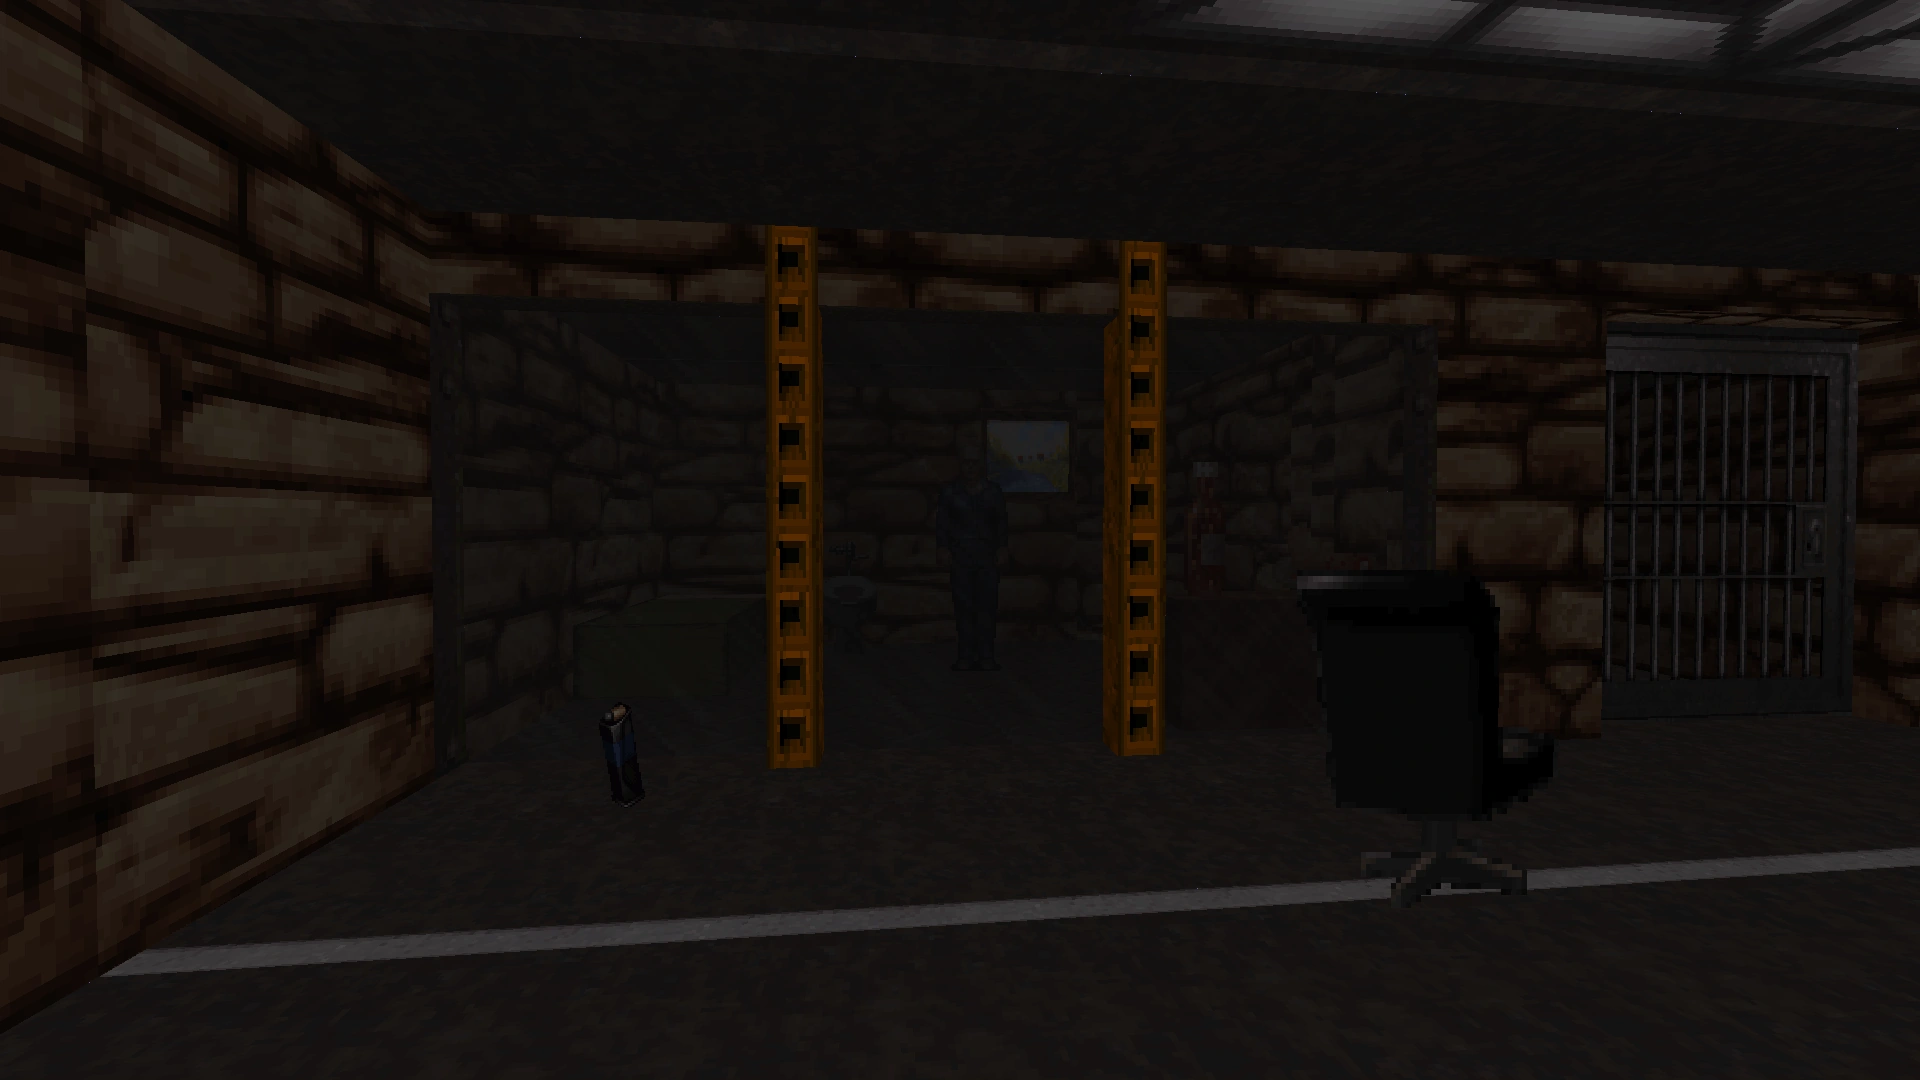
New cell block where there used to be a chapel. The first three cells on the right-hand side are completely empty.
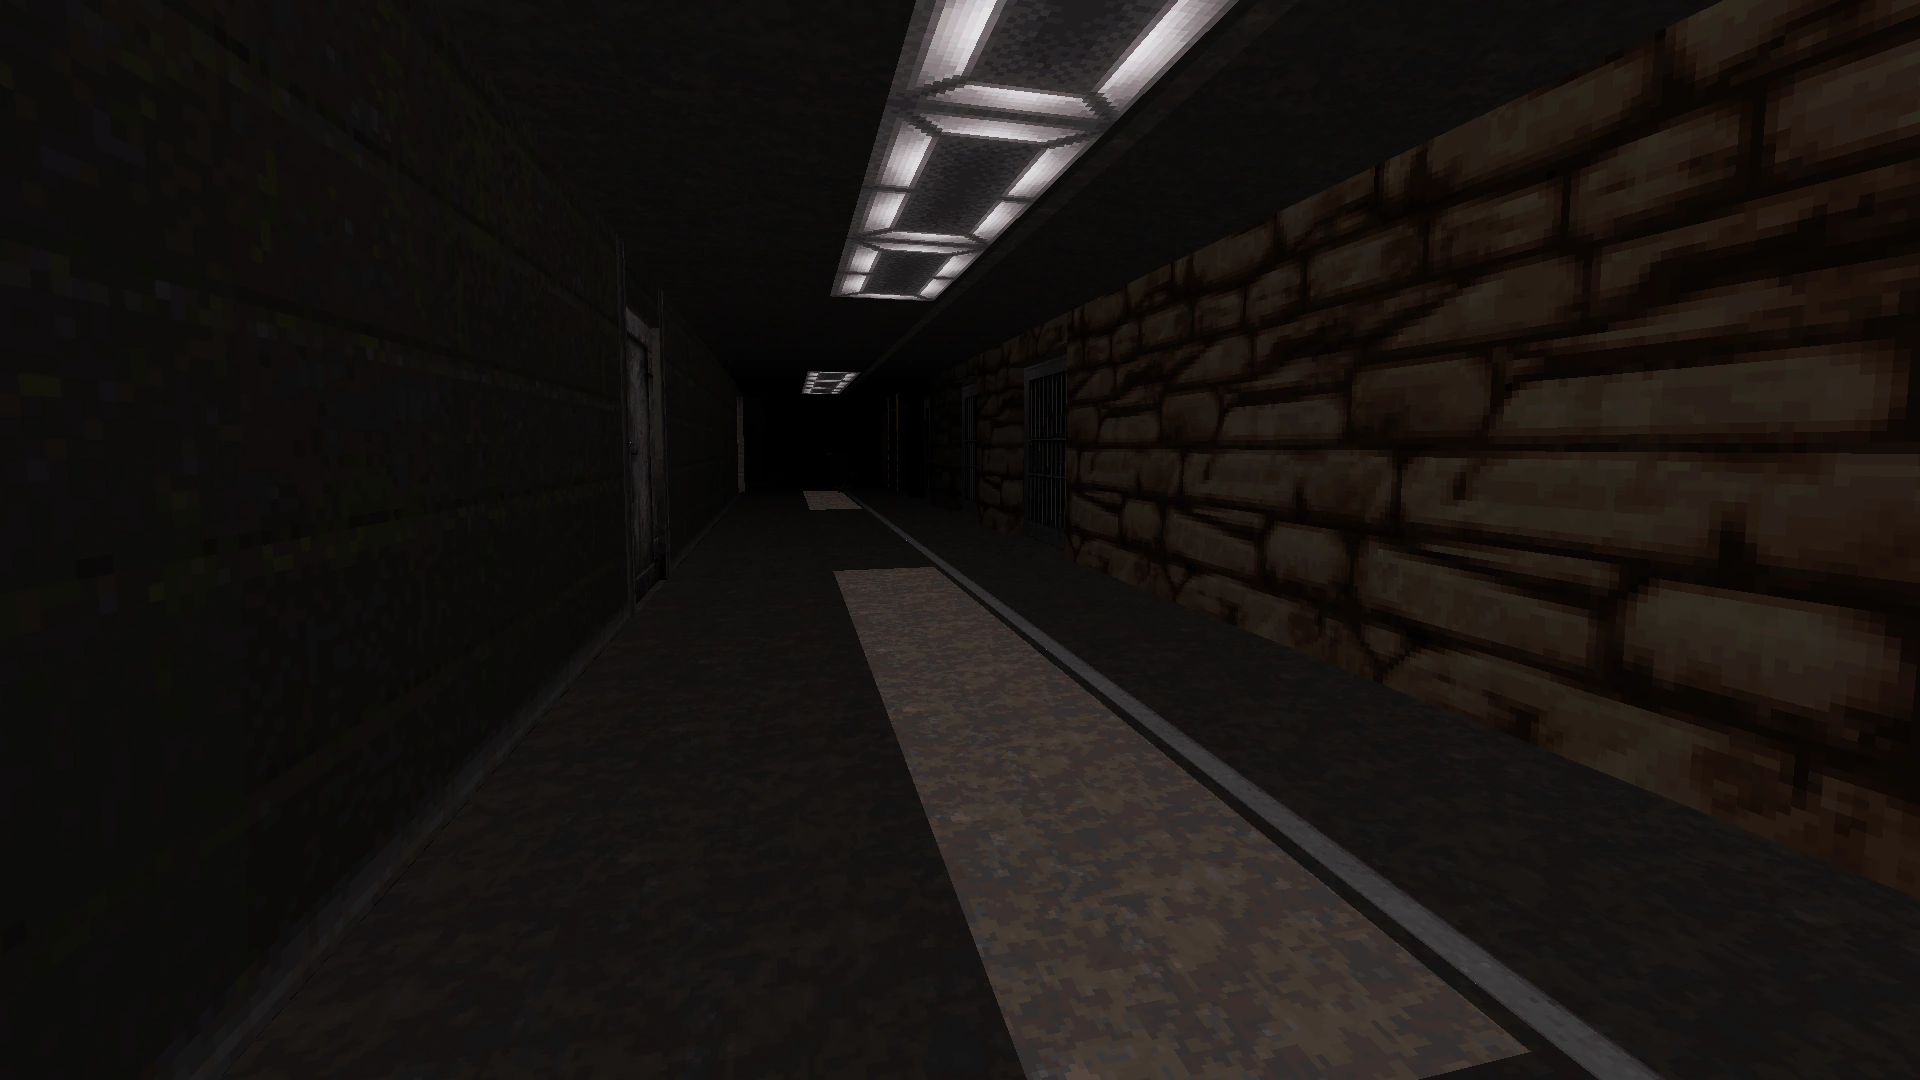
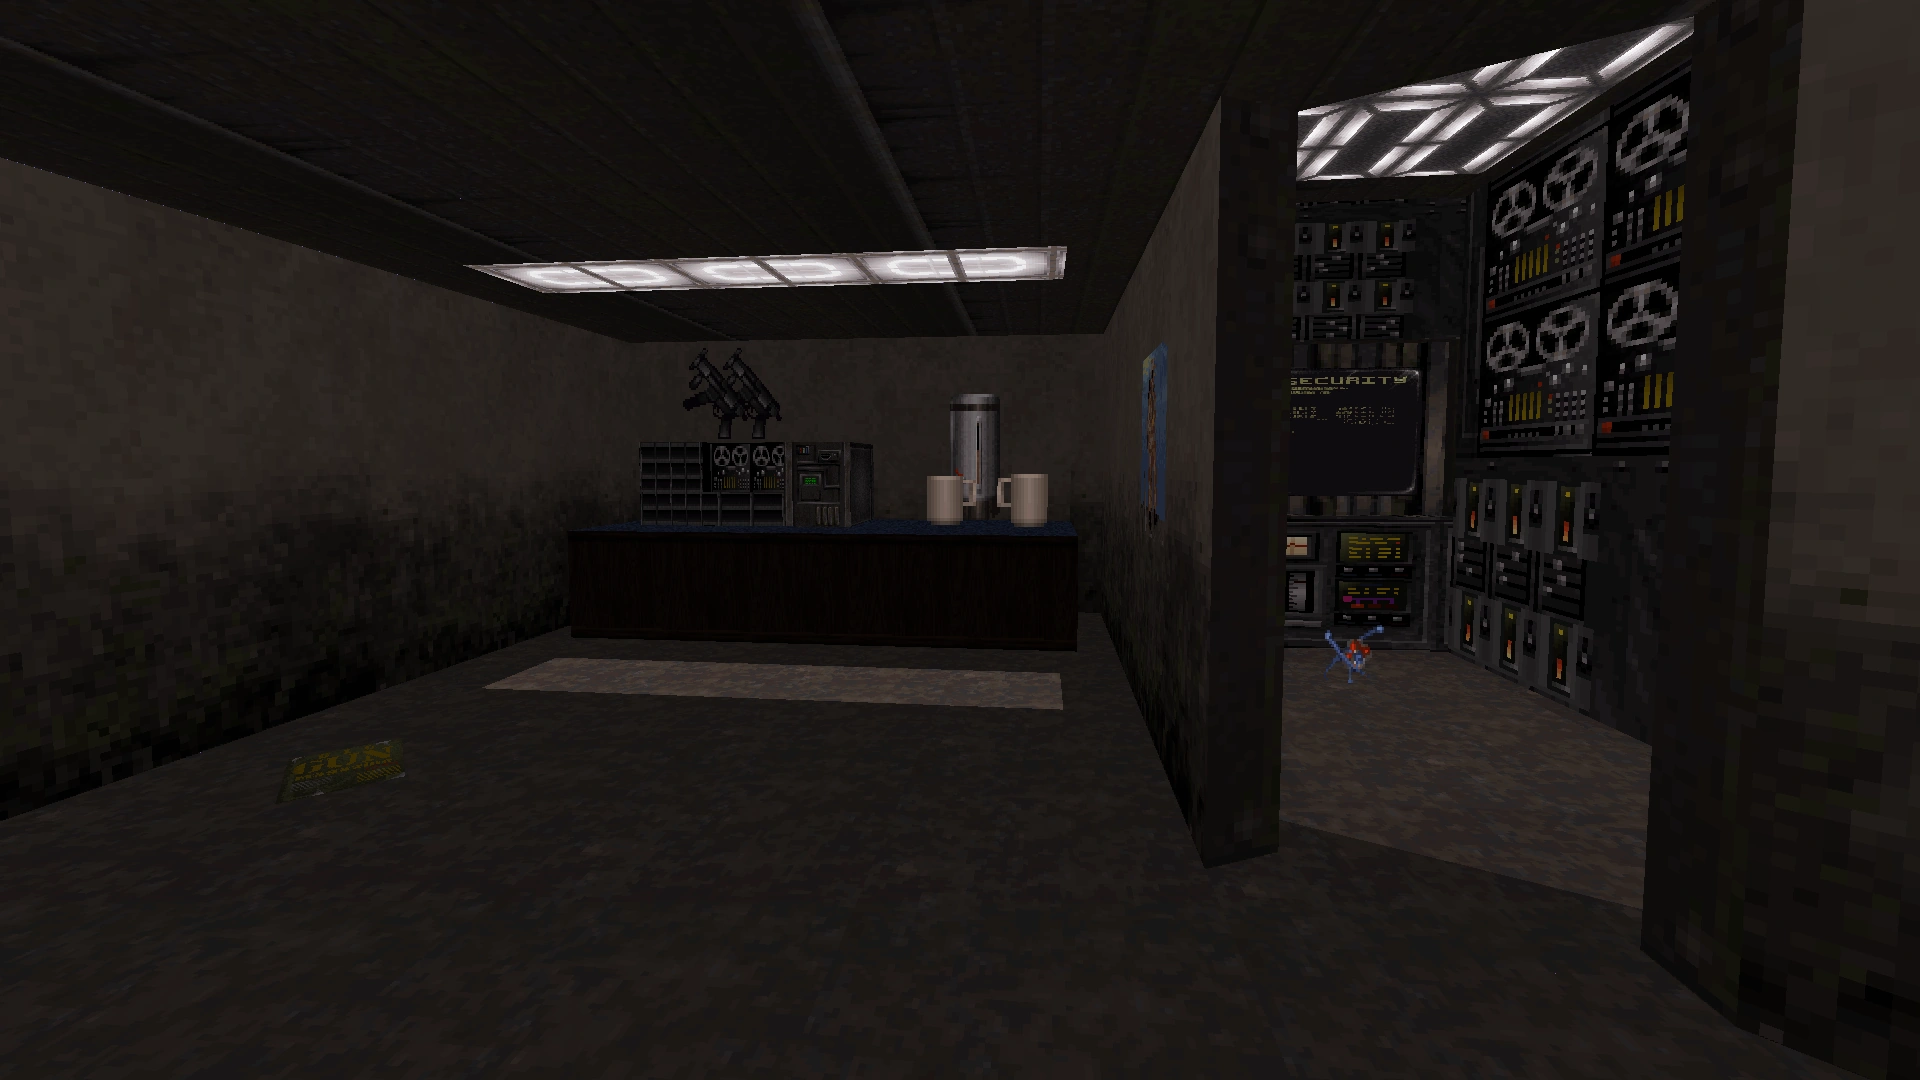
Along the left-hand side of the cell block, there is a recording room behind the first door and a furnished cell behind the second door. Inside the recording room, a secret area containing even more recording equipment can be found by pressing the "use"/"open" key while facing the audio equipment on the coffee stand. This secret area was largely copied-and-pasted from the level Pigsty in the Atomic Edition.


Furnished cell at the end of the cell block, across from Hannibal Lector's cell. There is normally a single Assault Trooper in this cell, but there are no items or secrets.
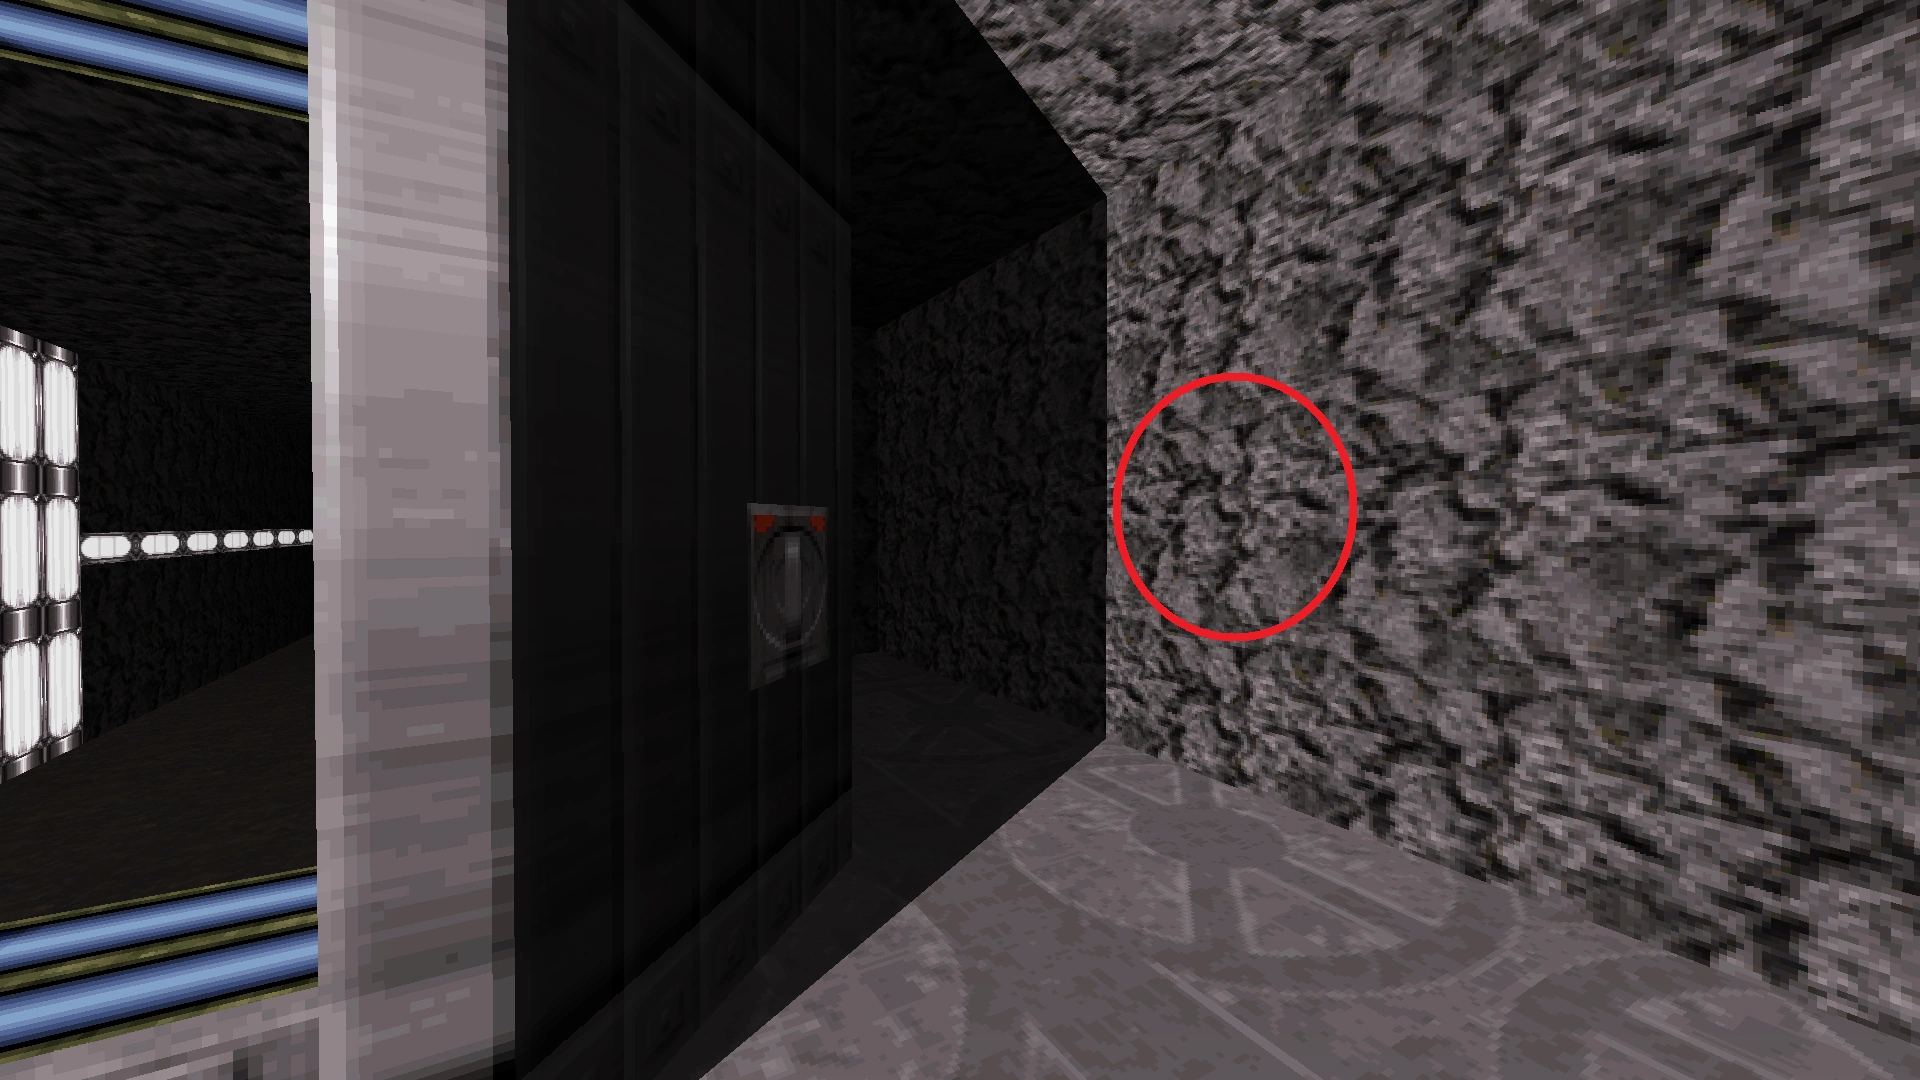
Along the right-hand side of the cell block, there are three empty, unfurnished cells, but the fourth cell features Hannibal Lector.

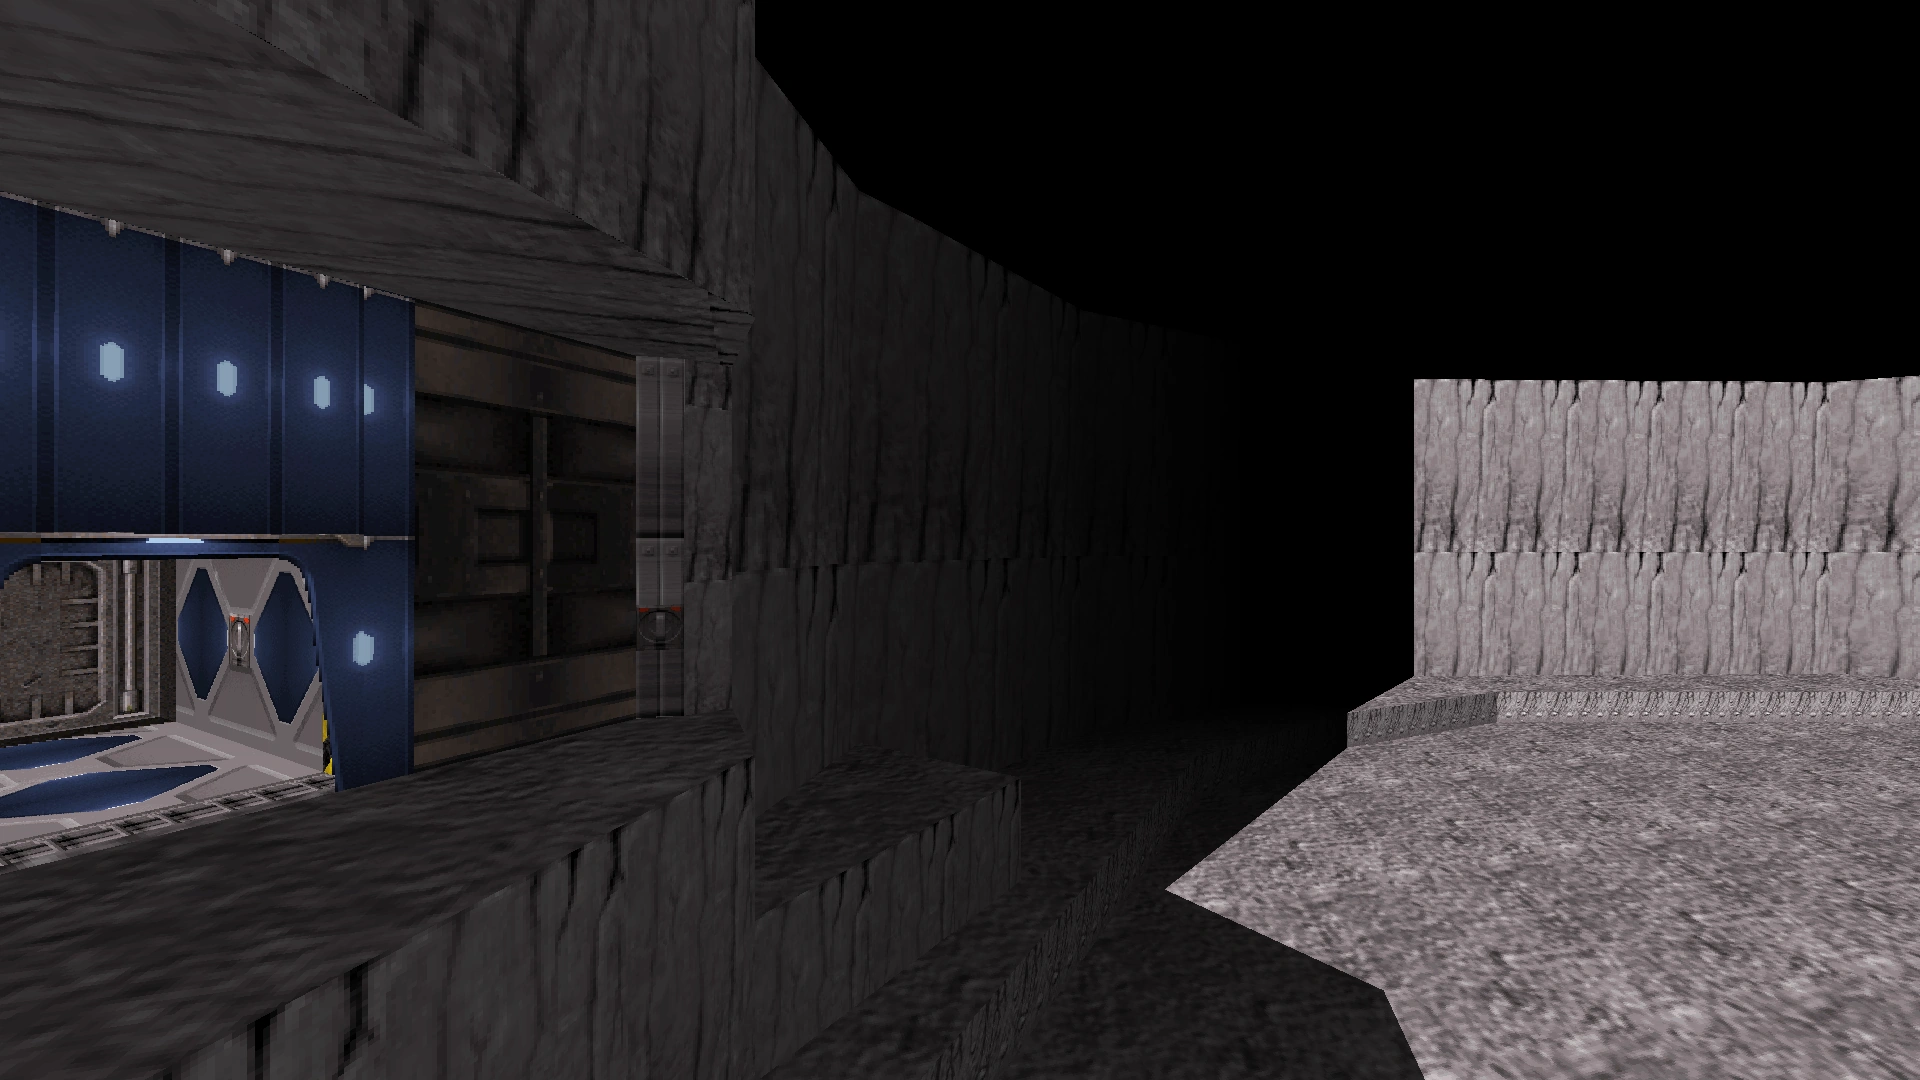
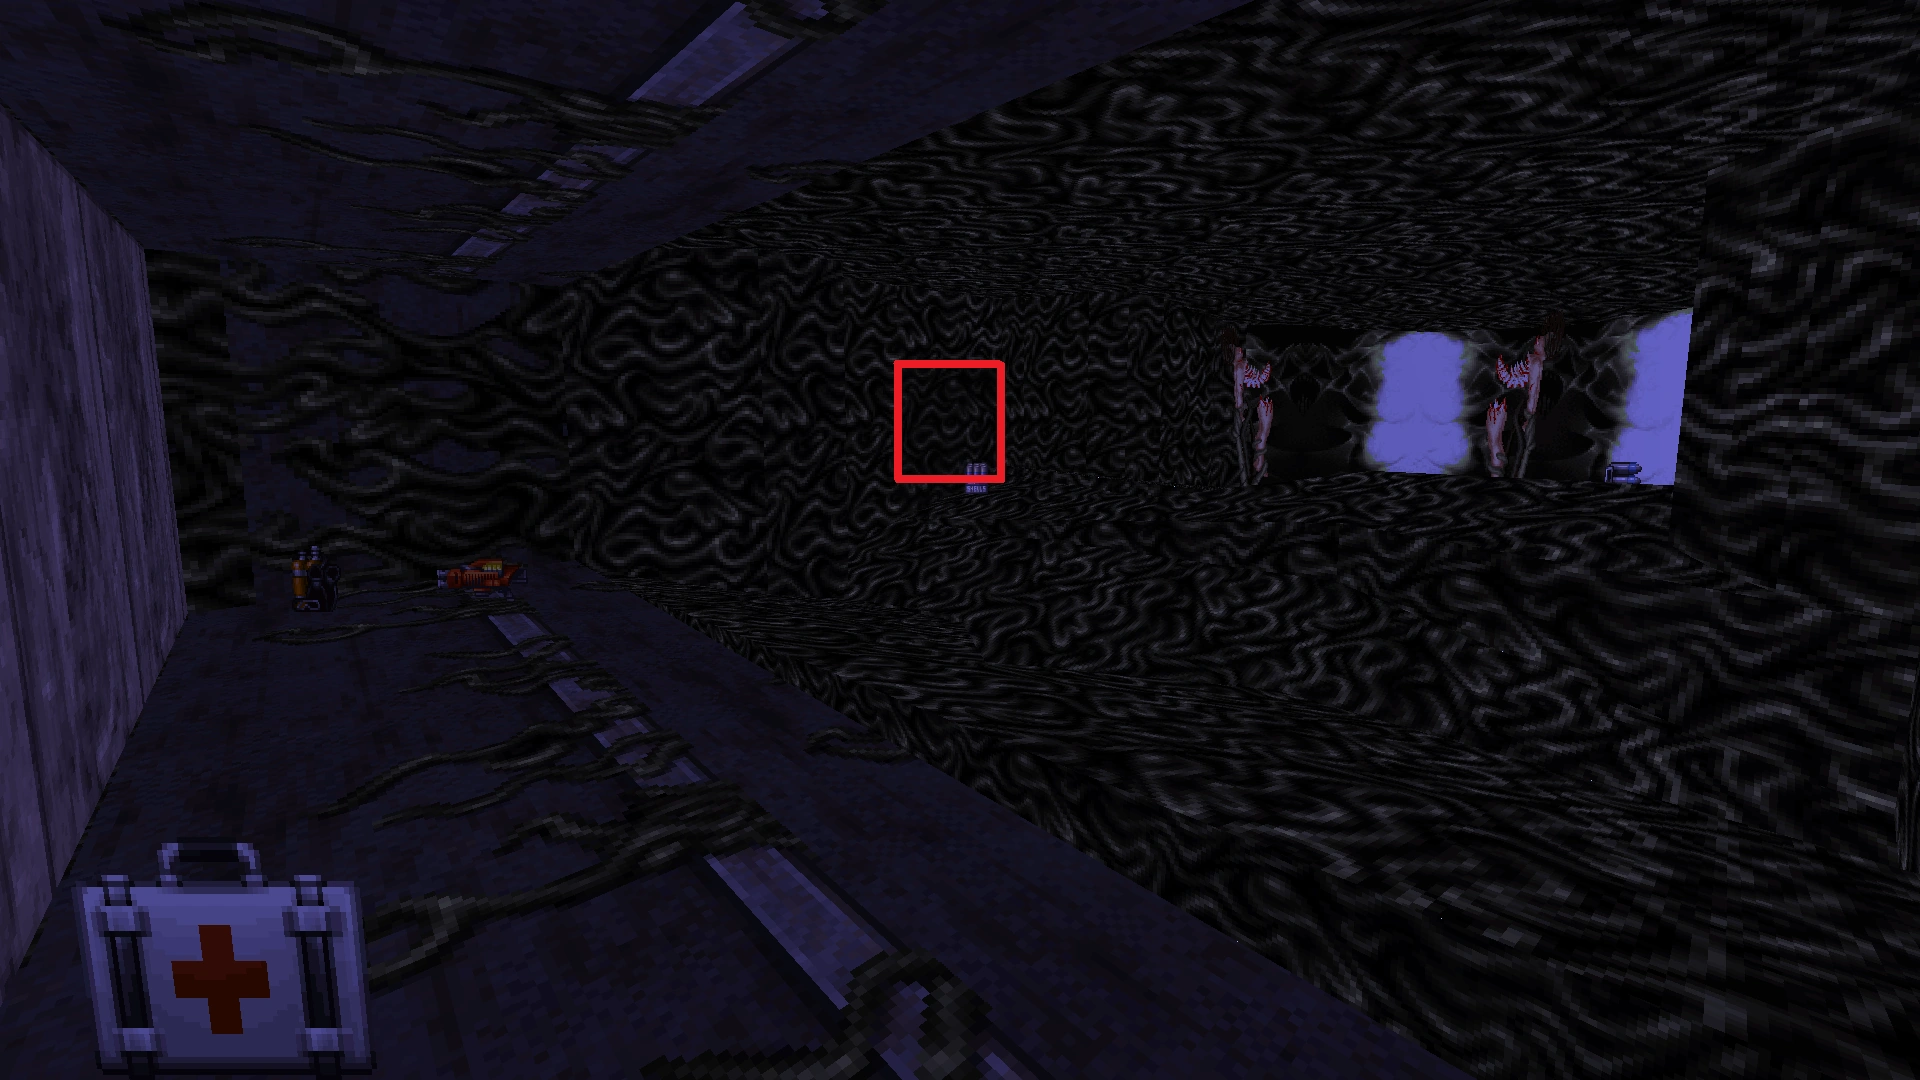
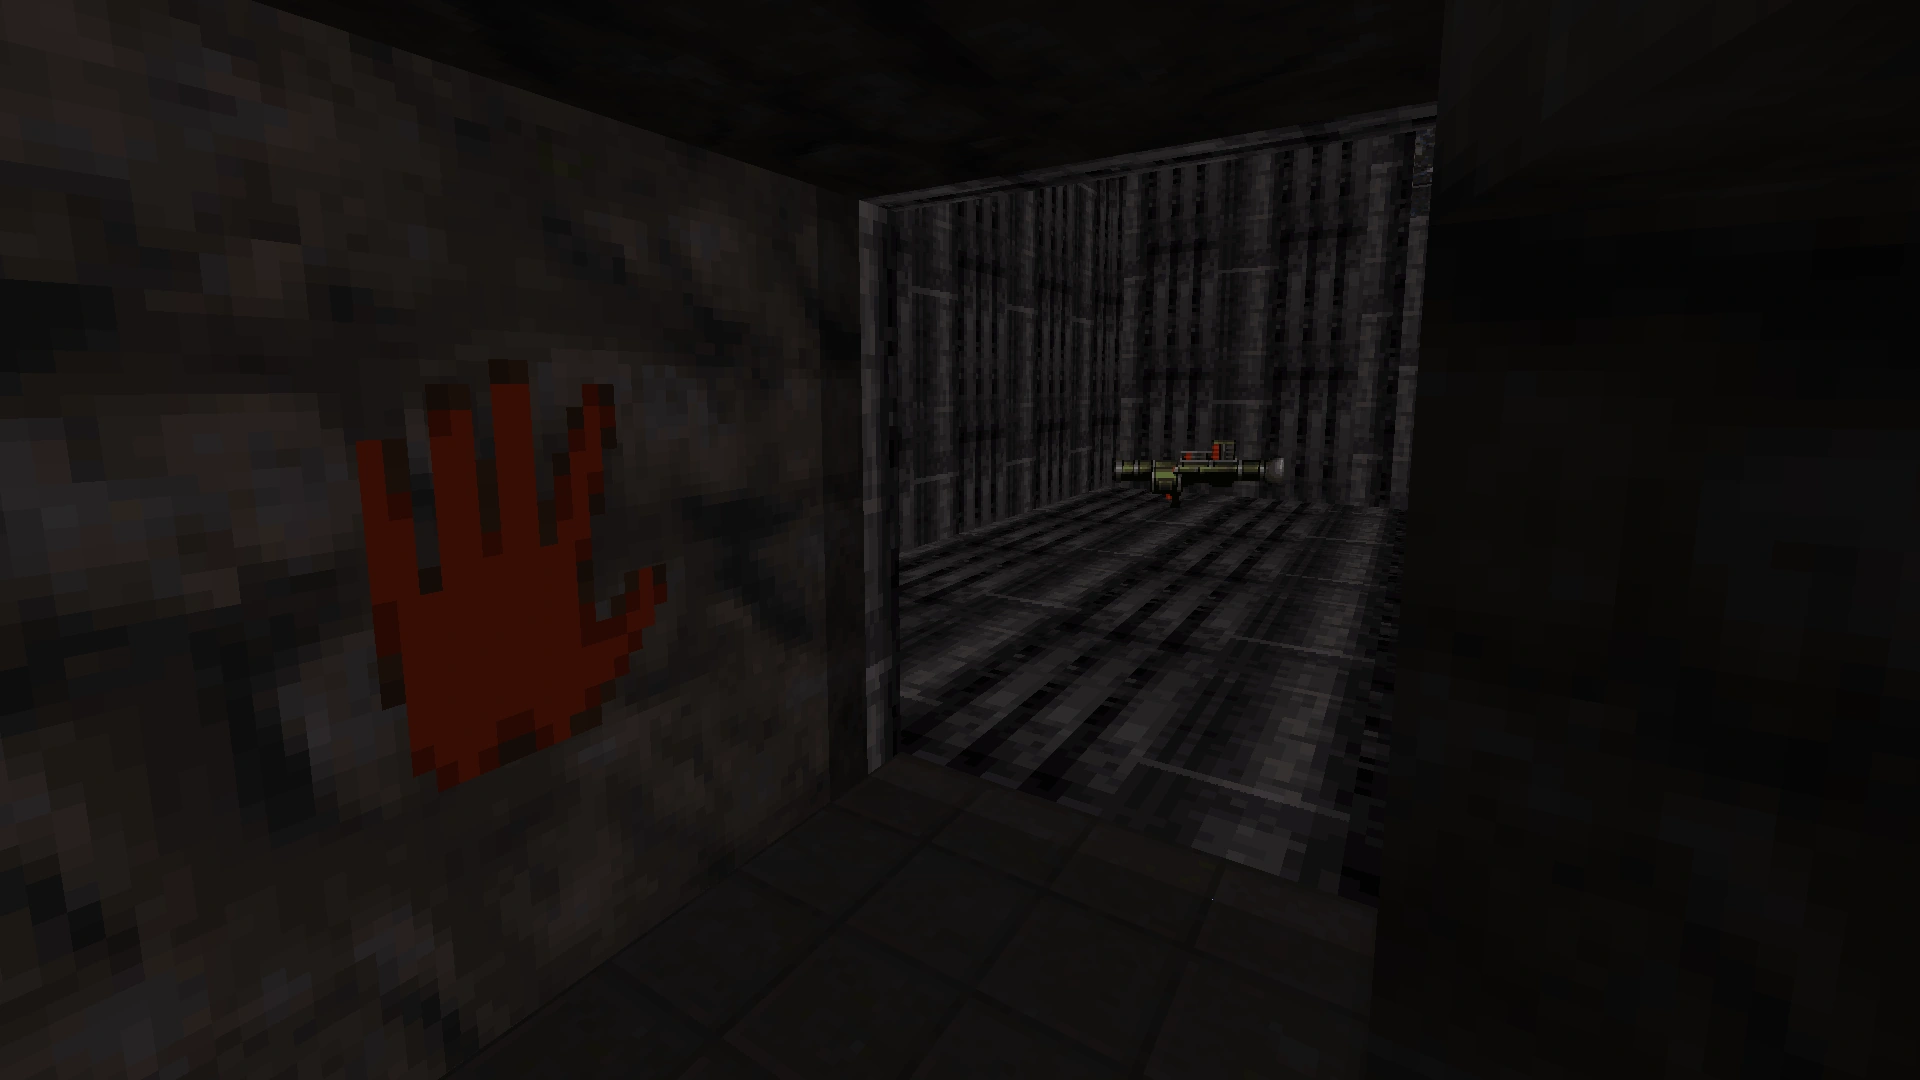
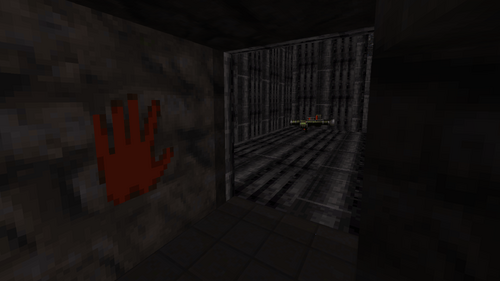
Outside the new cell block, the jail cell containing the secret area behind the bed is still present from the original version of this level. However, opening the back wall of this secret area reveals a long and winding tunnel that has been added. At the end of this tunnel, there is another secret area containing the mangled corpse of Snake Plissken (Kurt Russell's character from the movies "Escape From New York" and "Escape From L.A."), which prompts Duke to say, "I guess he didn't escape from L.A!" This secret area was largely copied-and-pasted from the level Shop-N-Bag in the Atomic Edition.
Extended secret tunnel. The back wall has already been opened in this photo, and part of the extended tunnel is visible.

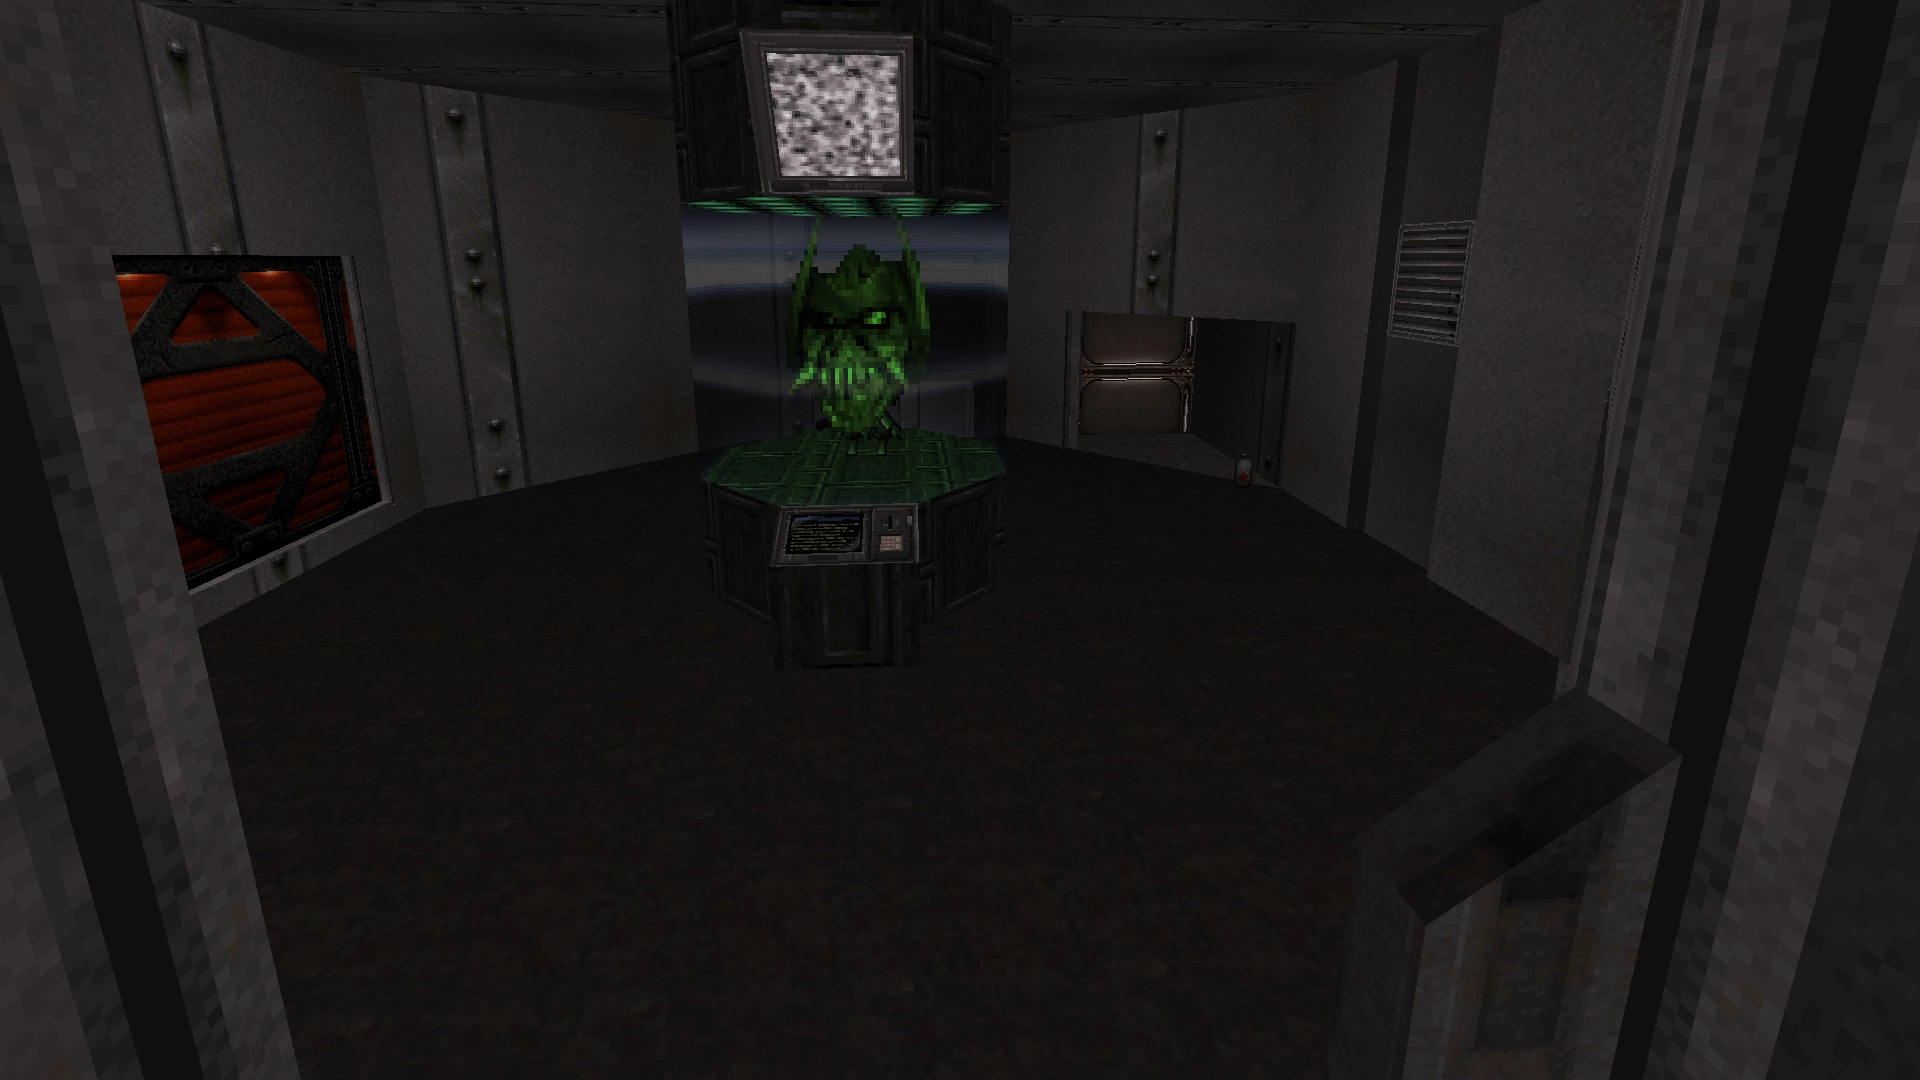
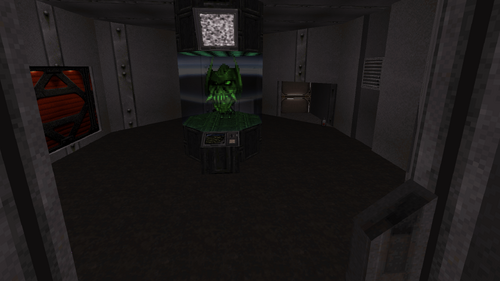
Lastly, the command center with a hologram of the Battlelord's face no longer rotates. Instead, the command center is stationary, and all of the connected doors and passages are immediately accessible.
Level 3: Toxic Dump
Apart from standard porting-related changes, this level is nearly unchanged. However, the network of tunnels beneath the red access card panel (where Duke is shrunk) has been slightly modified. A third tunnel has been added in the wall to the left of the other tunnels. This third tunnel connects to the first tunnel on the far right. The second tunnel (in the middle) has been completely rerouted; it now connects to an invisible opening at the bottom of the nearby ramp with Pig Cops and only serves to misdirect the player.
The highlighted tunnel (left) misdirects the player to an invisible opening at the bottom of the ramp (highlighted on the right). A newly added tunnel is also visible in this photo (far left).
The room containing the secret auto-destruct button is now on the opposite side of the sewer tunnel, but it no longer contains a secret auto-destruct button, since Launch Facility is now treated as a regular level.
Also, two areas that previously were not considered secret areas are now considered secret areas. In Duke Nukem 3D, the ledge with the blue access card near the beginning of the level had alcoves with Turrets in them on both the left and right sides. However, only opening the back wall inside the alcove on the right would count as a secret. That is still counted as a secret in Duke Nukem 64, but now the hidden compartment inside the alcove on the left also counts as a secret. Moreover, the hidden compartment inside this hidden compartment also counts as a secret (i.e., after opening the first wall, opening a second wall will reveal a Holoduke inside).
Level 4: Launch Facility
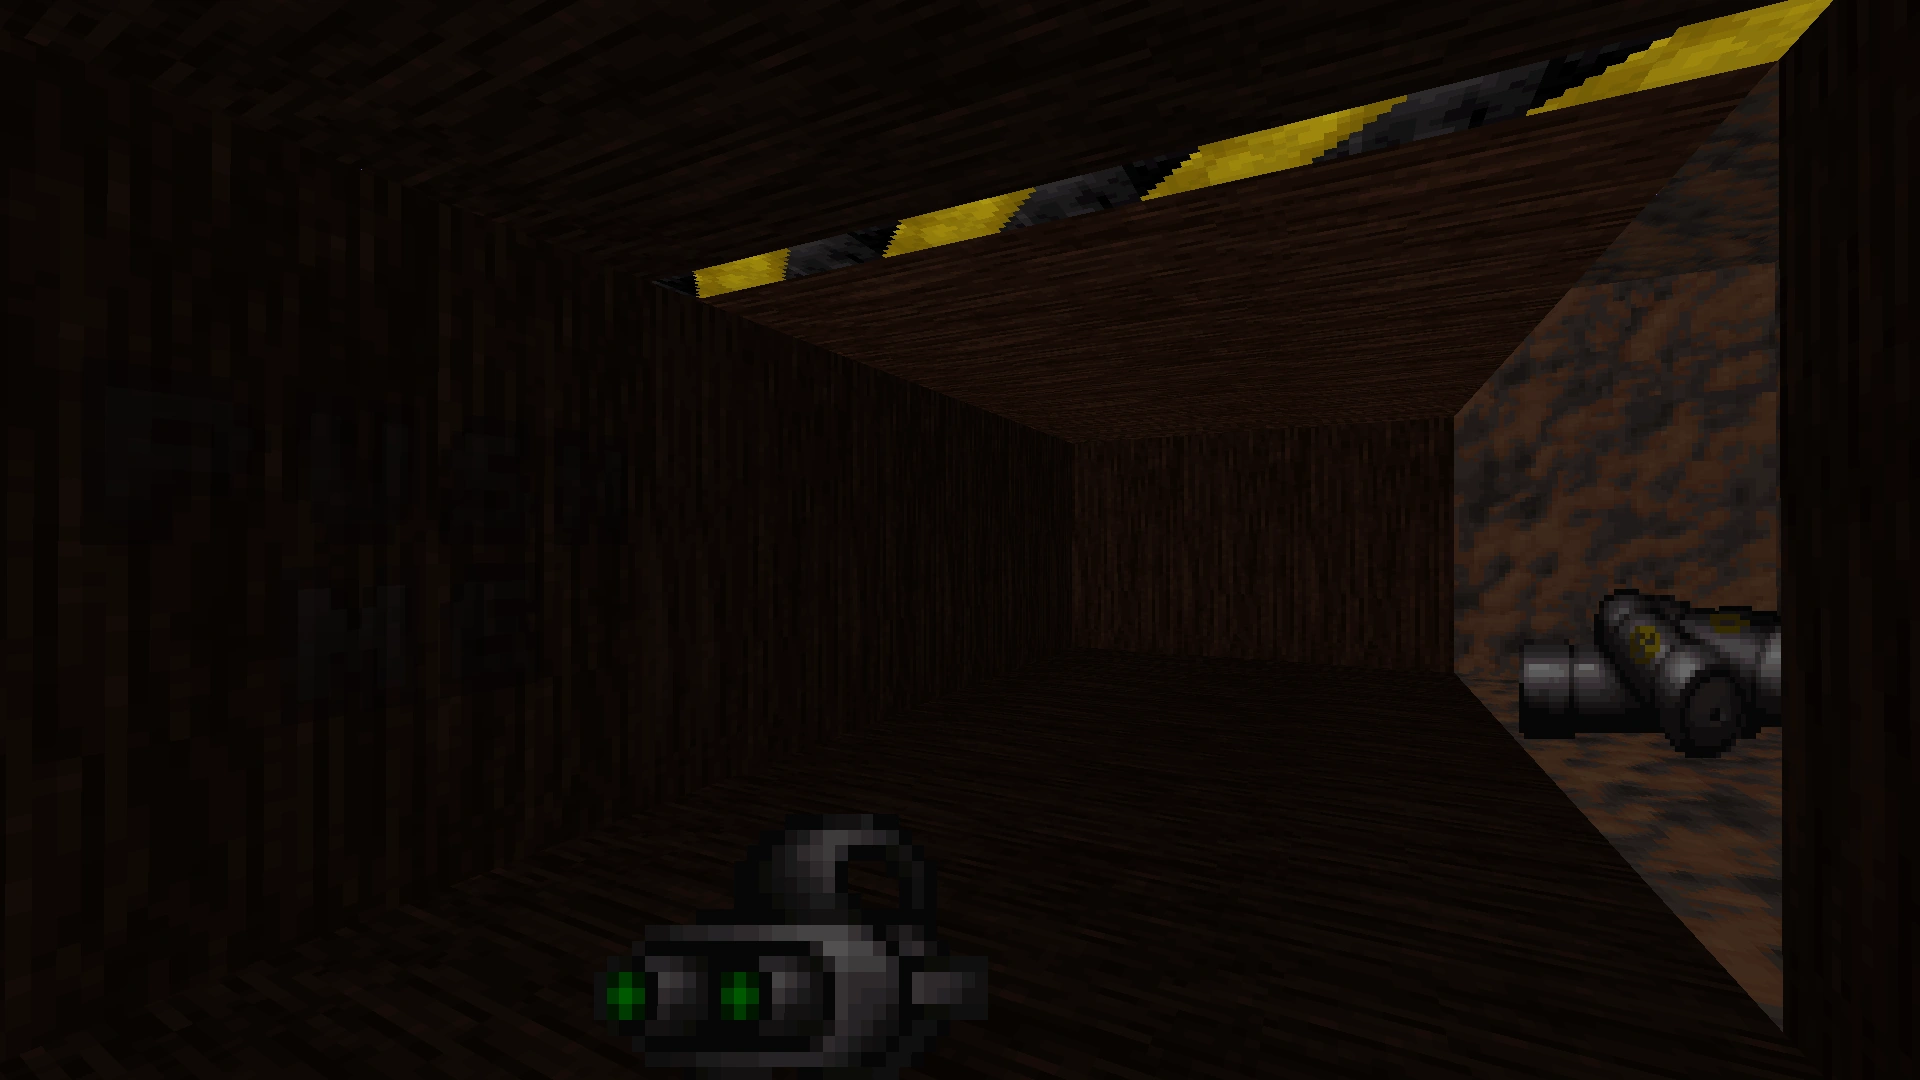
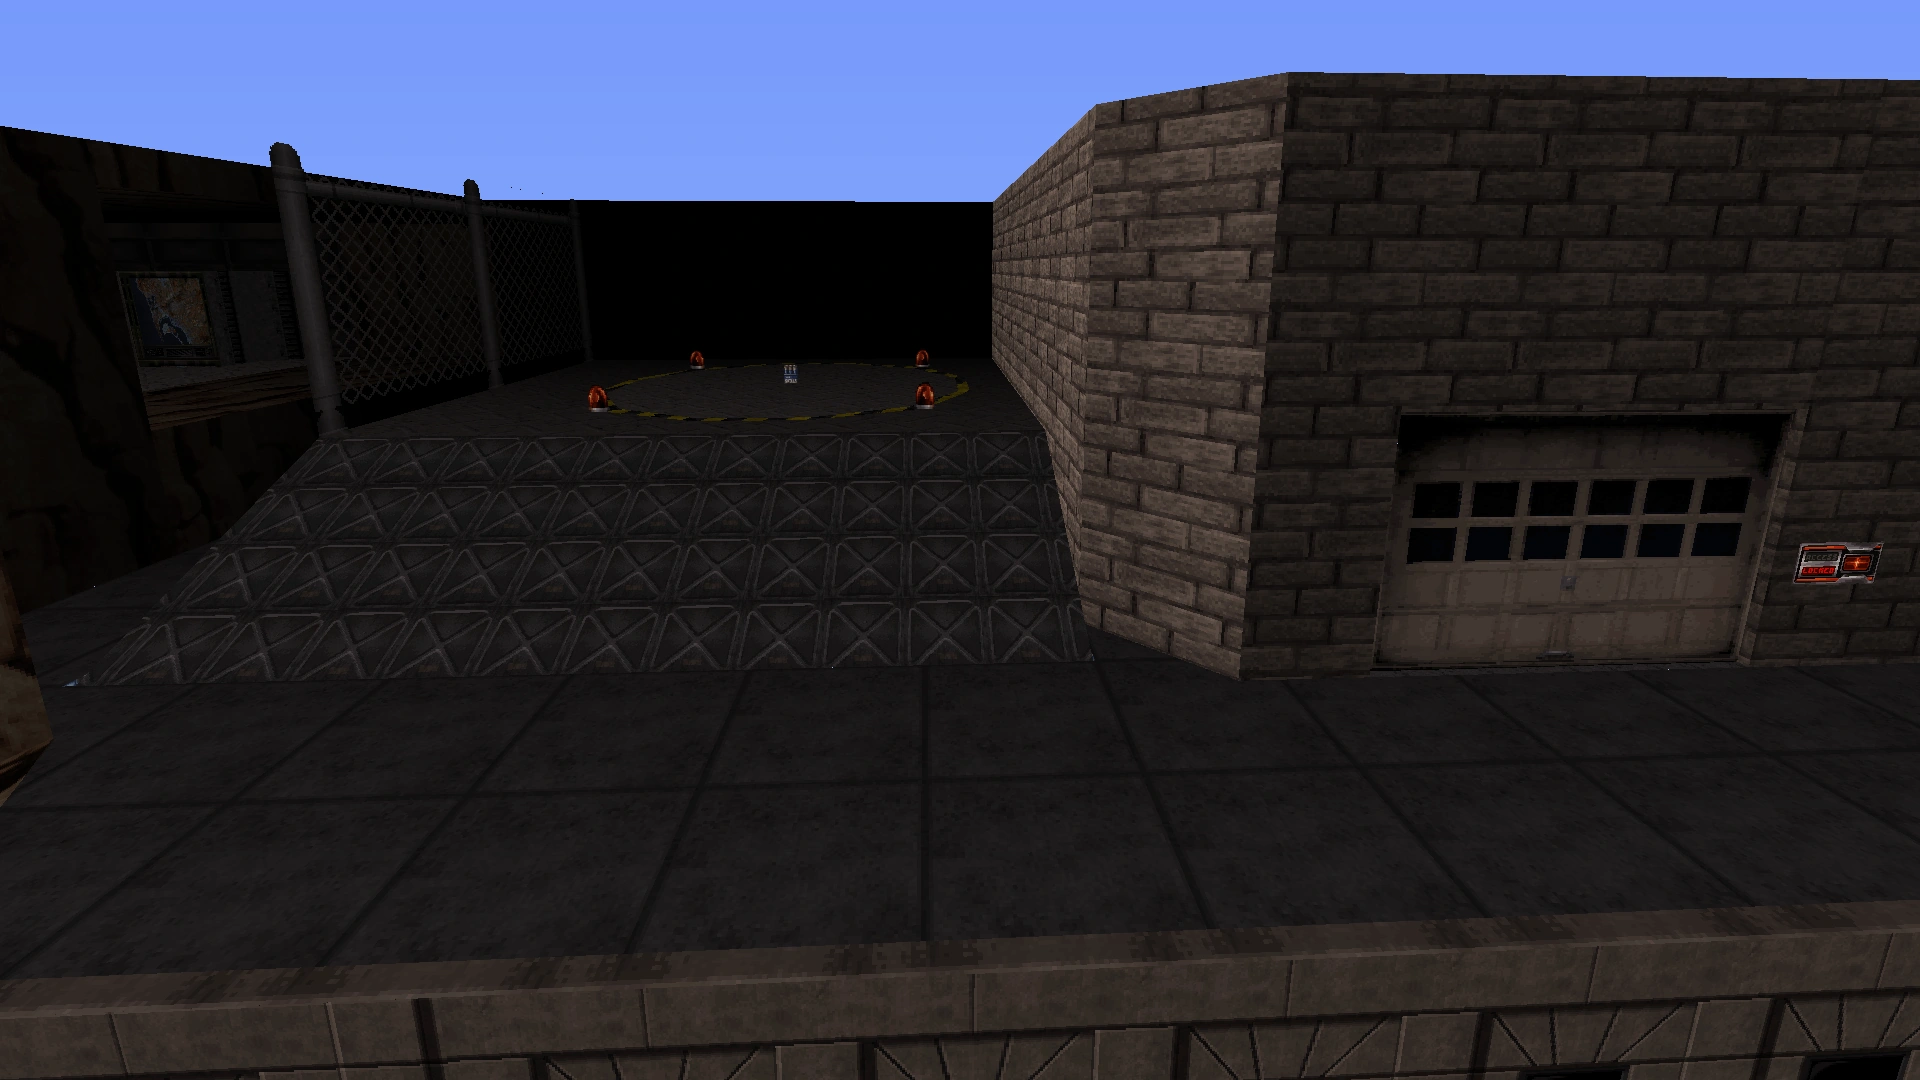
This is now a regular level, rather than a secret level. The outside area surrounding the rocket launch pad is now more detailed, with canyon wall textures and a small river of toxic waste. Apart from standard porting-related changes, the level is otherwise unchanged.

Level 5: The Abyss
This level now ends when the player drops down into the Battlelord area.
At the start of the level, the teleporter in the wall on the right (which only opens during multiplayer) now takes you to the entrance of the Battlelord's spaceship, instead of taking you directly to the Battlelord.

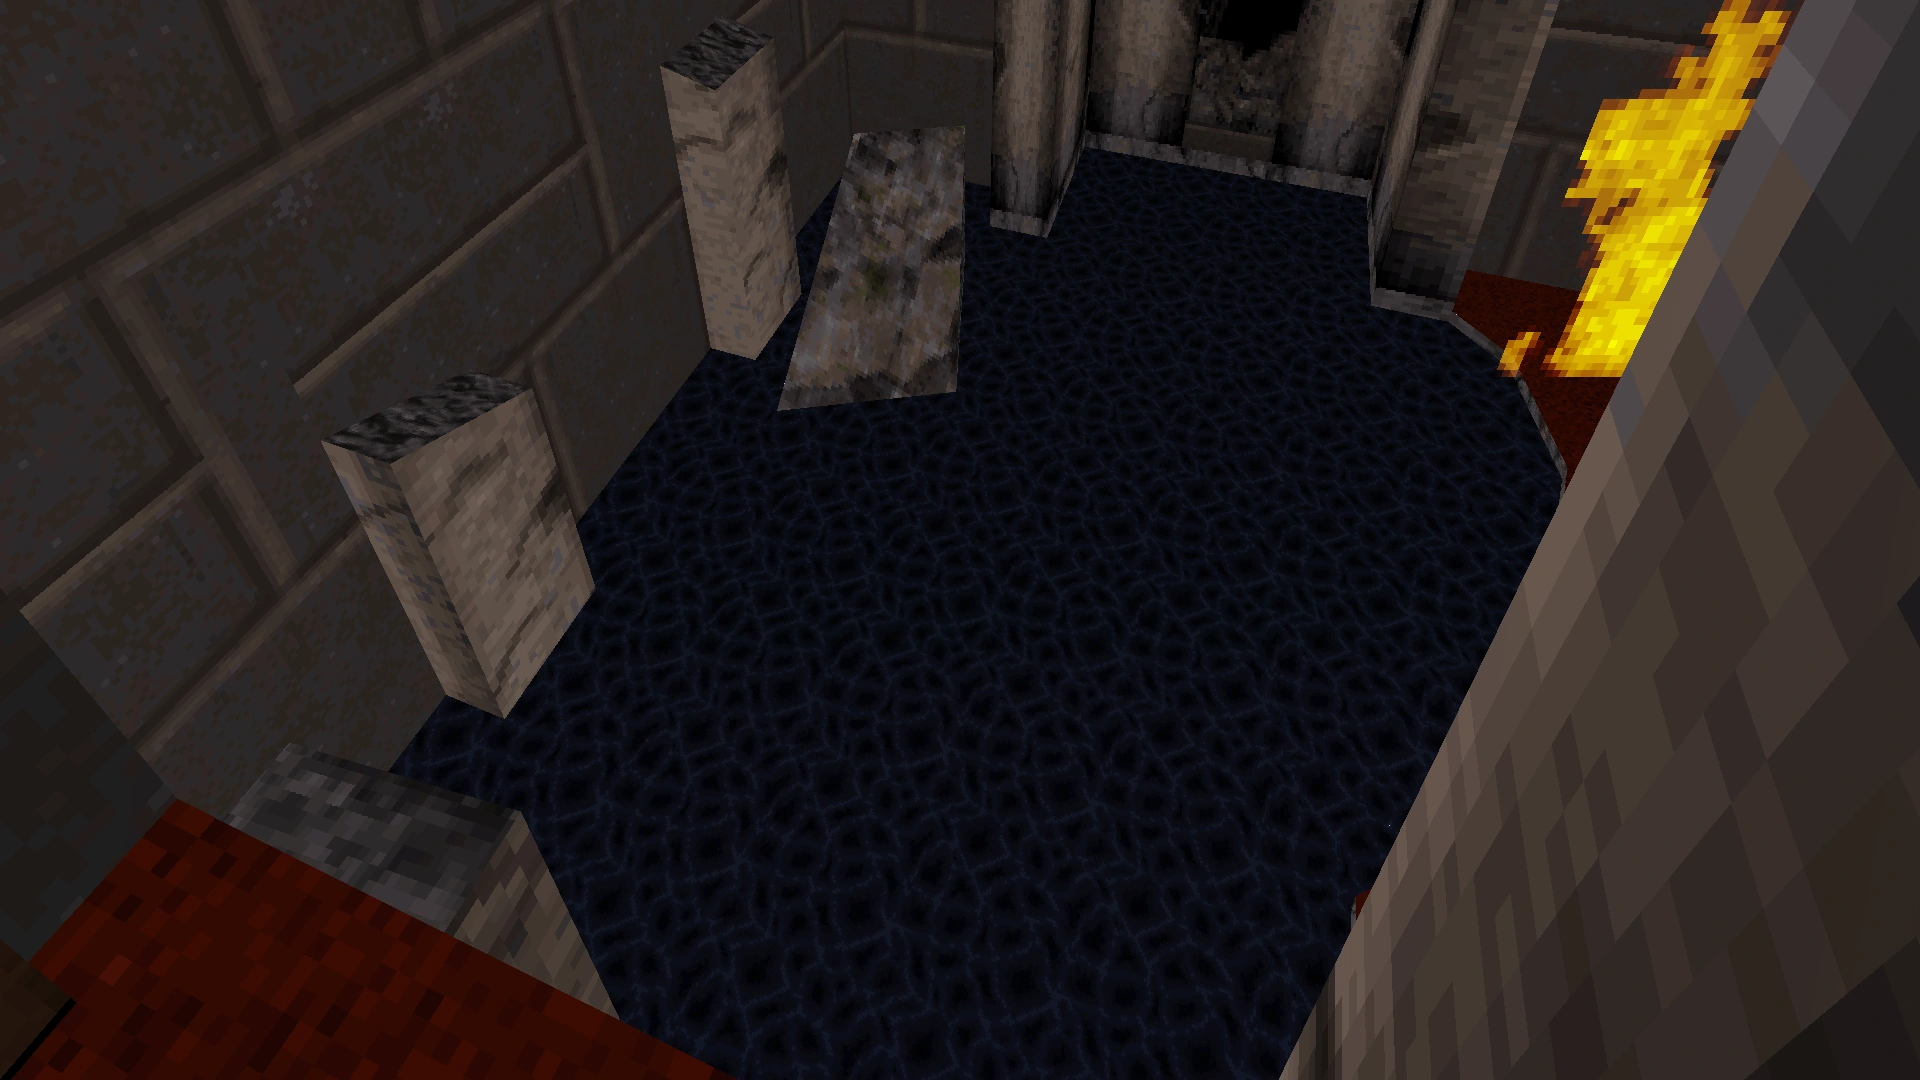
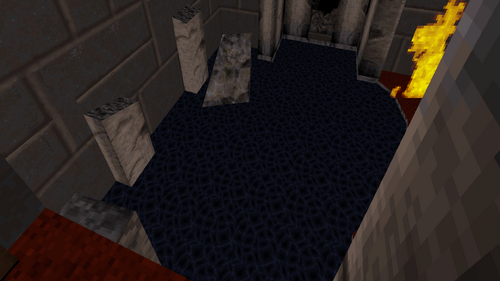
After falling into the valley with lava at the bottom, the ramp back up to the ruins has been replaced with a sharp cliff. It is no longer possible to take this route back to the ruins unless you have a Jetpack.

On the left, this sharp cliff was an accessible ramp in the PC version. (The ruins are visible up on the left, and the portal that fires Shrinker projectiles is visible up on the right.)
Inside the alcove containing the portal that fires Shrinker projectiles, the message from Levelord has been removed from the wall.

In the PC version, there is a message written on the wall on the right. (The Night Vision Goggles are active in this photo.)
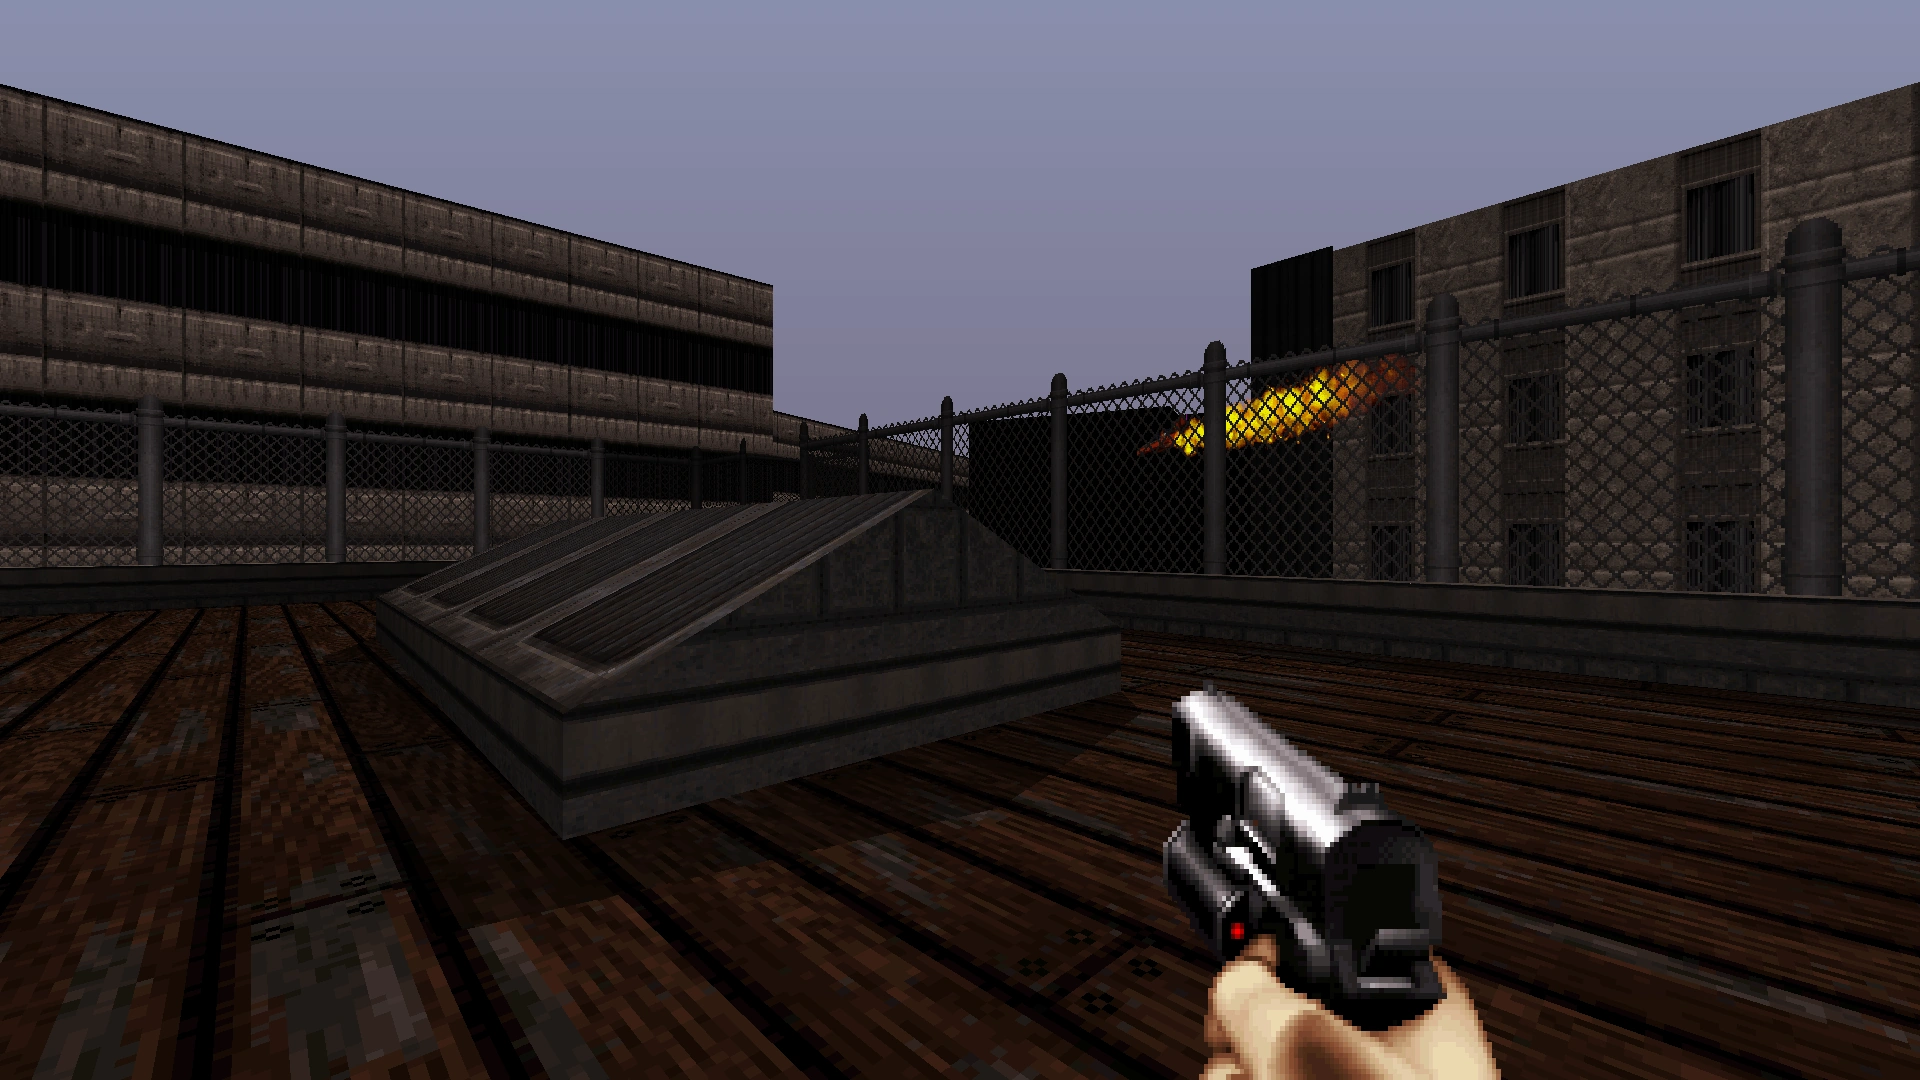
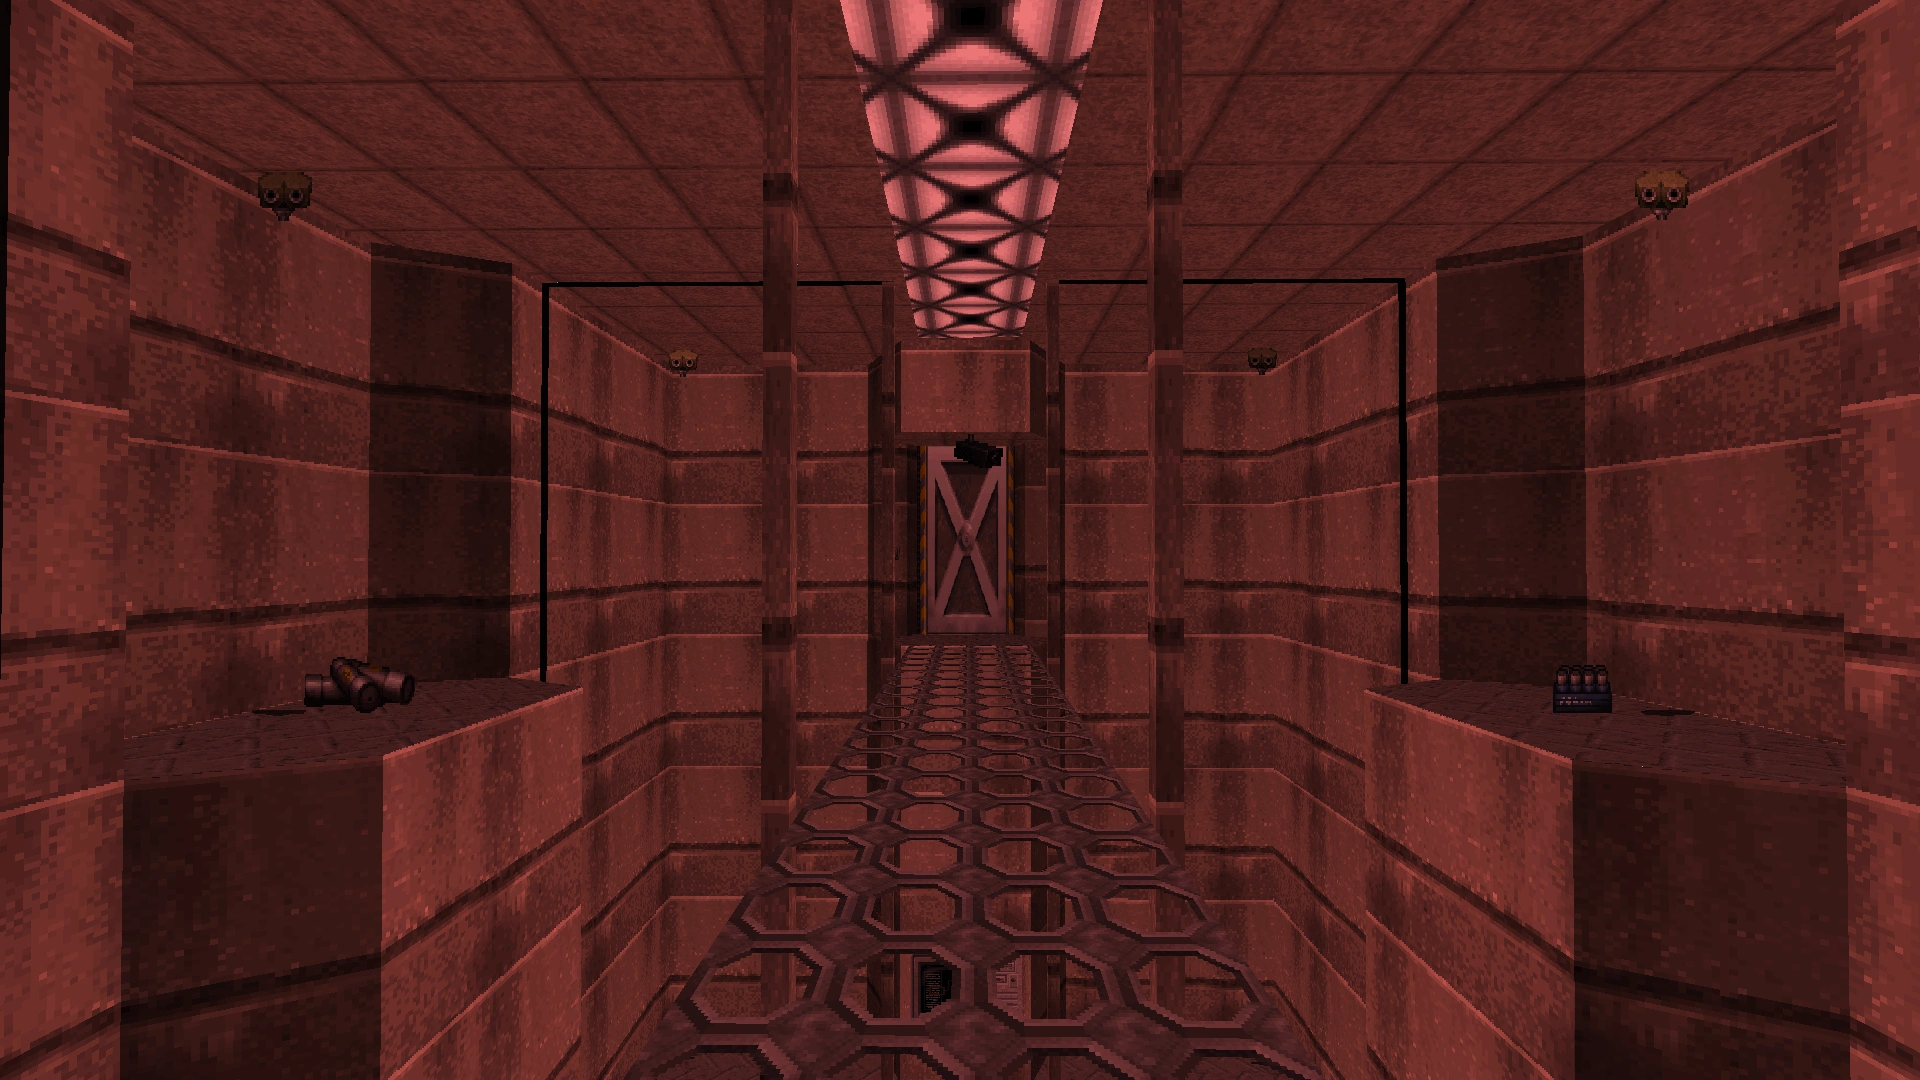
Lastly, the secret path to the outside area near the top of the spaceship has been restructured. In the PC version, the path consisted of a long ramp. In the Nintendo 64 version, there is a torch light in the wall, and an elevator has replaced most of the ramp. The secret doorway and Atomic Health are still present.
View of the restructured pathway. The torch light is on the right, and the elevator is directly ahead on the left.
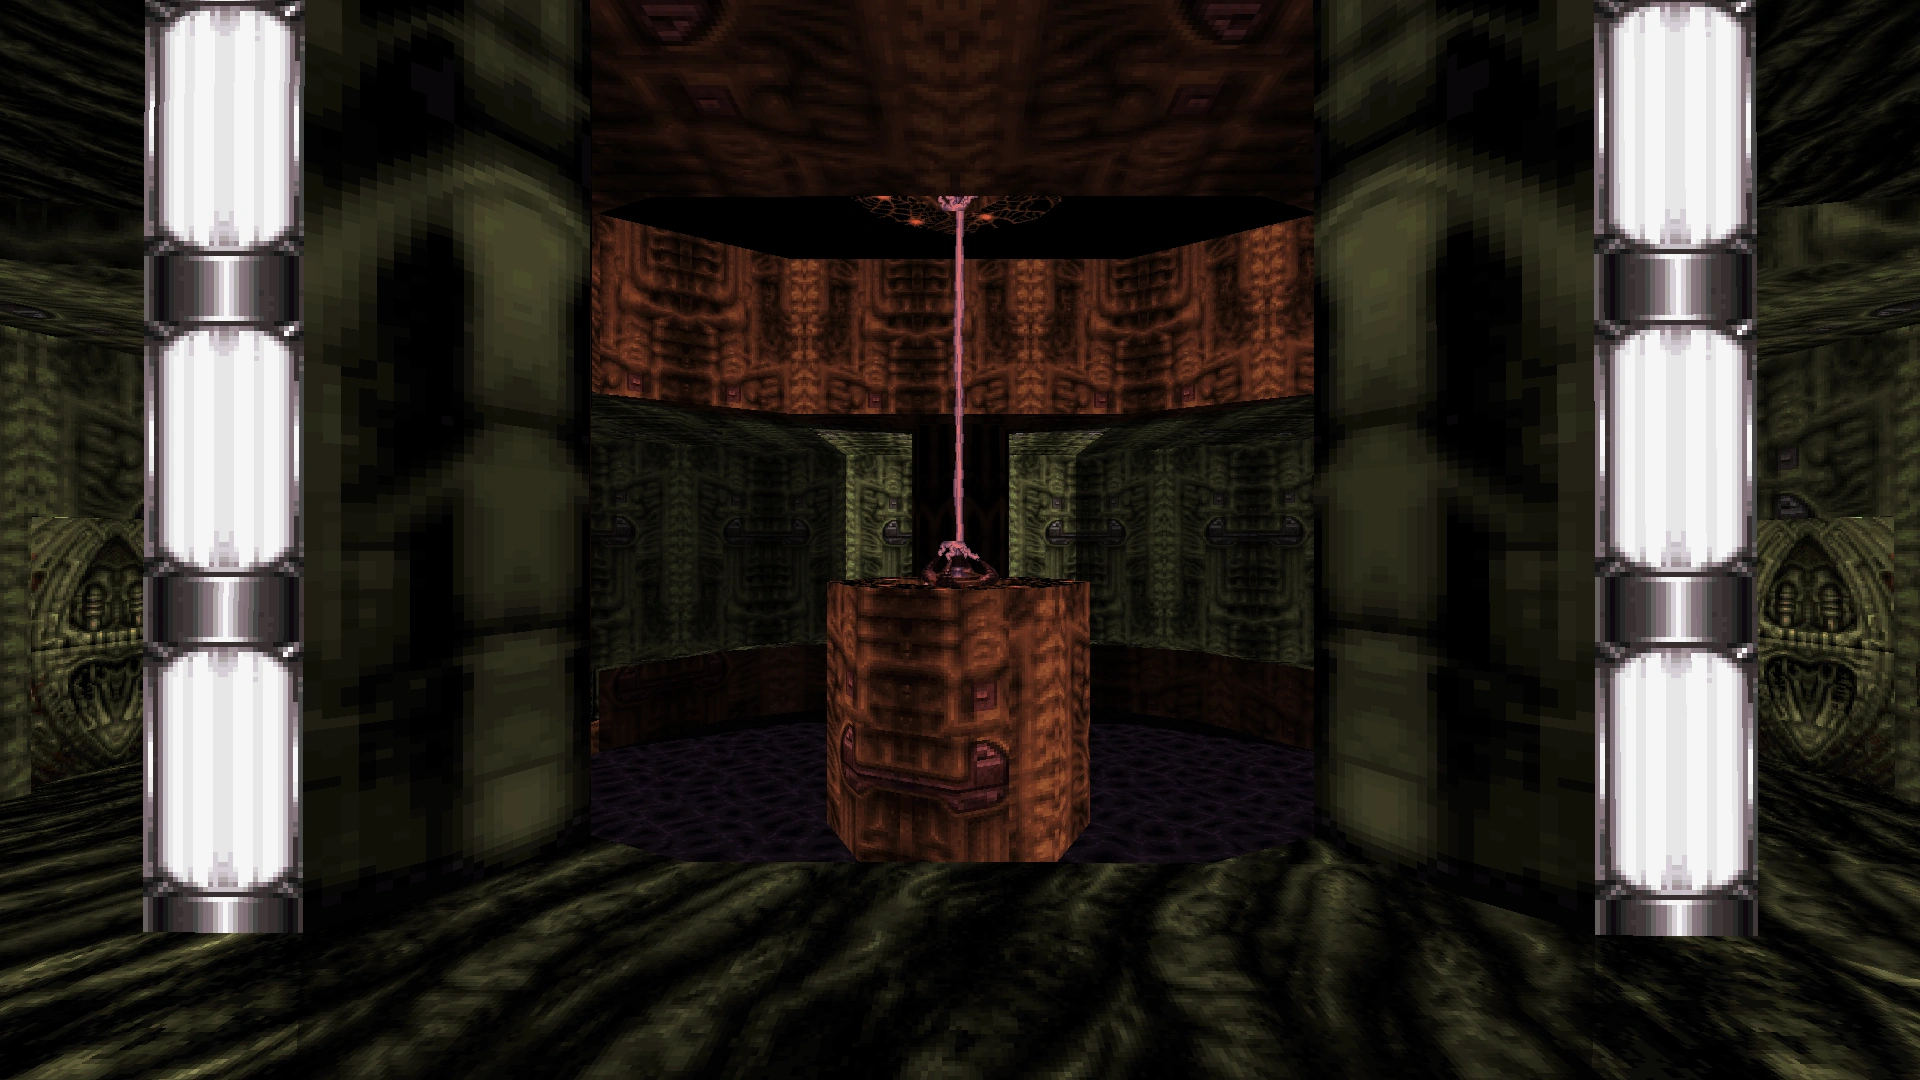
Level 6: Battlelord
The encounter with the Battlelord is now a separate level. This area is almost completely unchanged, but the captive women on the stage have been removed. (This was not because of censorship; the same female models can be found repeatedly throughout other levels in the game.)

A barrier now prevents Duke from returning up the shaft to The Abyss.
Level 7: Duke-Burger (Secret Level)
This is one of two levels from the Atomic Edition to make an appearance. To match other levels in L.A. Meltdown, all Pig Cop Tanks, Protector Drones, and Enforcers have been replaced with Assault Troopers and Pig Cops. Protozoid Slimers have simply been removed altogether.
The player now begins the level in a shipping facility that has been added inside the building to the right of the original start location from Duke Nukem 3D.
Shipping facility at the start of the level. The only way out of this room is by detonating the explosives on the right.
The only way to leave the shipping facility is by blasting through a crack in the wall. This creates a hole in the wall that will lead into the alley containing the original start location. Directly across the alley, there is a set of stairs leading down into a bomb shelter. This bomb shelter is in the building to the left of the original start location.
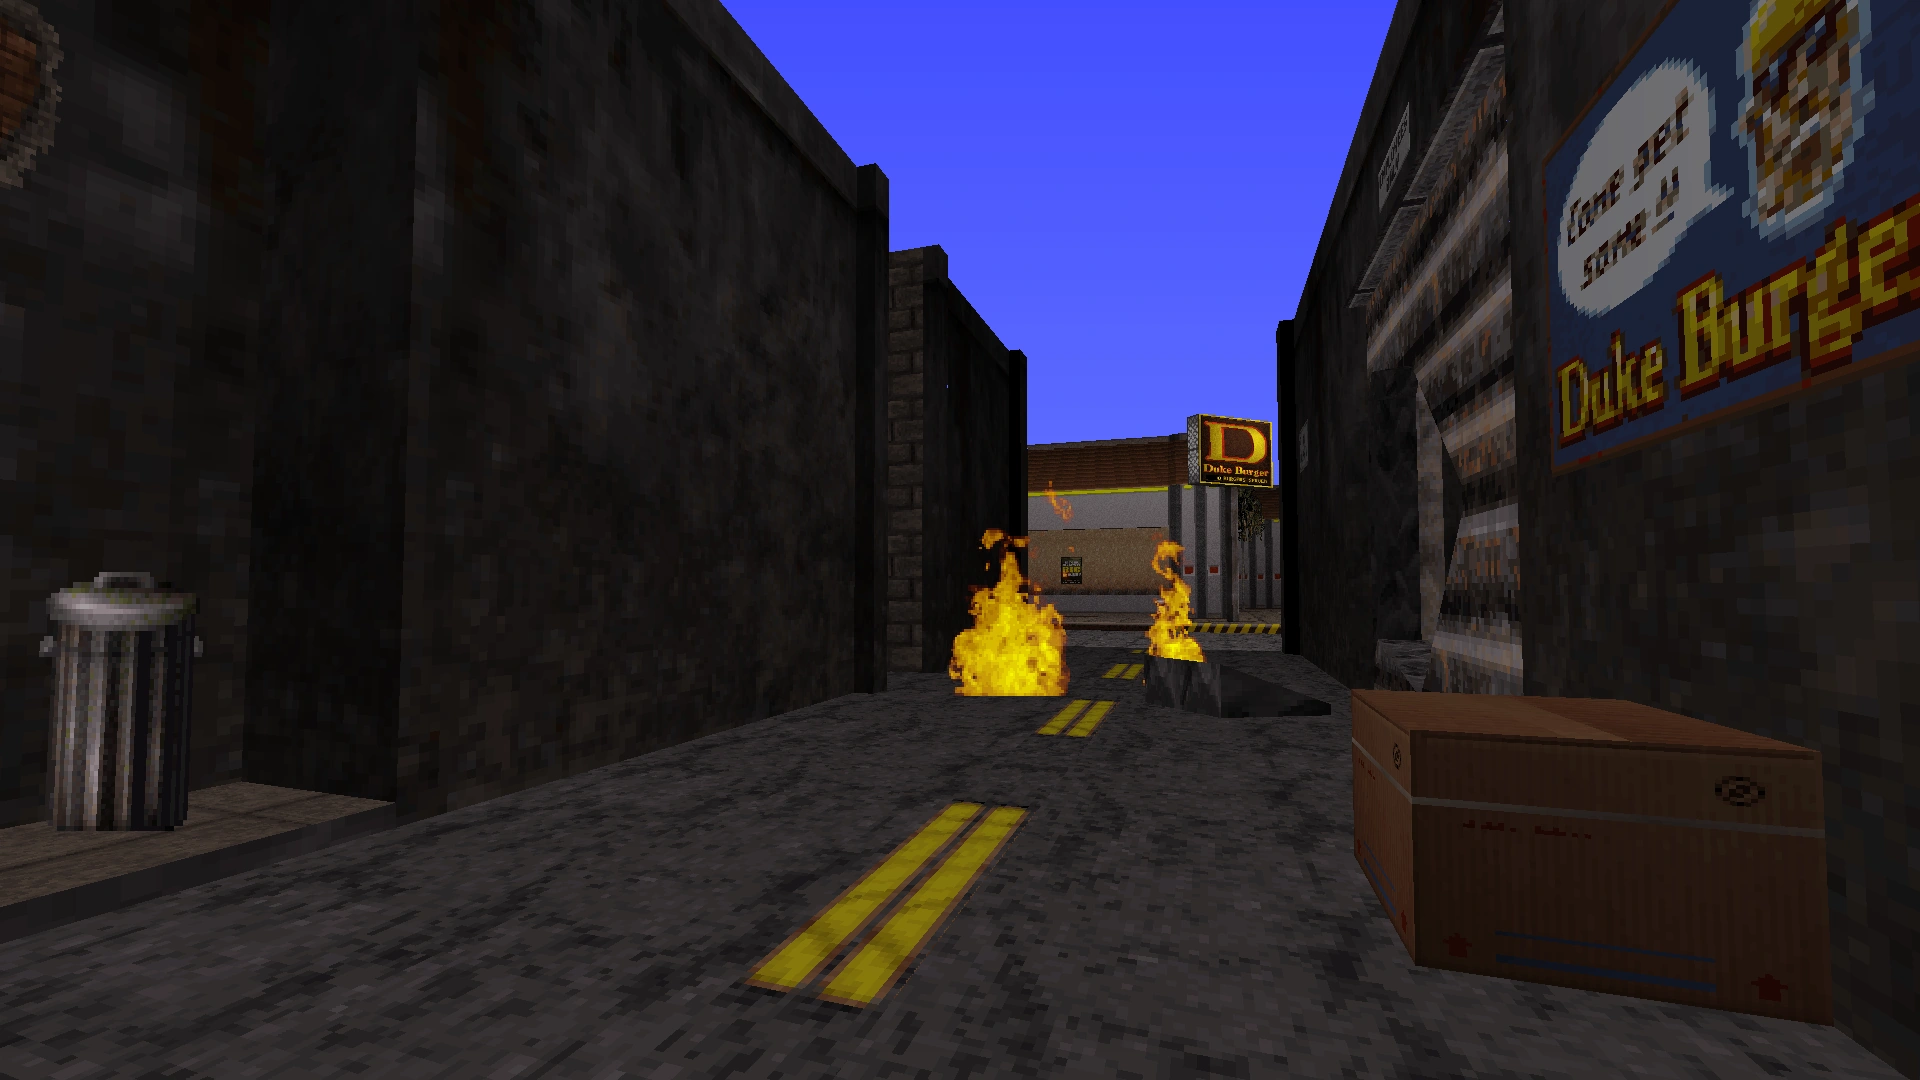

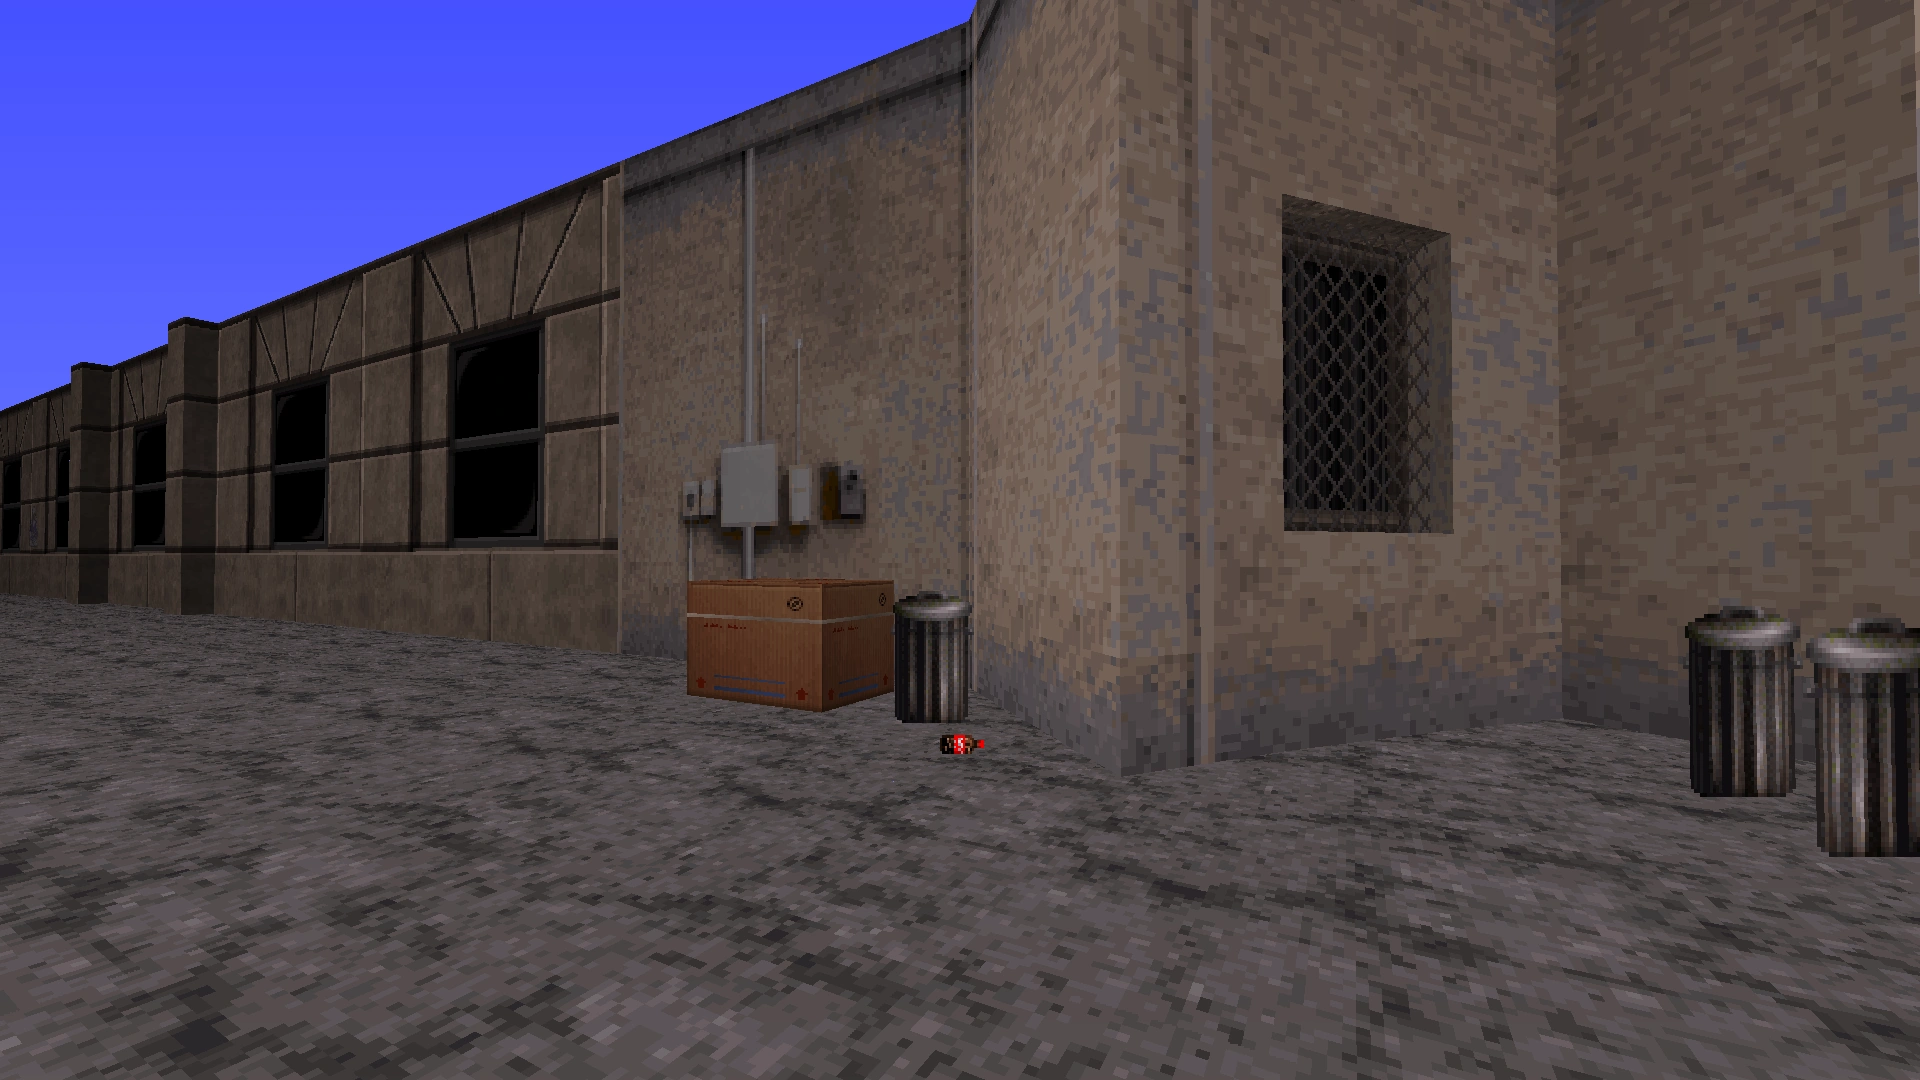
Old start location from Duke Nukem 3D. The new start location is inside the shipping facility on the right. To the left of the flames, there is a staircase that leads down into a bomb shelter.

Some of the buildings surrounding the restaurant have gained cosmetic features. Specifically, these include a locked entrance, inaccessible windows, and graffiti. One building also has a new air vent that leads from the main street into the bomb shelter.


The kitchen inside the restaurant is now accessible via normal air vents, rather than requiring Duke to shrink himself in the bathroom mirror. Given that Duke is still capable of being shrunk in this game, this modification was likely made because of the technical difficulties associated with rendering mirrors on the Nintendo 64.

The mirror (left) is always shattered, and the air vent (right) is now accessible without requiring Duke to shrink.
In order to meet Nintendo's standards, all references to dog meat have been removed. The dog kennel has been converted into a butcher's room containing the hanging corpses of slaughtered pigs.
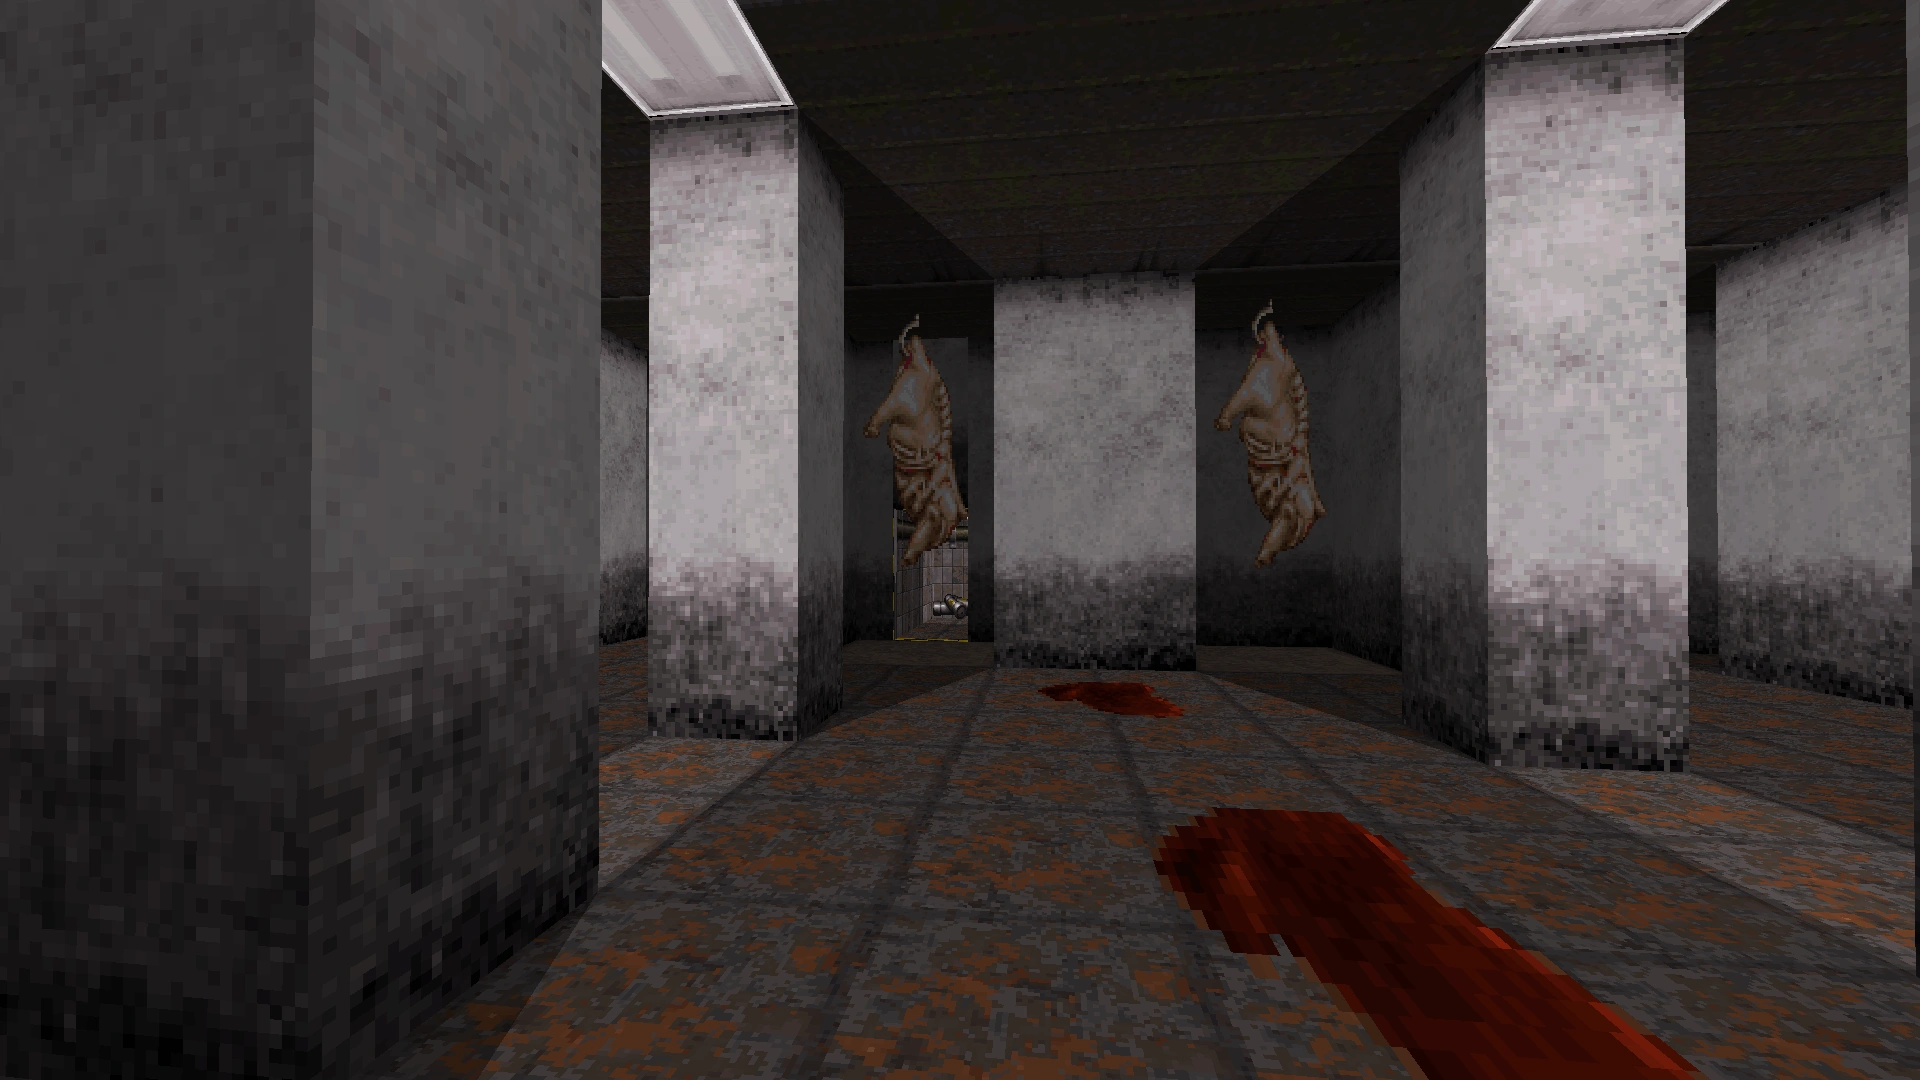

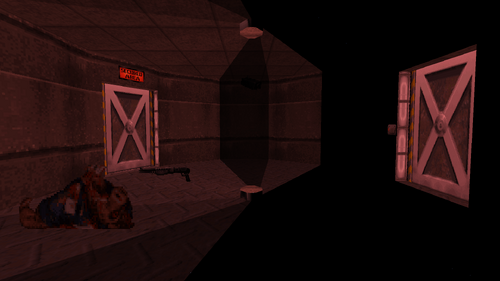
Because the next level is Death Row, Duke is captured by the aliens in the room at the end of this level, similar to the normal ending of Red Light District ("Gun Crazy" in Duke Nukem 64).
This is a trap. Approaching the exit will result in being captured and taken to Death Row.
End of the level, after the cage (silver wall on the right) has already emerged. Pig Cops ambush the player from hidden compartments that open on the sides. One of the opened compartments is visible in this photo (left).
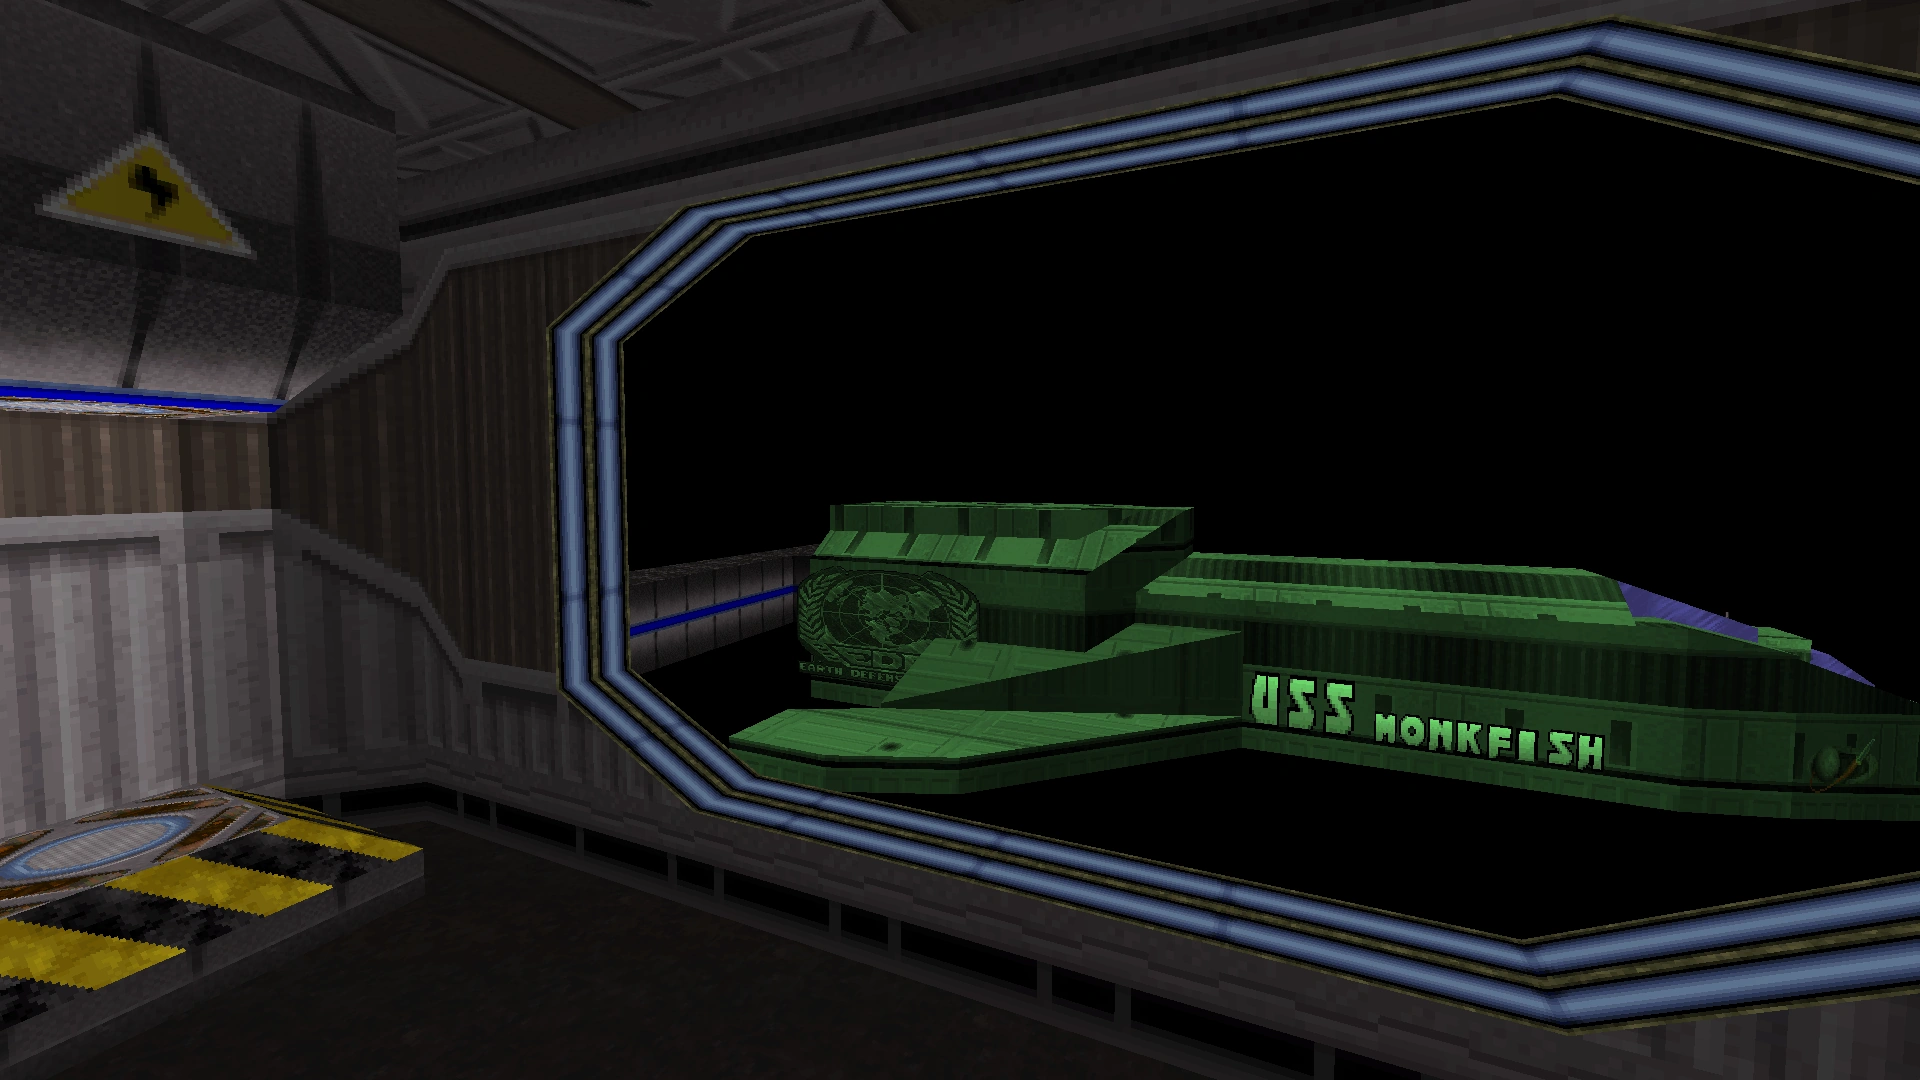
Level 8: Spaceport
This level is almost exactly the same.
Cosmetic details have been added to the exterior of Duke's spaceship at the beginning of the level. In particular, it is now emblazoned with the name "USS Monkfish" across the side.

More significantly, the secret area containing the Shrinker near the end of the level has been completely remodeled. The hidden elevator that leads to the secret area is no longer sitting in the middle of the hallway. Instead, the elevator is now situated inside an air shaft in the wall.
The secret area itself appears to have been completely recreated from scratch, yet it follows more-or-less the same layout as in Duke Nukem 3D. The player must walk around to the other side of a large column in order to reach the hidden Shrinker, and a single Enforcer is found guarding it. The adjacent tunnel that leads to the Enforcers from the previous room is also more-or-less identical. However, the column is now situated on a downward slope, and a captive woman has been added as well.
Remodeled secret area. A Shrinker is sitting on the other side of the large column ahead. Out-of-frame: The descended elevator is directly behind the camera, and a tunnel leading back to the previous room is on the left.

View from the other side of the column. The Shrinker is visible on the right.
Level 9: Incubator
This is one of the least modified levels of the game. Apart from standard porting-related changes, the only noticeable change on this level is that the jail cell door beside the yellow access card has been replaced with an opaque metal door.

Level 10: Warp Factor
At the very start of the level, Duke is now trapped inside the elevator until he interacts with it and causes it to begin moving. Apart from standard porting-related changes, the level is otherwise unchanged.

Level 11: Fusion Station
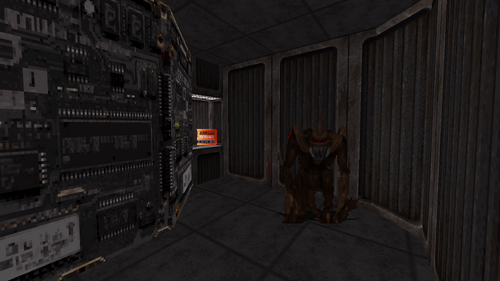
There is now an Alien Beast (Protector Drone) hovering in the fetal position above the lava pit where there used to be a Devastator. Apart from standard porting-related changes, the level is otherwise unchanged.

Alien Beast hovering above the lava pit.
Level 12: Occupied Territory
This level is almost exactly the same.
The secret exit button has been removed, as Spin Cycle has been dropped from the Nintendo 64 version of the game. The compartment containing the secret exit button now contains a captive woman instead.

Also, the ramp leading to the room with the Battlelord Sentries does not lower when the red access card is provided because the ramp is already lowered at the outset. Moreover, a spinning UFO has been added just outside the window to the left of the ramp (while facing the ramp).
This ramp is already lowered prior to providing the red access card. Also, a spinning UFO can be seen out the window (left).
Level 13: Tiberius Station
Apart from standard porting-related changes, this level is almost entirely unchanged. However, the hallway mirrors have been replaced with monitor screens. Although the removal of mirrors is a standard part of the Nintendo 64 port, this is unusual because most mirrors throughout the game, such as those in Hollywood Holocaust or Duke-Burger, were replaced with shattered mirrors, not monitor screens or other objects. (A similar change in Lunar Reactor is described below.)


Level 14: Lunar Reactor
Apart from standard porting-related changes, this level is nearly unchanged.
Luke Skywalker's hanging corpse has been replaced with Yoda's corpse.
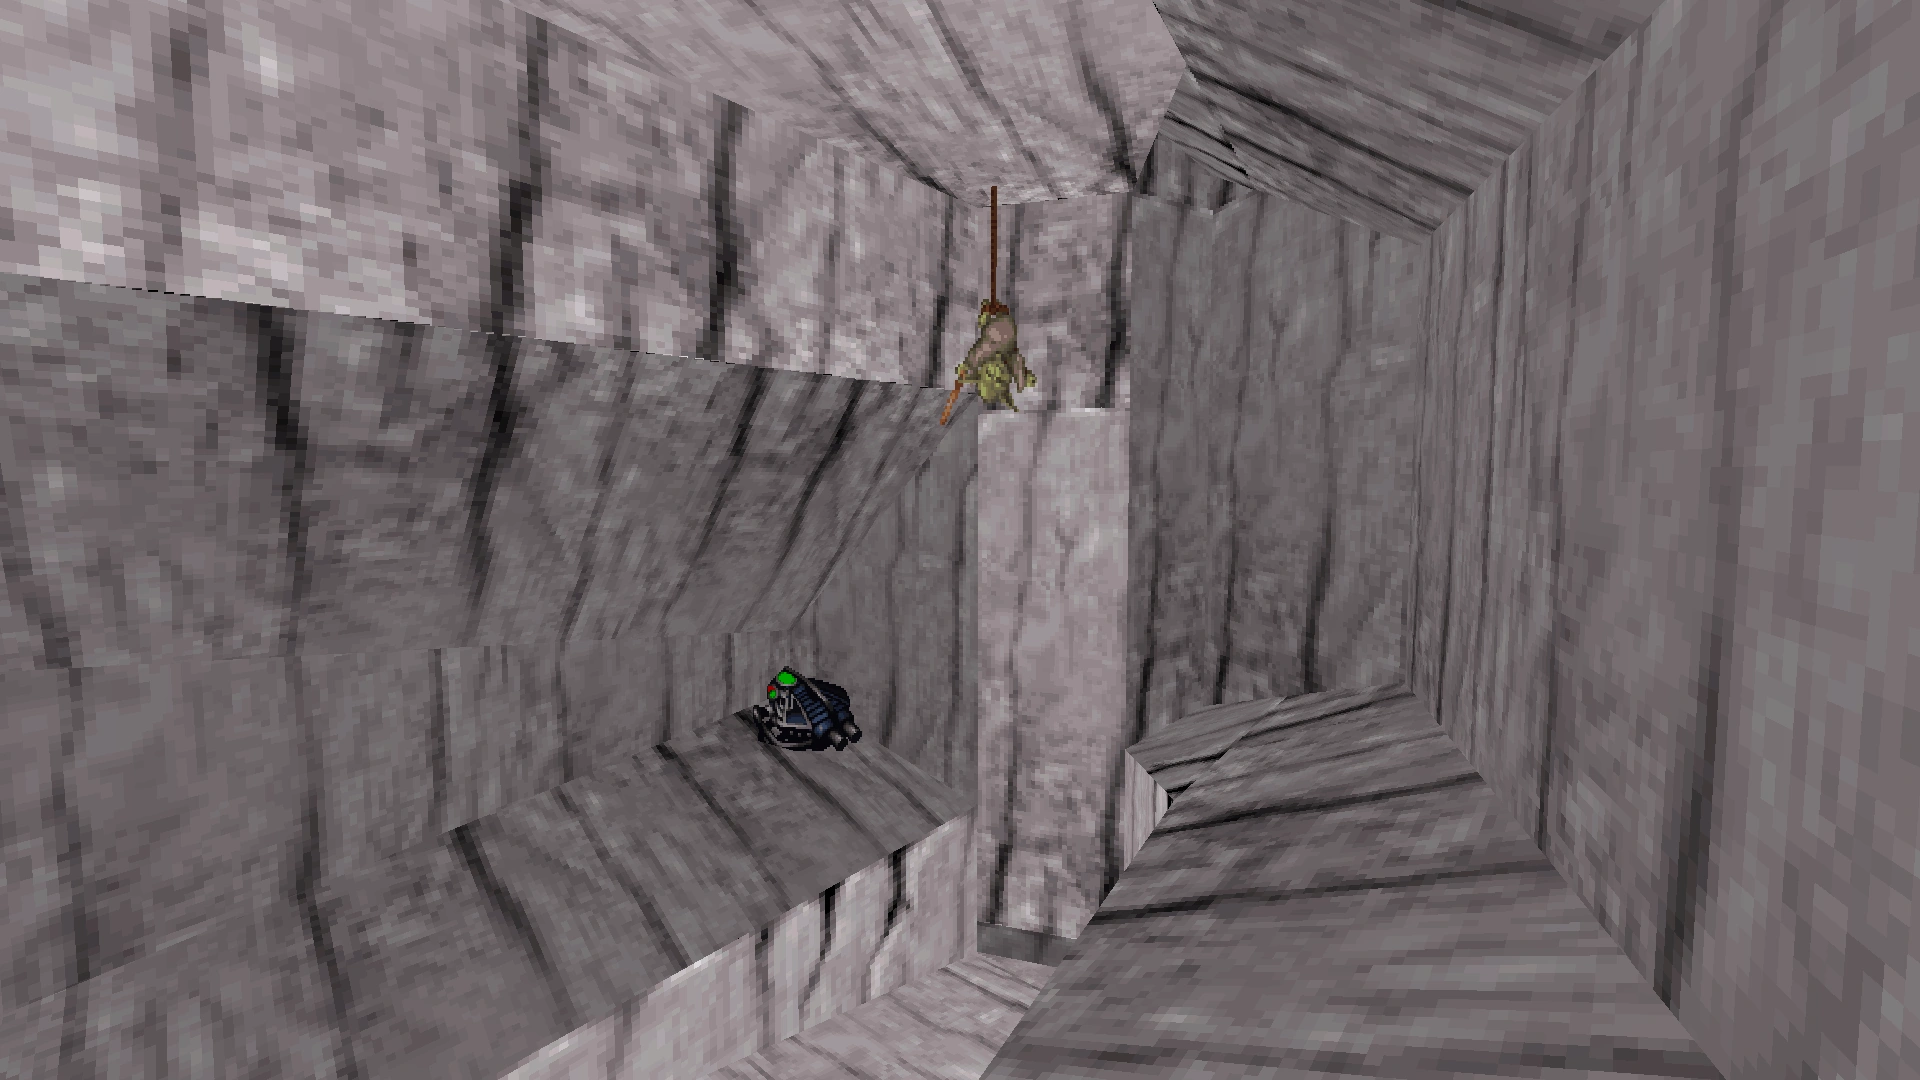
Yoda's hanging corpse, with a Shrinker on the ground.
Similar to Tiberius Station above, the hallway mirror at the end of this level has been replaced with exposed circuit boards. Although the removal of mirrors is a standard part of the Nintendo 64 port, this is unusual because most mirrors throughout the game, such as those in Hollywood Holocaust or Duke-Burger, have been replaced with shattered mirrors, not circuit boards or other objects. In fact, the mirror in the bathroom near the beginning of this level is also shattered.


Level 15: Dark Side
This level is now significantly shorter.
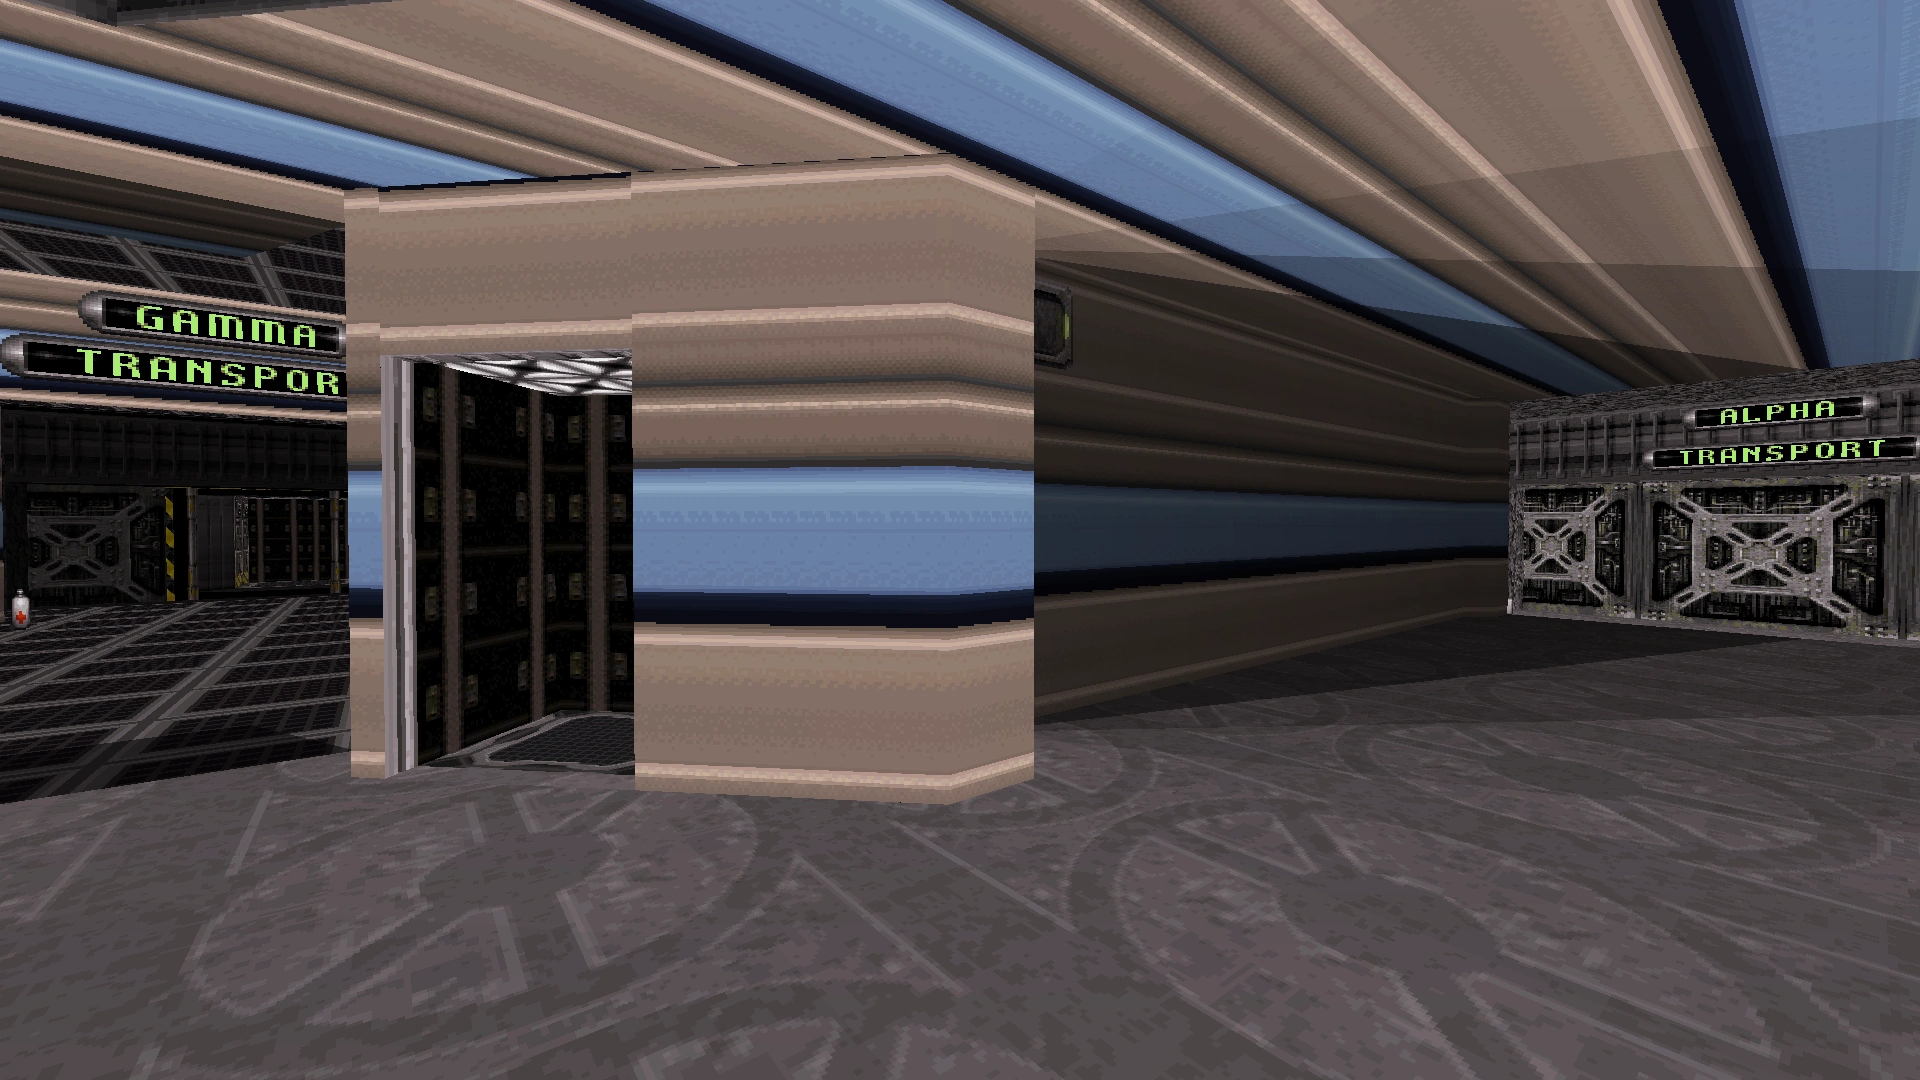
In the original version of this level, there were three transport railways: 1.) Alpha Transport, 2.) Gamma Transport, and 3.) Beta Transport (in that order). Confusingly, a "Gamma Transport" sign was found in two separate areas: A.) above the elevator at the beginning of the level and B.) above the outdoor walkway before the second transport railway.
The second transport railway ("Gamma Transport") has been completely removed, as well as the outdoor area near the beginning of the level. However, there is still a "Gamma Transport" sign above the elevator at the beginning of the level. The outdoor area near the beginning has been replaced with a short, indoor hallway.

Some of the removed portions are still present but are inaccessible without cheats.
Leftover portion of the outdoor area near the beginning of the level. (This is only accessible using cheats.)

Another leftover portion of the outdoor area. There are normally enemies and a Large Medkit on this platform. Extra walls have been added. (This is only accessible using cheats.)
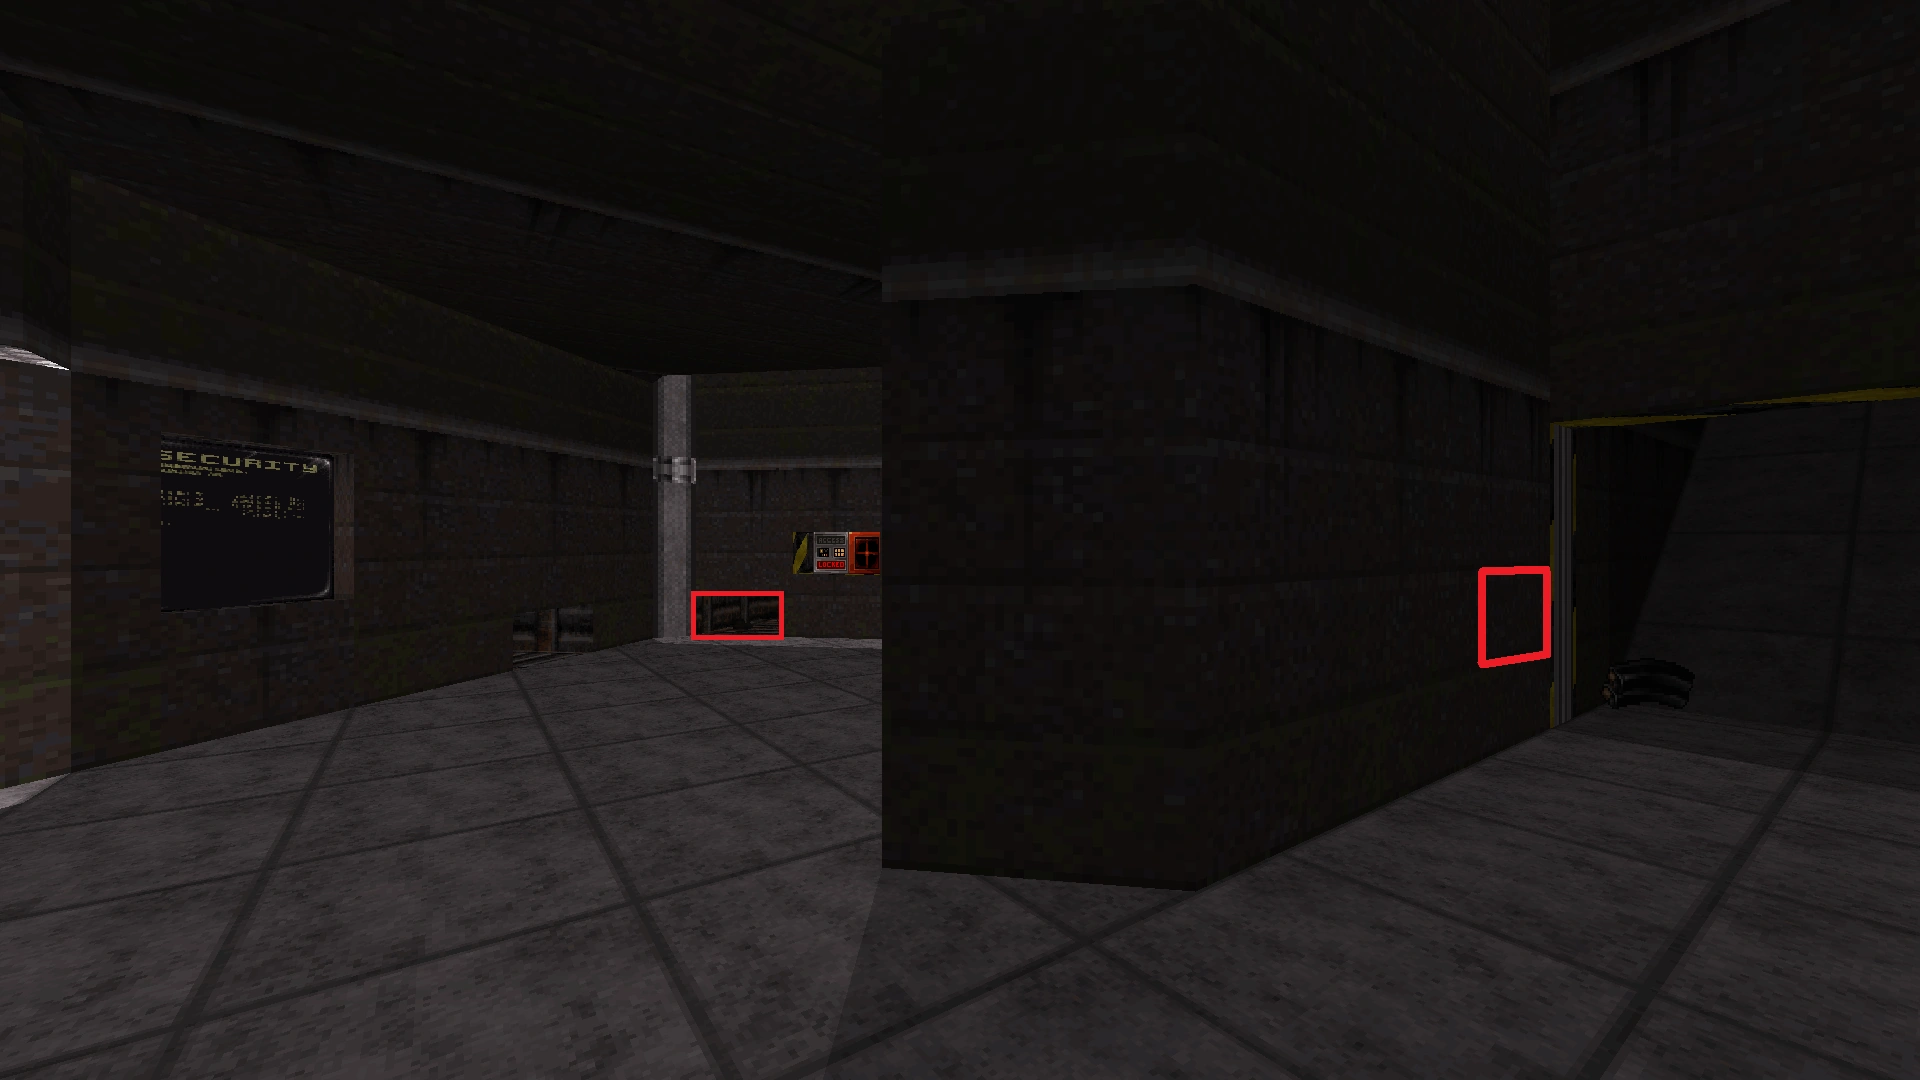
The blue access card elevator from the PC version is now a secret area. The secret elevator can be accessed by shooting a switch that is high on the wall outside the elevator.

The switch on the wall (center, top) has been activated, revealing the secret elevator (left). The confusing "Gamma Transport" sign (far left) is also visible.
The secret elevator still leads to the small blue room above, but the door in this room has been removed.
Secret blue room at the top of the elevator. The only way out of this room is to go back down the elevator (left).
One of the first secret areas of the level has also been removed. Specifically, the crack in the wall near Alpha Transport has been removed, and there is no longer anything on the other side of the wall.

In the giant outdoor crater, the satellite and telescope (which were two-dimensional props) have been removed, and the ridge on which they sat is nowhere to be found.

Although the main crater still exists, the narrow canyon behind the Battlelord Sentry has been removed. Instead, the Assault Commander and the crack in the wall (which are normally at the end of the canyon) now appear directly behind the Battlelord Sentry.
The Battlelord Sentry and Assault Commander are only a couple meters off from their spawn locations in this photo. The crack in the wall is also visible in this photo (center).
In the PC version, the secret exit button at the end of this level can be reached by either jumping through an invisible opening in the wall or by blasting through a crack in the wall. However, the secret exit button in this version of the level is only accessible by blasting through the crack in the wall, since the invisible opening has been removed. Also, the alien base at the end of the level now contains Alien Beasts (Protector Drones).
Alien Beast near the end of the level.
Level 16: Dreadnought
Overlord has been renamed "Dreadnought" and ends when Duke drops down the shaft which leads to the Overlord.
After opening the central column in the room above the water at the beginning of the level, there is no longer a weapon inside. Moreover, the electrical column itself has been replaced with a destructible reactor, similar to the reactors near the ends of Fusion Station or Lunar Reactor.

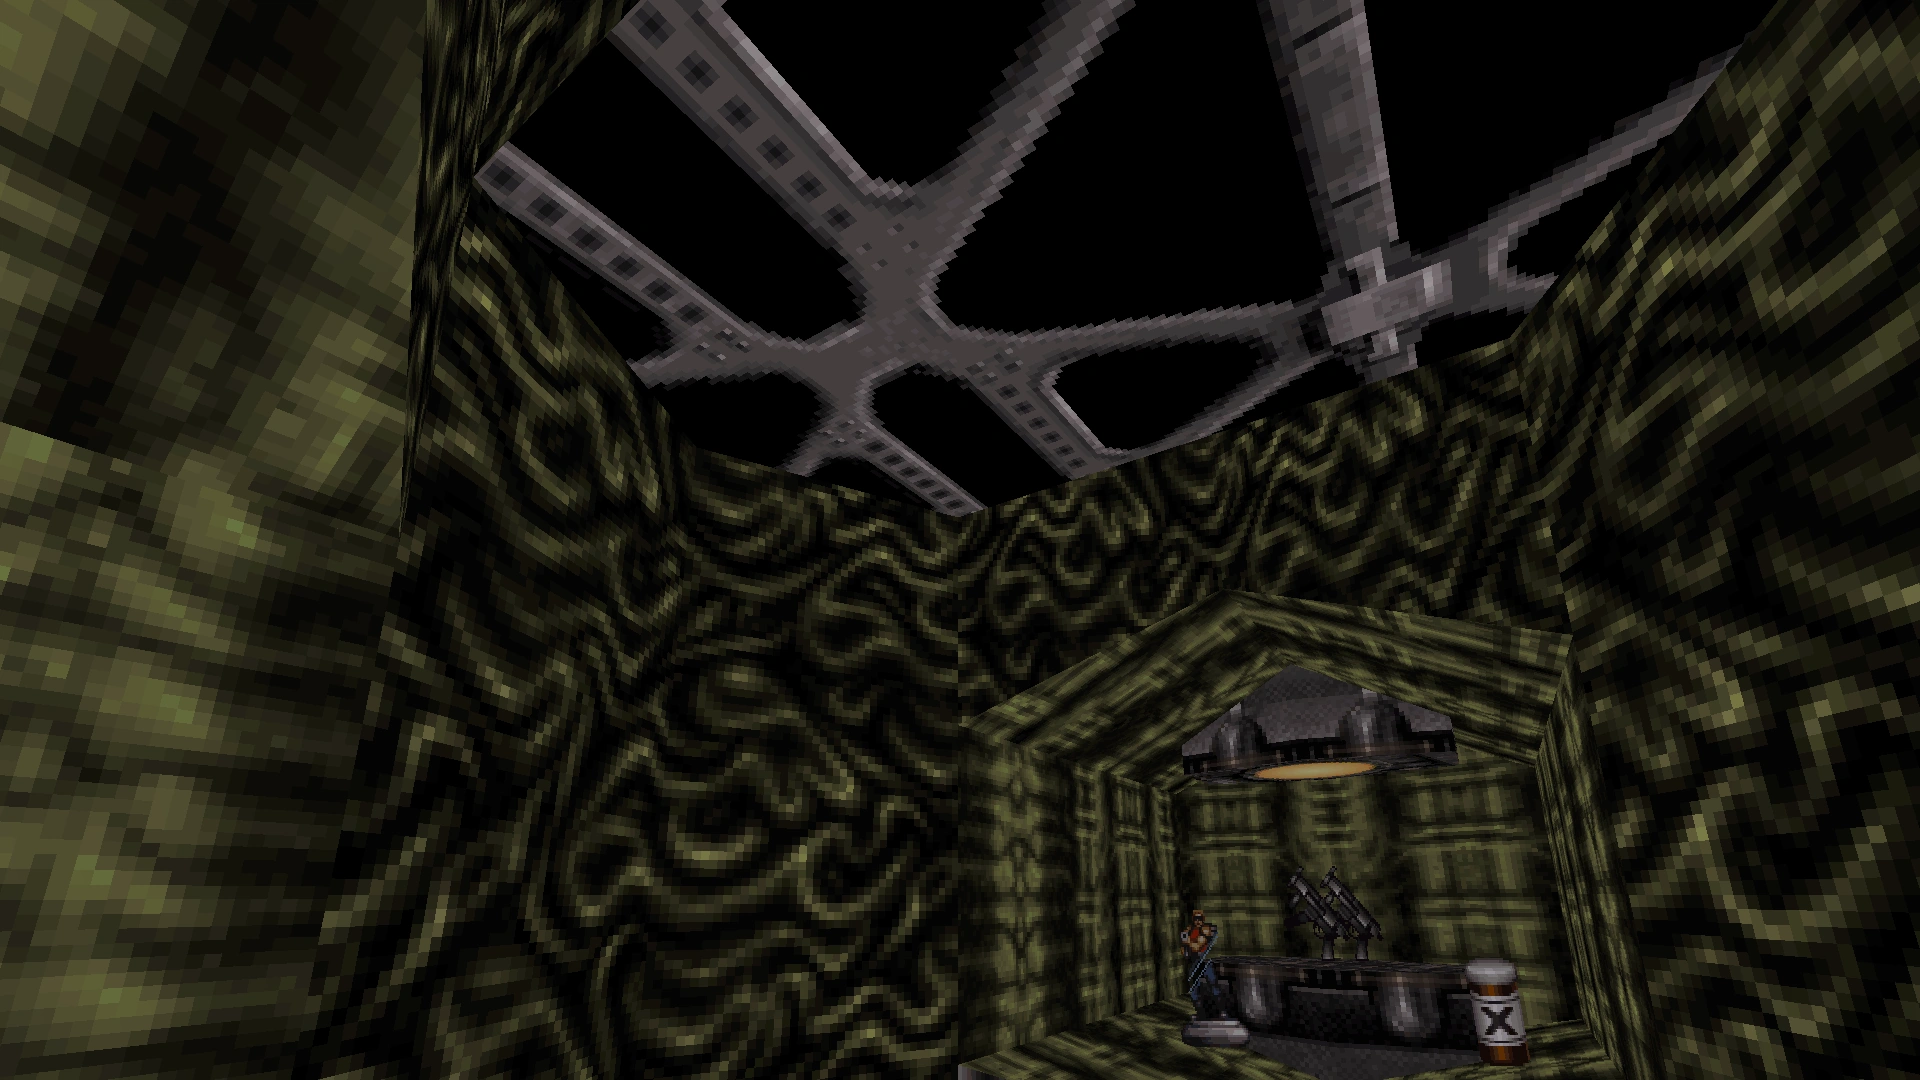
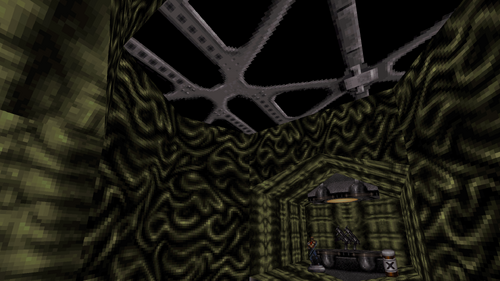
At the very end of the level, the shaft that leads to the Overlord has also been modified. The vertical heights of the spinning fan blades and of the vertical shaft itself appear to have been dramatically extended.
Disorienting view from atop the spinning fan at the end of the level. For perspective, the Atomic Health that sits on top of the spinning fan is visible in the top right-hand corner.
Level 17: Overlord
The encounter with the Overlord is now a separate level.
Although the circle of Protozoid Slimer Eggs is still present, the accompanying circle of explosives has been removed. A clustered heap of scrap metal is now clogging the shaft in the ceiling and prevents the player from returning to Dreadnought.
There is a heap of scrap metal in the ceiling, and there are no explosives around the perimeter of the room.
When standing beneath the air shaft and facing the main doors, there is now a button on the wall directly to the right. This button opens a door in the wall, revealing a pool of water with Vitamin X (Steroids) at the bottom. The pool contains an underwater tunnel, snaking around the back perimeter of the arena, that connects with the pool of water found on the opposite side of the arena. The second pool of water no longer contains the area with the Devastator.
View from inside the compartment containing the newly added pool of water. This pool of water connects with another pool of water in the opened compartment visible on the opposite side of the room.
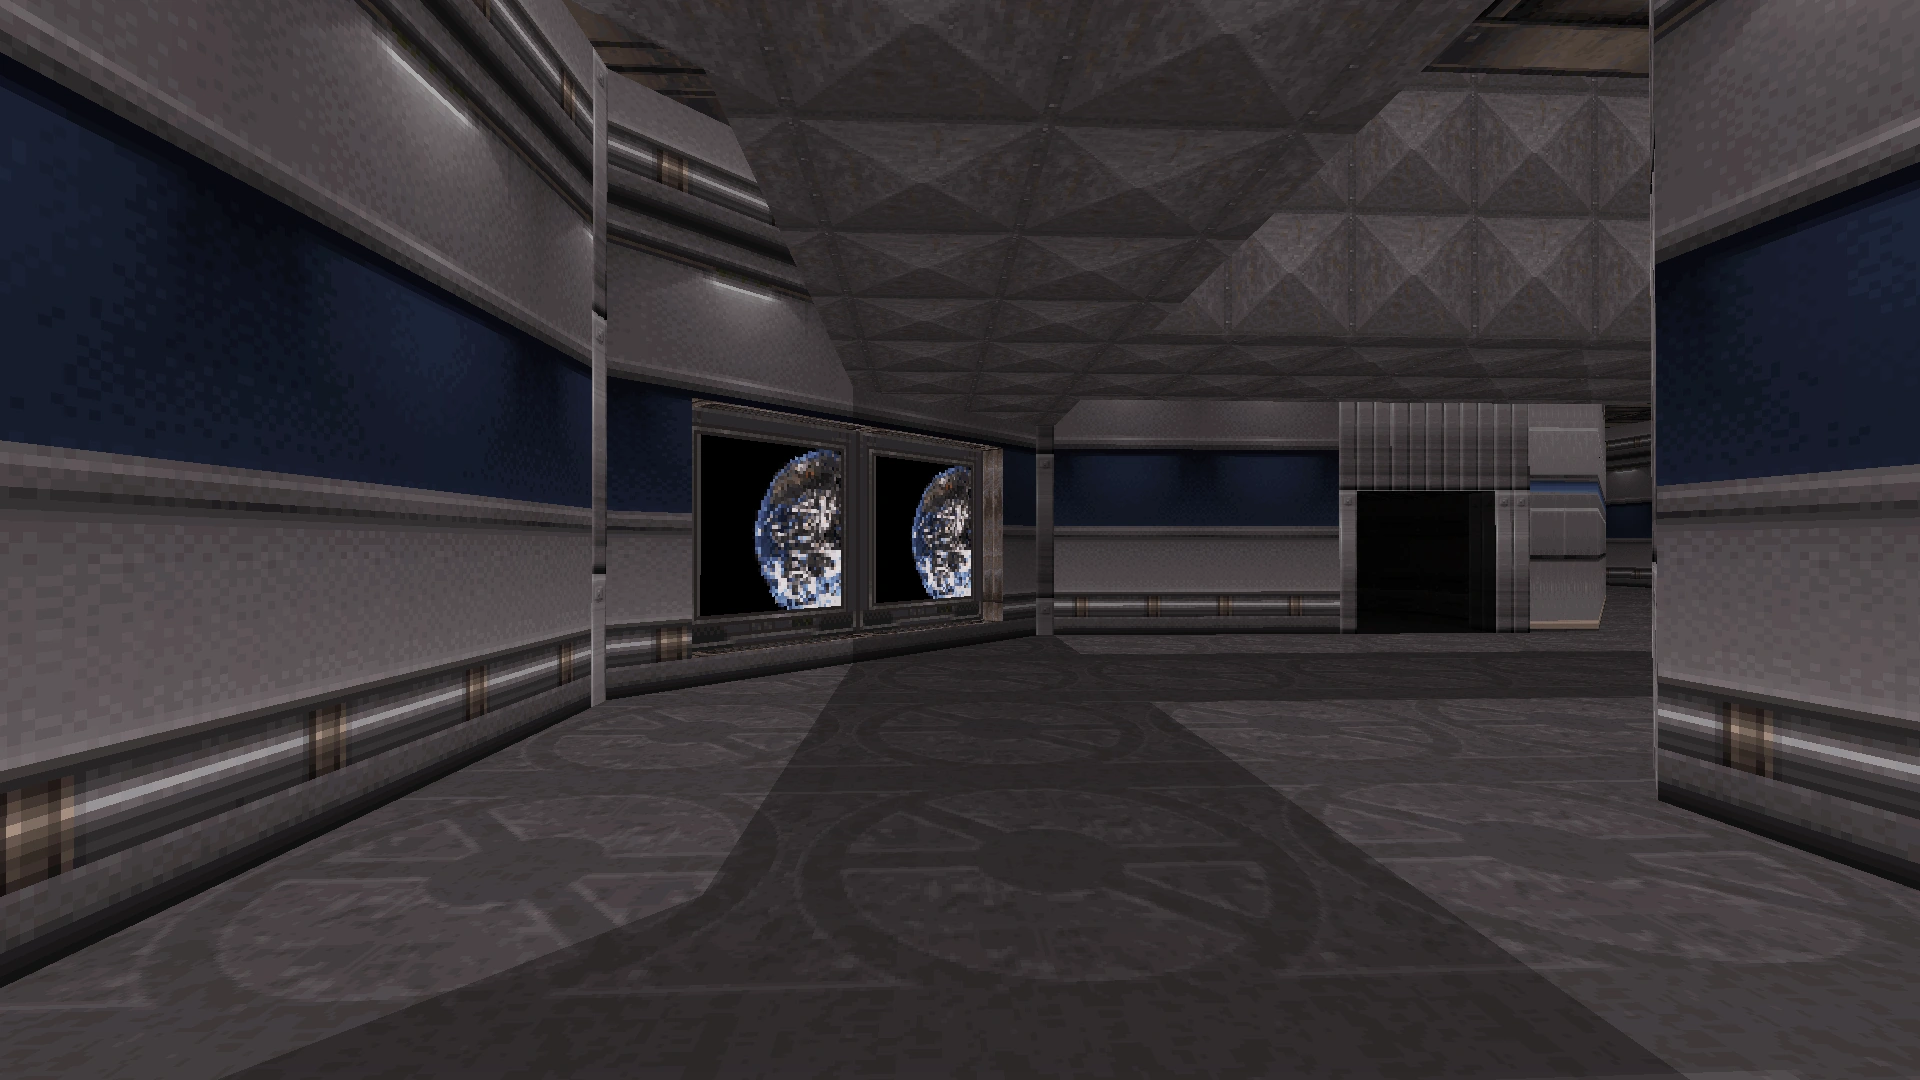
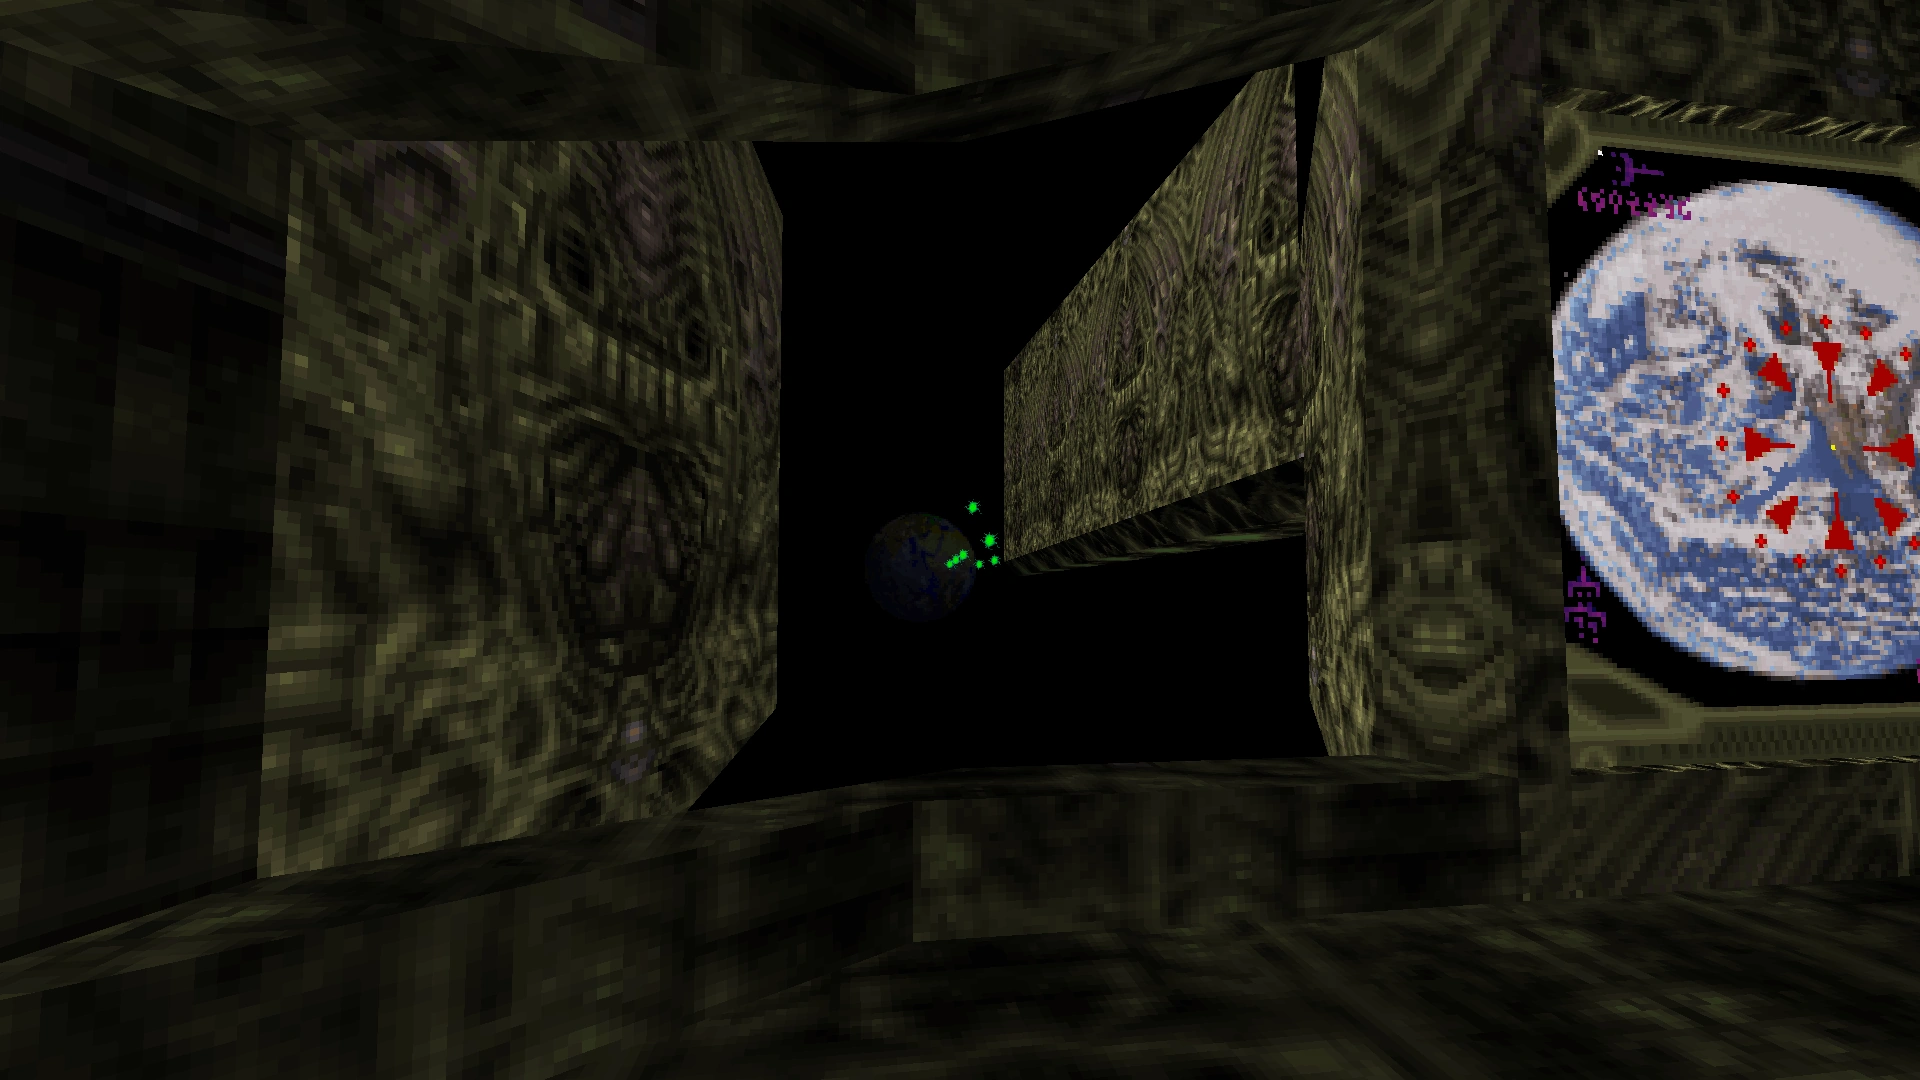
Earth now appears much smaller from the Overlord's window, and the moon, which could be found using the no-clip cheat in the PC version, is nowhere to be found.

Of potential interest to hardcore enthusiasts, the redundant exit button on this level has been moved to a new location. Follow the link to learn more.
The redundant exit button (not a normal part of the level).
Level 18: Lunatic Fringe (Secret Level)
This level now begins outside the doors that must be opened at the start of the Duke Nukem 3D version. Apart from standard porting-related changes, the level is otherwise unchanged.

New start location. In the PC version, the player must first emerge through a set of doors directly behind the camera in this photo.
Level 19: Raw Meat
Sexual references, including the flashing geishas and the poster concealing the secret Shrinker, have been censored.

Censored poster concealing the Shrinker. The geishas, such as the one on the left, will no longer remove their clothes.
The curtains covering the private dining rooms can no longer be opened. Instead, Duke can now pass directly through the curtains.

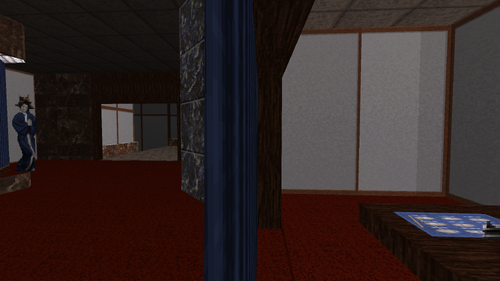
Photo showing how the curtains can intersect the camera, since Duke can now pass directly through them.
The utility closet containing pipes and air-conditioning units beneath one of the dining tables has been slightly reorganized. The switch that opens the room full of captive women is now on a different wall, and the Vitamin X (Steroids) have been moved onto the floor.

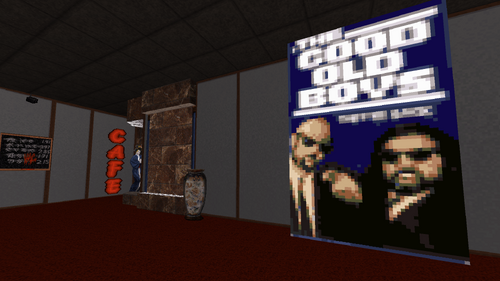
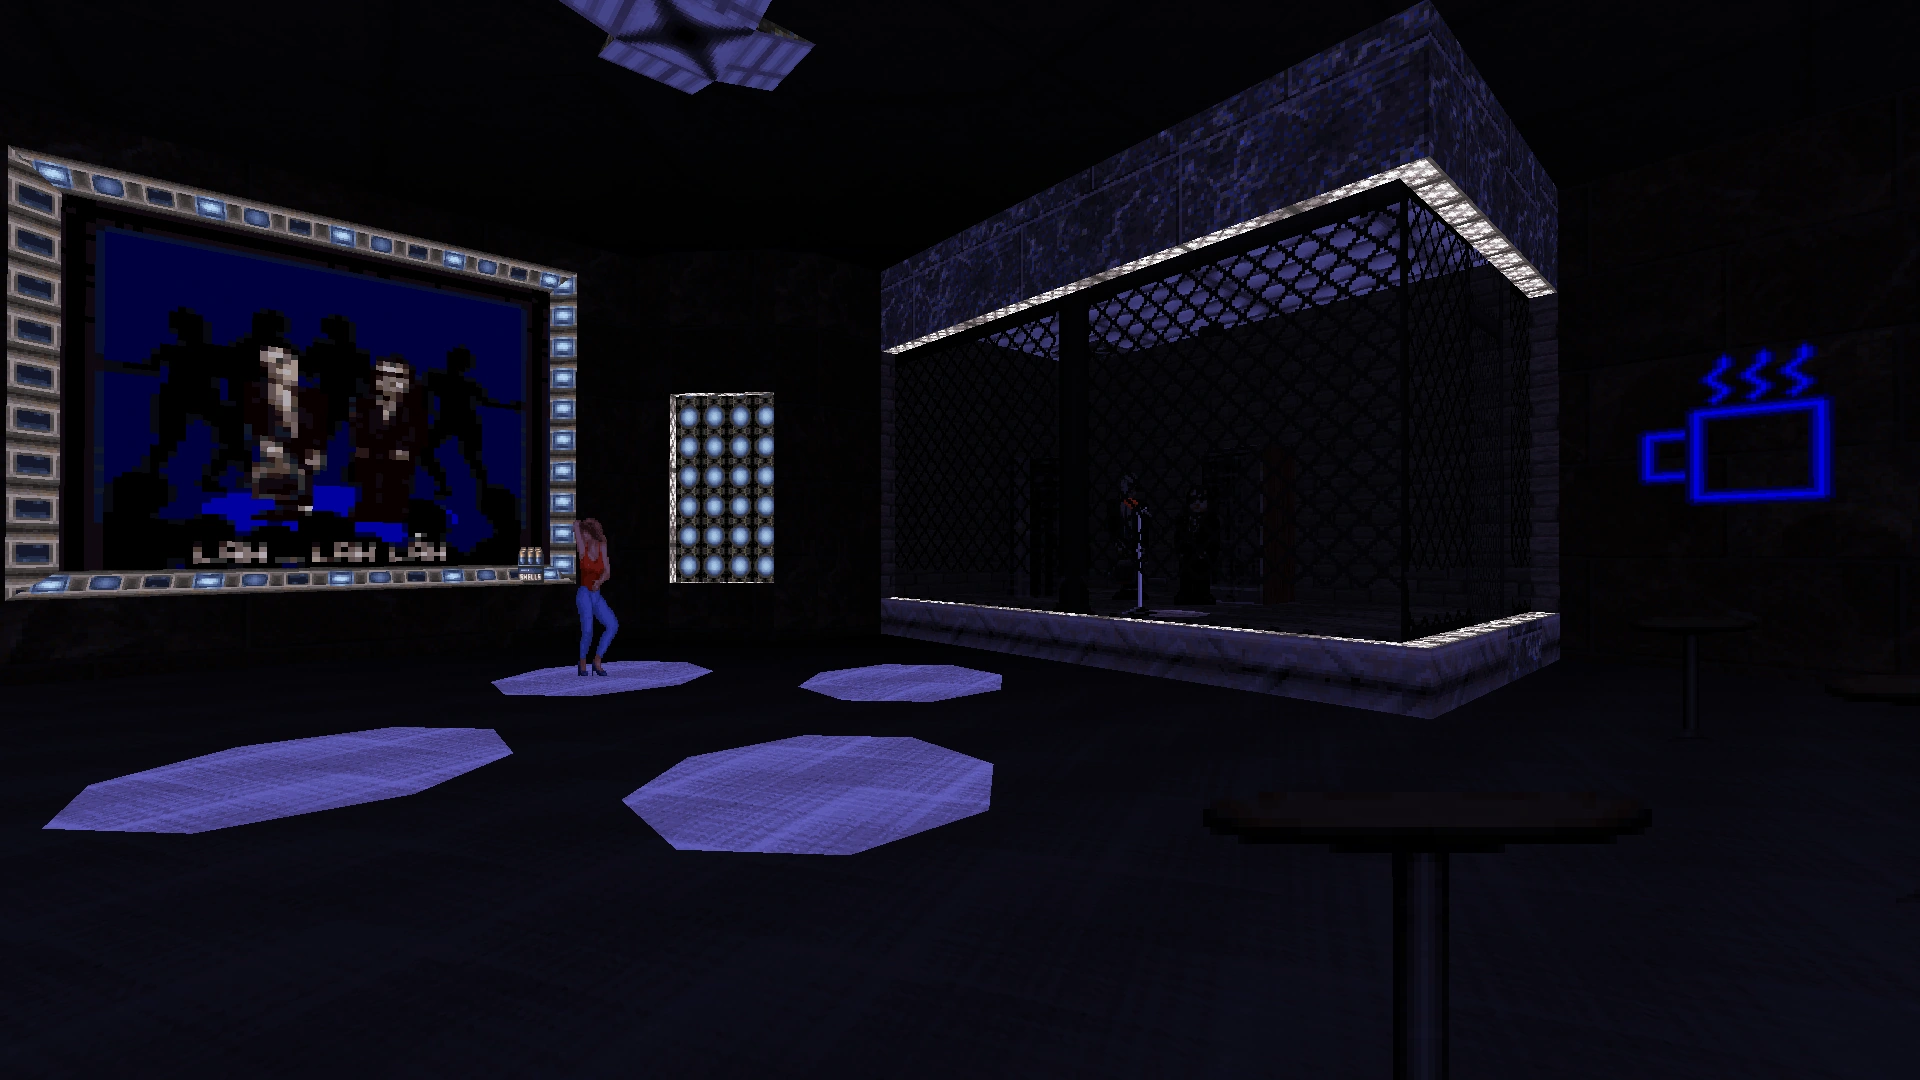
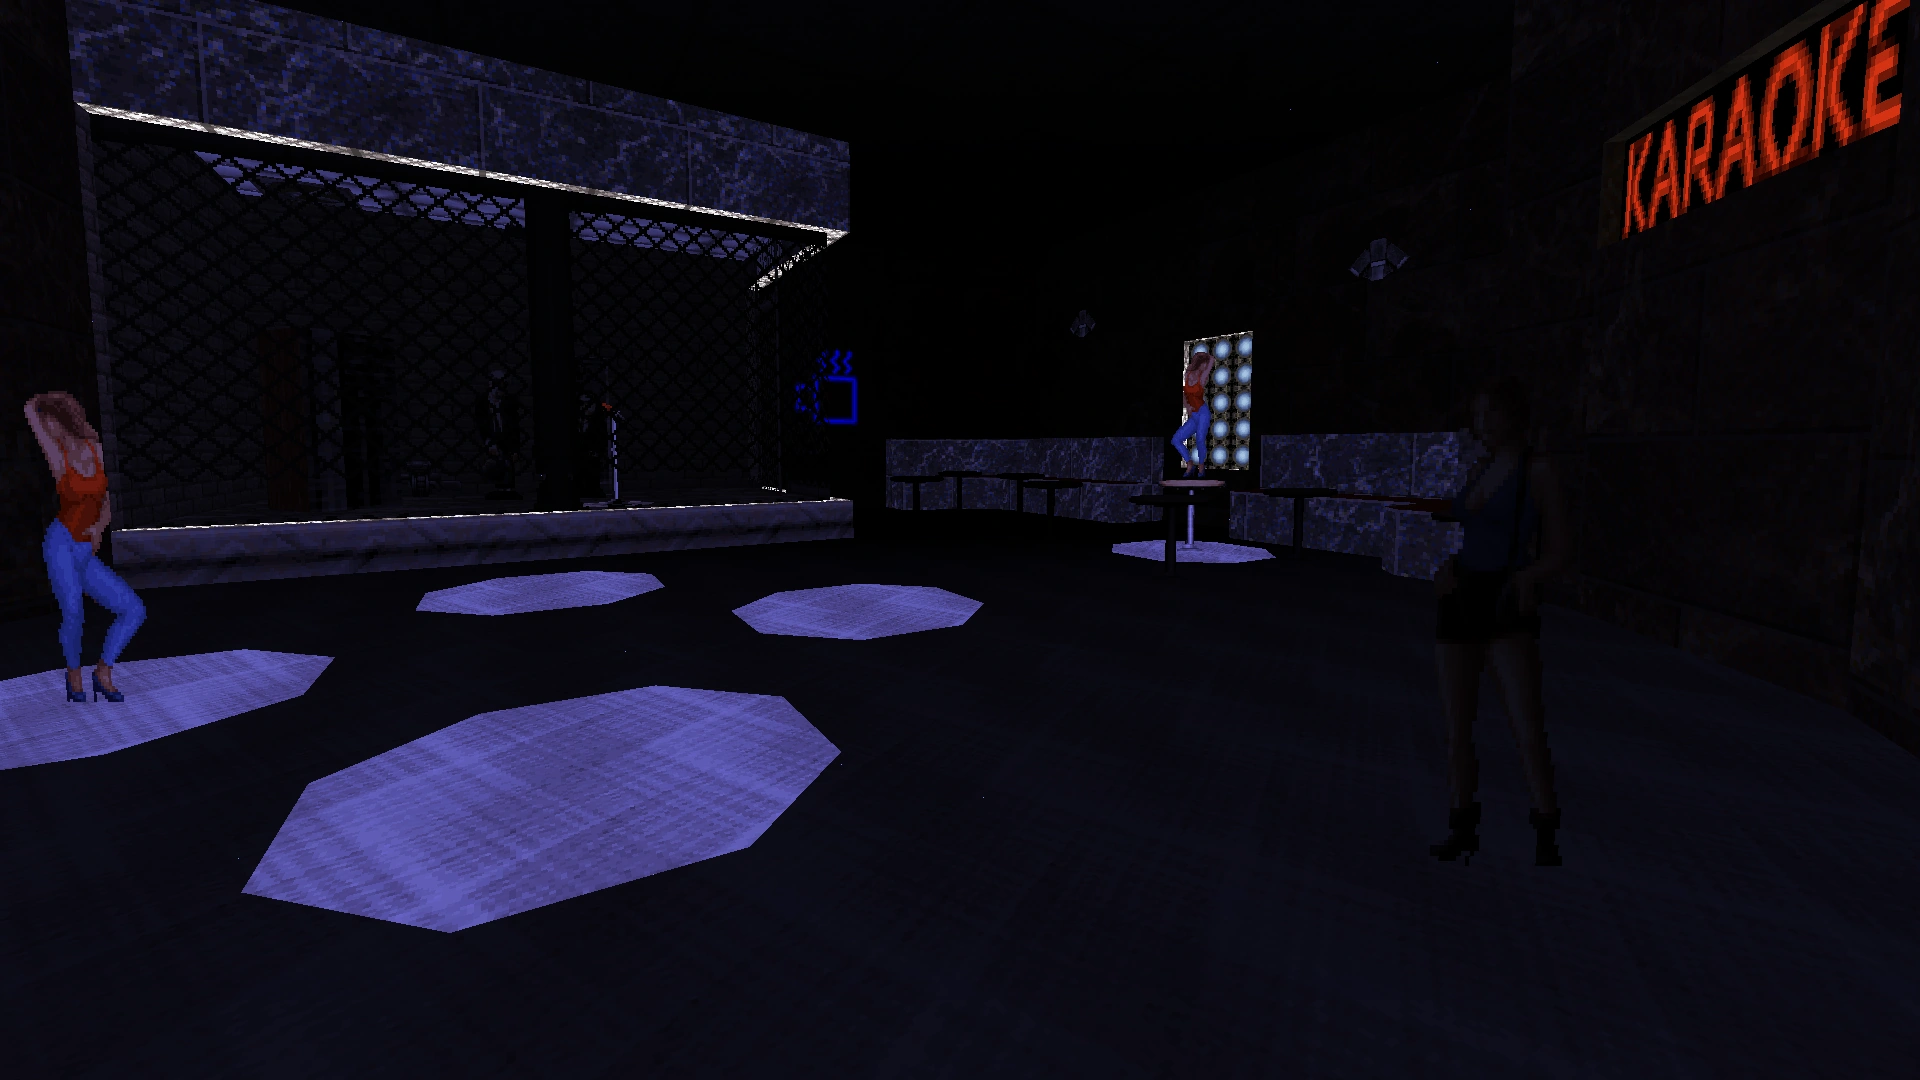
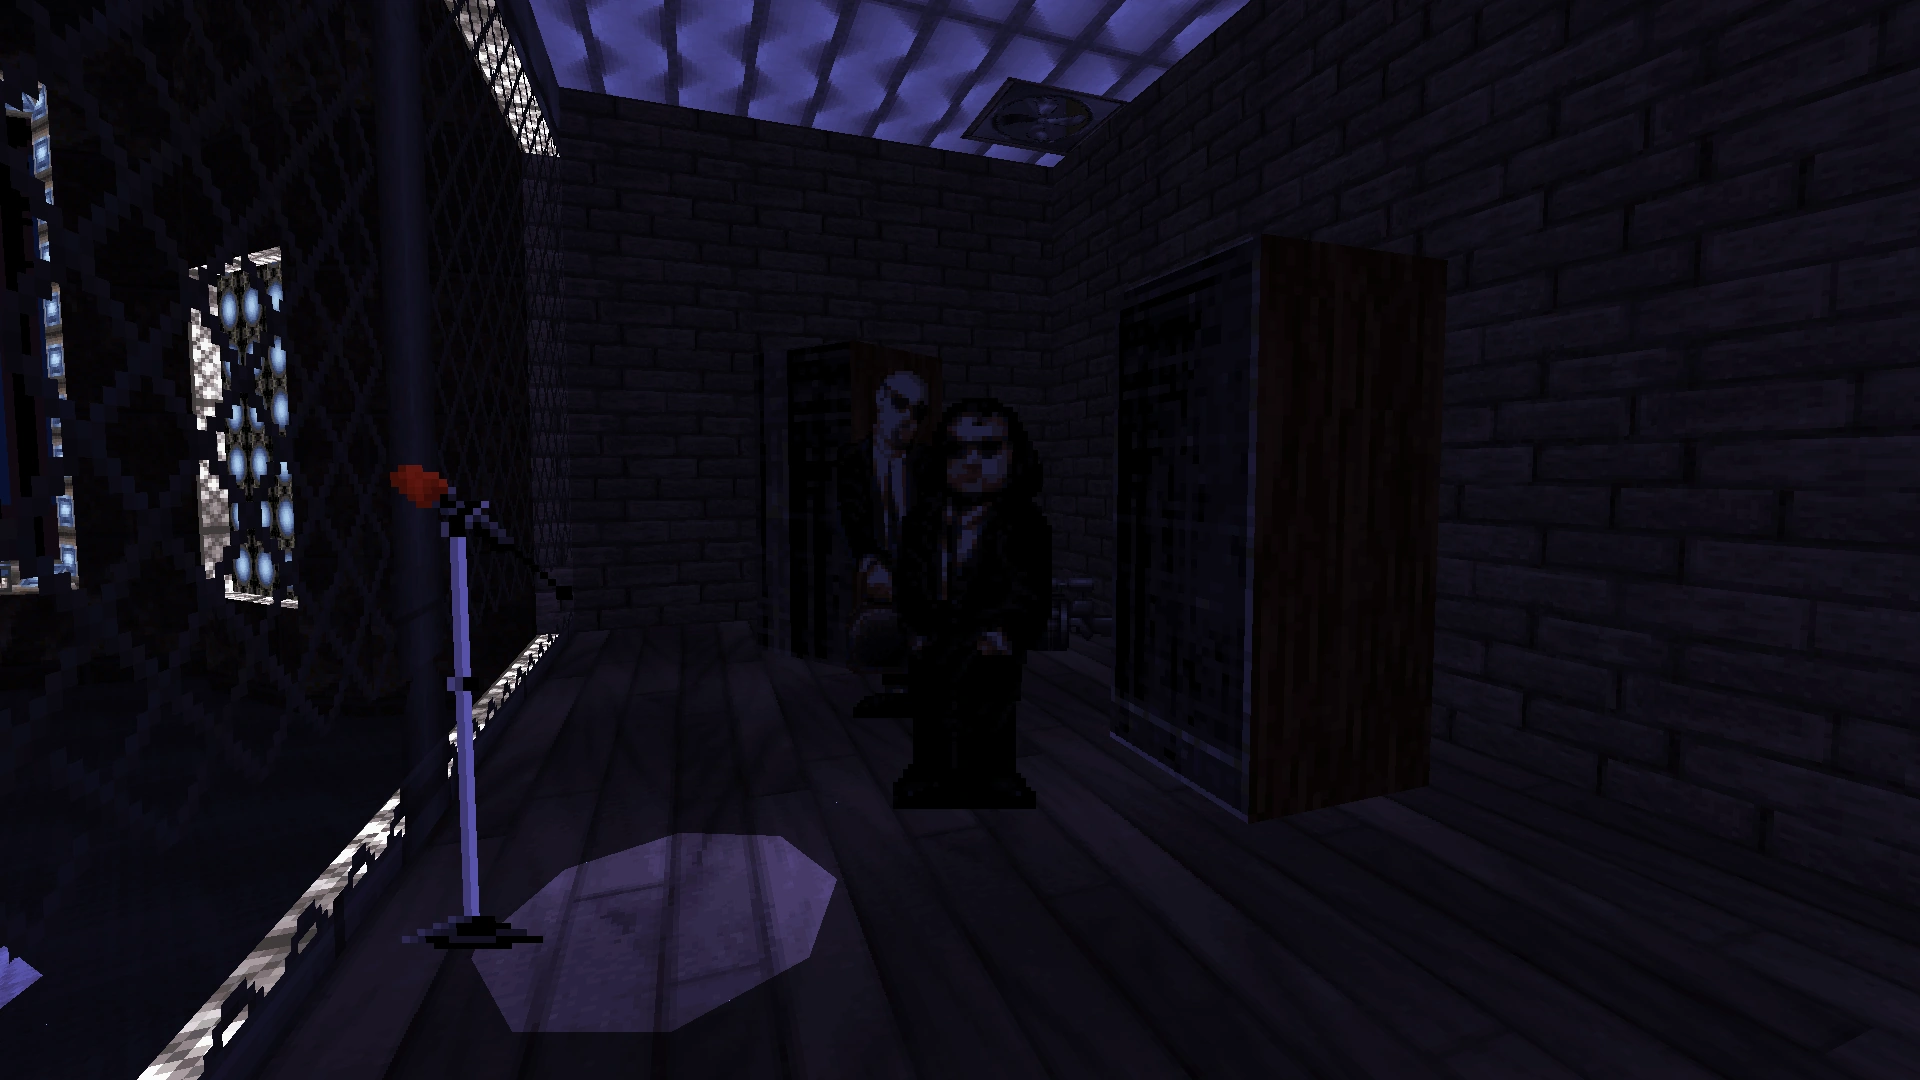
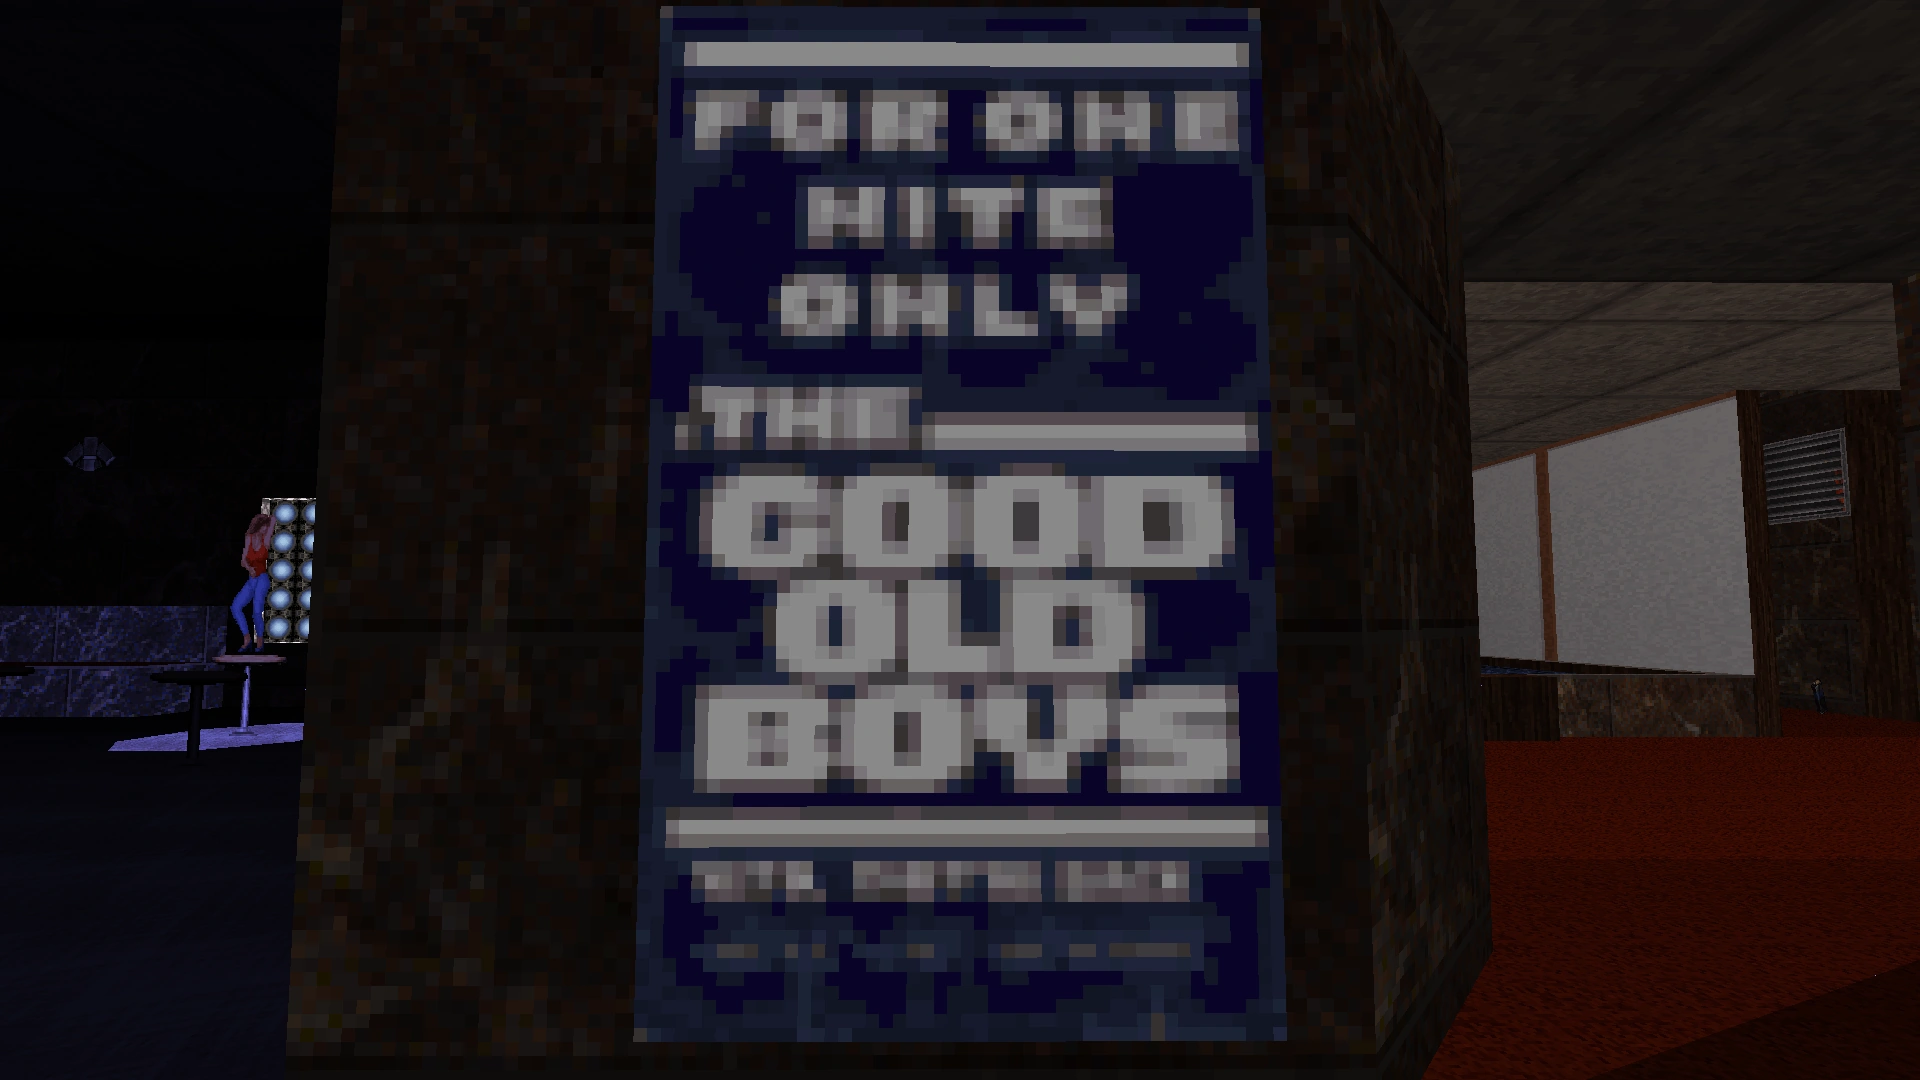
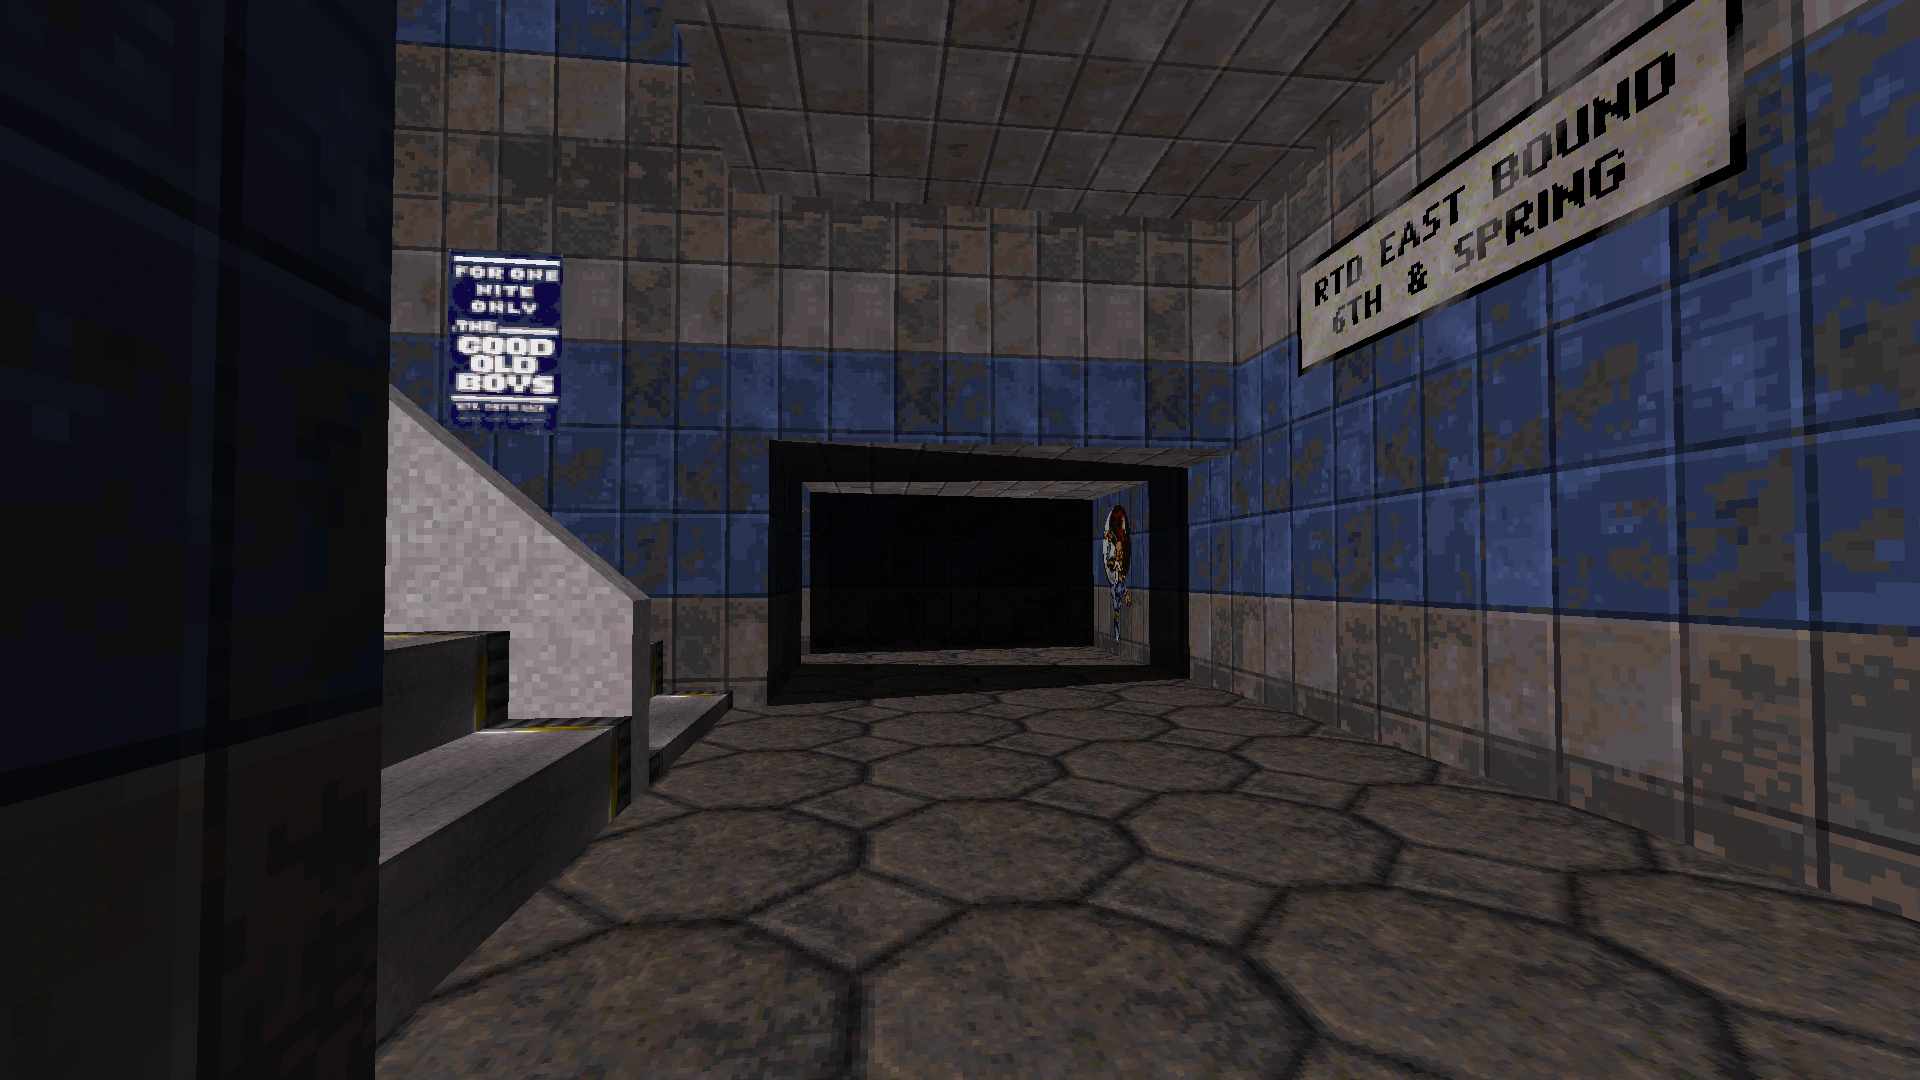
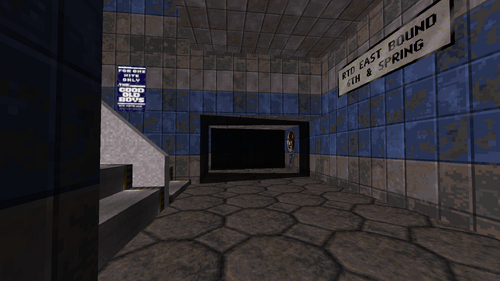
The stage area with the dancing woman now has a cage around it, and inside the cage, a band named "The Good Old Boys" is performing. The entire stage area has been completely redesigned (see the screenshots below).


The bloody hand print that opens the hidden compartment with the Freezethrower has been moved inside the air shaft in the wall. Moreover, the hidden compartment with the Freezethrower now contains Dum Dum Rounds instead.

Pressing the "use"/"open" key on the bloody hand print in the air shaft (right) will cause a hidden compartment to open. This hand print was previously on the wall on the left.

Dum Dums inside the hidden compartment.
Perhaps less notably, the faux back wall inside the cupboard below the bloody hand print now opens vertically instead of sliding along the ground.

Closer to the end of the level, the wine pantry in the kitchen is now a walk-in pantry. The secret area behind the wine pantry is now accessible by walking into the pantry and opening the shelves on the right-hand side.

Wine pantry. Notice the walk-in space on the right-hand side. The right-hand shelf inside the walk-in space has opened, revealing a secret compartment.
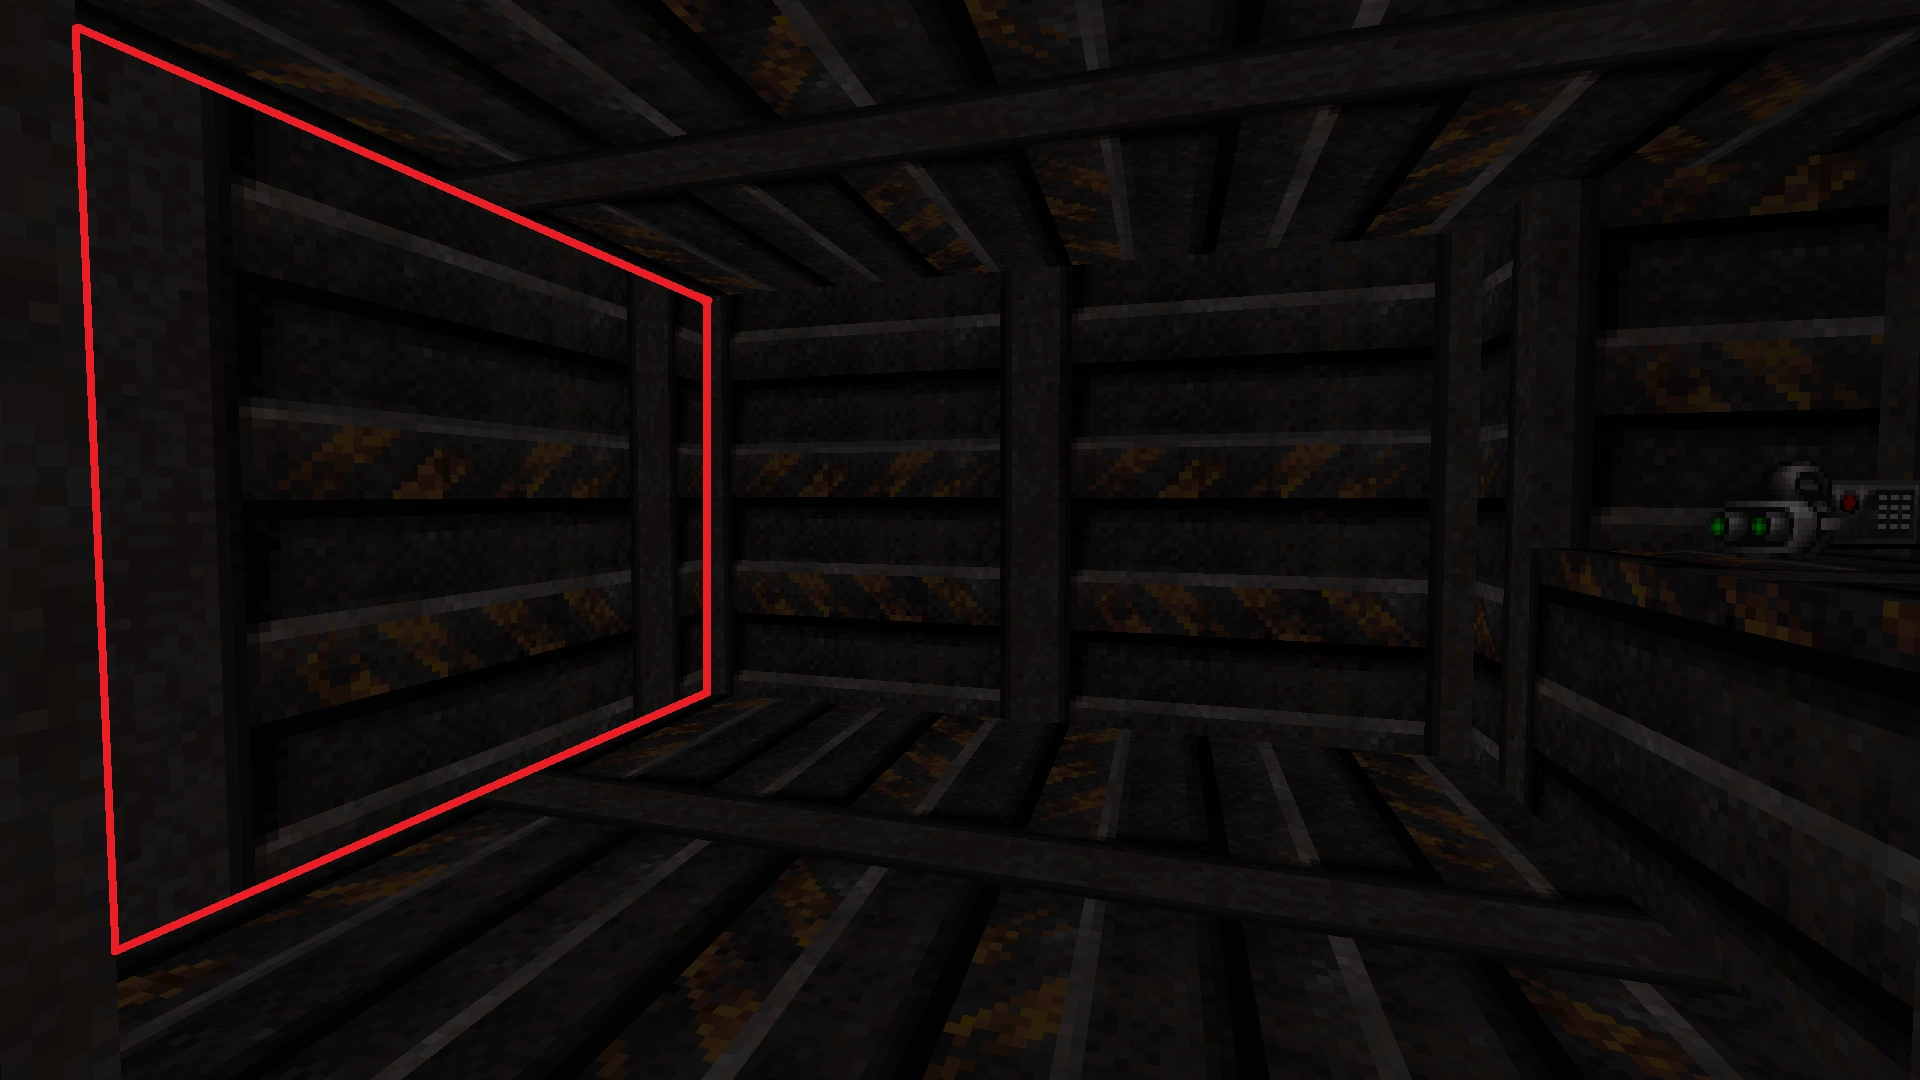
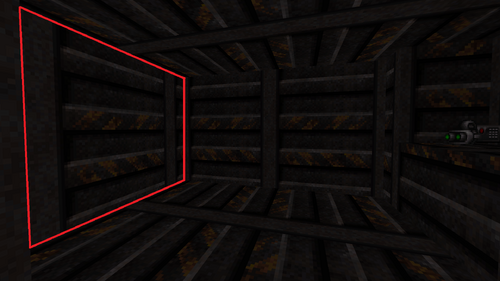
Level 20: Bank Roll
The large room with the revolving, cylindrical walls has been replaced with long, descending corridors that lead to a small room packed with Turrets.


At the bottom of the descending corridors, this hallway is booby-trapped with Laser Tripbombs.

After the room with the Laser Tripbombs, there is a fork in the path. The armory on the left is locked, and the door on the right leads to the room packed with Turrets.
Room with Turrets on the ceiling. Beneath this bridge, there is a hidden teleporter that connects to the locked armory.

The room full of Turrets leads to another room with a big pool in the middle and the final access card.
Room containing the final access card with a pool in the middle. The highlighted wall on the right opens after the access card is obtained, and enemies are found waiting inside. The highlighted wall in the middle opens into a path to the central multiplayer-only area (only opens during multiplayer).
Beneath the water, there is an underwater tunnel that is normally blocked-off. During multiplayer, the barrier in the middle of this underwater tunnel vanishes, allowing access to the multiplayer-only part of the level.
Beneath the pool of water in the room with the final access card, there is a closed-off tunnel with a Jetpack inside. The barrier in the middle of the tunnel vanishes during multiplayer.

Another underwater view of the multiplayer-only area. There are compartments visible in the bottom two corners of this photo.

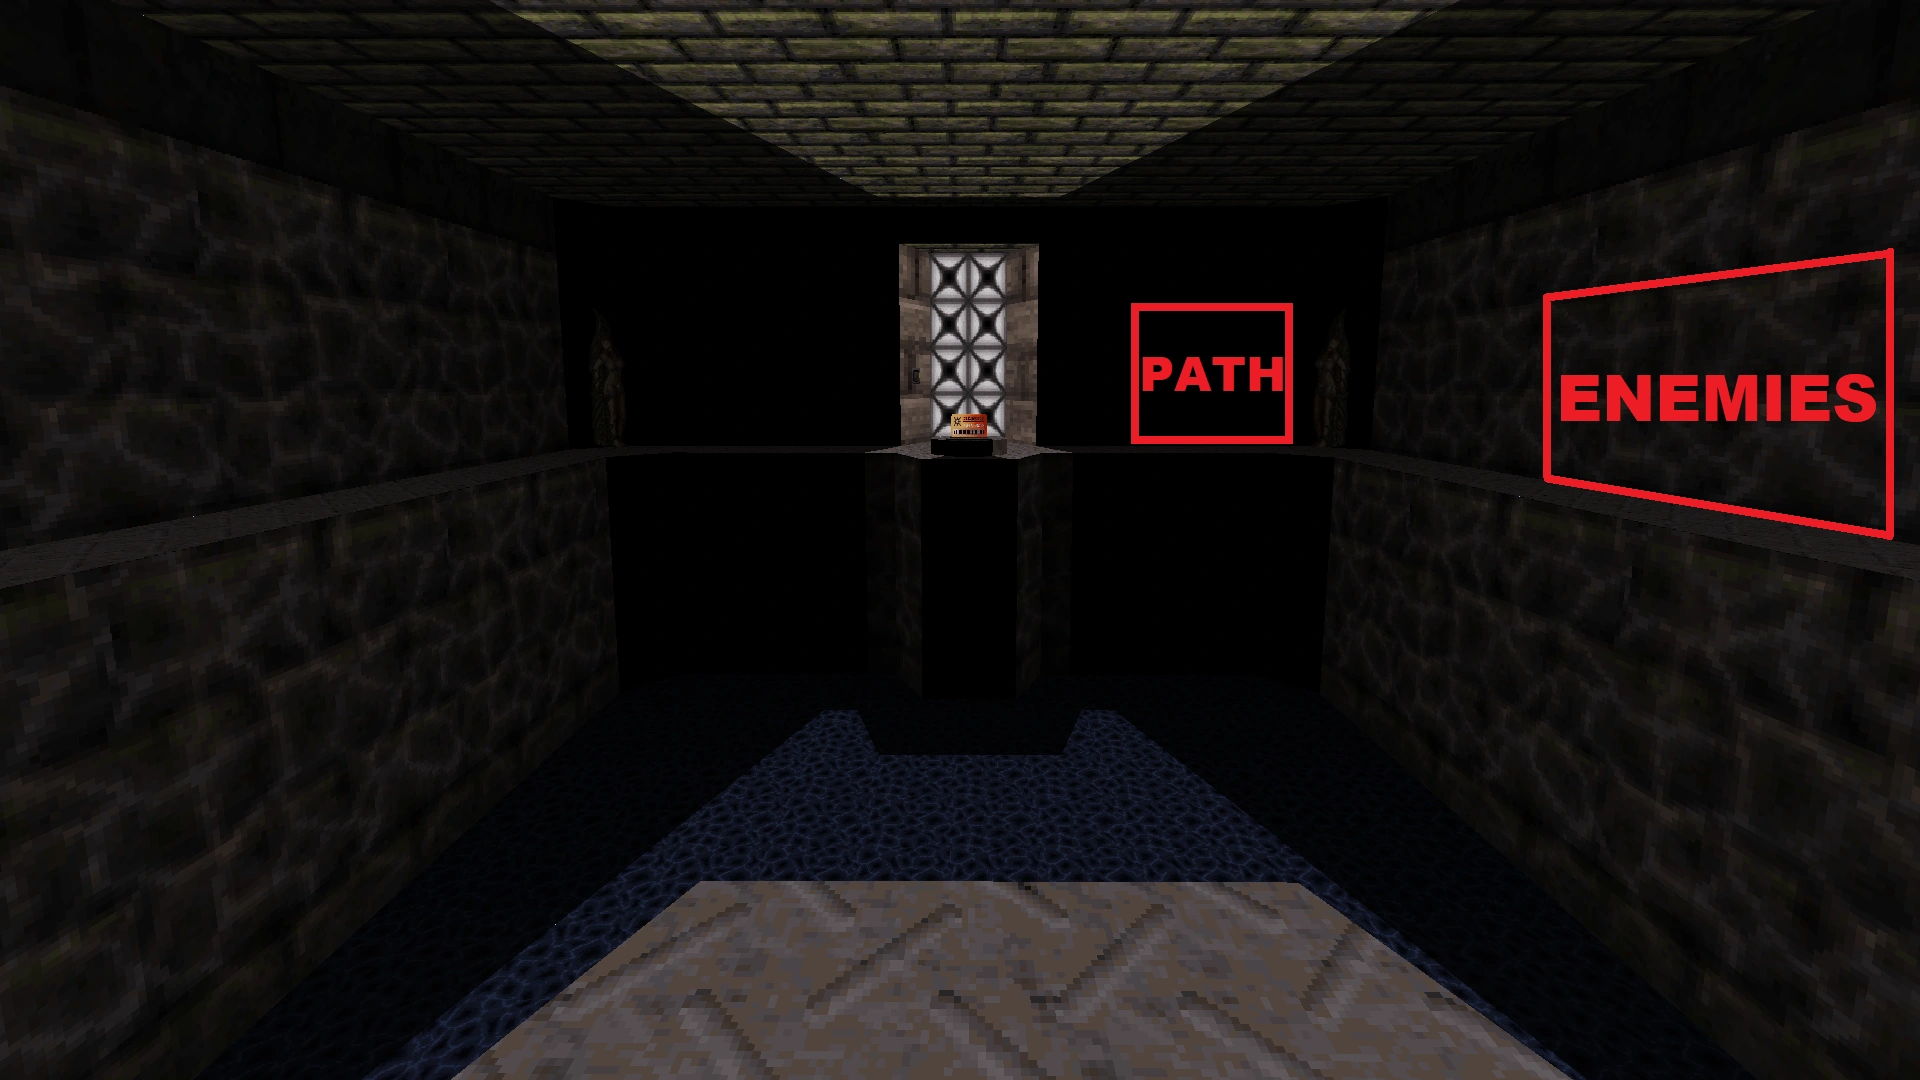
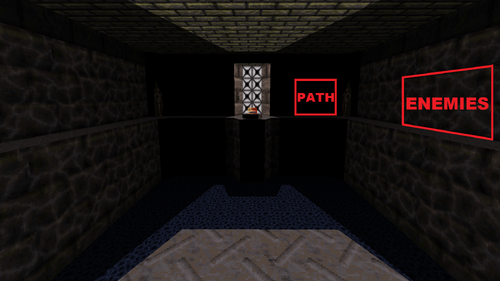
Above water, this is the central room inside the multiplayer-only part of the level. There are three visible corridors leaving this room. The central column is inaccessible.

The middle corridor leaving the central room. The wall ahead opens into the room containing the final access card (marked "Path" in the screenshot above).
The upper-most corridor leaving the central room. The highlighted wall opens into the hallway containing the exit button at the end of the level.
The highlighted wall opens into a corridor, leading to the upper-most part of the central multiplayer-only area.
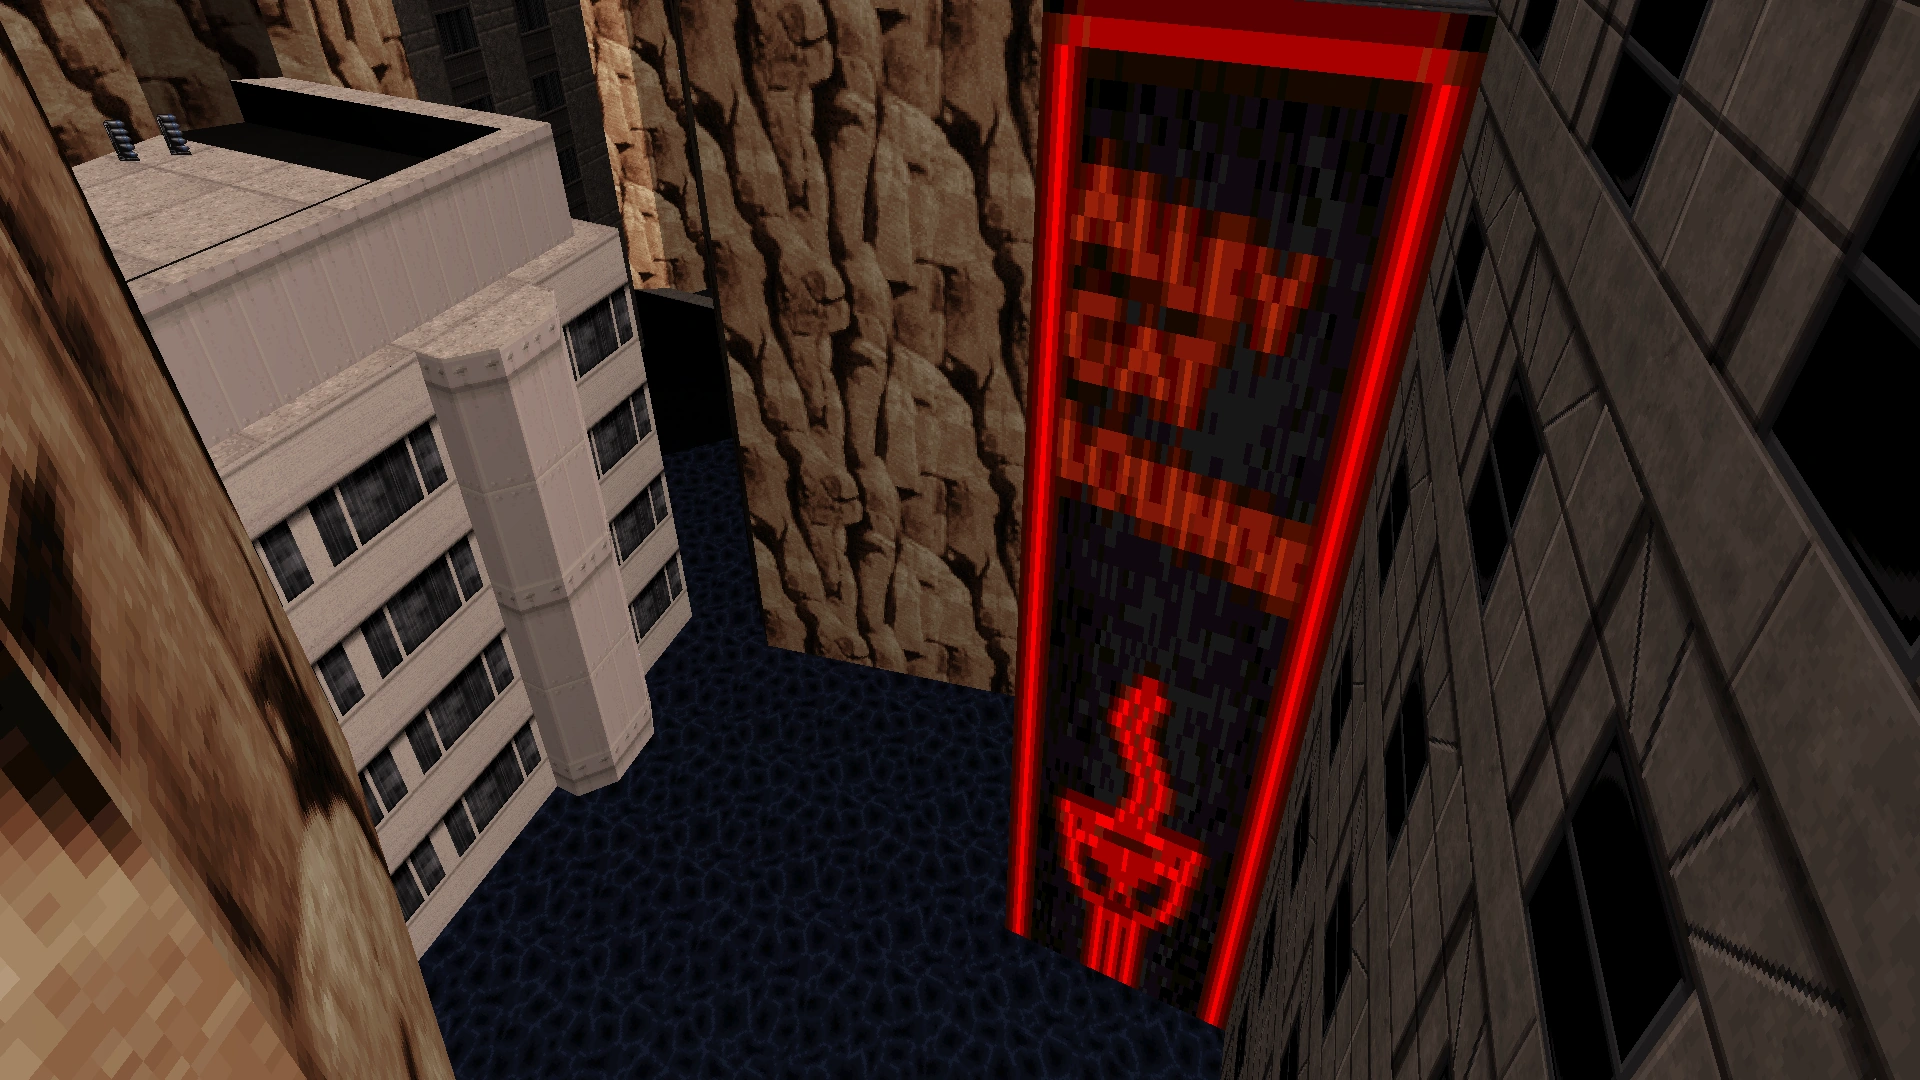
Level 21: Flood Zone
The "Alley Cat Lounge" sign now features a dancing cat instead of a dancing stripper.

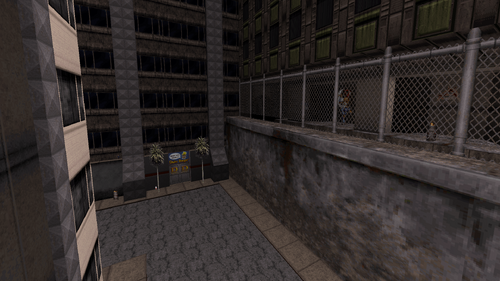
It now takes significantly longer to reach the yellow access card, which has been moved into a new building that did not exist in the PC version. The new building sits between the building with Enforcers on top and the building with the blue access card panel. The building is squeezed between the canyon walls, and the back side of the building is visible from the area with the blue access card. Notably, there is a semi-transparent green window near the top of the building. This building is fully accessible, and it is possible to reach the room on the other side of the green window.


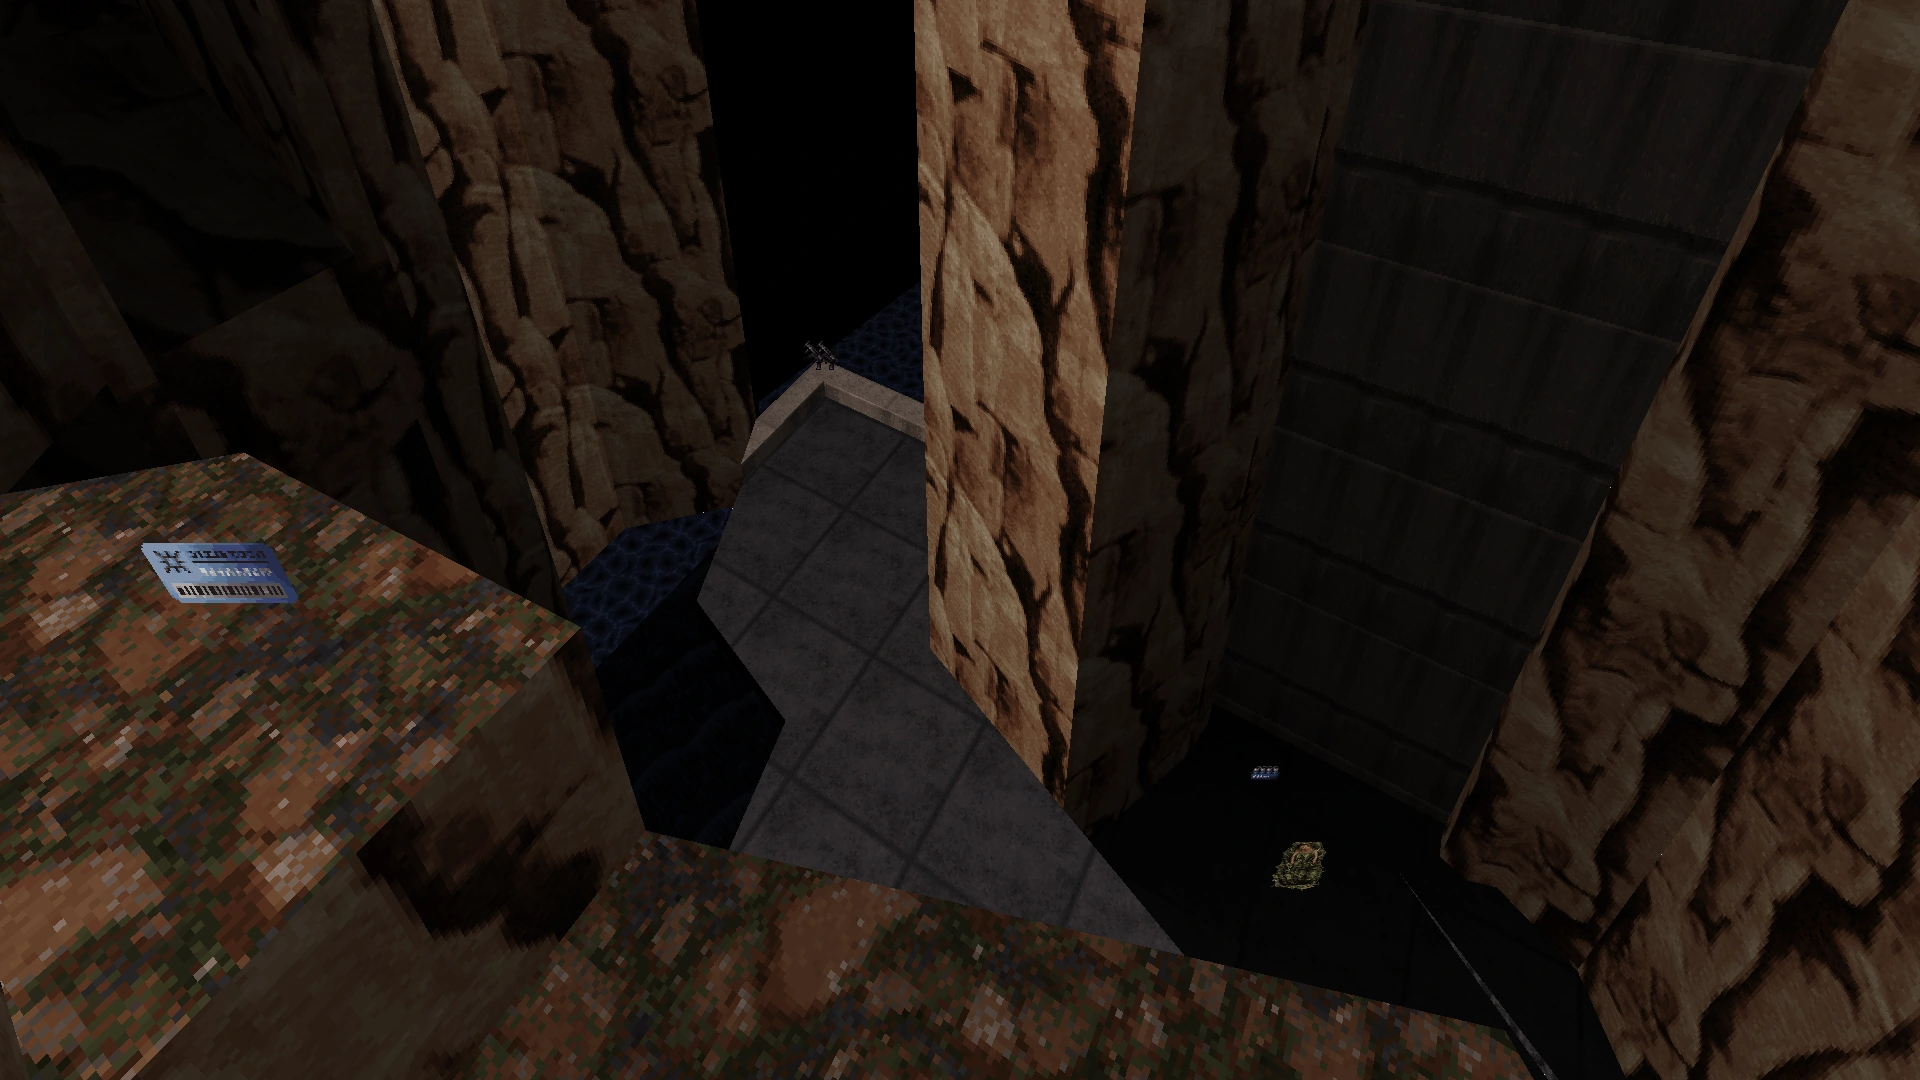

Back side of the new building (right). From this side, the building is merely represented by a wall texture; there are no windows or openings in this side of the building.
Underwater, the yellow access card is conspicuously sitting in the front hallway of the new building, on the other side of the front entrance. However, the front entrance is locked, and it is not immediately obvious how to get inside.
Yellow access card (left) in the front entrance of the new building. The blue access card panel is on the right.
The true entrance to the new building is extremely well hidden. After using the blue access card to gain access to the adjacent building, there is a slightly transparent section of wall on the left-hand side. It is barely transparent at all, so it is easily missed.

After passing through this semi-transparent wall, there is an extremely tall shaft that takes Duke directly to an apartment near the top of the building.

View from the top of the shaft, after emerging from the water. The semi-transparent green window (left) that is seen from the outside of the building is in this room, as well as a set of stairs (center, barely visible).
The apartment is situated on the inside of the semi-transparent window, which is visible from the outside of the building.

Stairs inside the apartment lead down into a collapsed portion of the building that is entirely flooded.
Collapsed portion of the new building, viewed from the bottom of the stairs. After falling into the water, it is possible to return to this ledge by jumping up the platforms along the left side.
It is dark beneath the water in the collapsed part of the building. An underwater tunnel leads to the top of an open elevator shaft.
Beneath the water in the collapsed part of the building. The tunnel on the left leads to an elevator shaft. None of the other directions lead anywhere.
This elevator shaft leads directly to the room with the yellow access card by the front entrance. It is not possible to leave through the front entrance, so the player must backtrack all the way to the blue access card door.

Area with the yellow access card. The front entrance of the building is on the right, but it is not possible to leave that way.
Near the end of the level, there is a helicopter landing pad beside the red access card door.

Beside the helipad, there is a hidden control room. This control room is normally concealed behind the canyon wall, but it automatically opens after Duke activates the switch that reveals the red access card. This control room replaces the hidden compartment that is normally found beside the red access card door in the PC version. A Battlelord Sentry and Assault Commander may be found inside the control room, but the precise composition of enemies will depend on the difficulty setting.

Level 22: L.A. Rumble
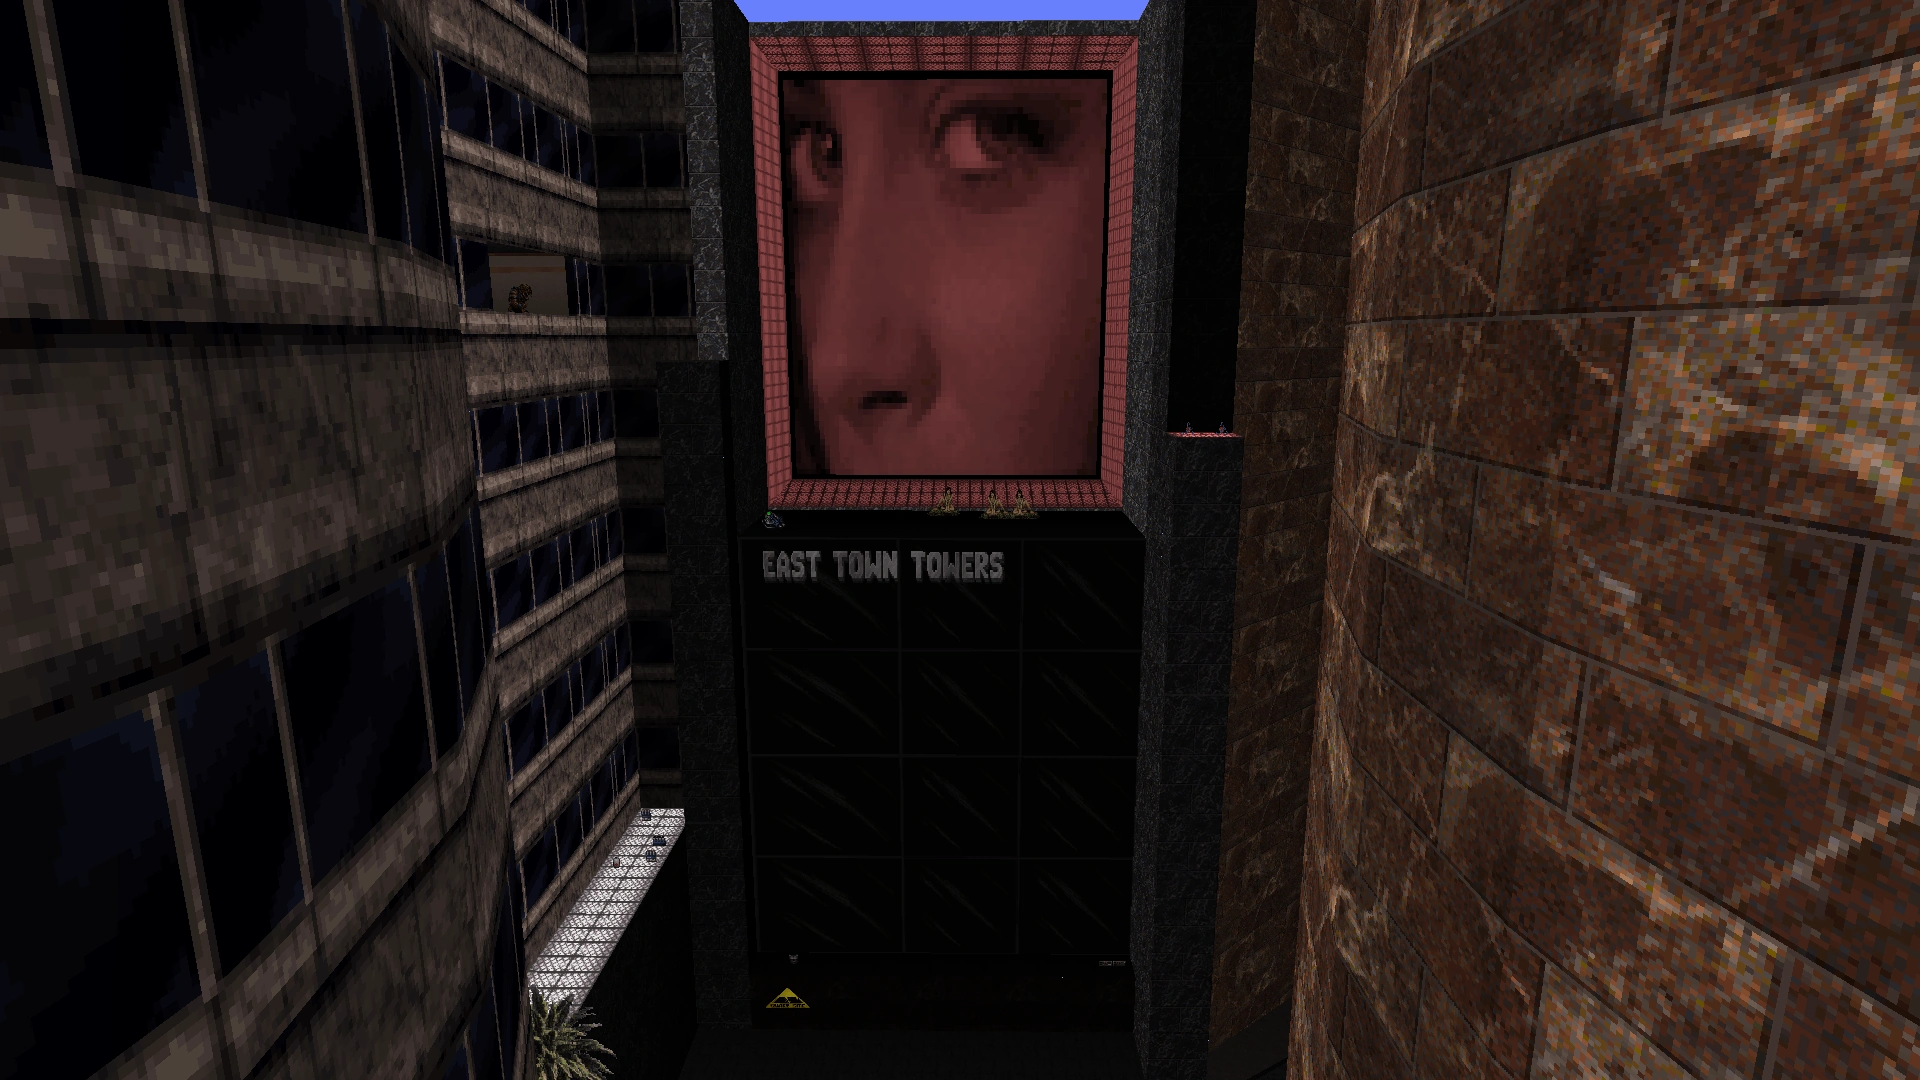
At the beginning of the level, the animated billboard above East Town Towers is noticeably lighter. It is almost white compared to the bright red billboard in the PC version. Also, there are now three captive women on top of the building.

The abortion clinic has been scrubbed of any obvious references to abortion.

The secret compartment beneath the knife in the abortion clinic now contains a tunnel, leading to a dungeon where the Doomguy can be found.

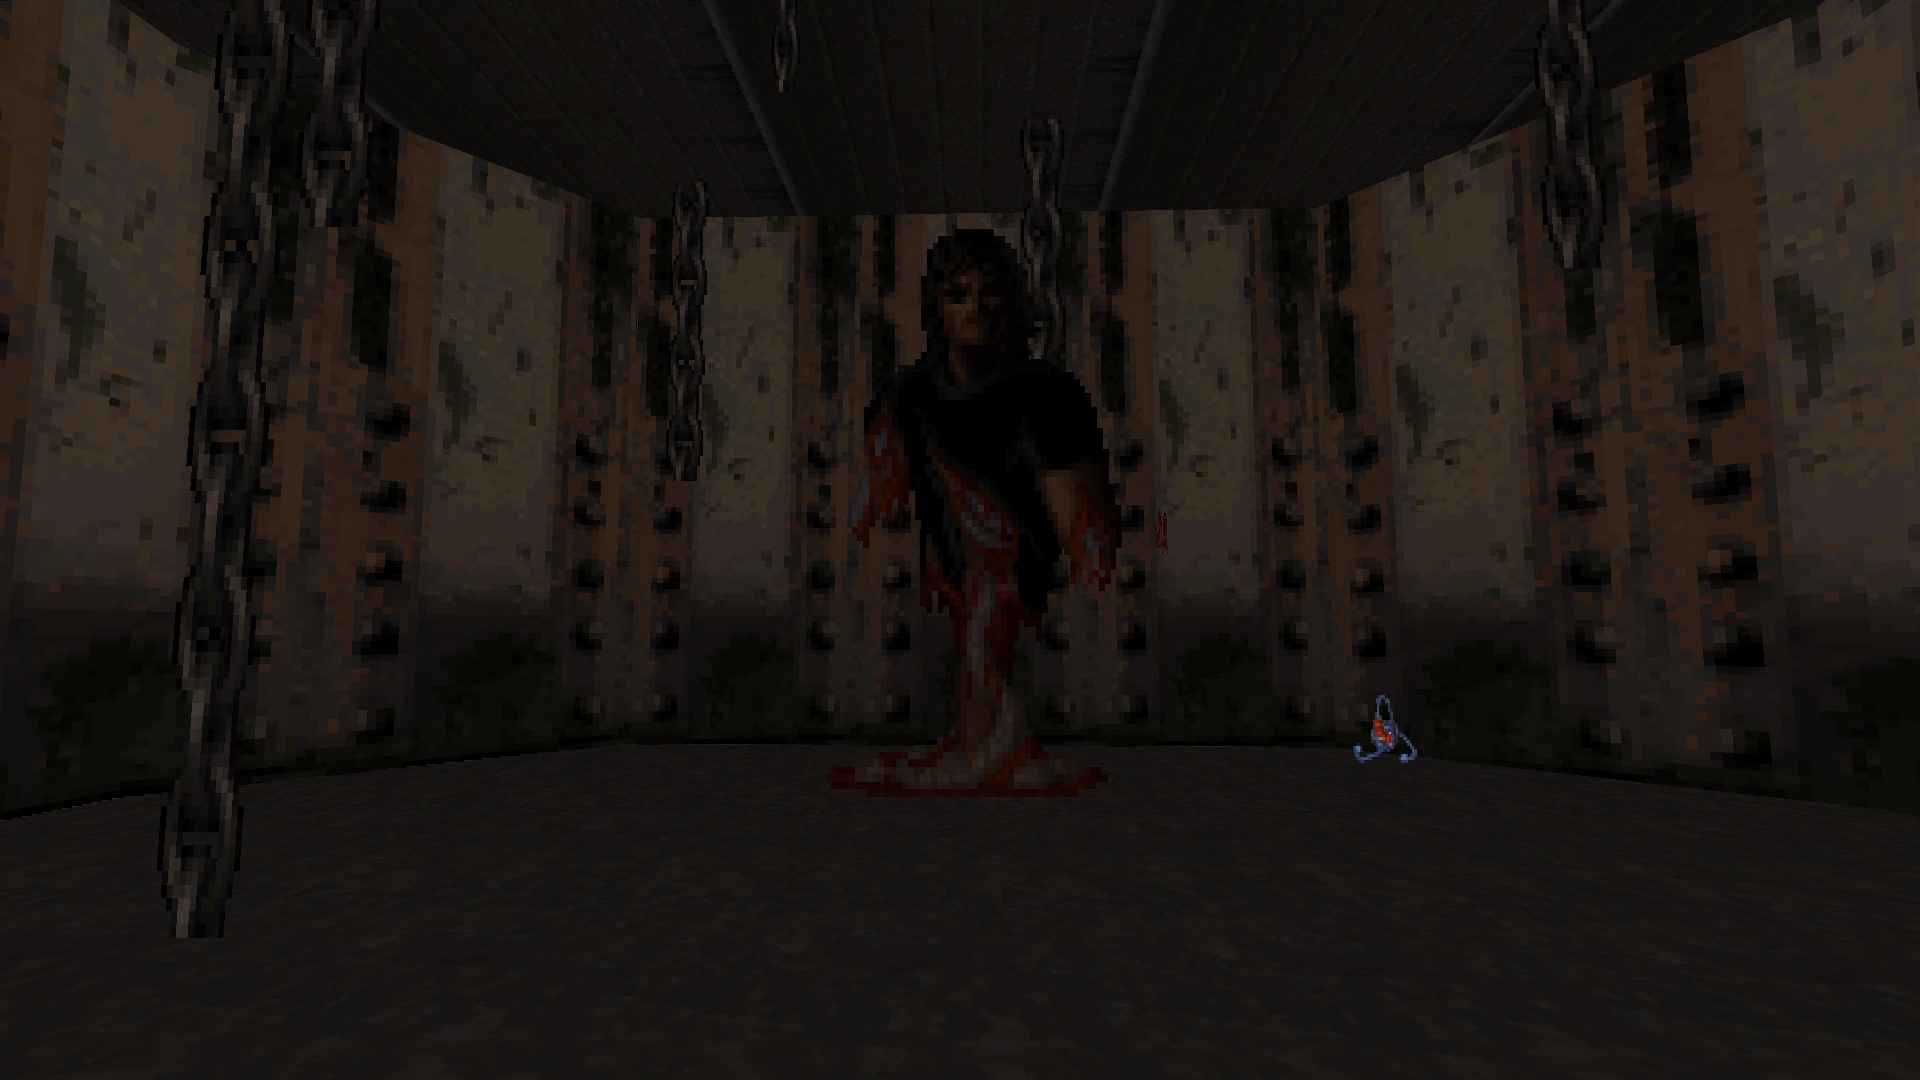
Dungeon containing the Doomguy (left).

Another tunnel inside the dungeon connects to the broken elevator.
Tunnel out of the dungeon. The bloody hand print (left) opens a door leading to the bottom of the broken elevator.
In the PC version, there was a painting in the CEO suite that, when opened, revealed a hidden compartment with Devastator ammo inside. The painting operated like a door, which unlocked when Duke reached the top of the nearby stairs. On the opposite wall from the painting, there was another painting that did not open.
In the Nintendo 64 port, the painting concealing the hidden compartment has been removed, and the hidden compartment itself has been moved behind the painting on the opposite wall. The compartment now contains Heat-Seeking Missiles instead of Devastator ammo.
The hidden compartment has been moved from the section of wall highlighted on the right (where a painting has been removed) to the section of wall highlighted on the left. The painting, which was also present in the PC version, now operates like a door.
Upon reaching the Exit button, a UFO can be seen outside the window, destroying a building behind the helicopter.

View out the window, showing the UFO behind the helicopter. The building beneath the UFO collapsed just before this photo was taken.
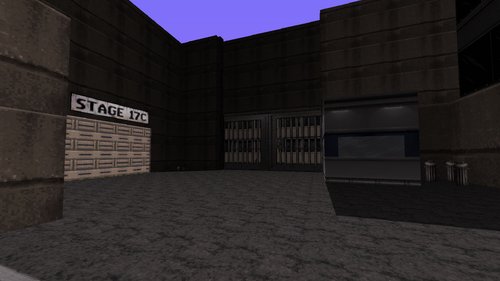
Level 23: Movie Set
At the start of this level, Duke is already standing on the ground, instead of falling a short distance as he does in Duke Nukem 3D.


The outdoor portion of the level has been extended such that it now takes a 90 degree left-turn past the helicopter crash site and continues for some distance around the side of the movie studio.

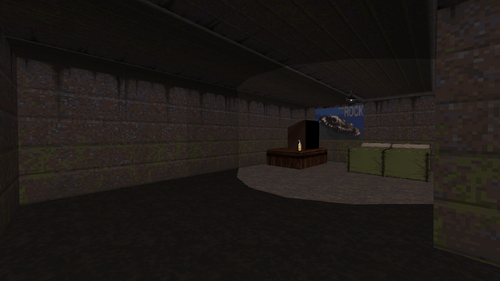
On the newly accessible side of the movie studio, there is another garage door that, when opened, contains a movie set based on Area 51. This garage door only opens once the stairs to the normal Exit button are opened.

Better view of the outdoor area with the new movie set (left). It is not possible to enter the parking kiosk (right) or to reach the other side of the locked gate (center).
There is a bloody hand print on one of the props in the new movie set, and this bloody hand print can be activated to reveal a secret area.

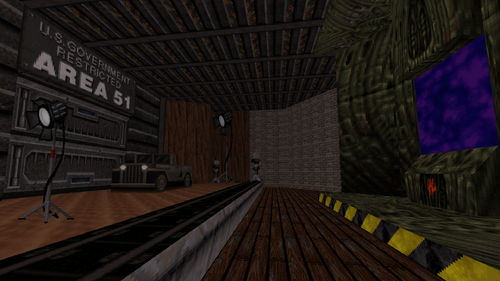
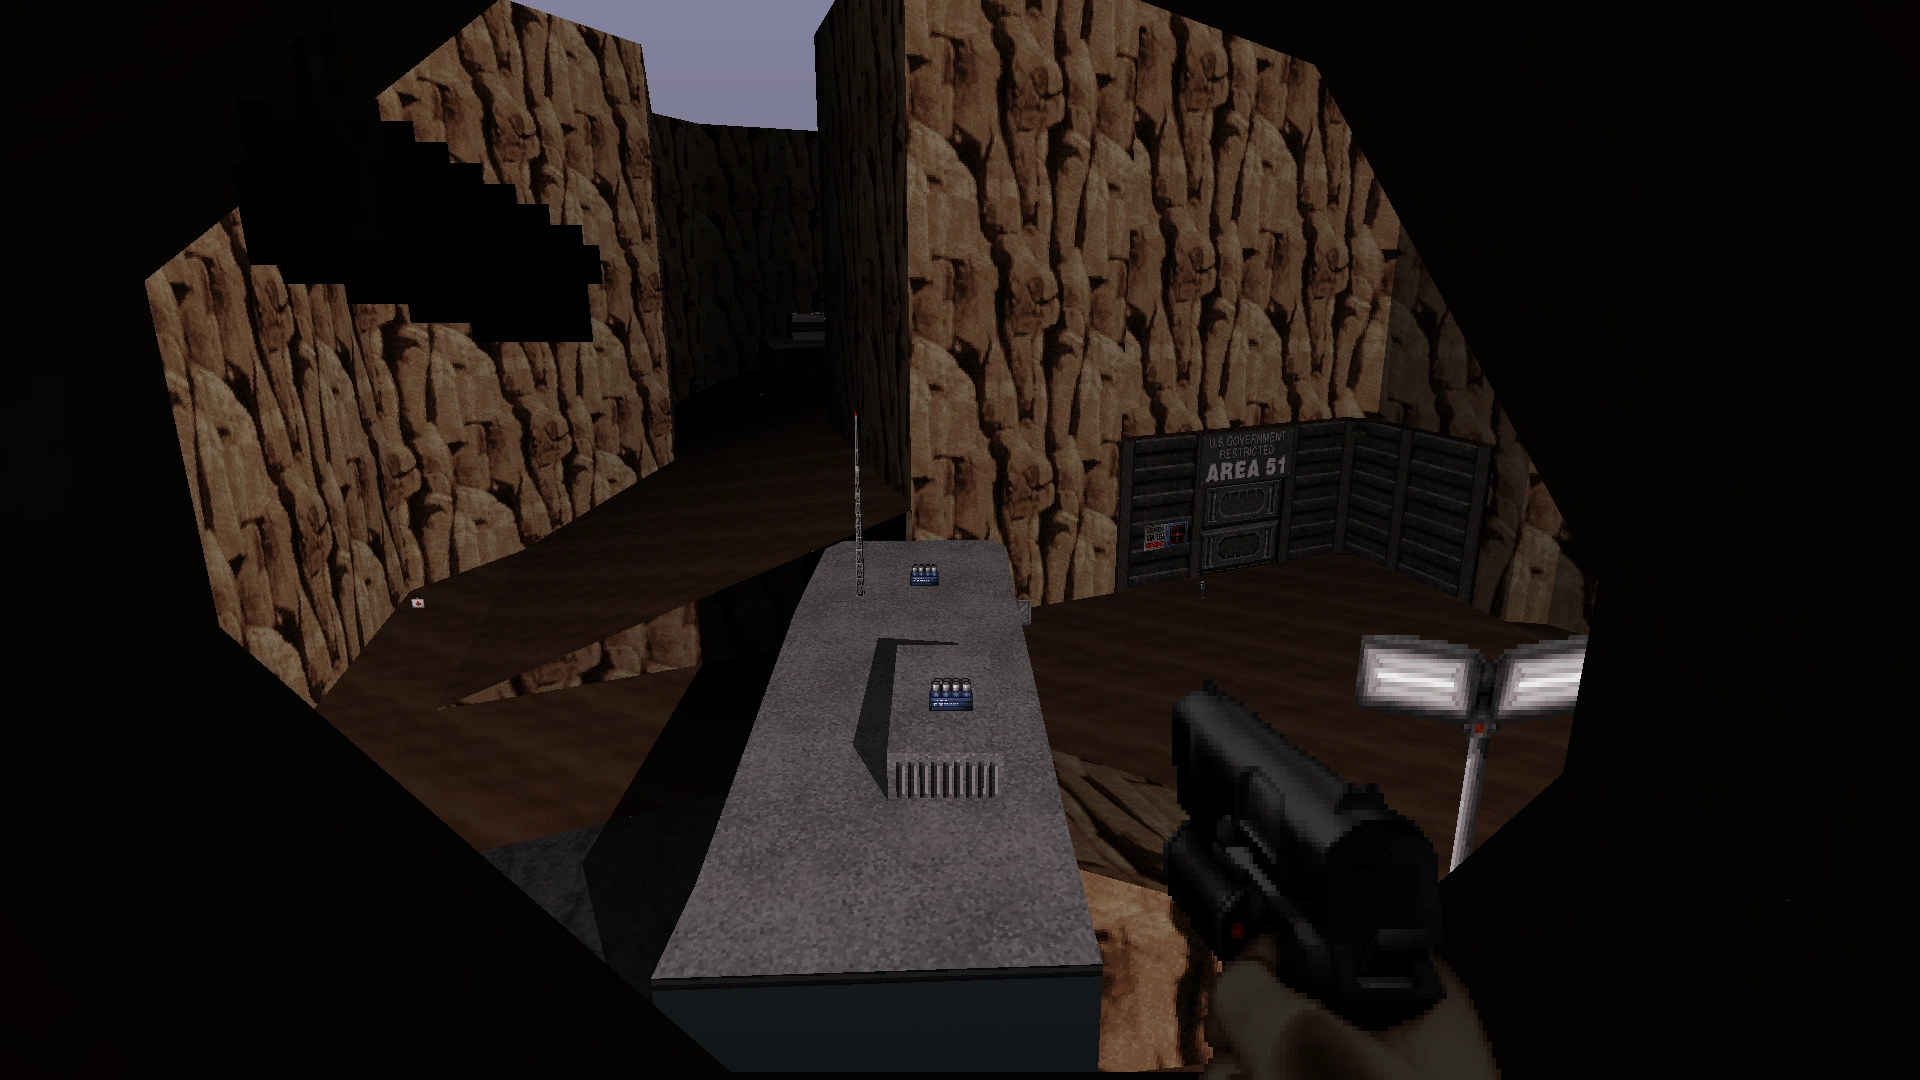
New movie set based on Area 51. It is not possible to enter the gate on the left or the portal on the right. The bloody hand print is visible on the right.
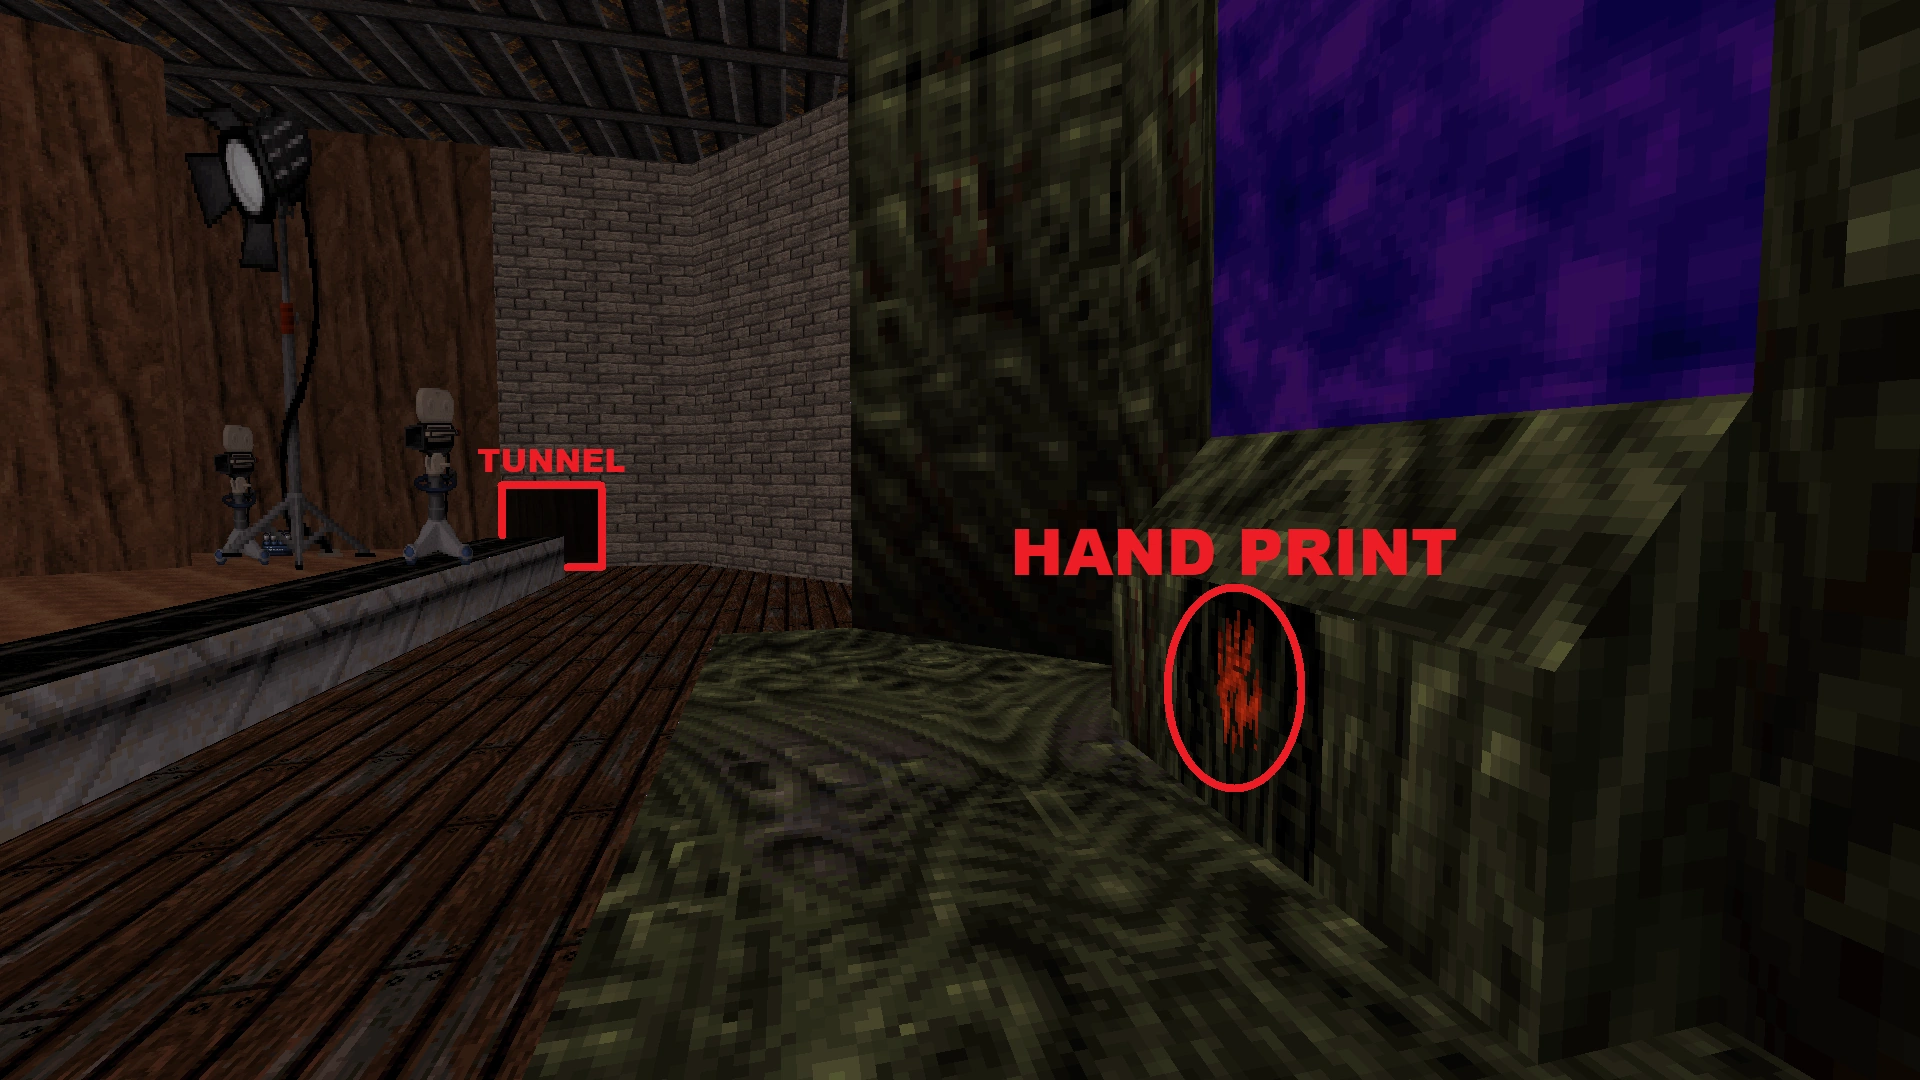

This secret area contains Alien Beasts and a hidden exit to the level Area 51.
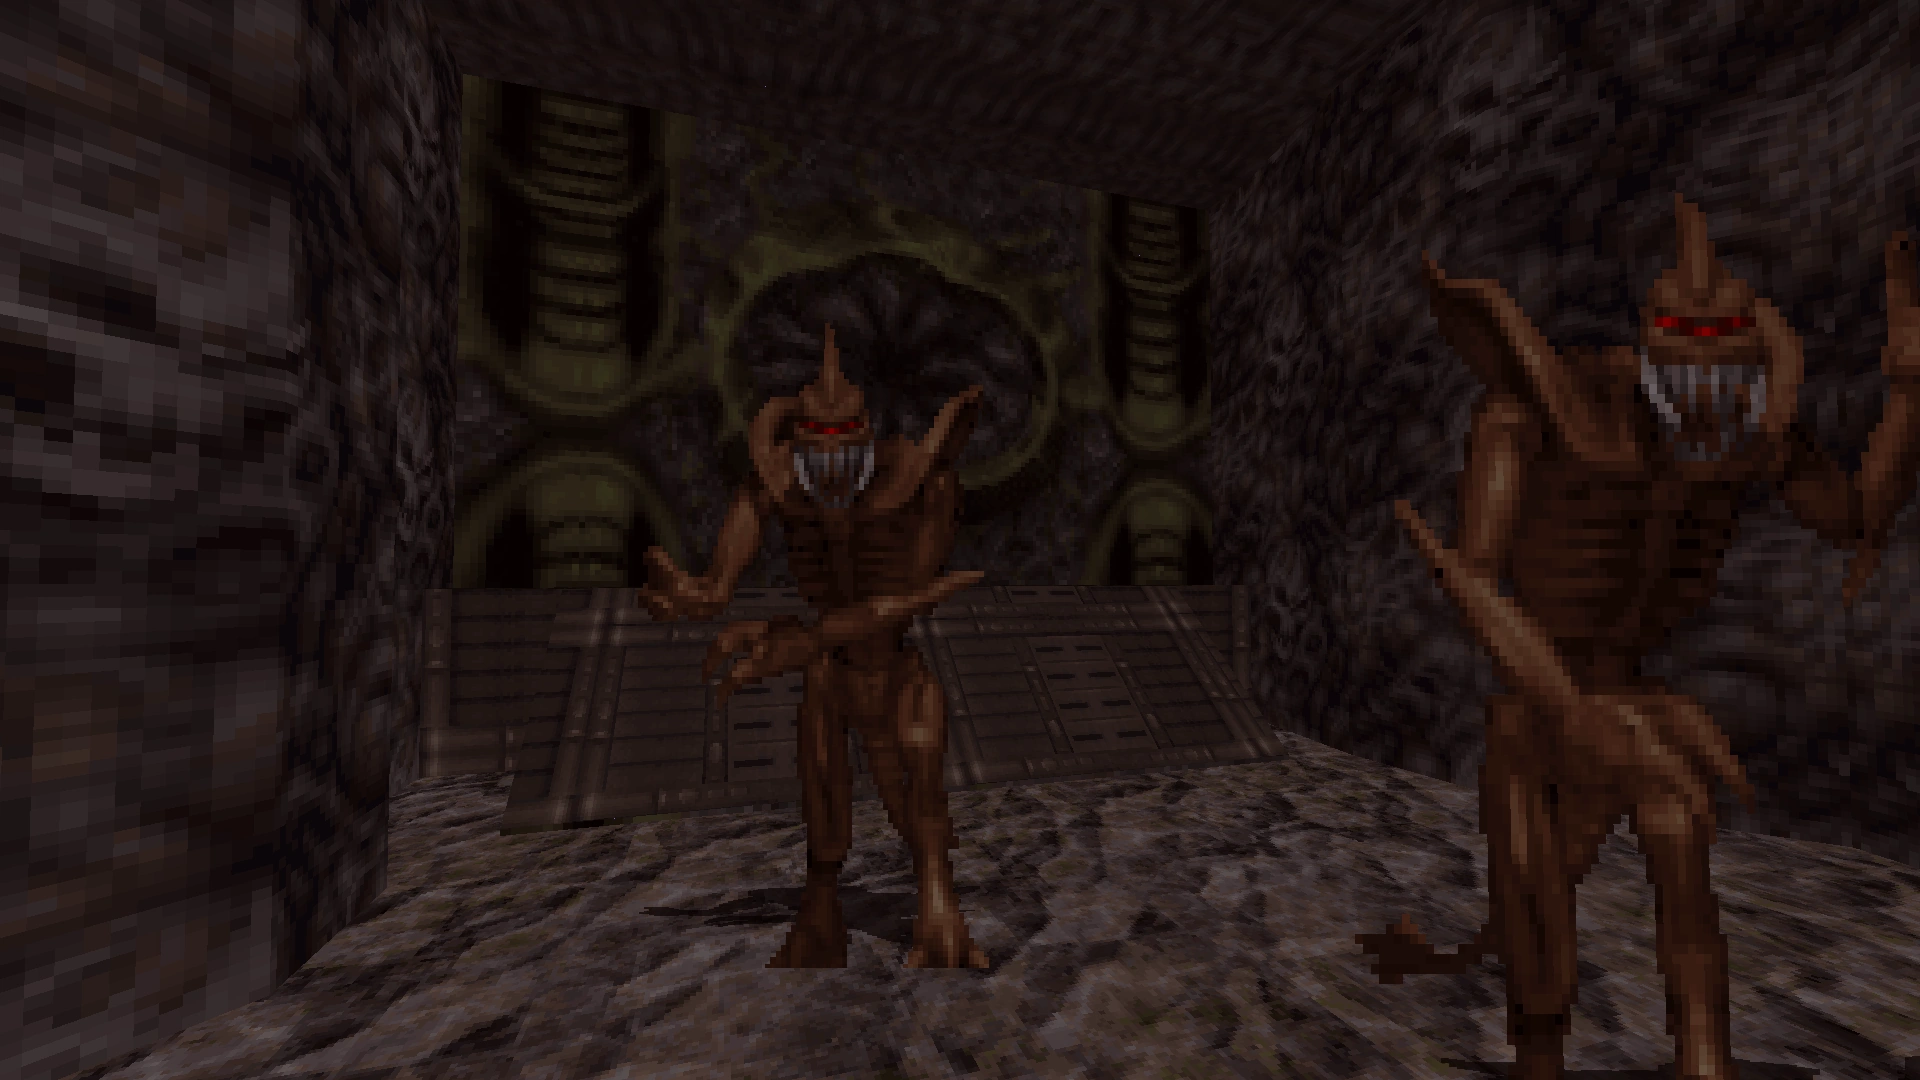
Inside the gate is a small alien base. Nearly the entire base is captured in this photo. The secret exit button (right) leads to Area 51.
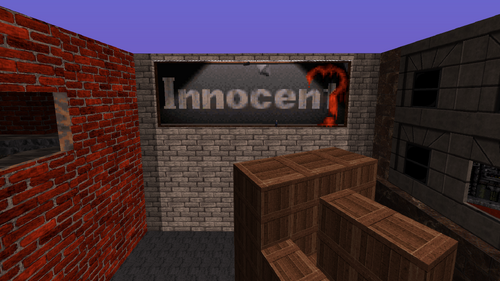
The secret exit to Tier Drops has been removed, as that level was dropped from this version of the game, but the secret area containing the removed Exit button still exists and now contains a room full of captive women.
Secret area without the secret exit button. There is a minor glitch visible in this photo. After pressing the "use"/"open" key on the sign, a section of wall was raised to reveal the secret room, but after several seconds, the wall ascended further into the ceiling, instead of automatically closing. For this reason, the section of wall above the opening has a moon texture instead of a wall texture. Bizarrely, the door eventually closes if you wait long enough.
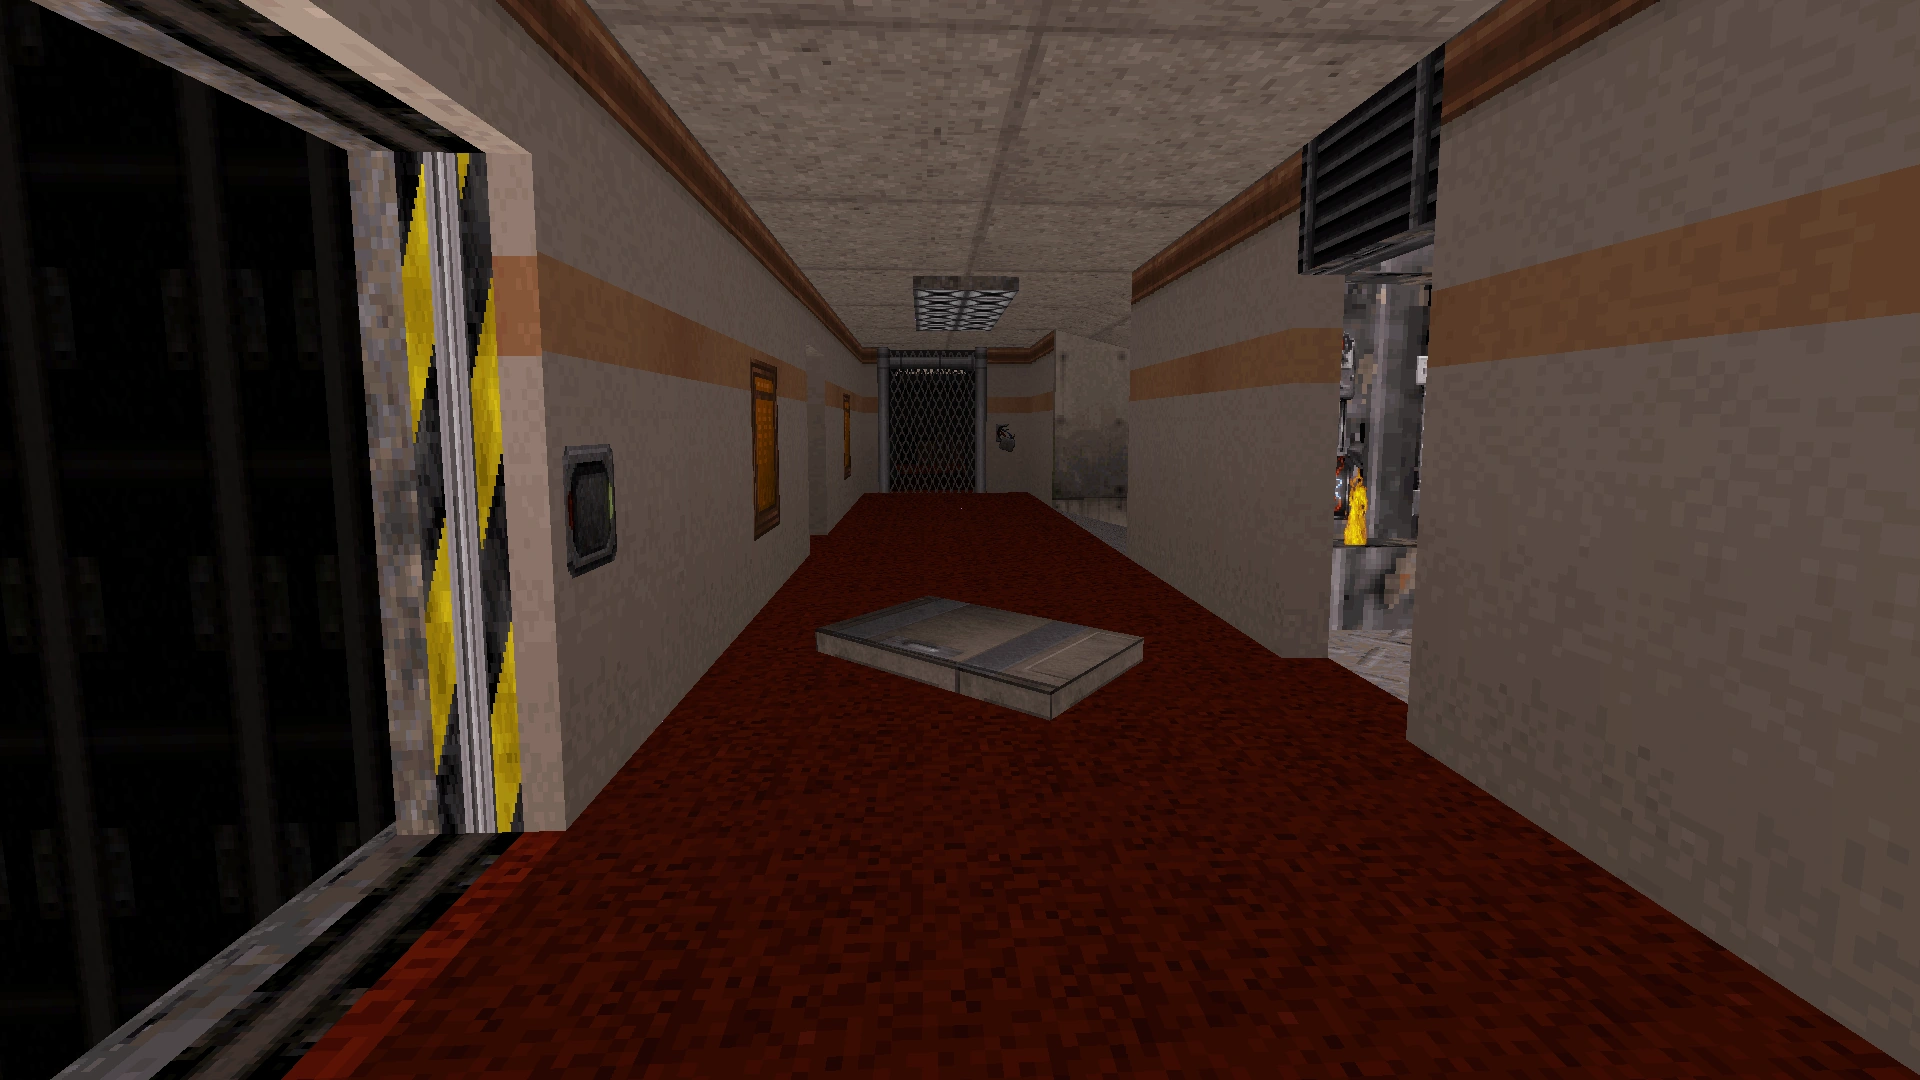
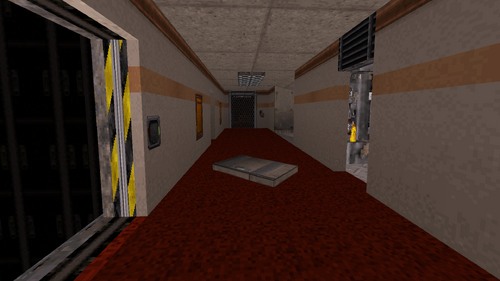
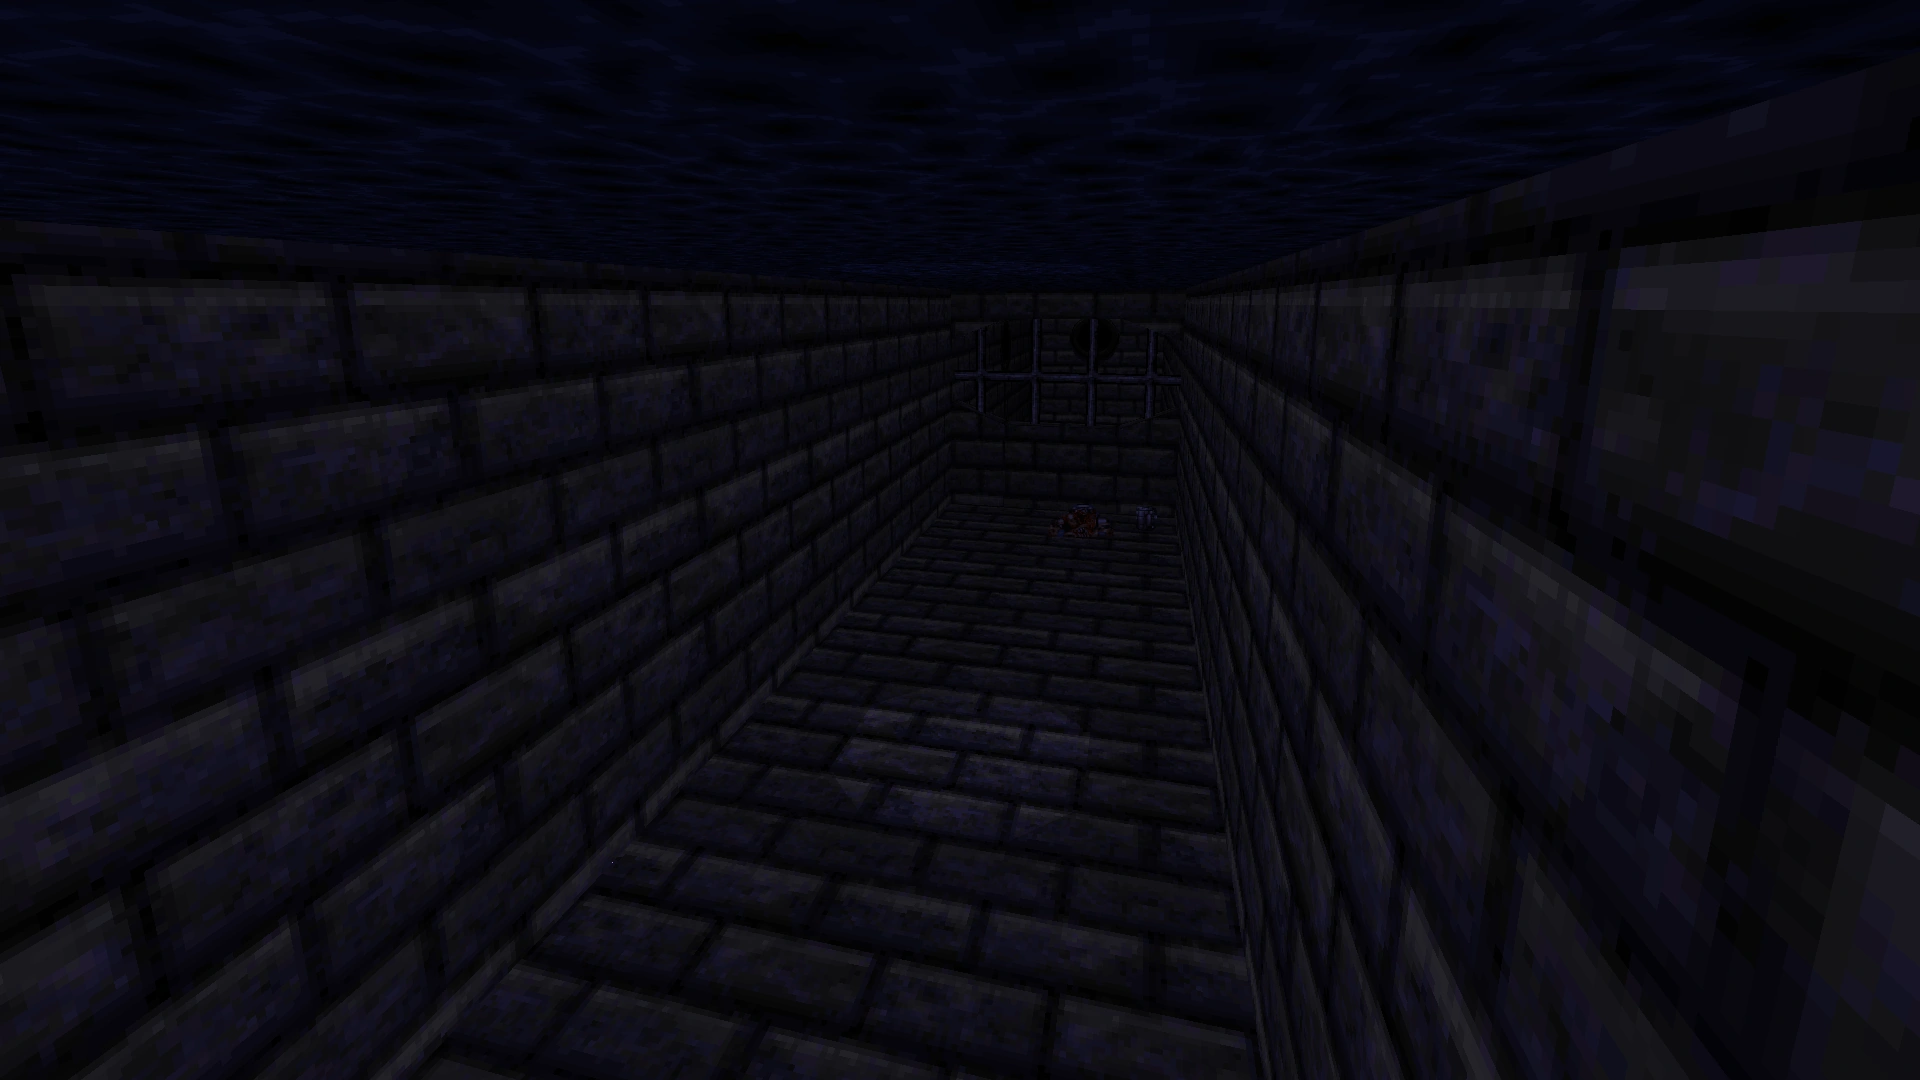
Level 24: Rabid Transit
This level has been more significantly modified and expanded than any other level. The layout of the level is almost completely different, though most elements from the PC version are still present.
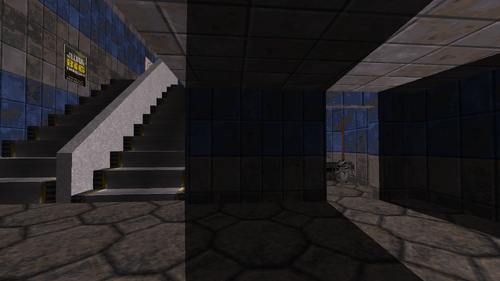
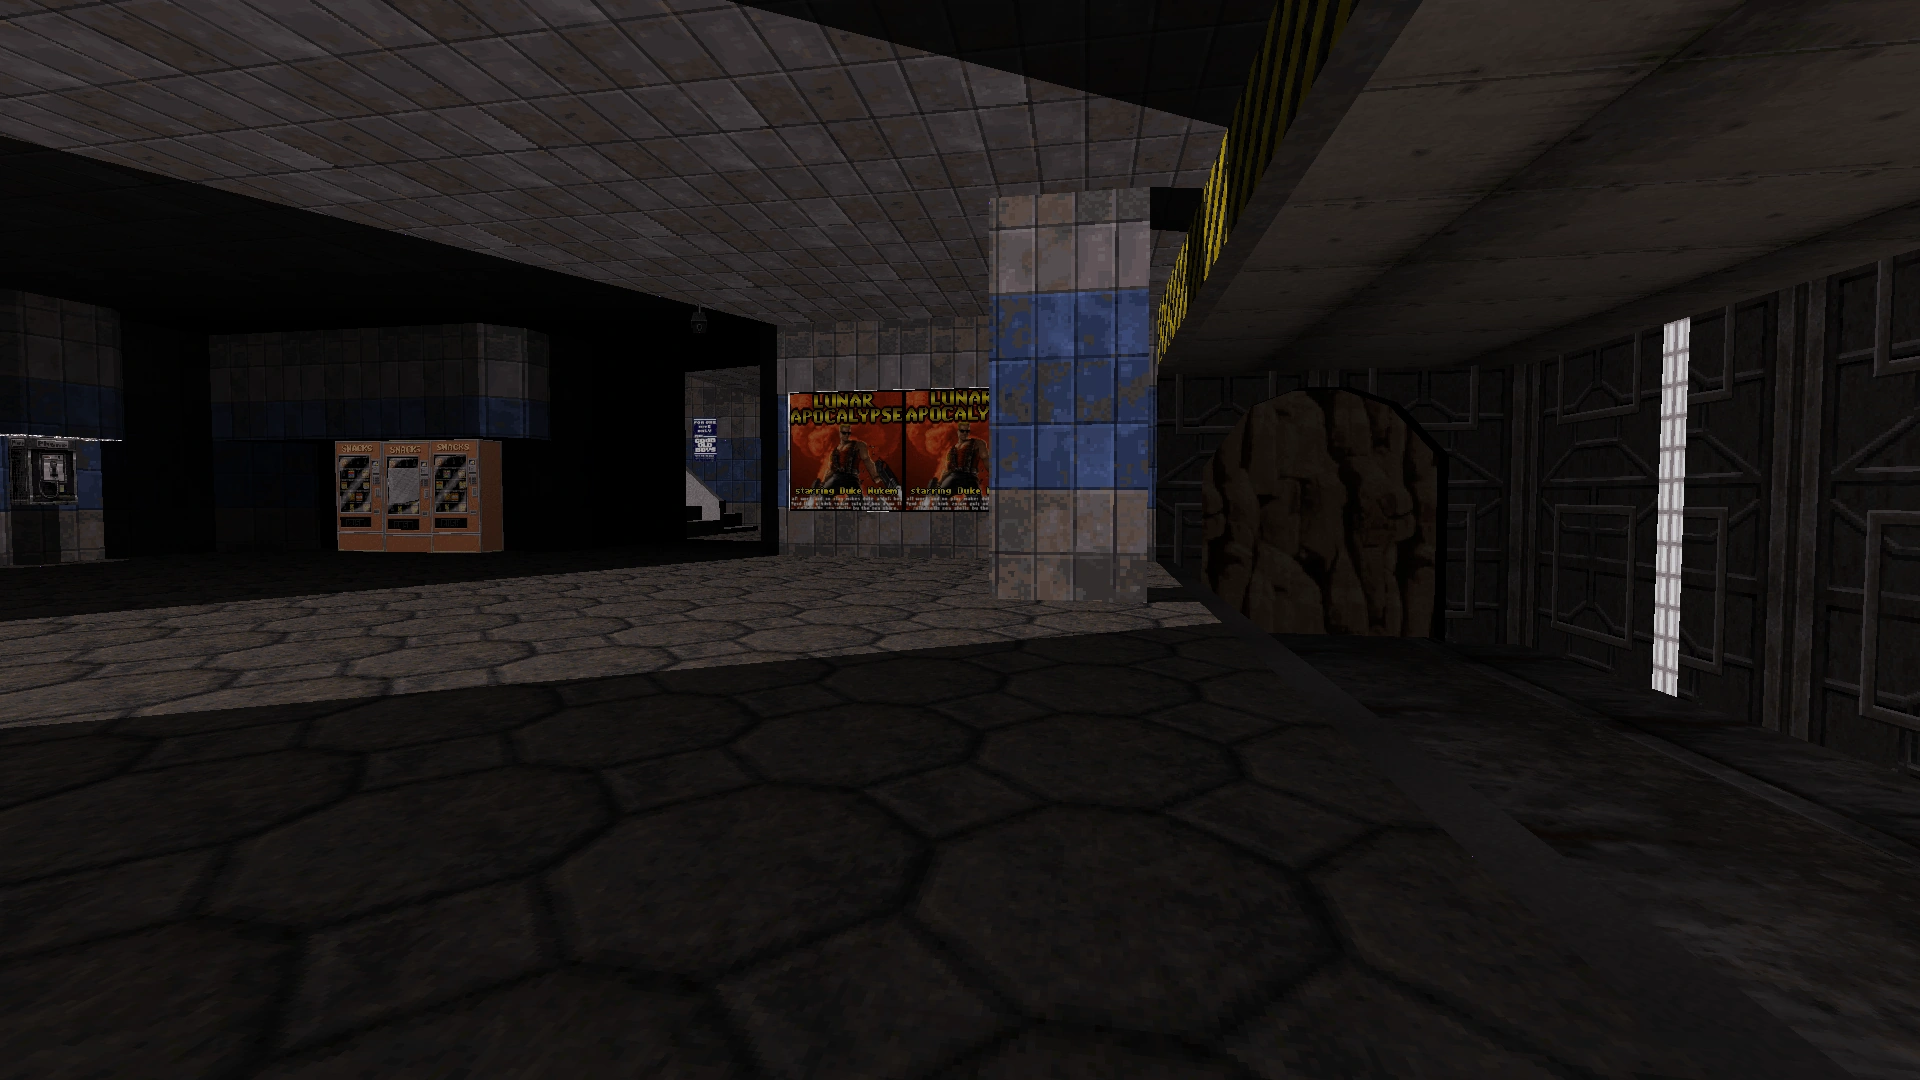
The level begins identically with the revolving doors and magazine shop directly ahead, but there is now a hallway extending to the left, past the vending machines and around a corner.

Revolving doors at the start of the level (left), with the vending machines (center) and new hallway (right).
View of the new hallway. The hallway abruptly ends, but it continues up the escalators on the left. A small janitor's closet is visible in the corner on the left side.
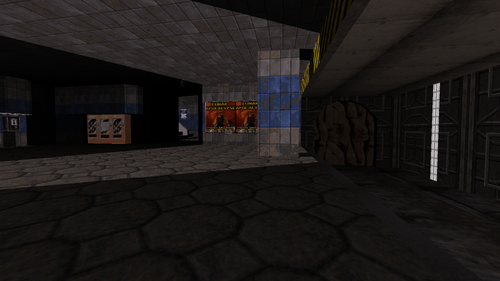
To the right of the revolving doors and across from the magazine shop (where there was previously just a trash can), there is now a hallway that leads to an abandoned train station, such that the hallway extends in the direction opposite from the magazine shop.
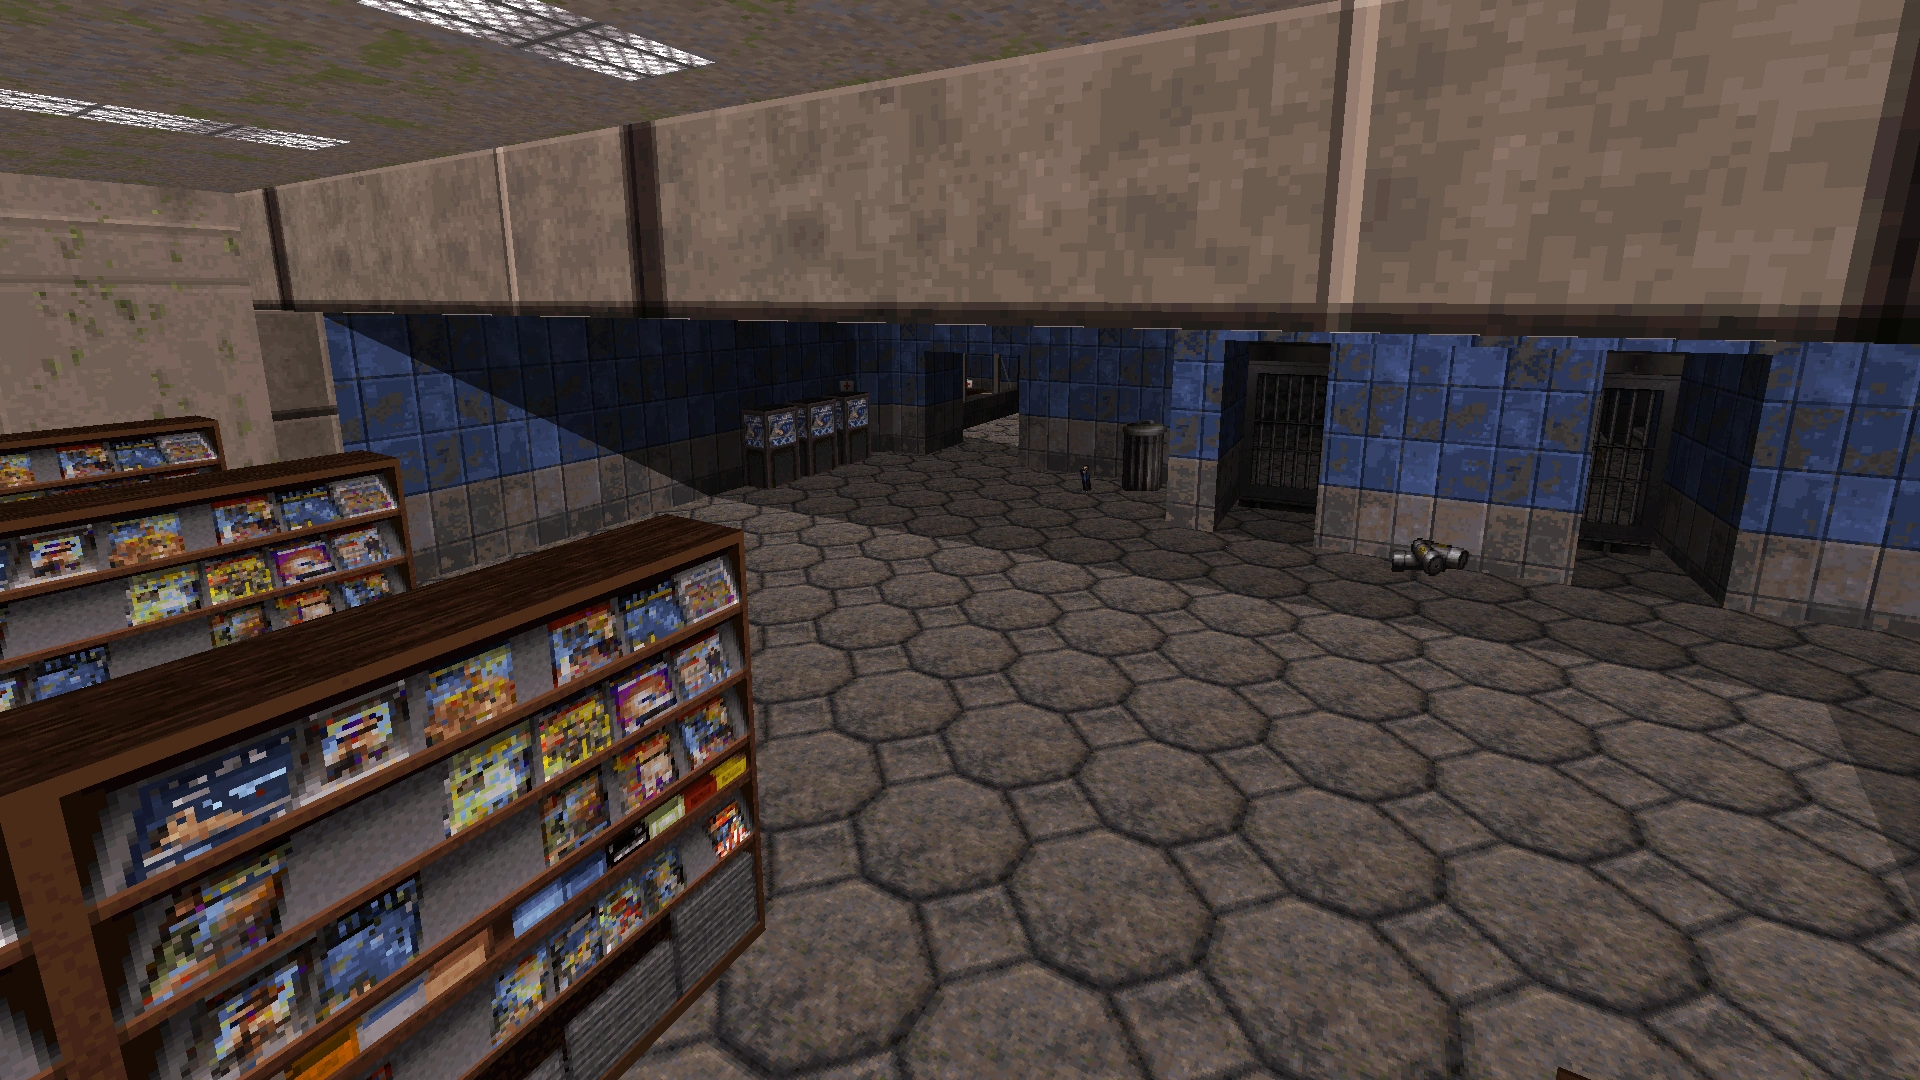

In this short hallway to the abandoned train station, there is a lost-and-found counter and a new secret area in the back office.


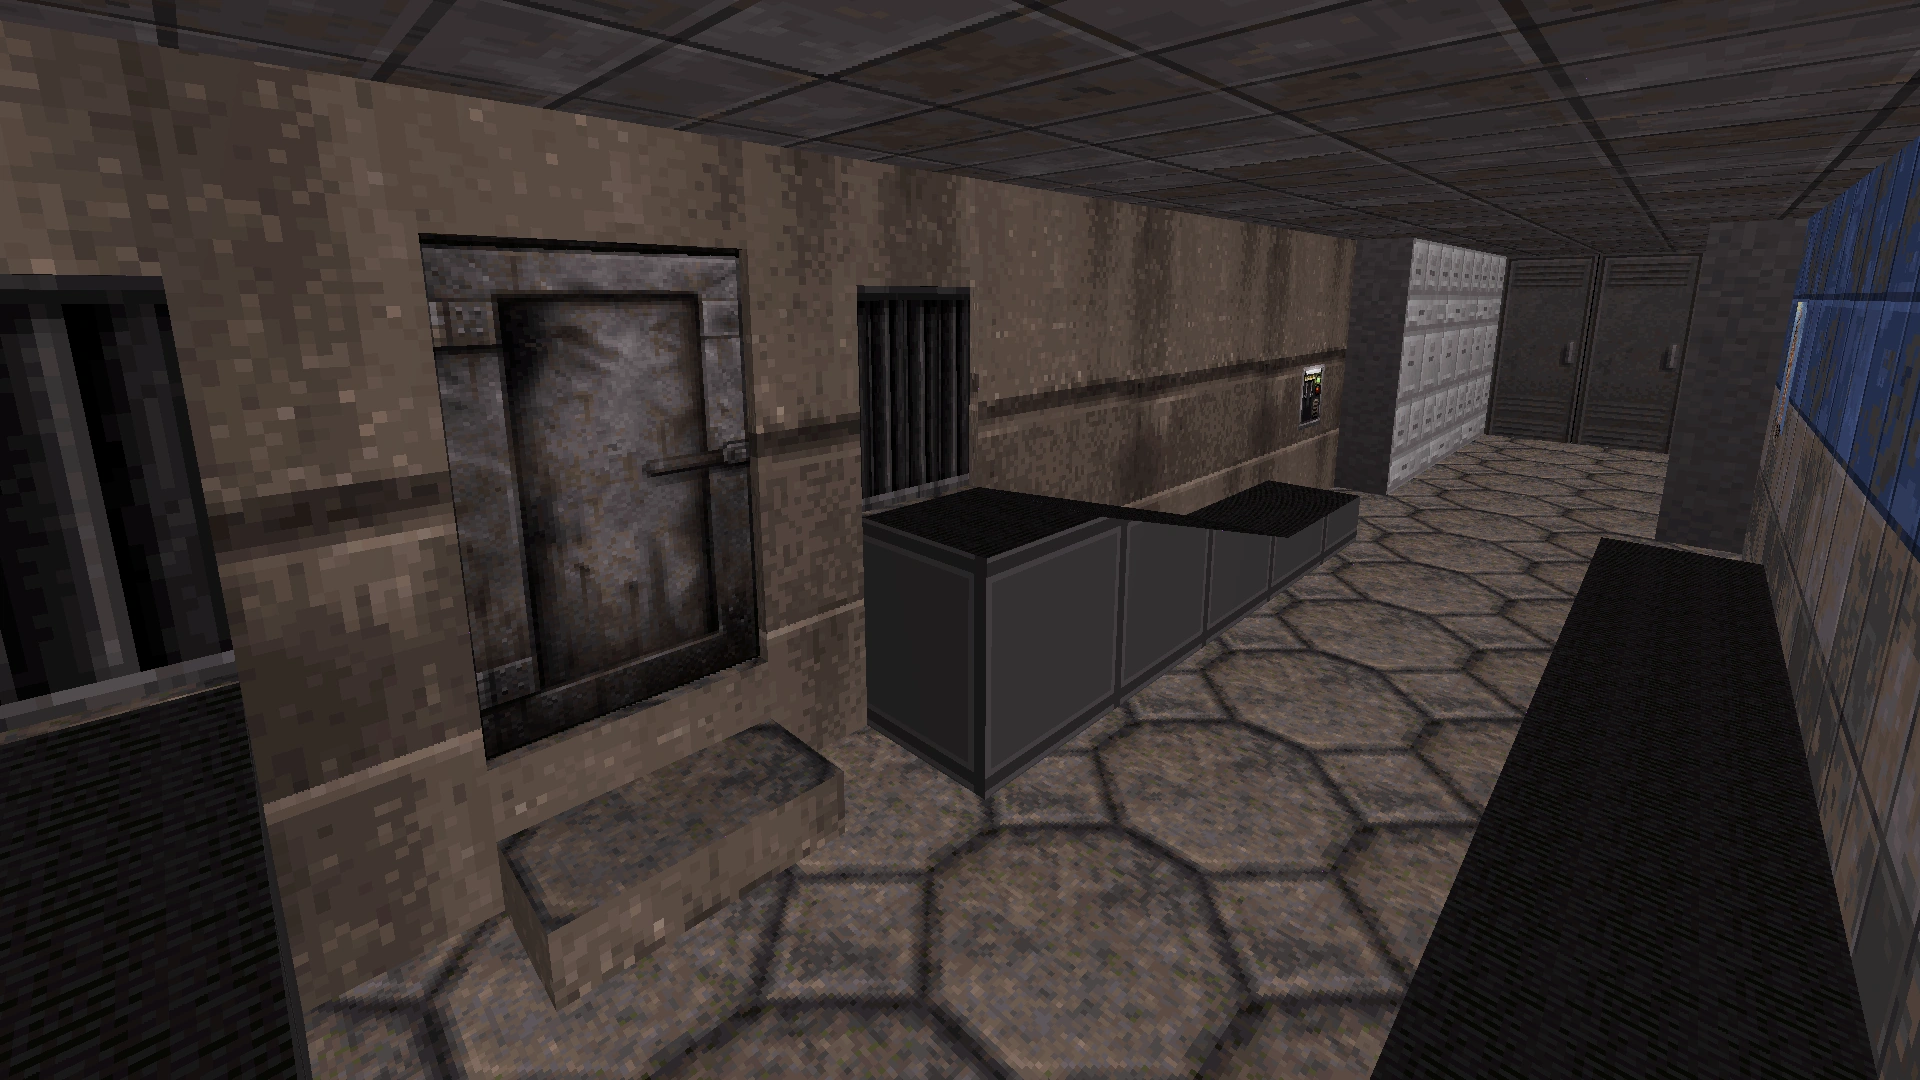

In the abandoned train station at the end of the hallway, there is a broken-down train with a secret area inside.
Full view of the abandoned train station. The short hallway is on the right, near the closer end of the train.
The abandoned train station also contains the platform with Pig Cops and the blue access card panel from the PC version. Behind this platform, the stairwell with the red access card from the PC version can still be found and has not been changed. On higher difficulty settings, however, the Battlelord Sentry at the top of the stairwell is joined by an Alien Beast (Protector Drone) instead of an Assault Commander.
Door with the blue access card panel from the PC version. The stairwell containing the red access card is behind this door.
Through an earthquake-induced hole in the wall, the abandoned train station connects with the hallway to the left of the revolving doors at the beginning. This new hallway simply contains some Pig Cops and a janitor's closet.


View from the hole in the wall. The hallway continues to the top of the escalators, barely visible in this photo.

View from the bottom of the escalators, with the janitor's closet visible on the right. The hallway abruptly ends on the right, but it continues to the vending machines and the main platform on the left.
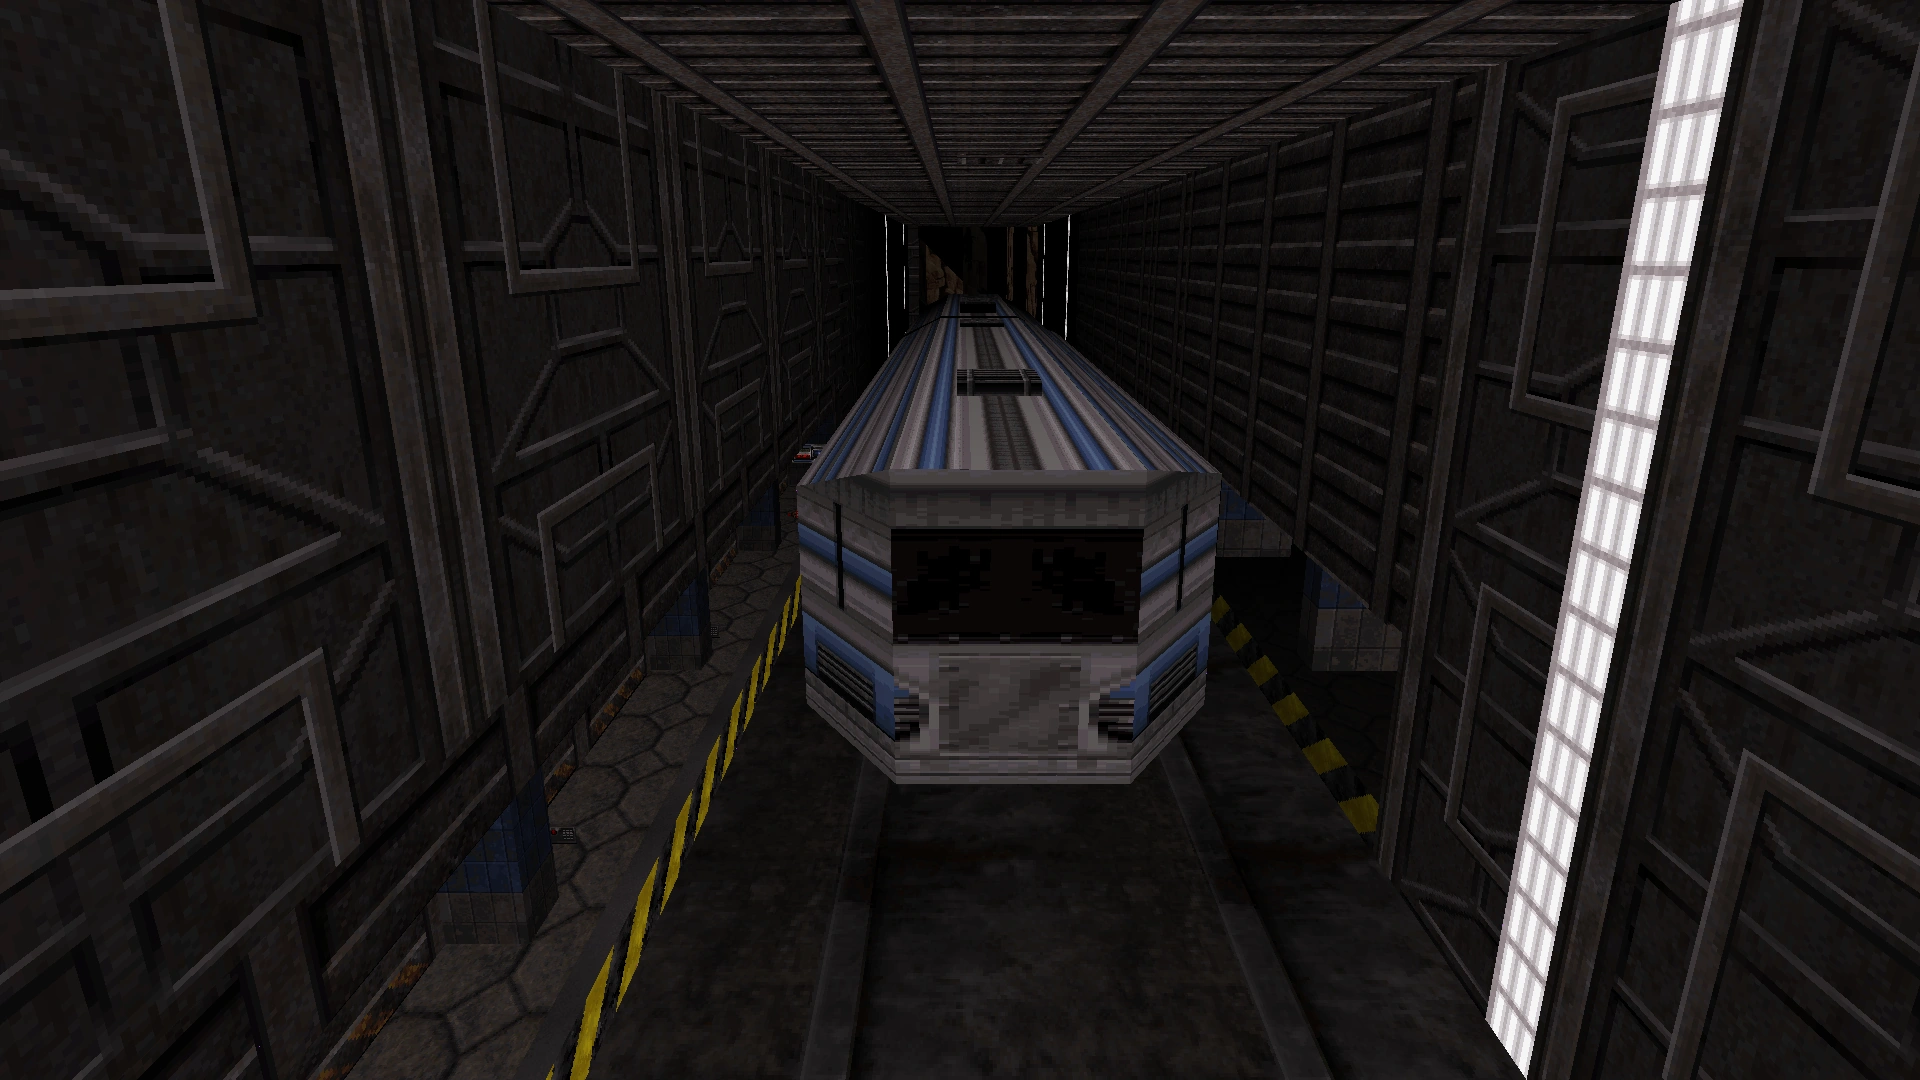
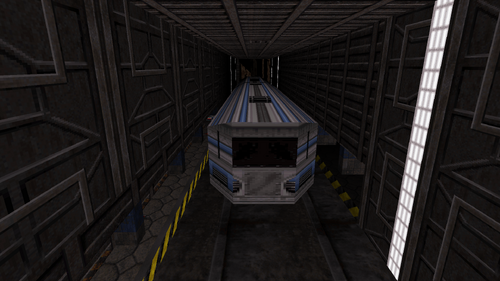
At the main platform near the start of the level, there is now only one train instead of two, and the train consists of only one train car. Instead of traveling in a loop, the train now travels bi-directionally in a straight line towards the right of the main platform (there is nothing to the left).
Main platform. A wall blocking the train from traveling towards the left is visible on the train tracks (right).
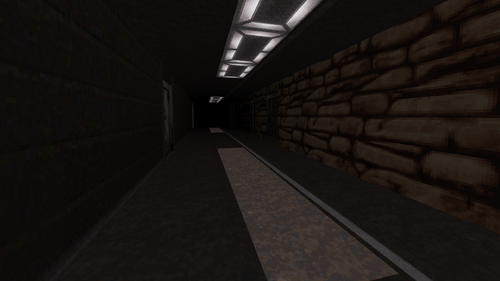
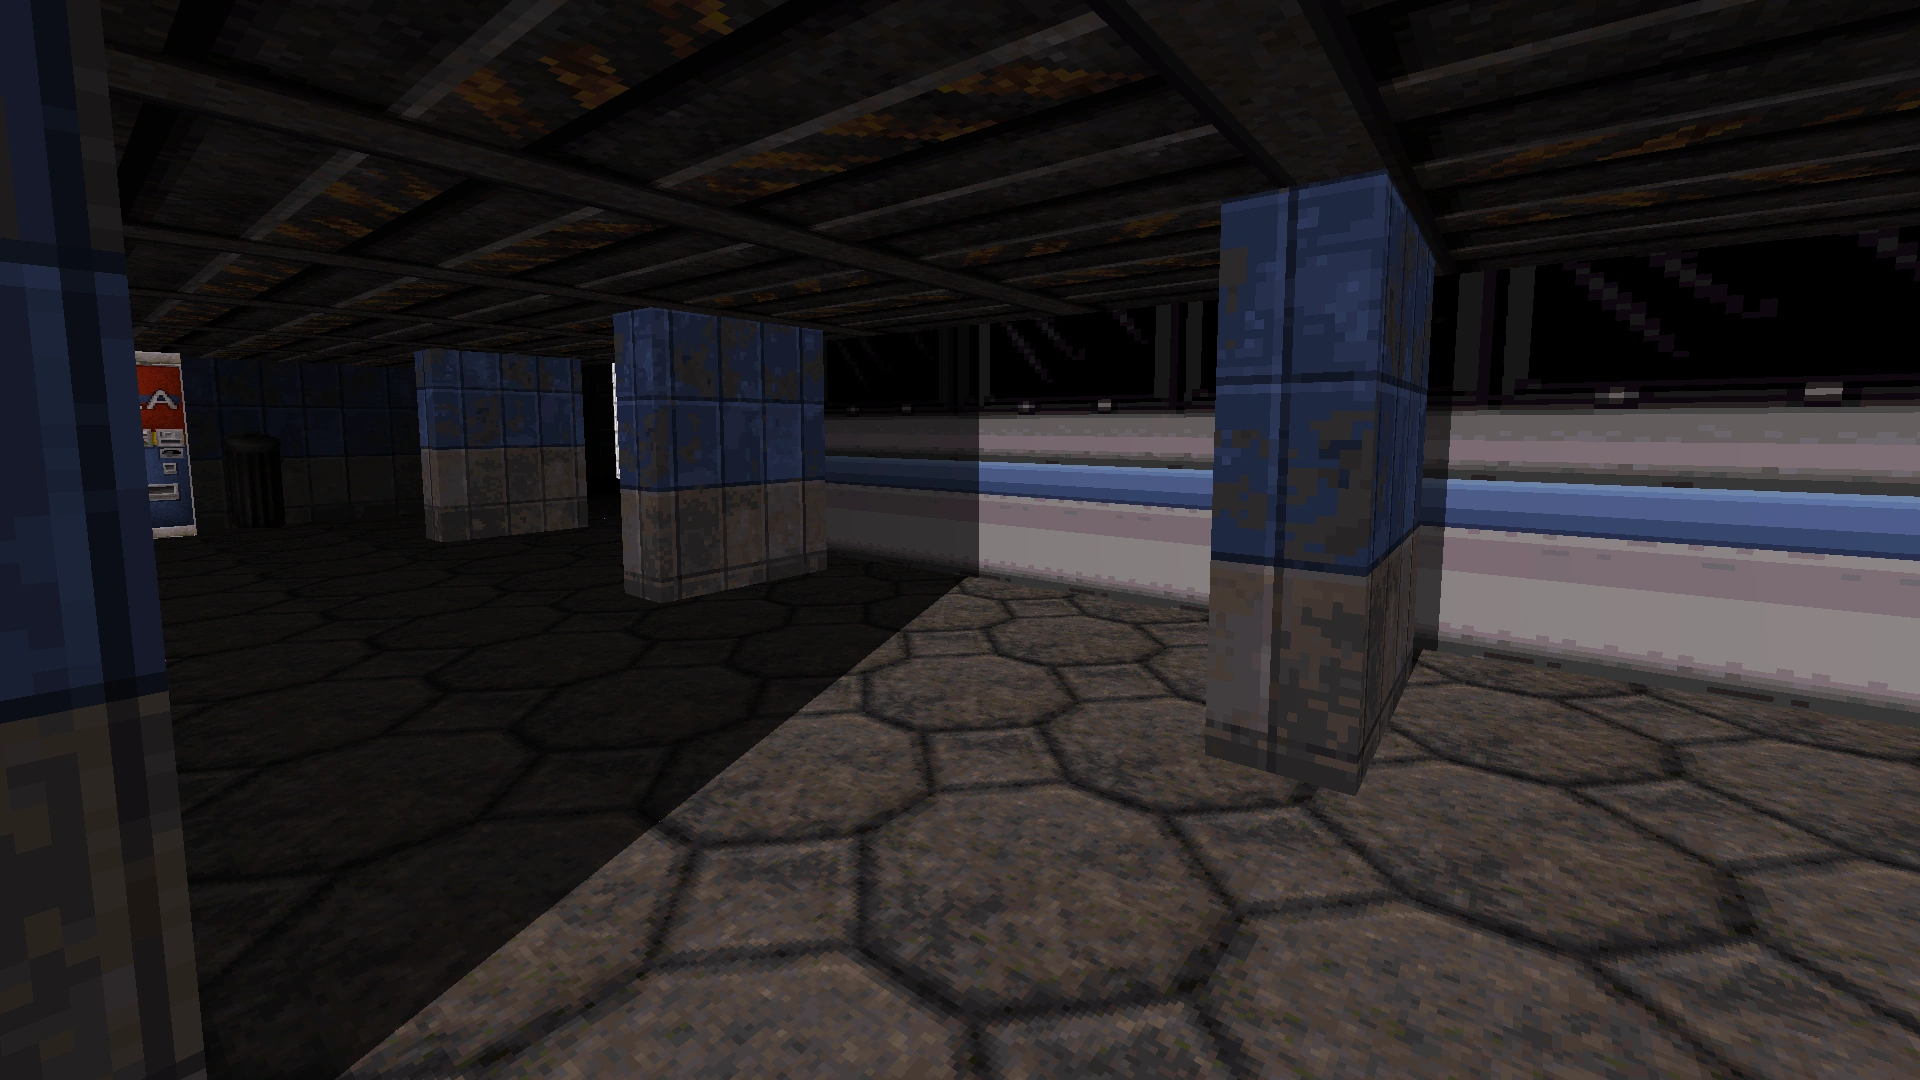
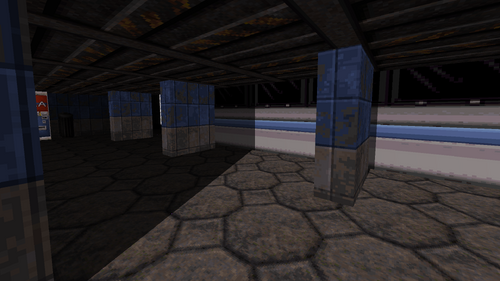
The train travels to another new area. This new area is the subway platform mentioned under "Gun Crazy" above. An inaccessible portion of Gun Crazy can be seen on the other side of a long chain link fence, running the length of the train platform. At this new train platform, detonating a crack in the wall leads to a parking garage where the blue access card can be found.
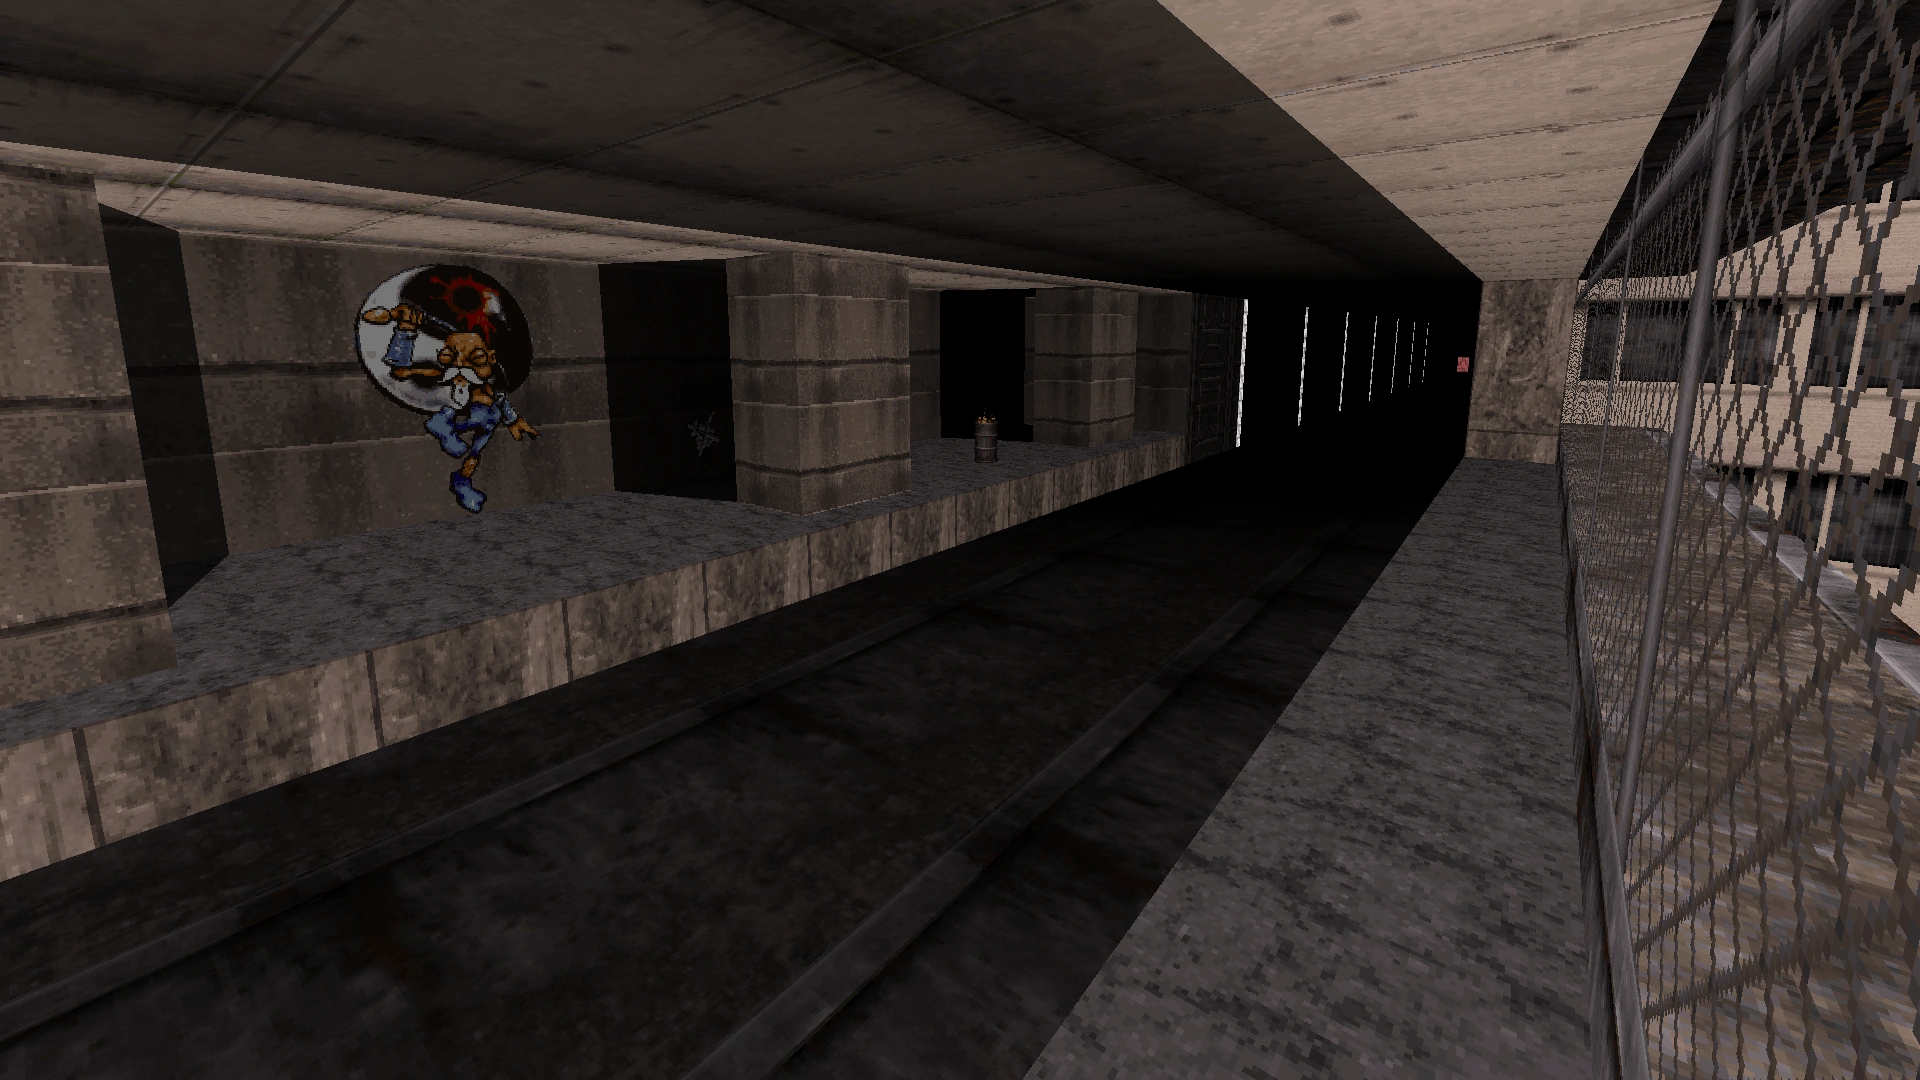
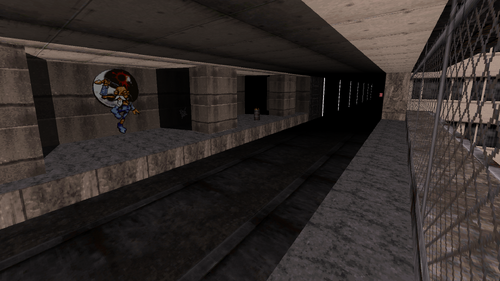
New train platform. The crack in the wall, leading to the blue access card, is visible behind one of the cement columns. The platform abruptly ends to the left of this photo.

View from the other side of the tracks. An inaccessible portion of Red Light District ("Gun Crazy" in Duke Nukem 64) is visible on the other side of the chain link fence.
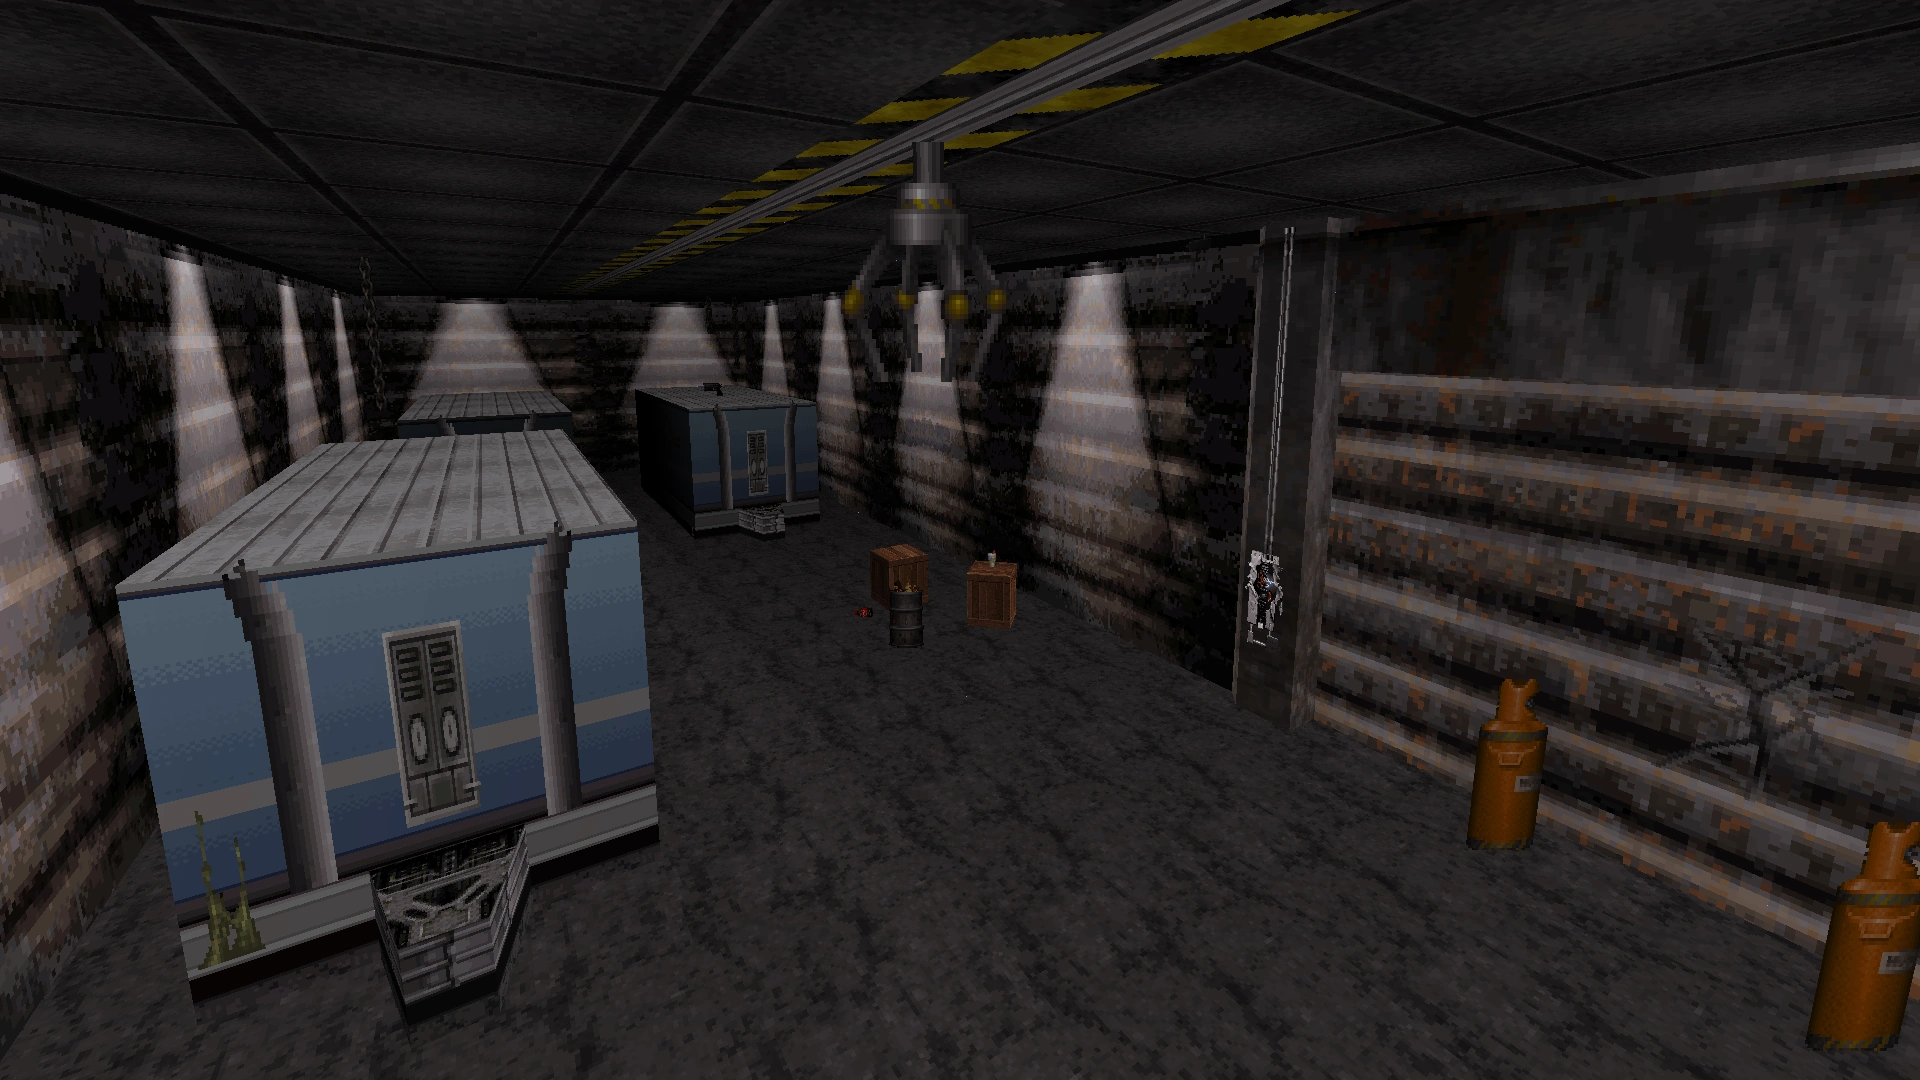
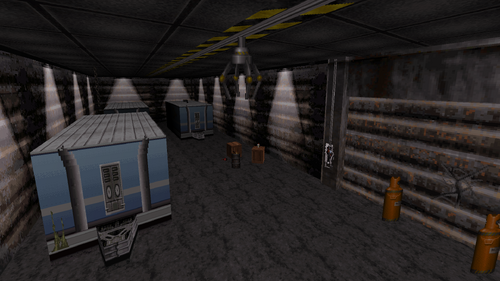
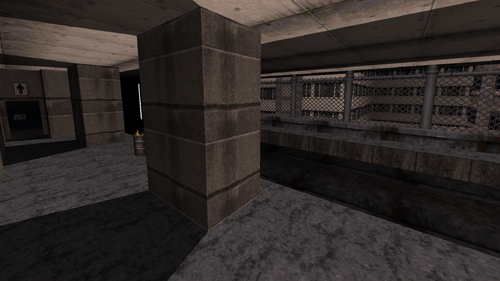
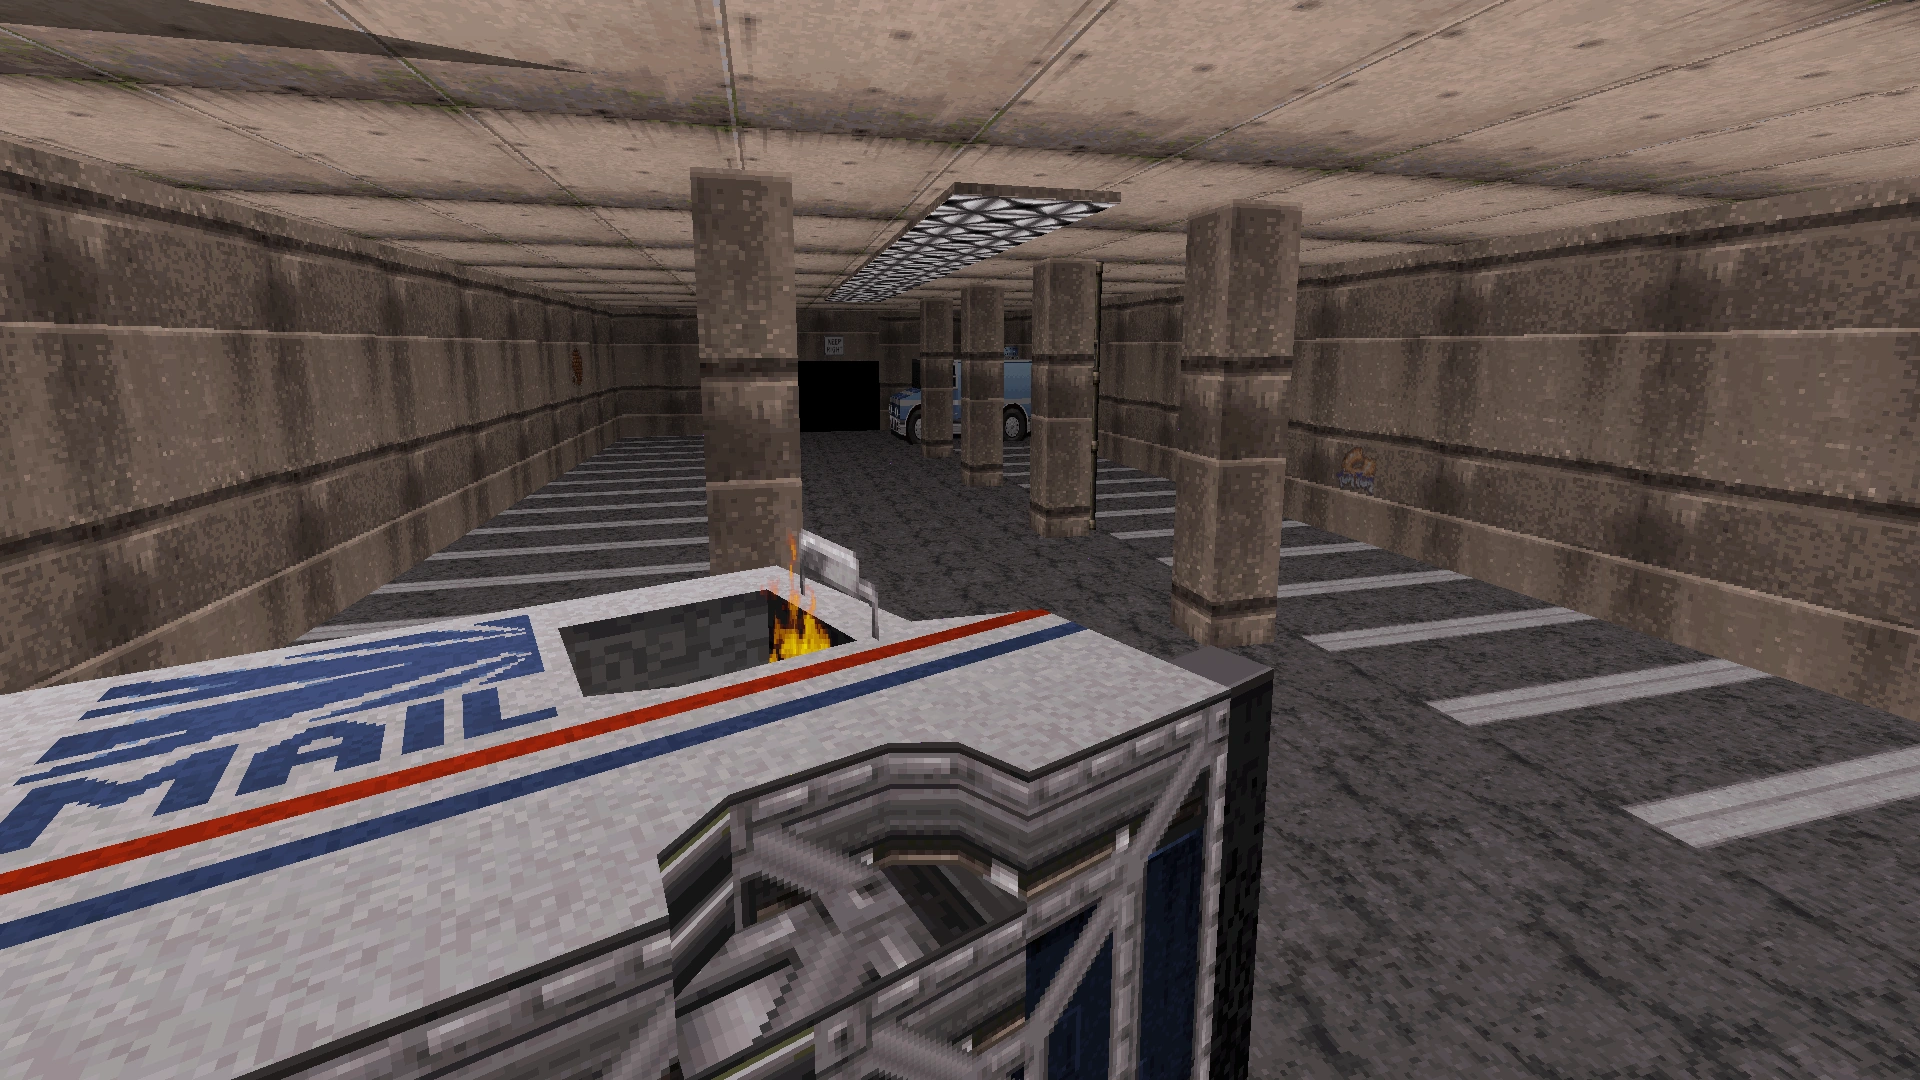
The parking garage consists of a single room with several cement columns, a parked truck in the far corner, and the overturned mail truck from Going Postal. The parking garage is initially empty, but several enemies appear once the blue access card is retrieved from atop the parked truck.

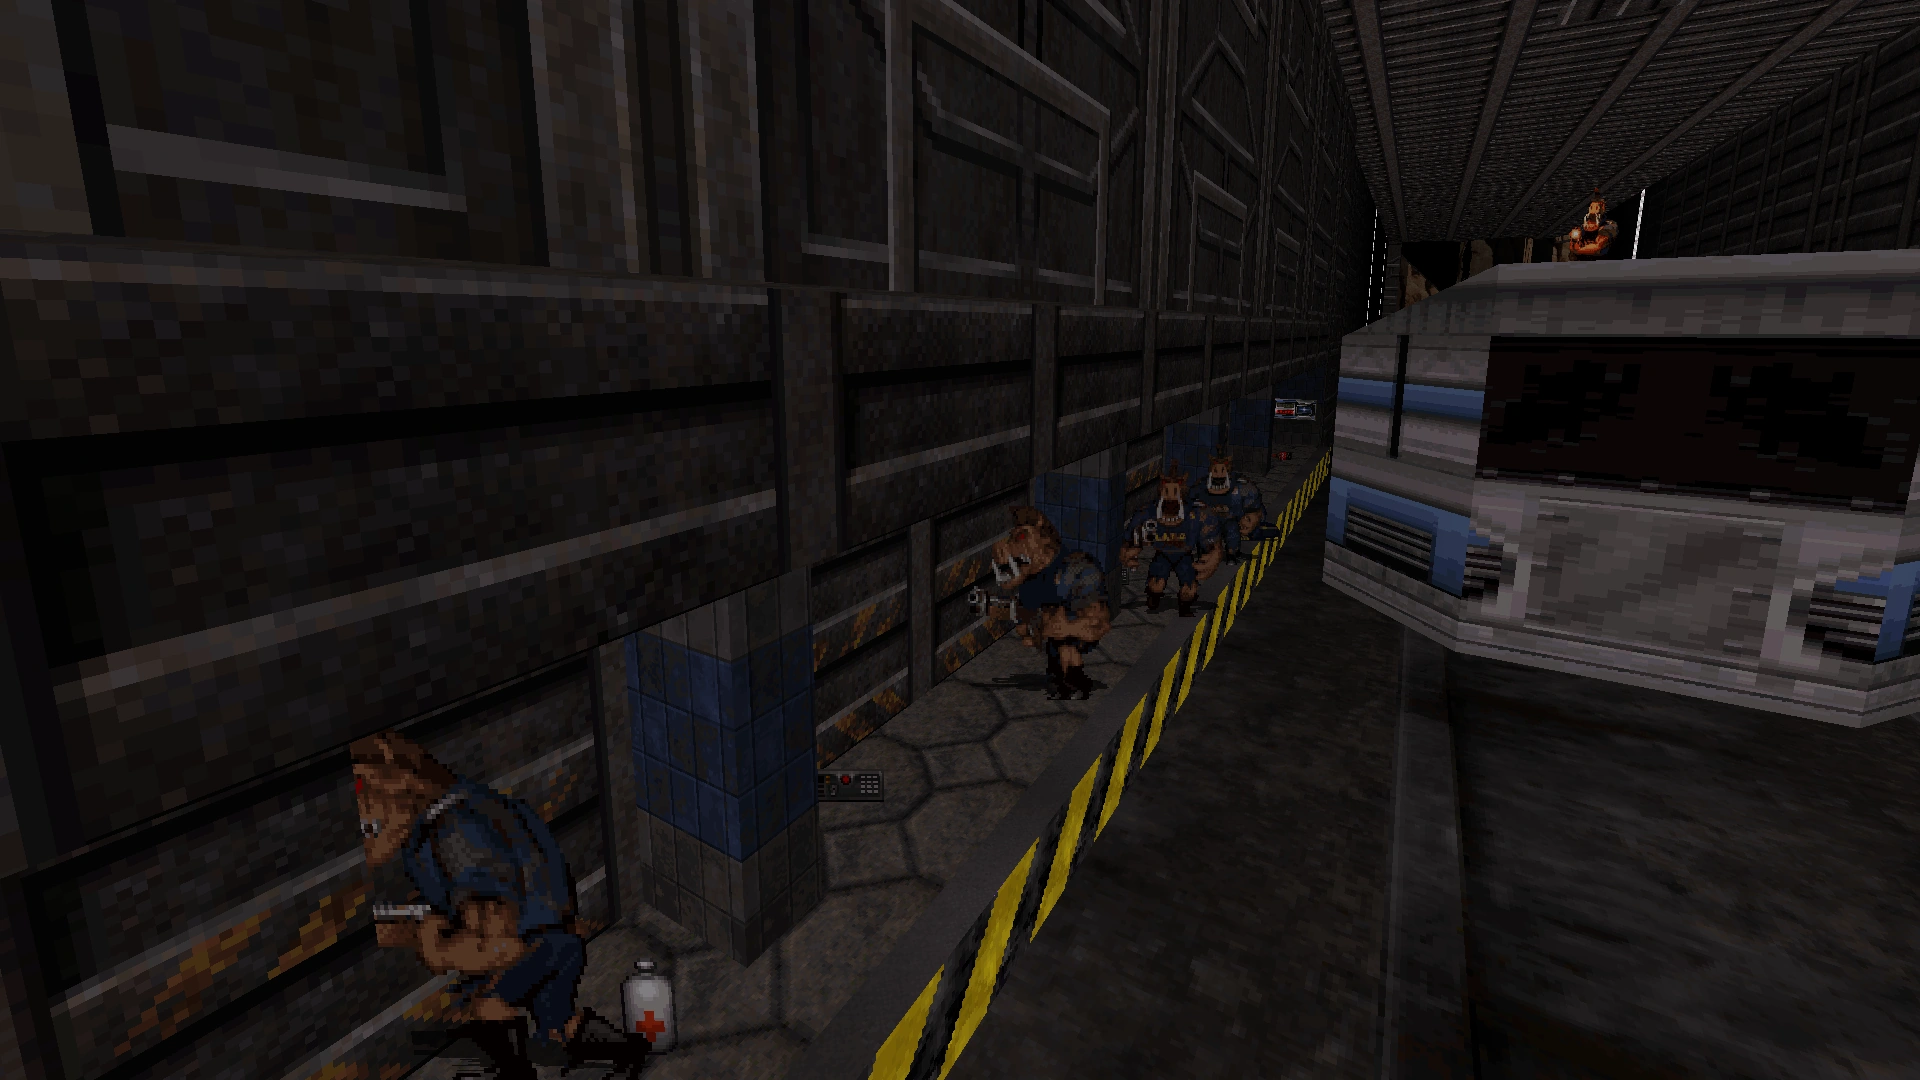
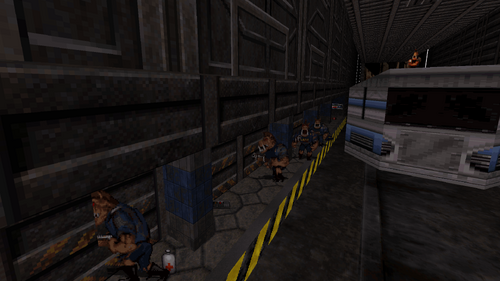
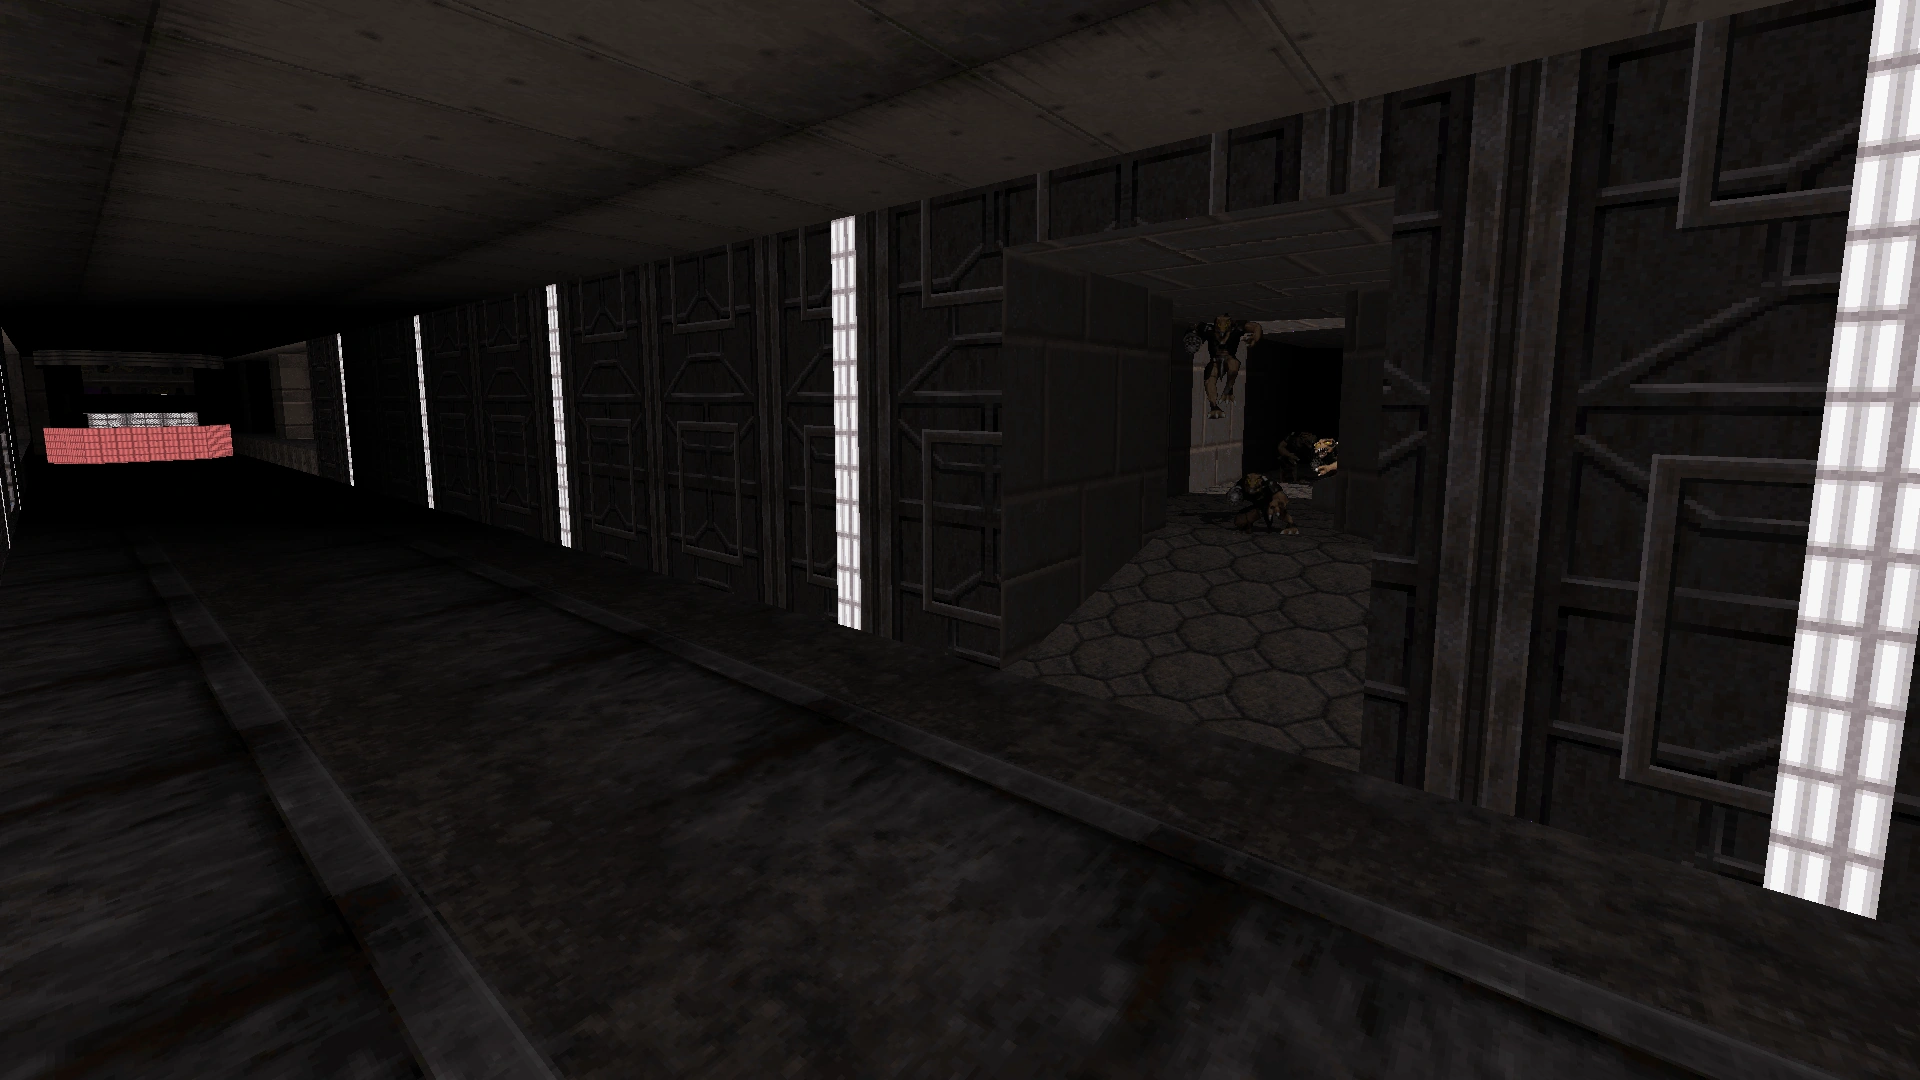
Along the train tracks, the hidden weapon compartment from the PC version can still be found, as well as the platform guarded by Enforcers, but the Enforcers are now positioned directly in front of the red access card door, instead of across the tracks from it.

The final room containing the book shelves and water fountain is unchanged.
Level 25: Fahrenheit
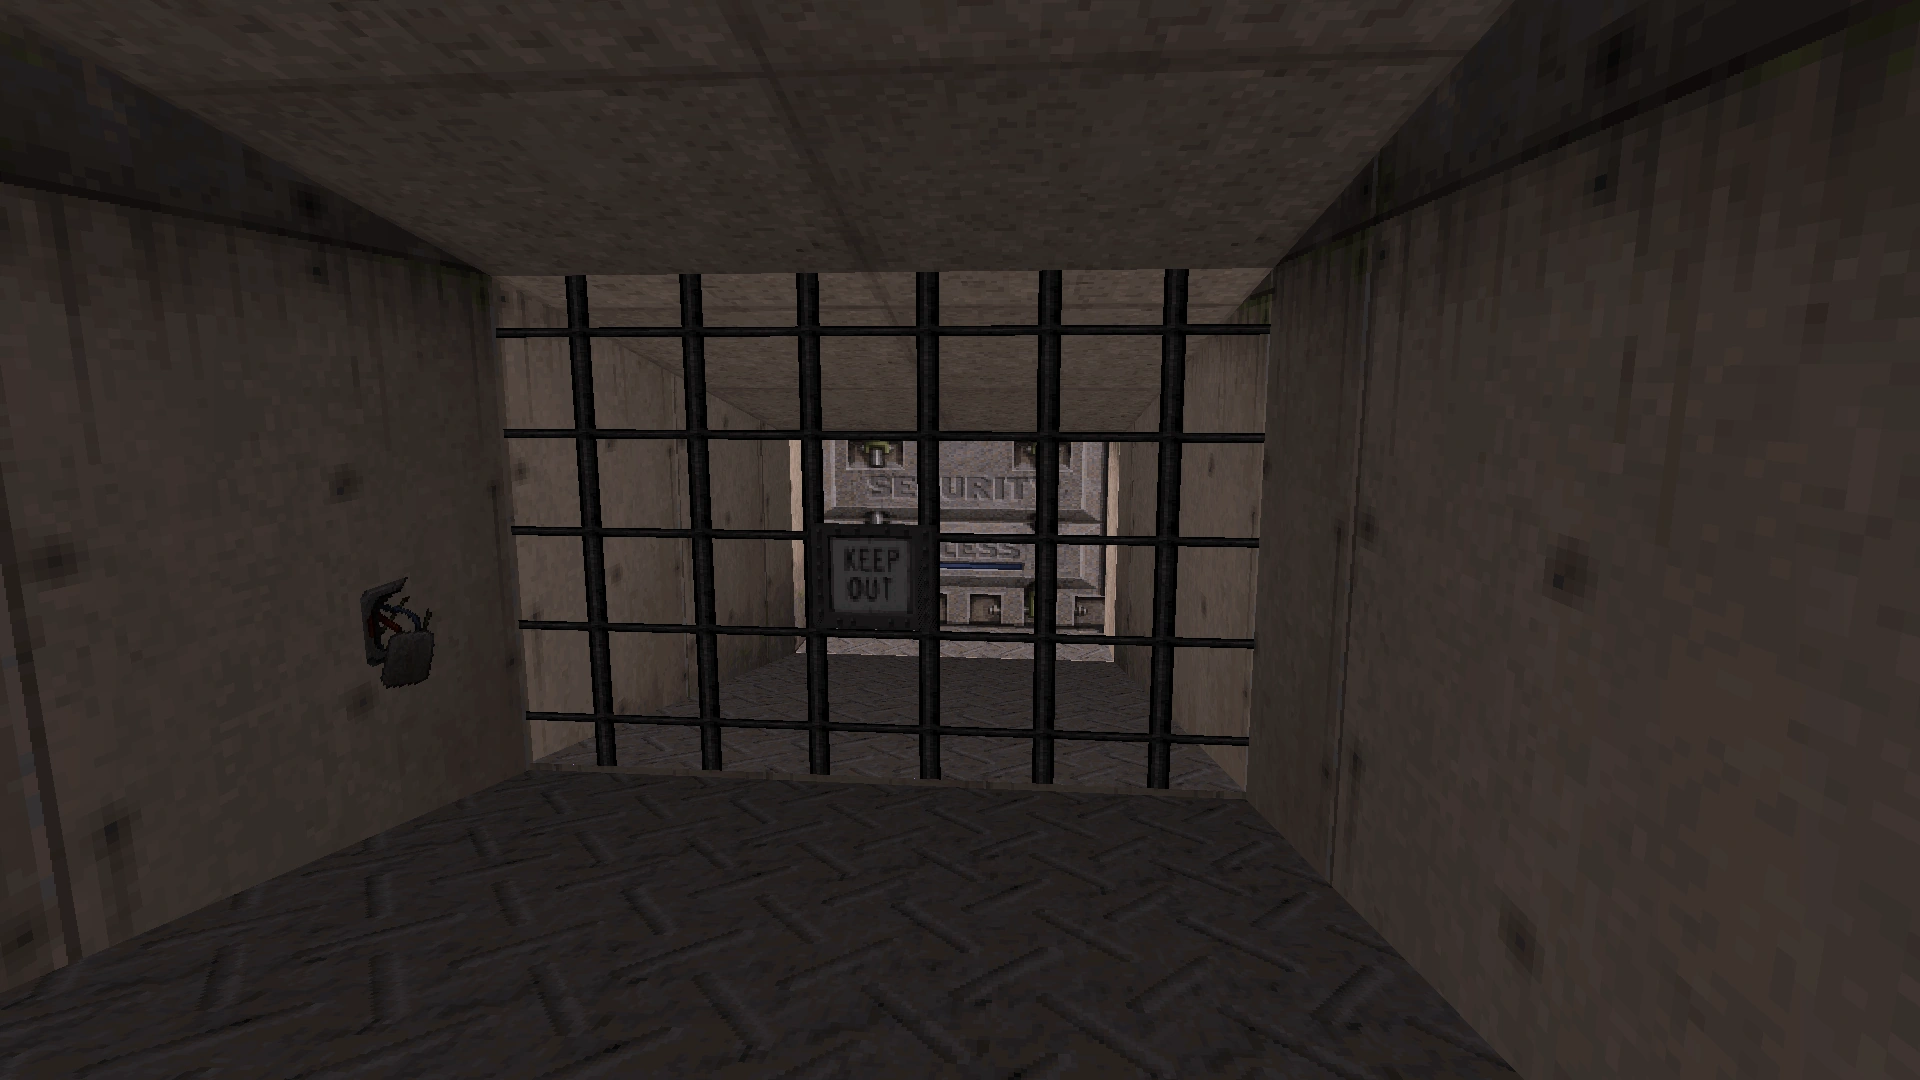
After emerging from behind the dumpster at the start of the level, the building on the left-hand side now has a door and windows with magazine shelves inside. A "Keep Out" sign is posted on the door. It is unclear what this building is supposed to be, but it looks like it may be the back entrance of a book store (i.e., for employees only). It is not possible to enter the building.

The name on the outside of the radio station has been changed from KTIT to KNAW.
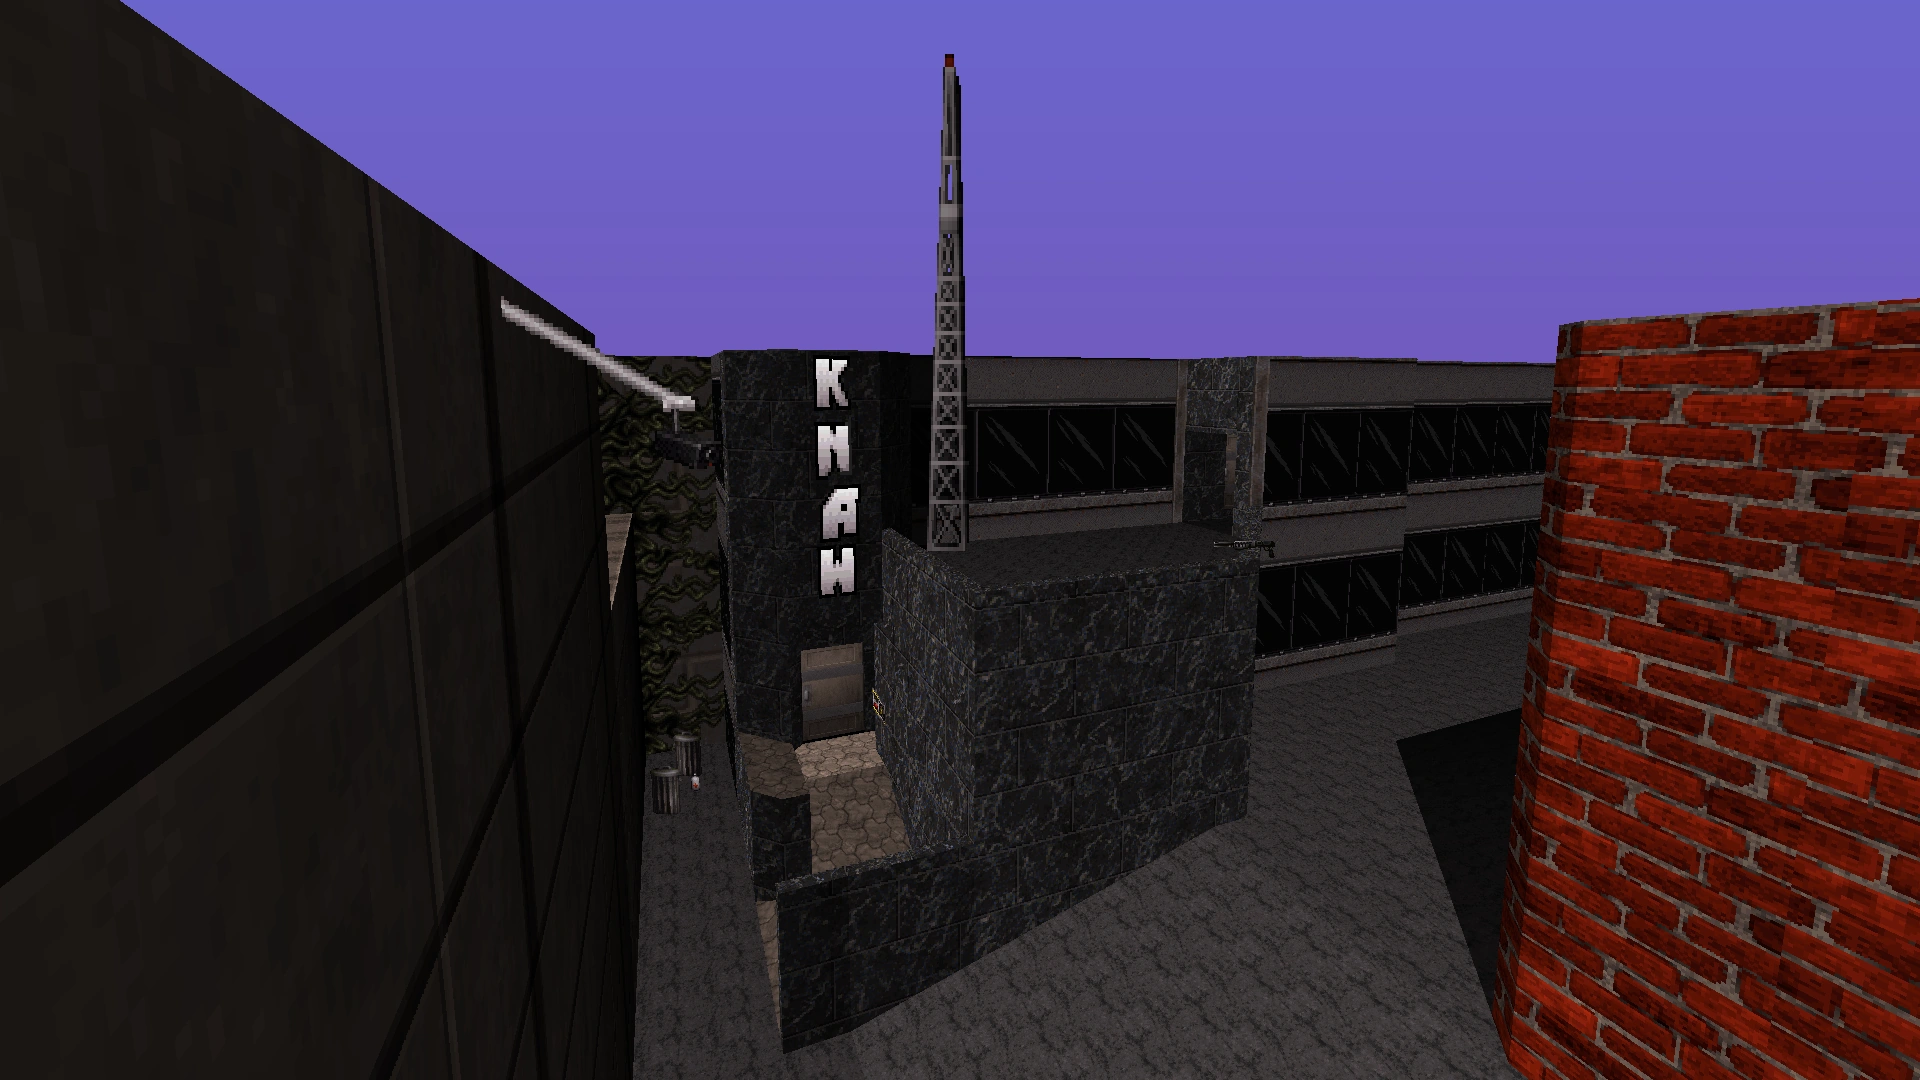

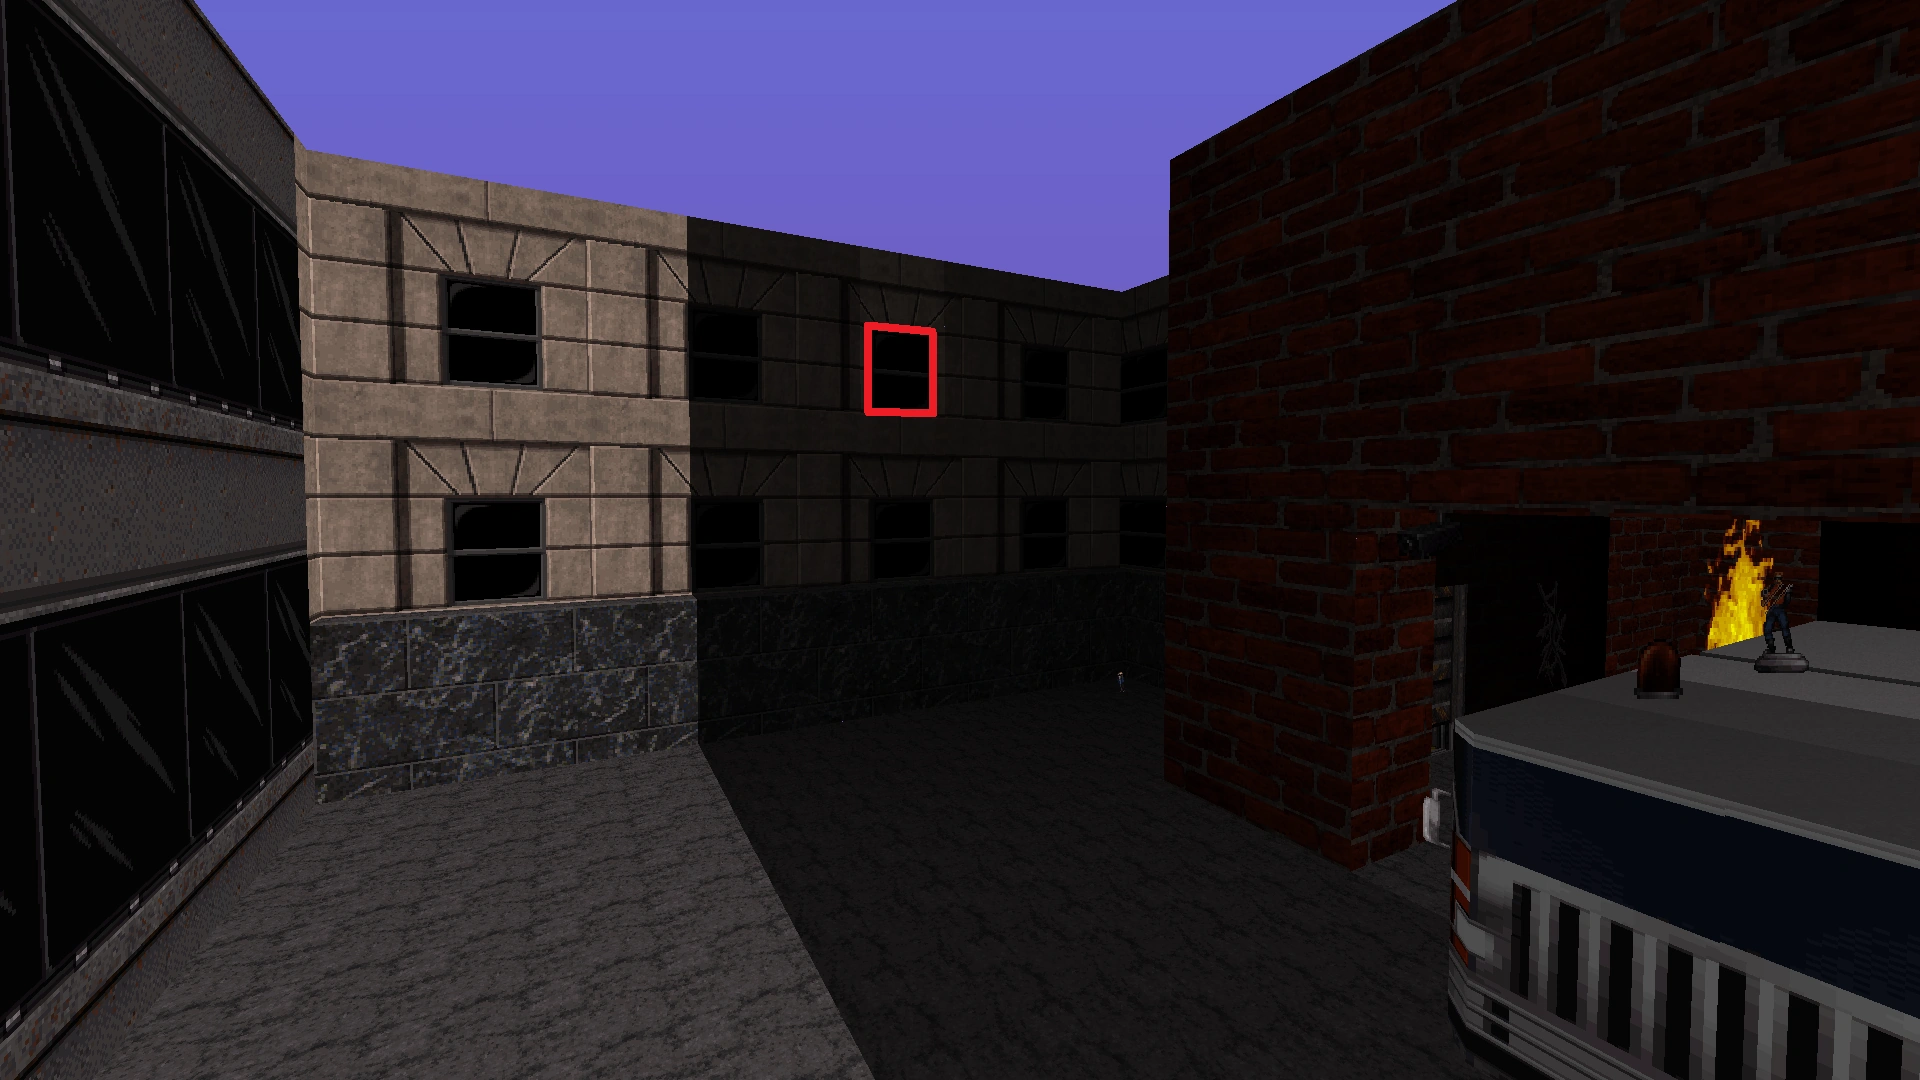
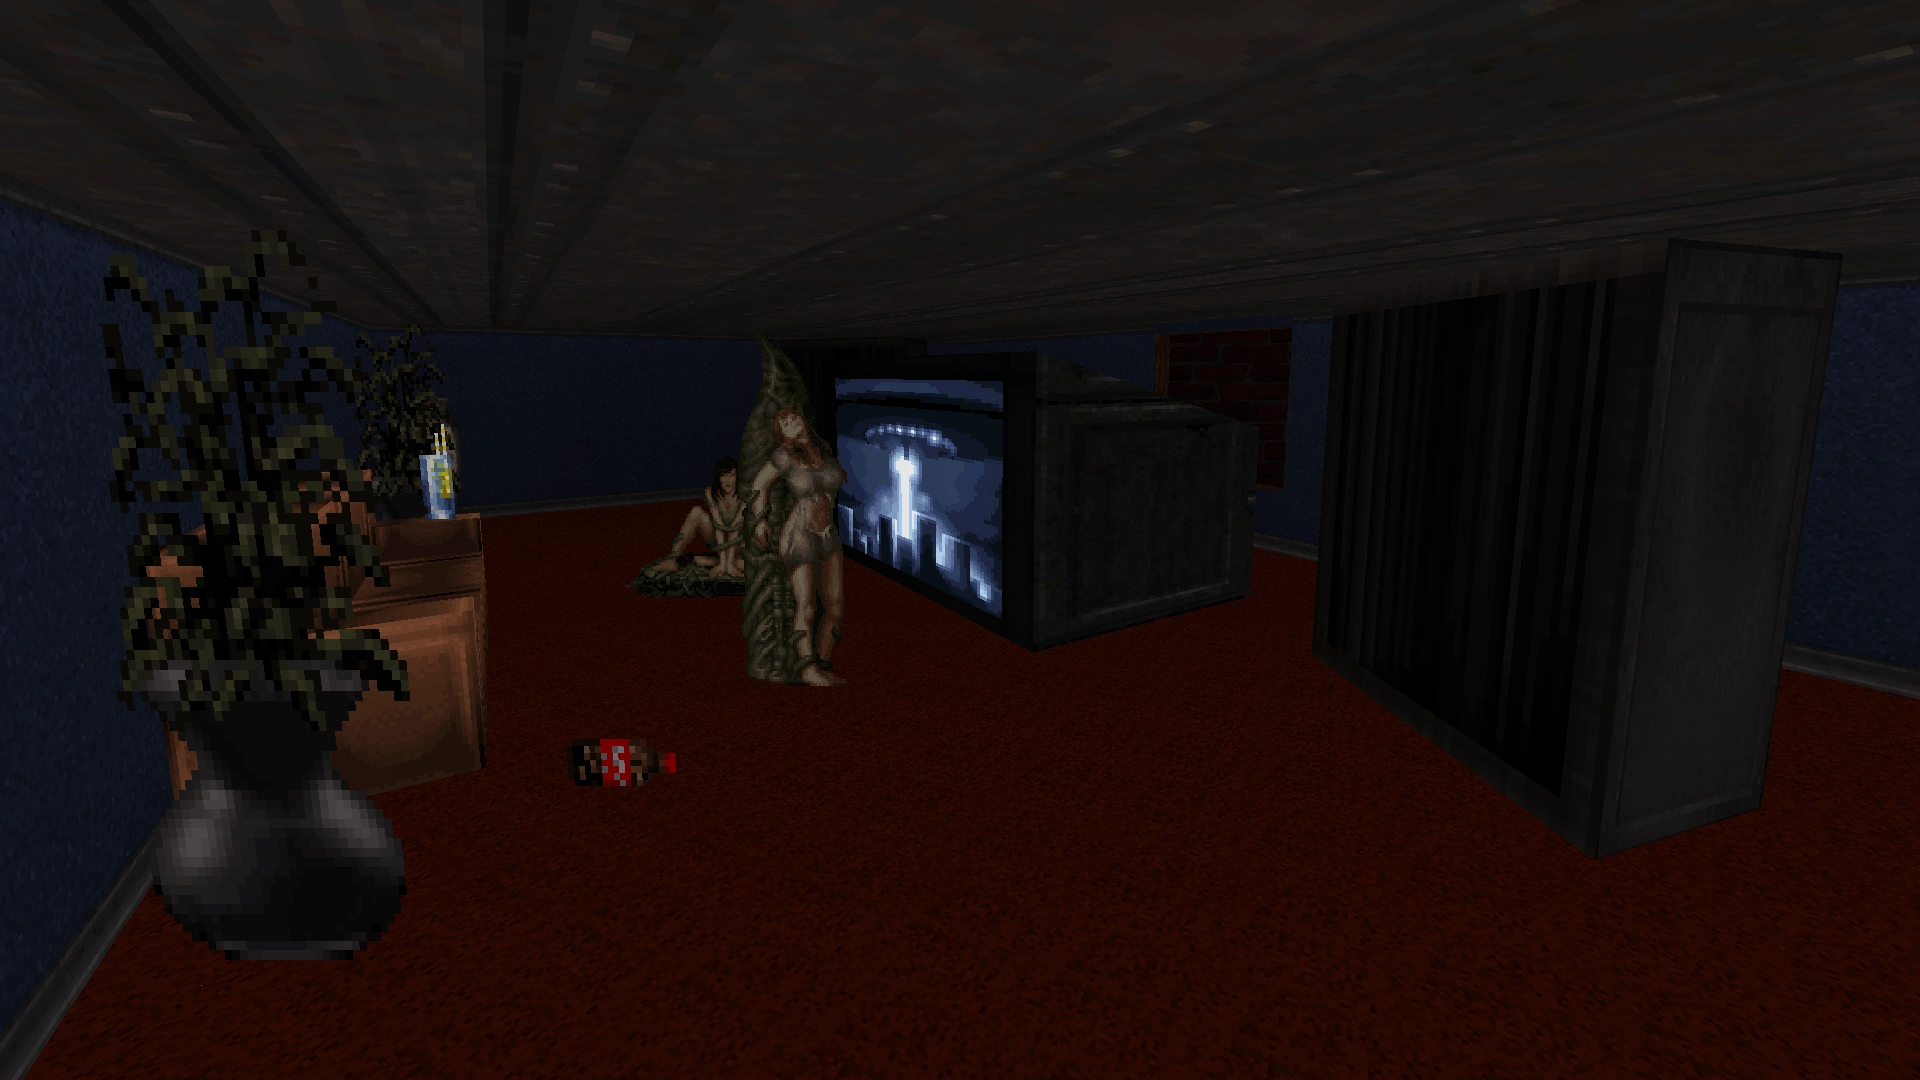
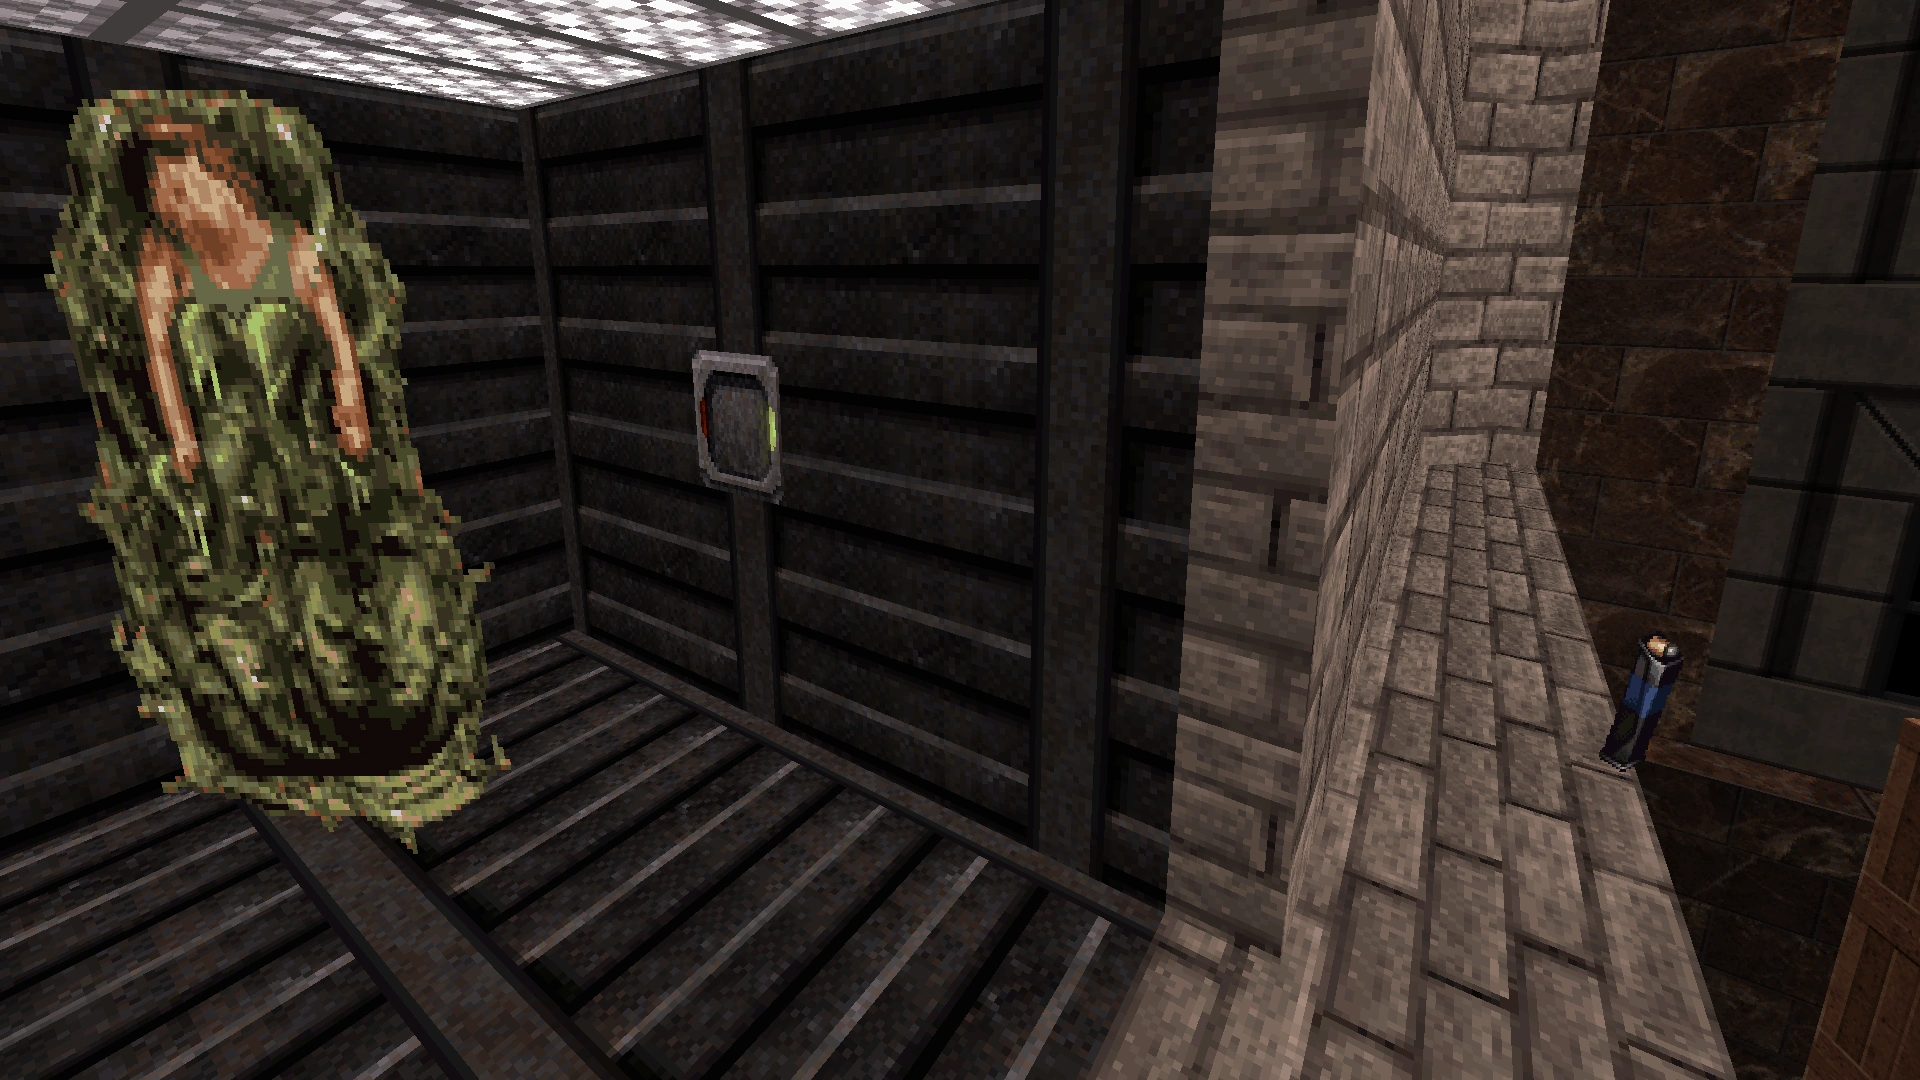
In the chain of buildings between the radio station and the fire station, there is a newly added secret area inside one of the windows. This window is slightly lighter than the other windows, and Duke can pass directly through it. The room inside is an apartment containing two captive women, a television set, and speakers.


The fire station has been significantly expanded to include an office, kitchen, janitor's closet, and crew quarters (see the screenshots below). Although these new areas contain enemies, they do not contain any access cards or other objectives required in order to complete the level.

Far Left: Janitor's closet. Left: Yellow access card area from the PC version. Center: Square containing the kitchen (accessible through a door across from the office). Right: Door to the office. Behind the camera: Door to the crew quarters.

Left: Door to the crew quarters. The hallway on the left abruptly ends. Right: Janitor's closet with the door opened.


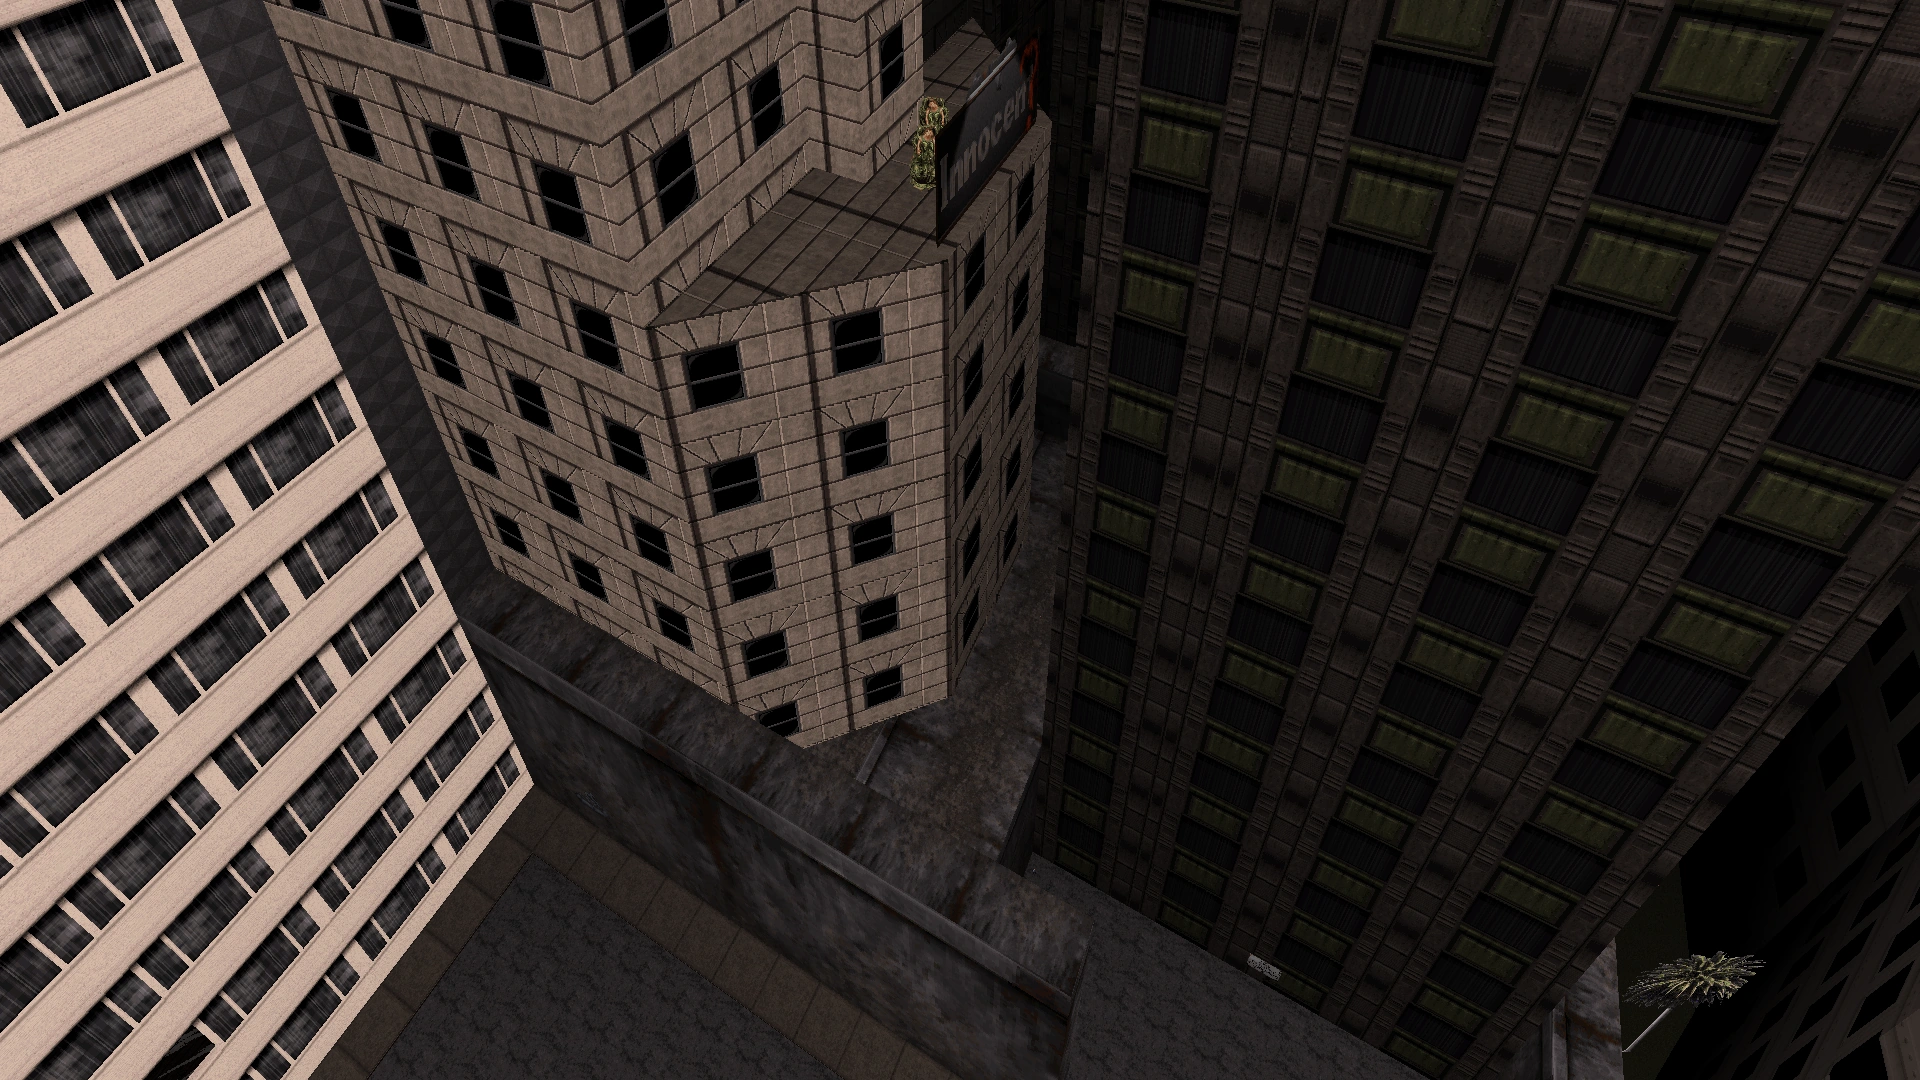
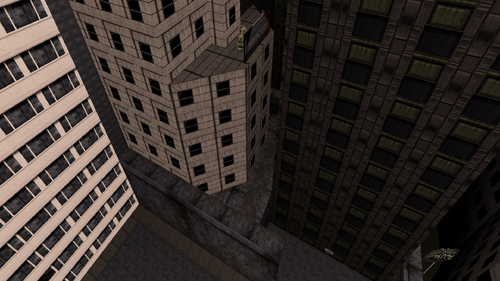
A switch inside the janitor's closet opens a hidden compartment inside the "Innocent?" billboard outside the windows of the fire station. When the compartment is opened, it cannot be seen from the outside; Duke must pass directly through the billboard to find it.

"Innocent?" billboard. Although it cannot be seen from the outside, Duke is able to pass through the center of the billboard if the switch in the janitor's closet is activated.

Hidden compartment behind the billboard. There is only a captive woman inside.
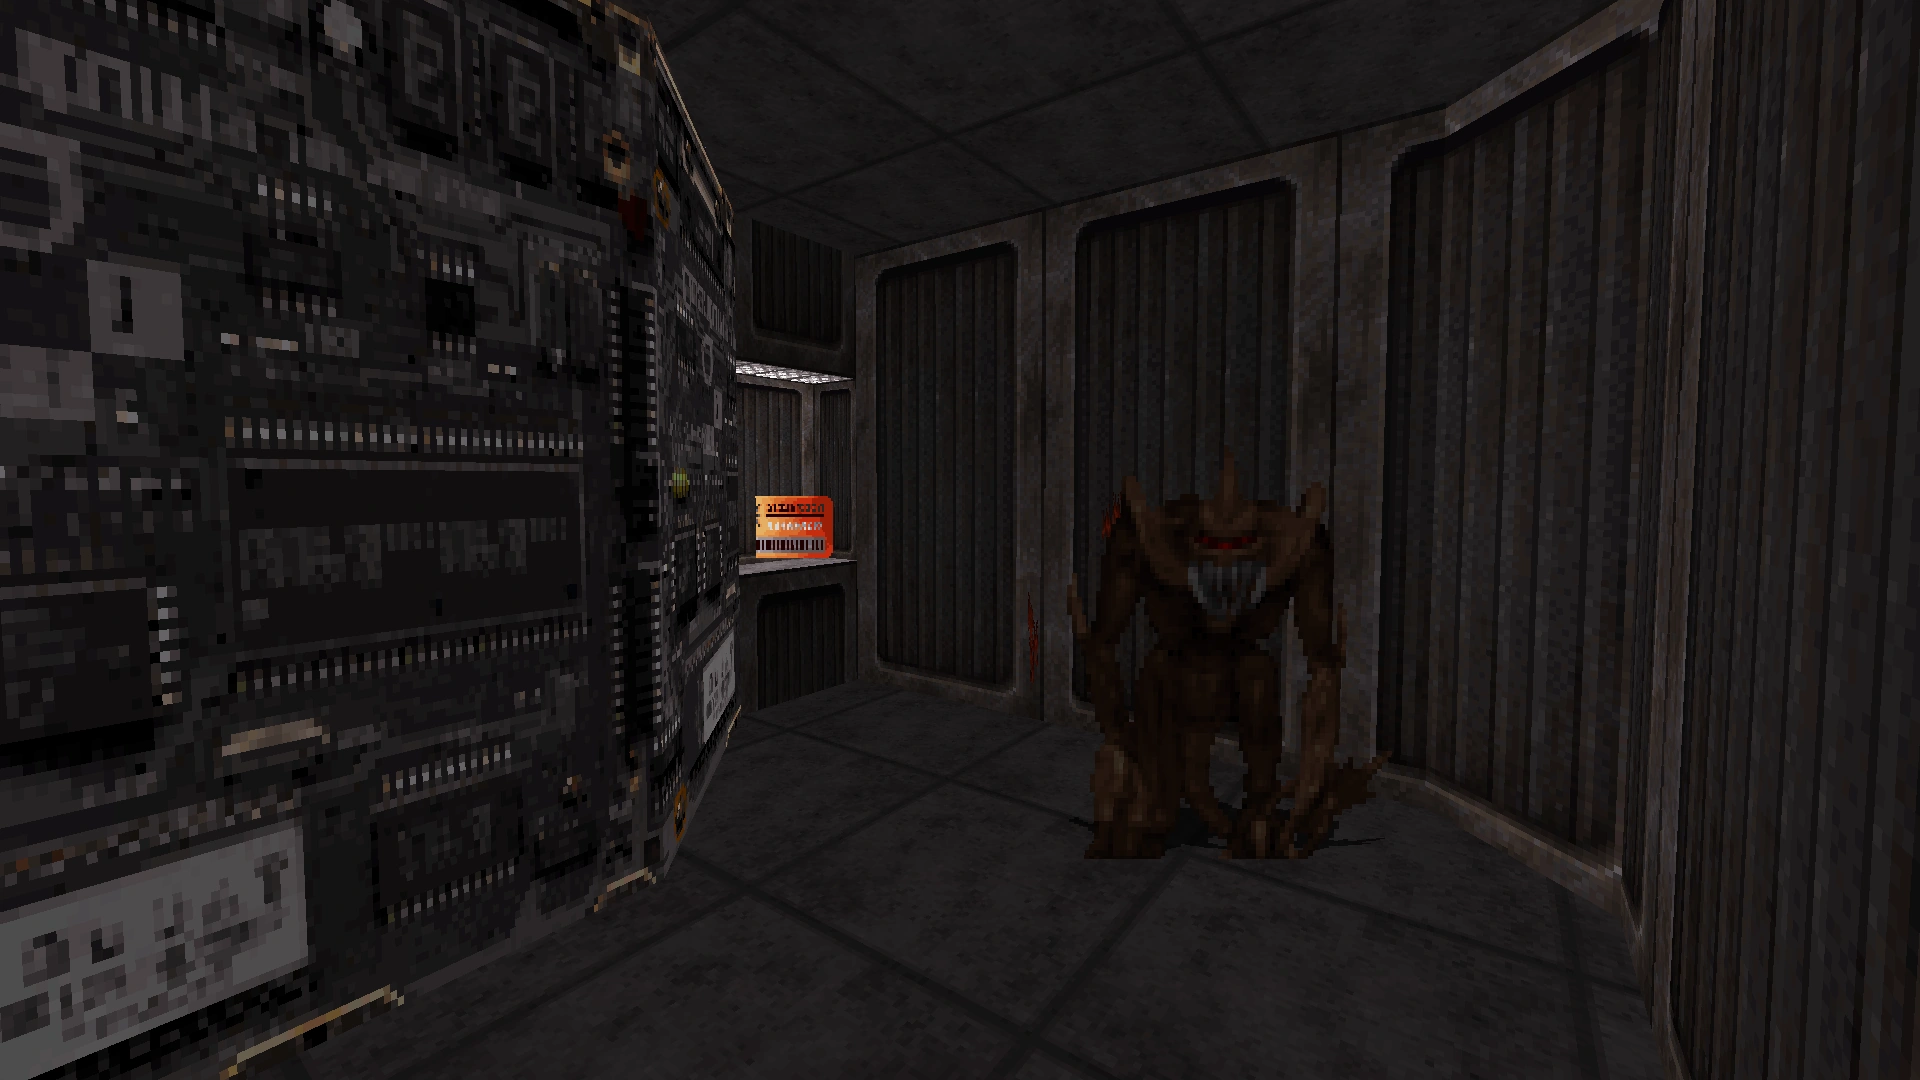
Closer to the end of the level, the room containing the red access card is now guarded by an Alien Beast (Protector Drone).
Level 26: Hotel Hell
This level is nearly unchanged, but the enemies now include Alien Beasts (Protector Drones), as well as the first appearance of the Overlord Sentry on higher difficulty settings. This is the first of two levels to feature an Overlord Sentry; the other is Freeway. Overlord Sentries would not appear on the PC until two decades later via the 20th Anniversary Edition. On higher difficulty settings, the Overlord Sentry spawns outside the main entrance once Duke steps foot on the second floor of the hotel.

Overlord Sentry outside the main entrance of the hotel. For size comparison, a Battlelord Sentry is standing right behind it.

Alien Beast outside the main entrance of the hotel. An Overlord Sentry (left) and Battlelord Sentry (right) are also visible in the background.
Level 27: Stadium
This level experienced a complete overhaul. There is now a roof with a skylight, and the blimp above the stadium has been removed.
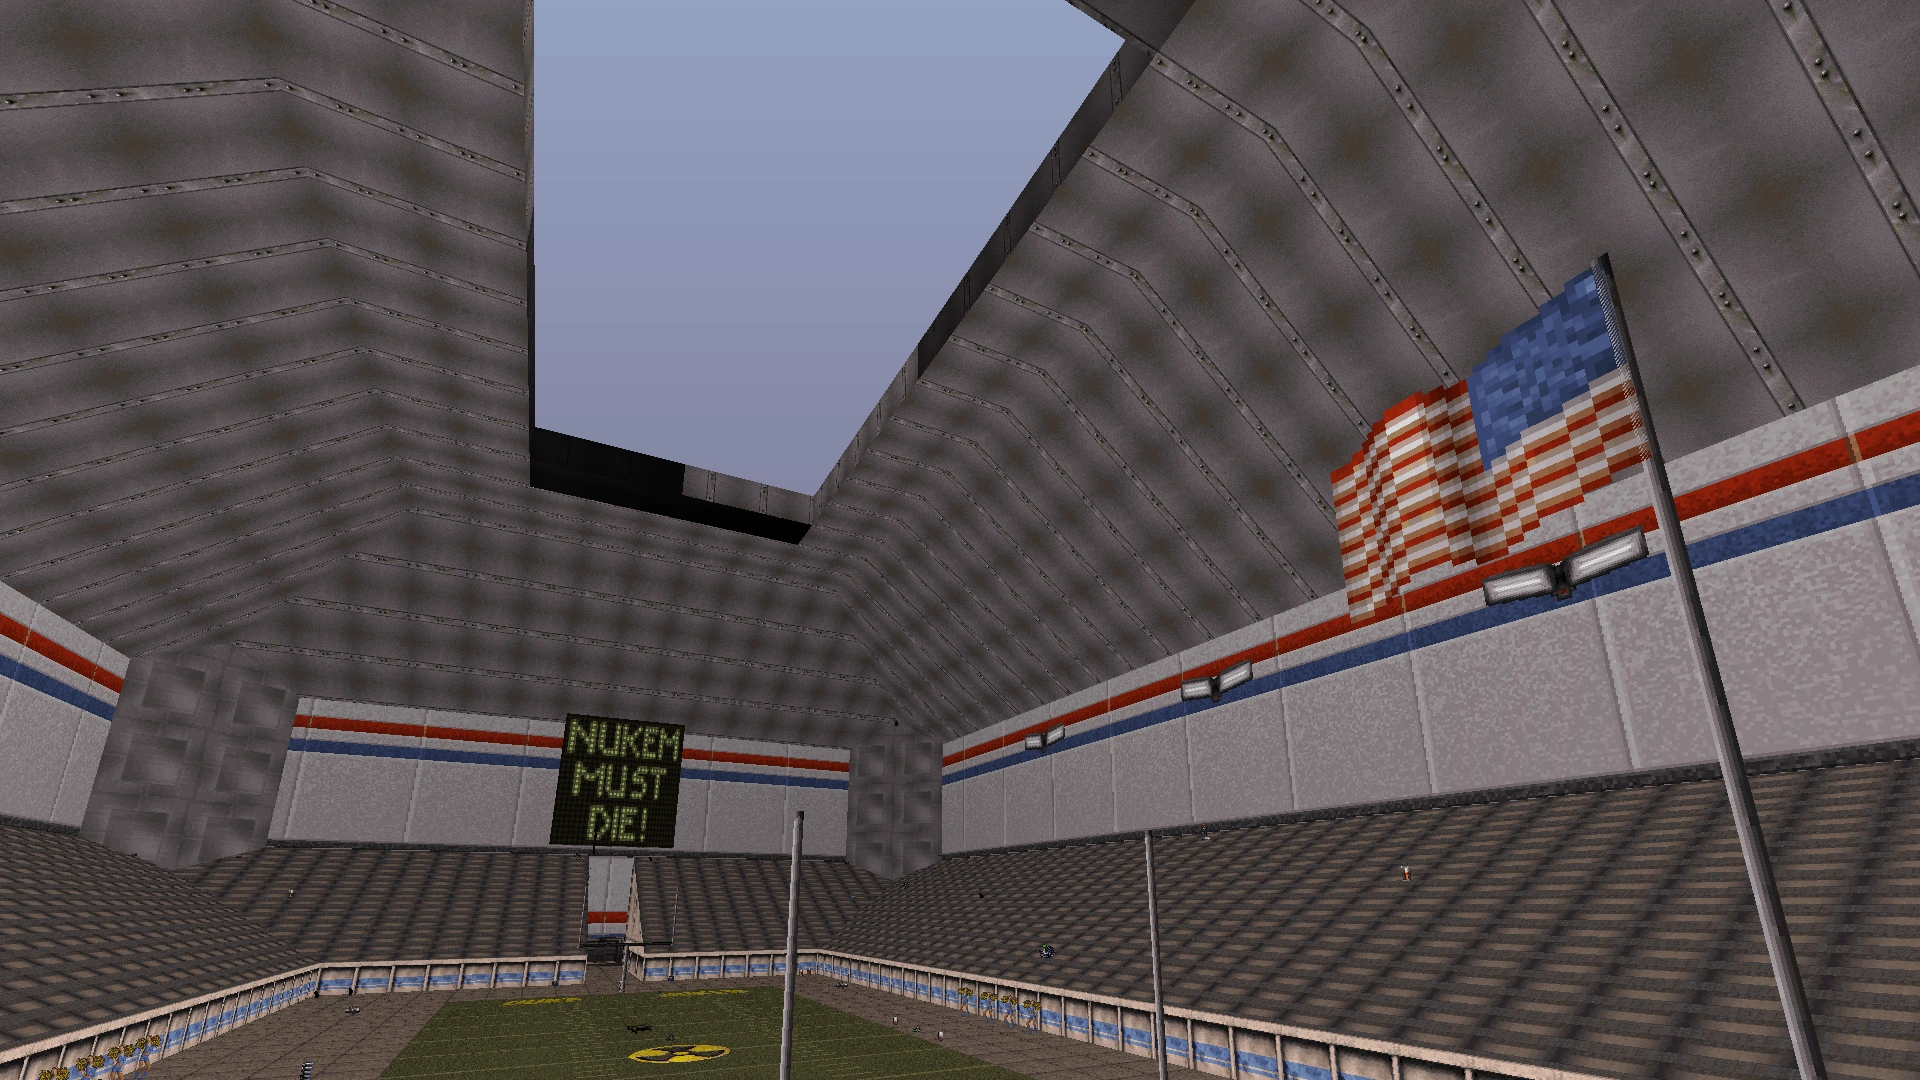

Remodeled stadium with a skylight but no blimp. The door beneath the "Nukem Must Die" sign is only accessible during multiplayer.
During multiplayer ("Dukematch"), the player can explore the halls and changing rooms beneath the stands.


Most notably, the Cycloid Emperor has been recreated with a new 3D polygonal model.
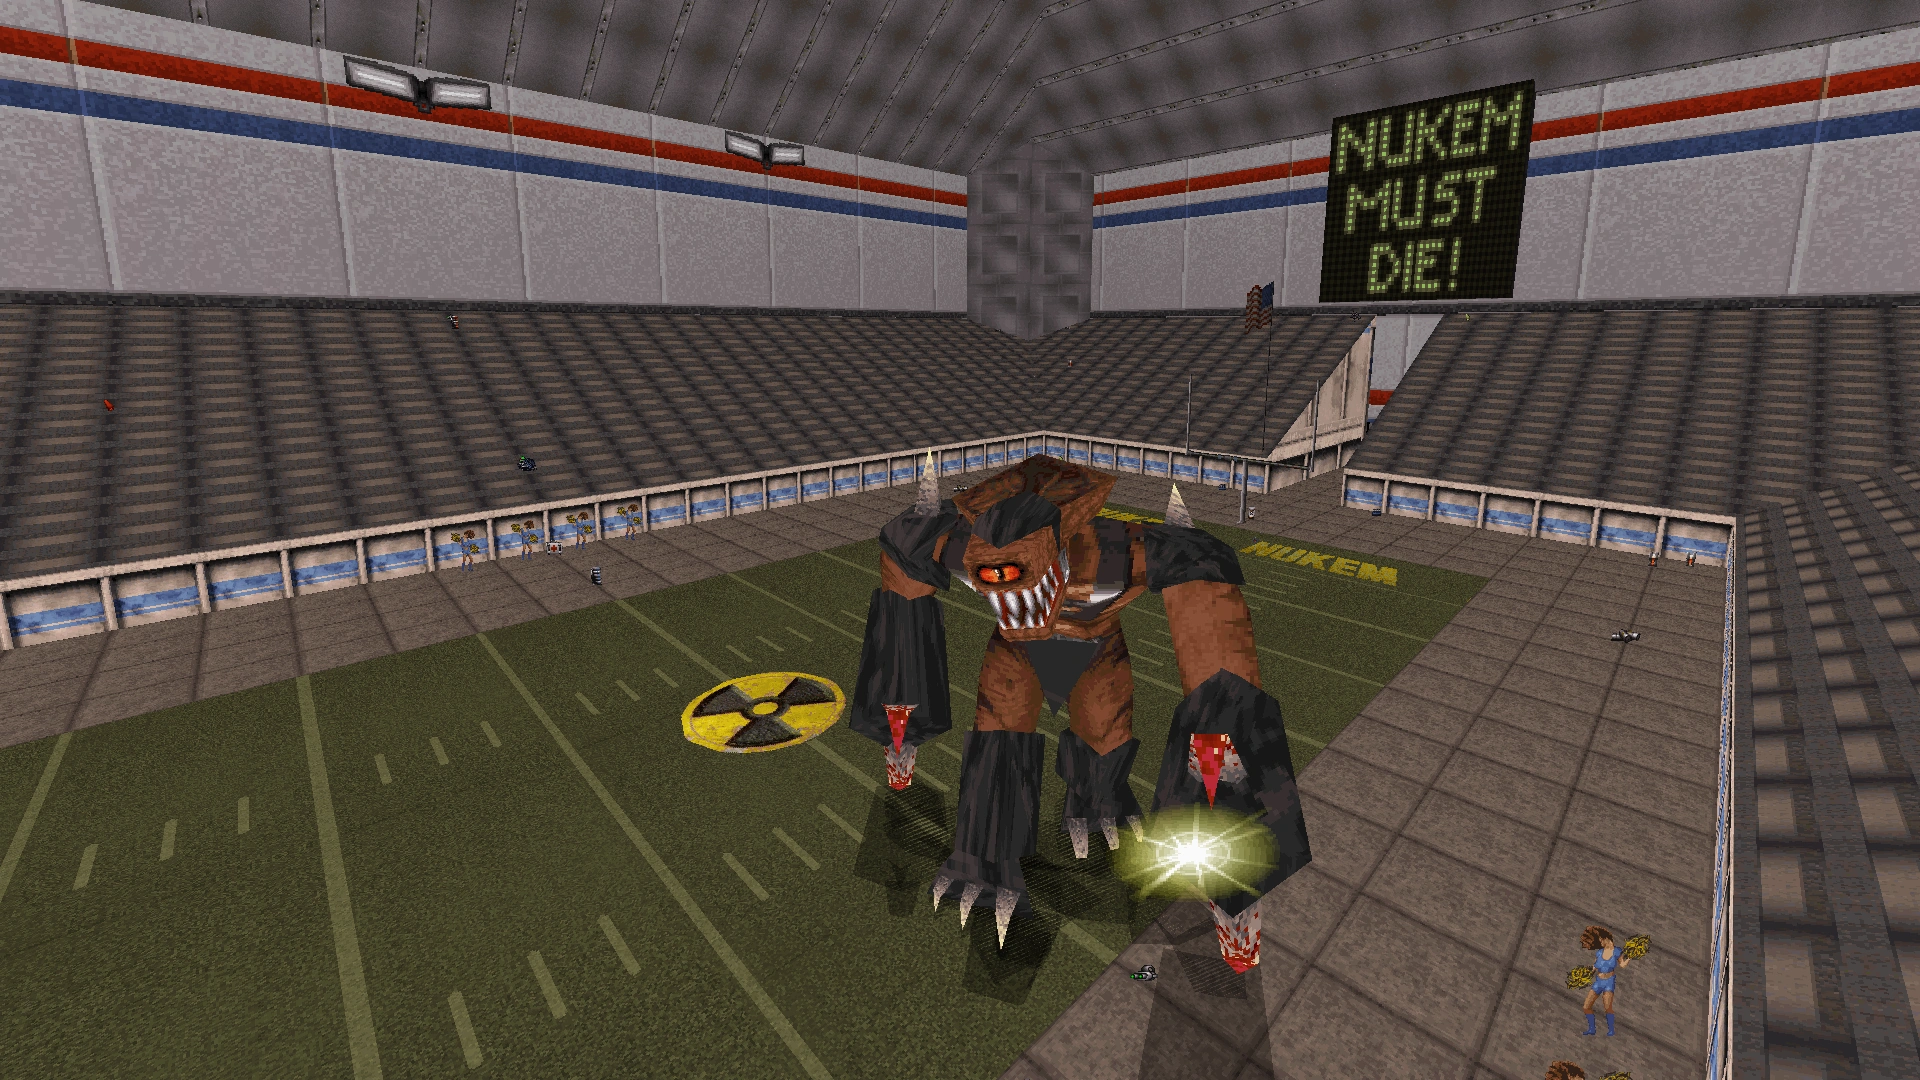
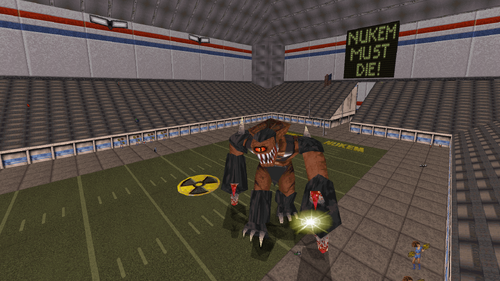
Aerial view of the new polygonal Cycloid Emperor. Notice that he now fires with his left claw instead of his right claw.
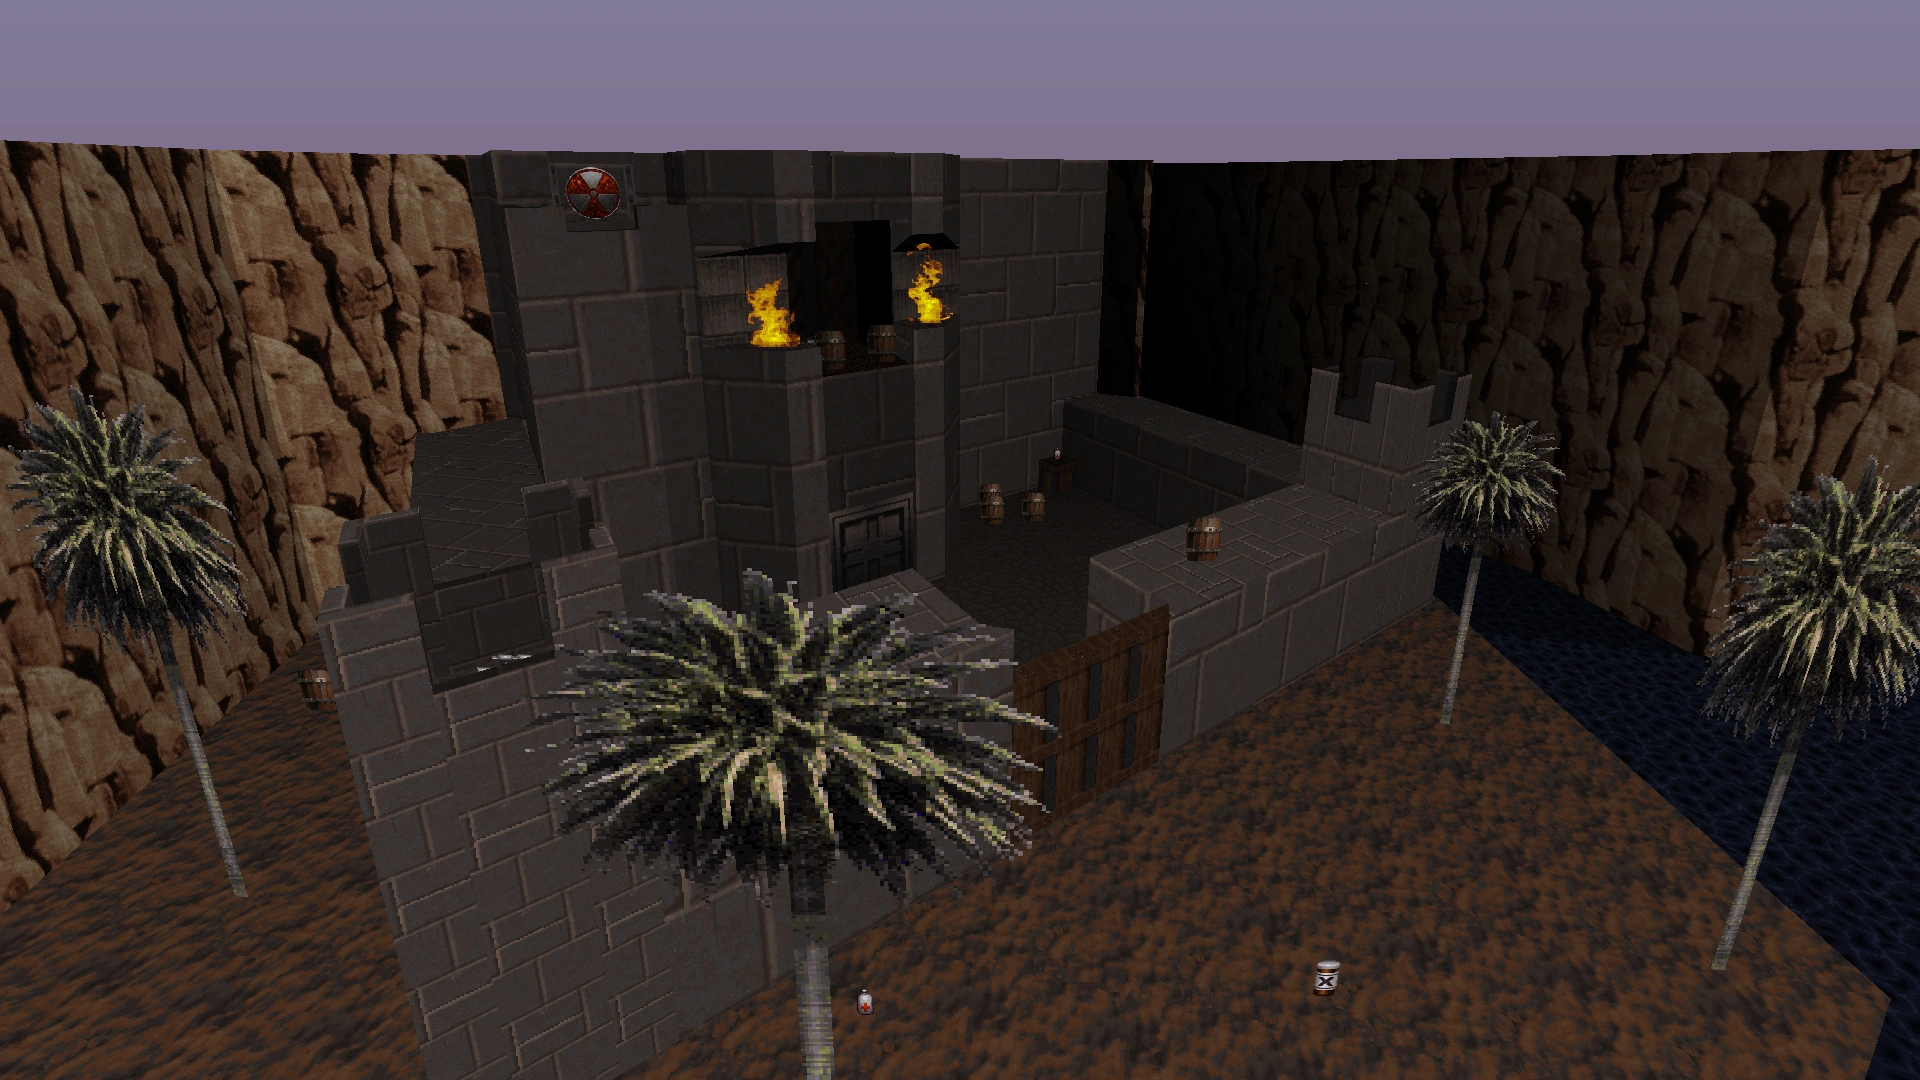
Level 28: Area 51 (Secret Level)
This is the second and final level from the Atomic Edition to make an appearance. The starting area has been completely removed, and you instead begin the level from inside the dark tunnel above the RV trailer. Although the Protector Drones (renamed "Alien Beasts") can still be found on this level, the Pig Cop Tanks have been removed, as well as the underwater UFO crash site.

Level 29: Freeway (Secret Level)
At one end of the street packed with Recon Patrol Vehicles, there is now a hidden alleyway on the other side of the cement wall.

In the PC version, there was a collapsed building at one end of the second street on this level. There were Sentry Drones hovering above it, and by entering through a hole in the top of the building, a Jetpack could be found inside. This collapsed building still exists in the Nintendo 64 version, but now a second collapsed building has been added on the other side of the first collapsed building. The second building cannot be entered, but there are several hidden items scattered around the building.
Aerial view of the new collapsed building (center). The old collapsed building can be seen in the bottom-left corner.
This level now features an Overlord Sentry where the first Battlelord Sentry used to be, but a Battlelord Sentry later makes an appearance as well. This is the second of two levels to feature an Overlord Sentry; the first was Hotel Hell.
An Overlord Sentry firing rockets at the end of the road where there used to be a Battlelord Sentry.
The level has been significantly expanded to include a police station to explore. The police station occupies the end of the road behind the Overlord Sentry, where there was previously nothing in the PC version. The main entrance to the police station is inaccessible, but after jumping up the nearby air conditioning units, it can be entered through a hidden window near the Duke Burger advertisement. The sign above the main entrance is taken from Pigsty.

Front of the police station (left). It is accessible through a window (not visible) at the top of the air conditioning units (right).

View from atop the air conditioning units. It is possible to jump from here to the ledge beneath the police chief's window on the right. There is normally a Pig Cop waiting inside the window. The collapsed buildings can be seen on the left.
There are three floors inside the police station: the second floor, the ground floor, and the basement. A broken elevator shaft connects all three floors. The second floor, which is accessed by the window near the Duke Burger advertisement, contains a police chief's office and an inaccessible room with the word "Armory" above it.


Armory outside the police chief's office. Using the no-clip cheat reveals that there is nothing on the other side of the door. The broken elevator shaft is directly ahead, and the police chief's office is behind the camera. There are only light fixtures along the right.
The ground floor features a front desk area, as well as a back hallway that suffers from low-lighting due to a power outage.
Front desk area. The locked doors from the front entrance of the police station are visible in the background. There are normally many Pig Cops in this room.

Another view of the front desk area. The fan above the cola machine connects to a network of air ventilation shafts that ultimately lead to a window along the first street of the level.
Back hallway. Far Left: Broken elevator shaft. Left: Office area. Center: Front desk area. Right: Ramp down to a locked gate (nothing on the other side). Far Right: Utility closet.


The basement also suffers from low-lighting due to a power outage, and it is entirely flooded. A hole in the wall connects to a new sewer tunnel, similar to the one at the start of the level. The sewer tunnel is short and does not connect to other parts of the level. Although it has a manhole in the ceiling, the manhole does not lead anywhere.
View from inside the hole in the wall. The flooded basement is on the right, and the new sewer tunnel is on the left. There is nothing else in the basement of the police station; there is only a light fixture on the right-hand wall and nothing underwater.
Beneath the water in the new sewer tunnel. The tunnel is very short. Behind the camera, the tunnel abruptly ends. Depending on the difficulty setting, there is at least one Octabrain here.
Through a network of air ventilation shafts, the police station also connects to a hidden window alongside the first road packed with Recon Patrol Vehicles.

Although the police station contains enemies, it does not contain any access cards or other objectives that are required in order to complete the level.
Multiplayer Levels
Piracy
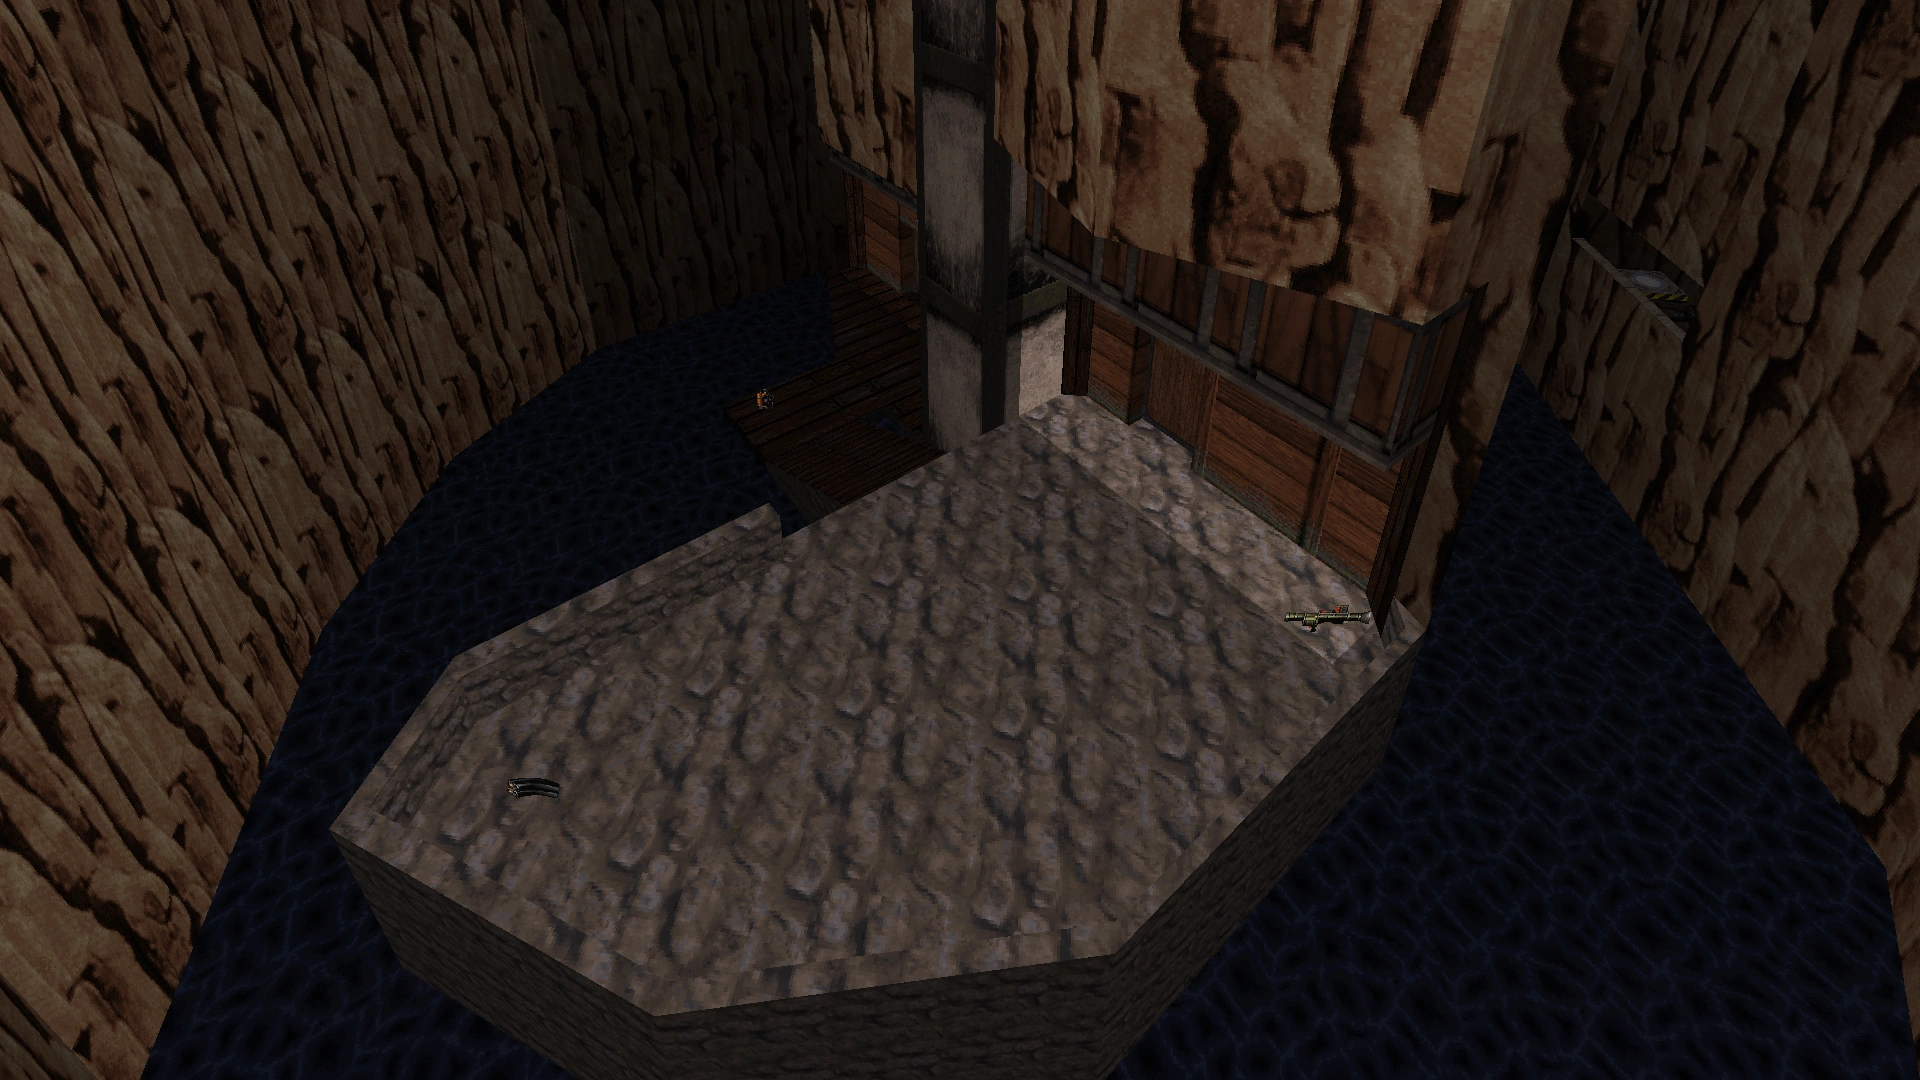
This is a shortened version of the level Babe Land from the Atomic Edition. Compared to Babe Land, this map only consists of the pirate ship, the pirate fortress across from the ship, and the slave trading outpost behind the fortress. The exit button has been moved from inside the pirate fortress to a balcony above it. There are no animatronic pirates.

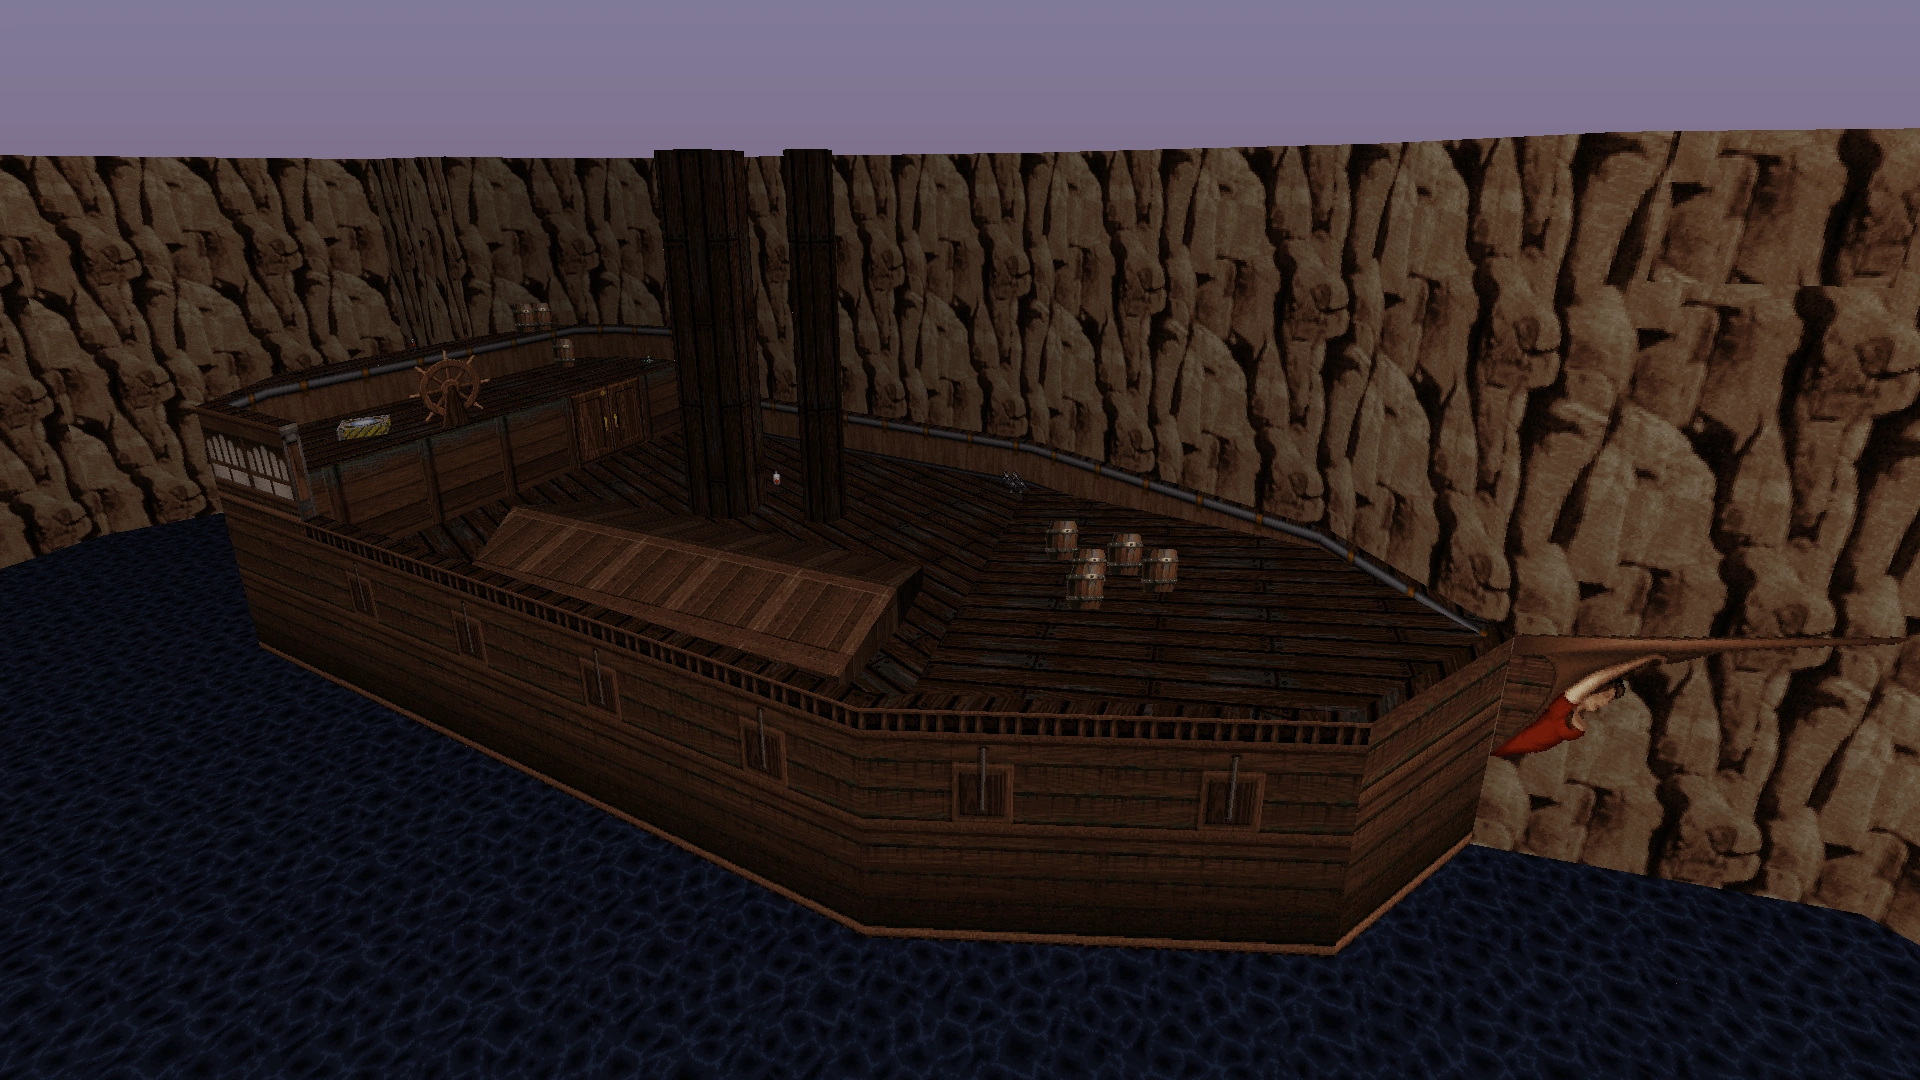


This map also contains the beginning of the secret ventilation shaft above the pirate ship that appeared in Babe Land. The ventilation shaft still contains the security camera from Babe Land, even though security cameras serve no purpose on this map.


Shaft
This space-themed level contains a secret exit to Noctis Labyrinthus. The map is built around a tall shaft at the center of what appears to be either a spaceship or extraterrestrial military base.


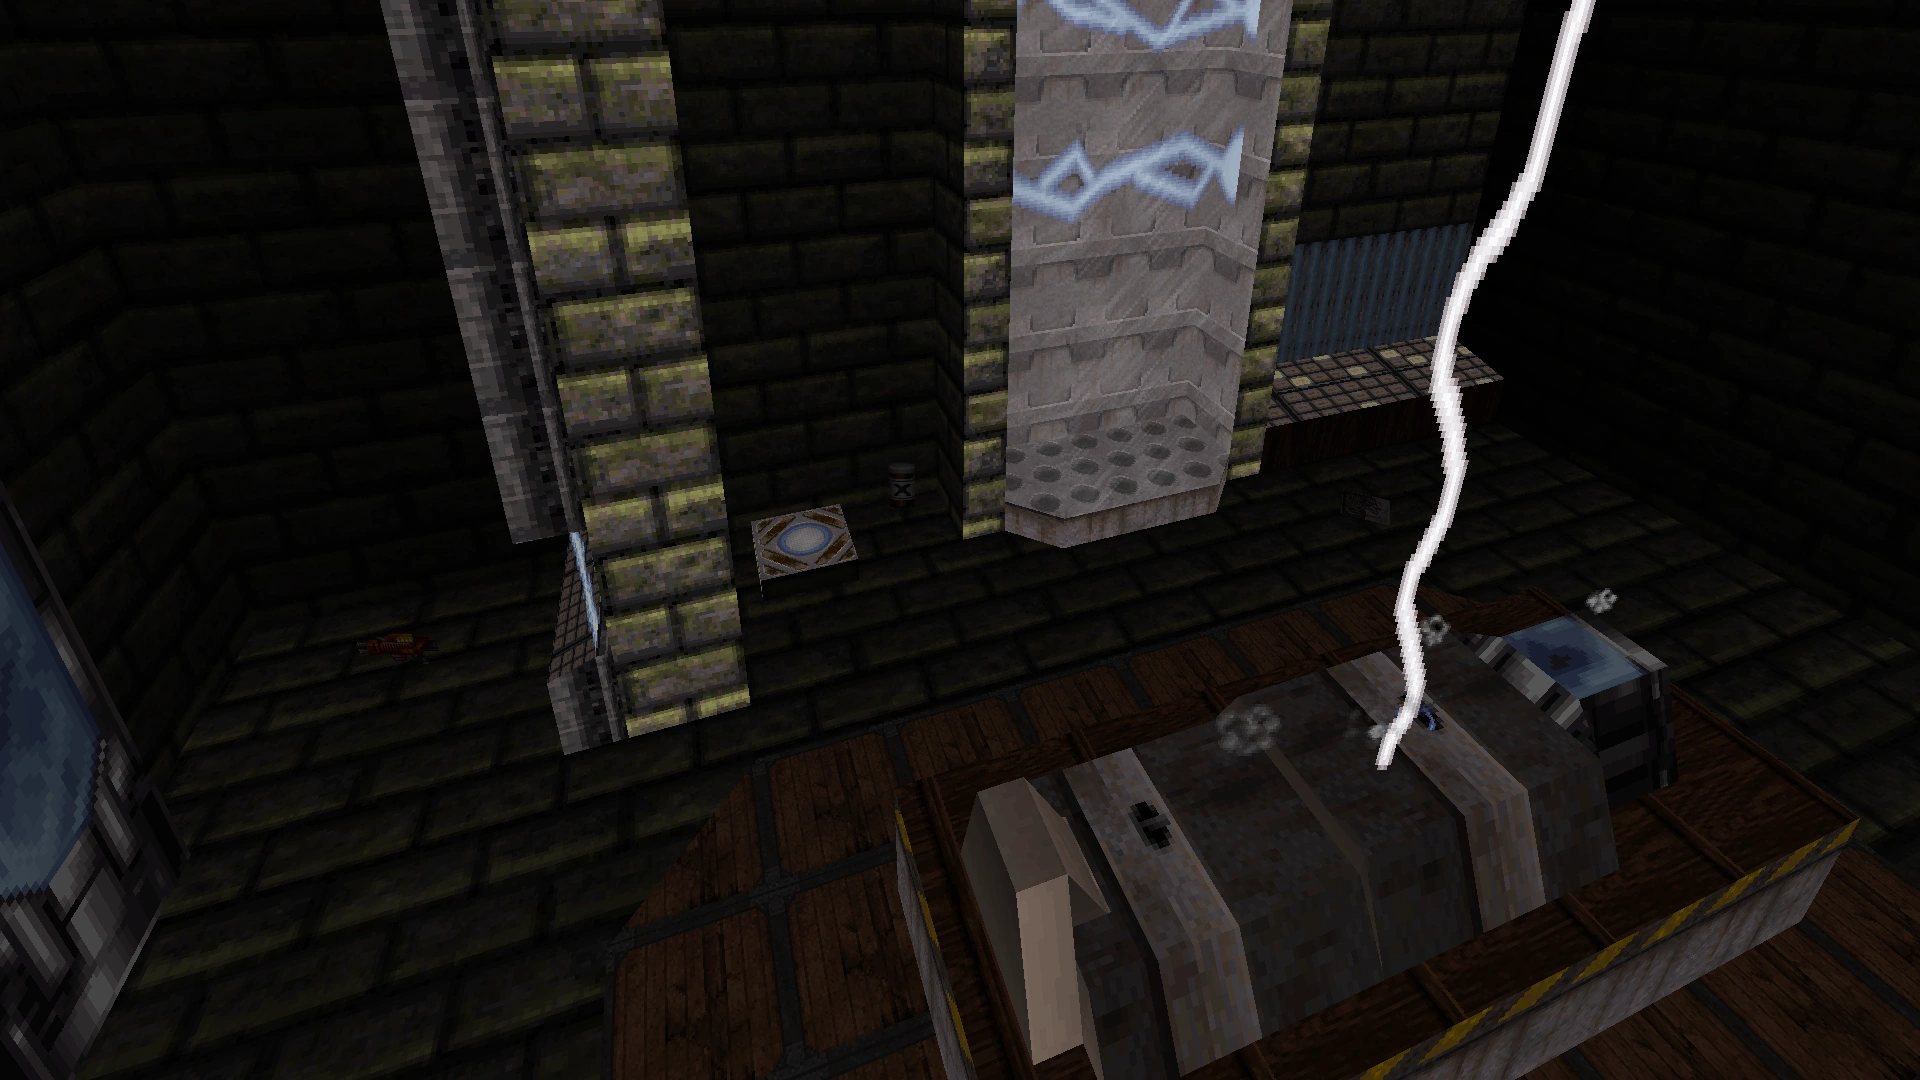
Castle Dukenstein
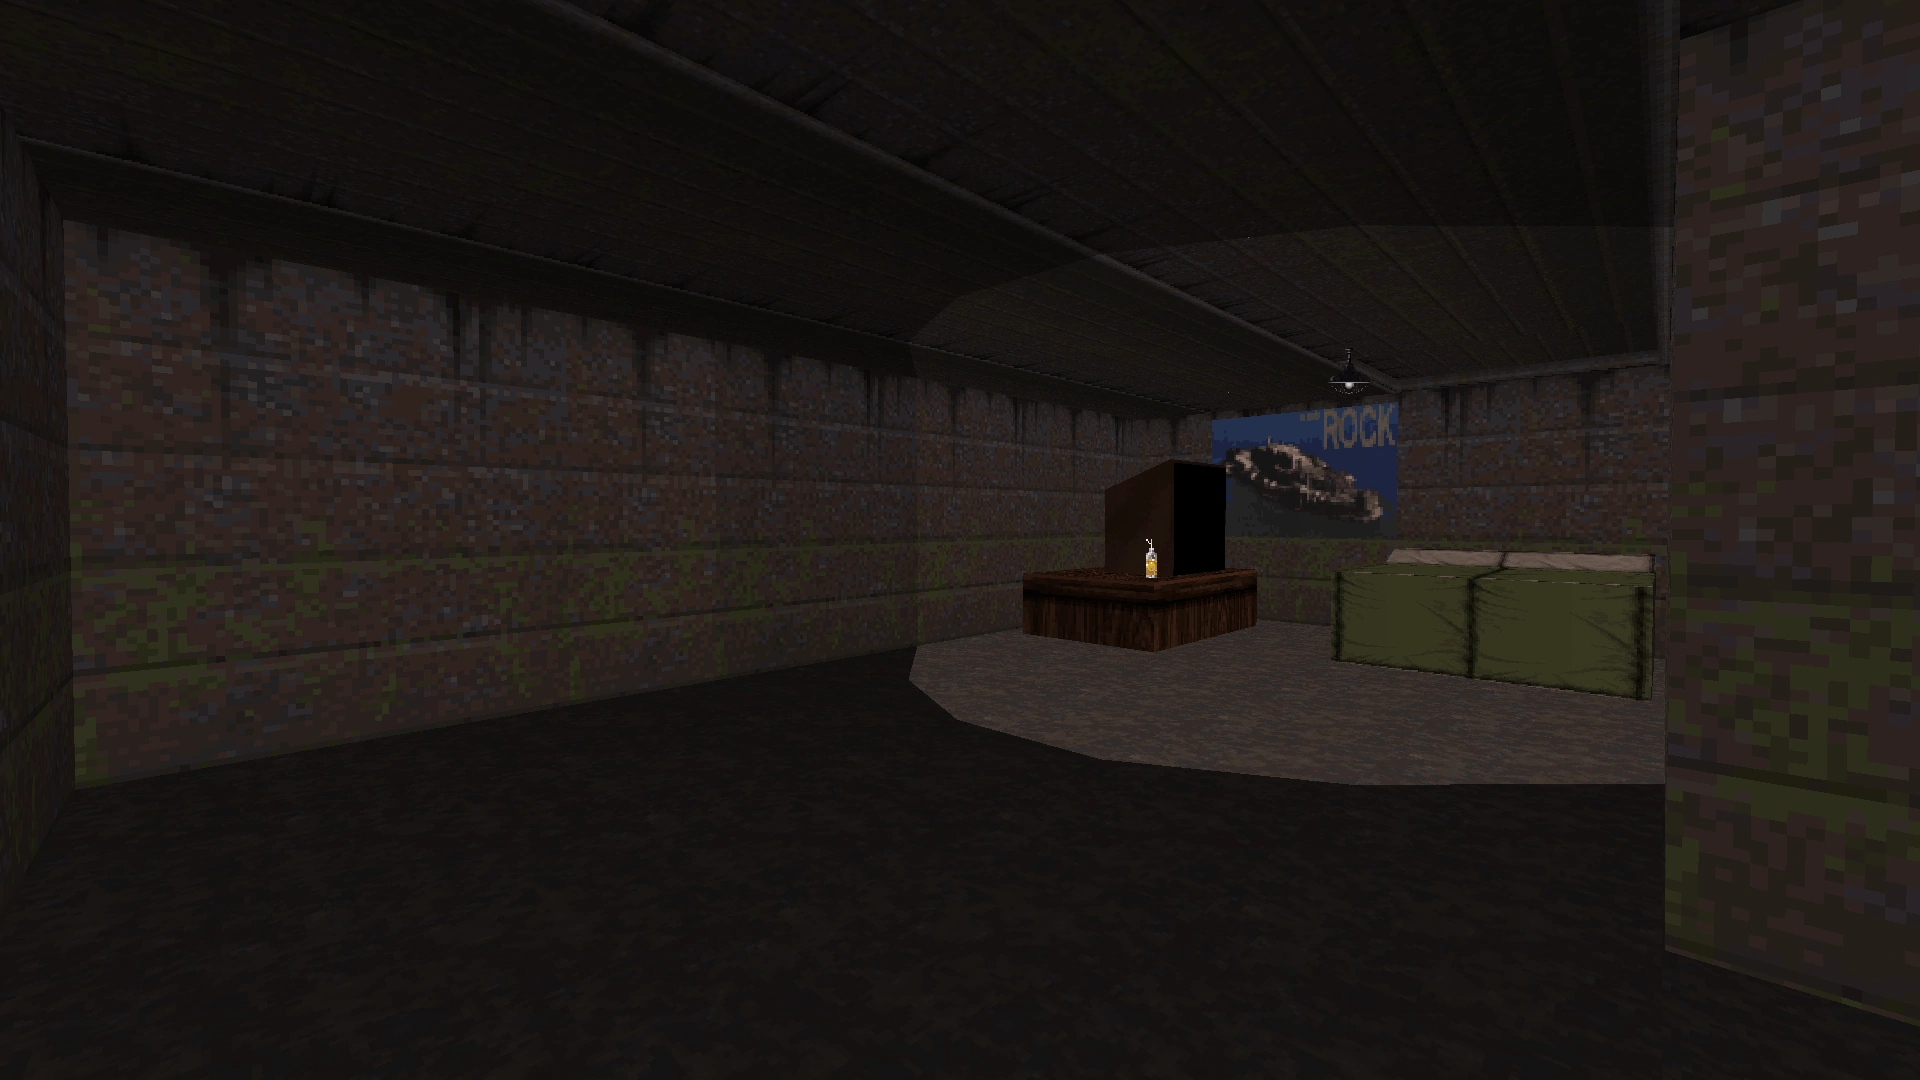
This level features a haunted mansion and low-lighting. The level's name is a reference to Frankenstein. In reference to Frankenstein's monster, the level contains a room with a human-like shape on a table being pulsed with lightning, and thunder can be heard.

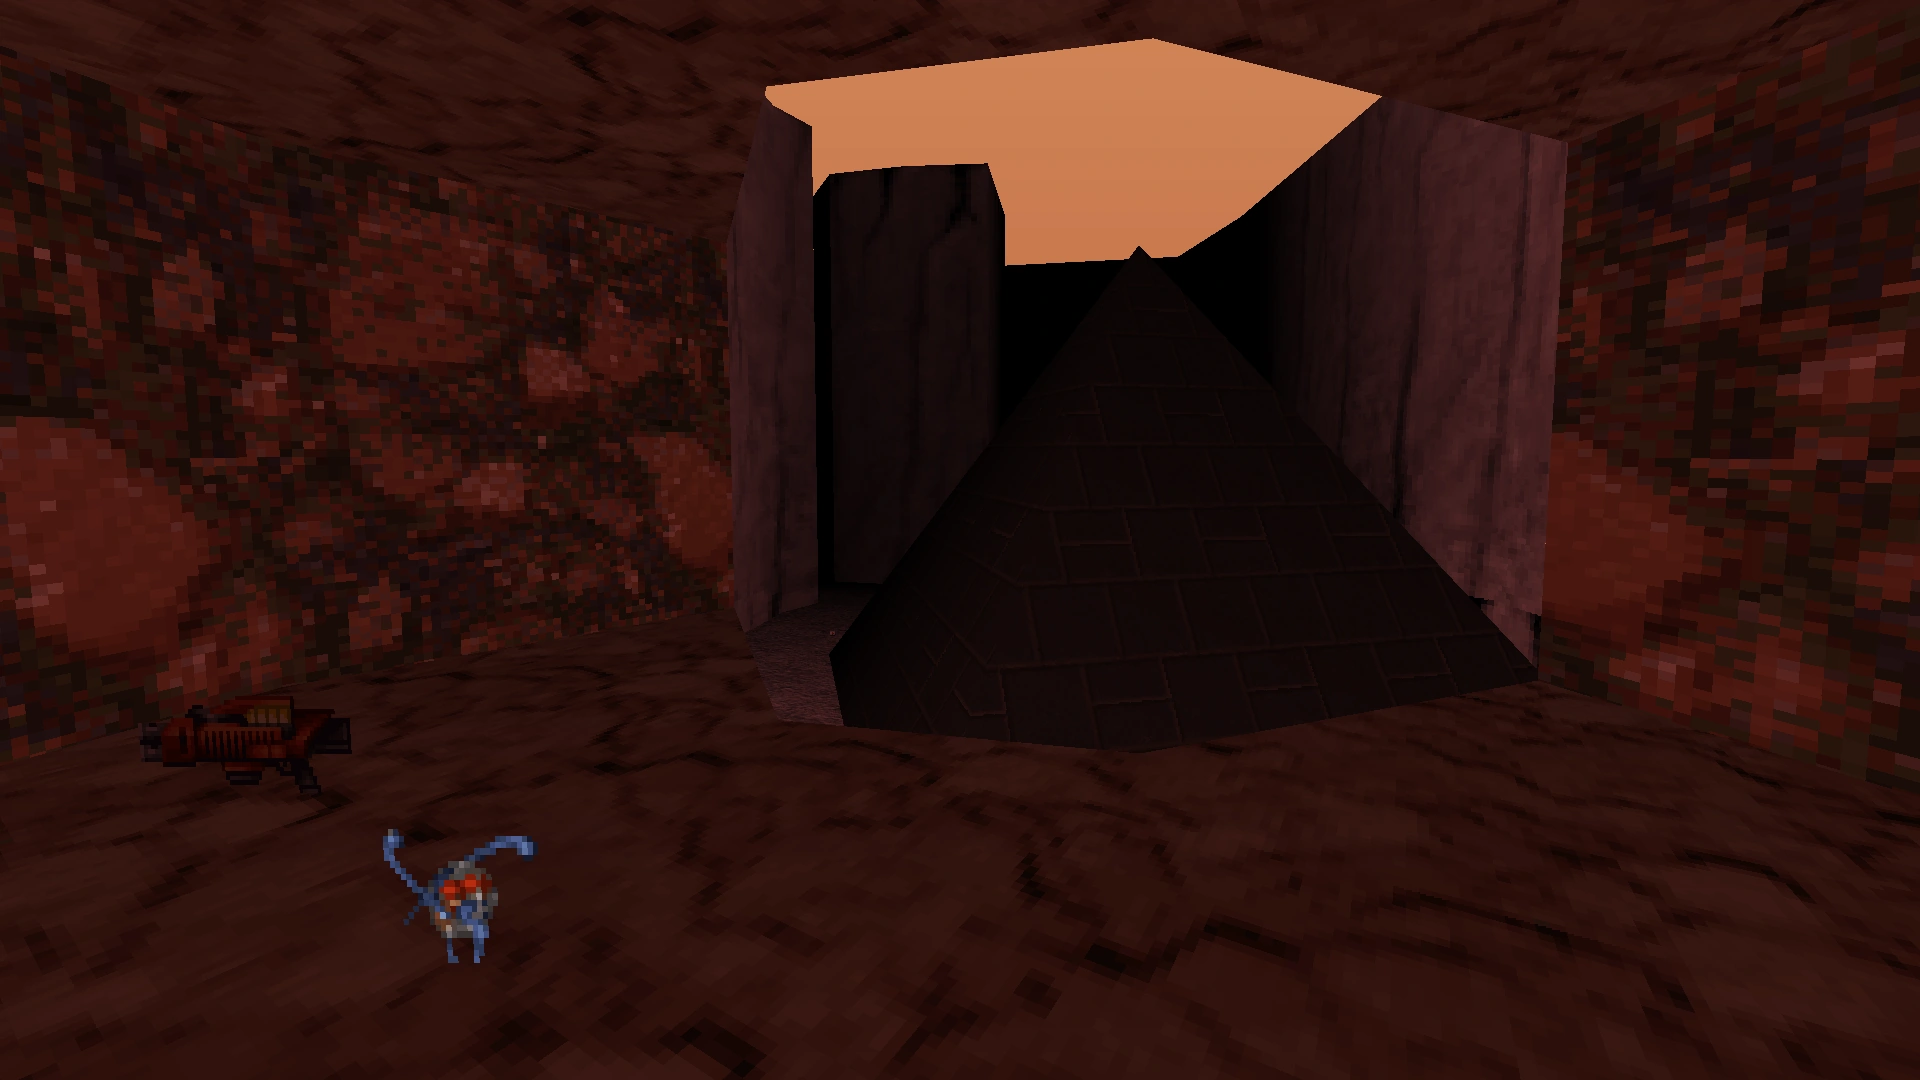
Noctis Labyrinthus (Secret Level)
Based on the Noctis Labyrinthus formation on Mars, this level is situated in a canyon on the outdoor surface of Mars. The level can be accessed by using the level-select cheat or by activating the four secret switches in Shaft.

| |||||||||||||||||